
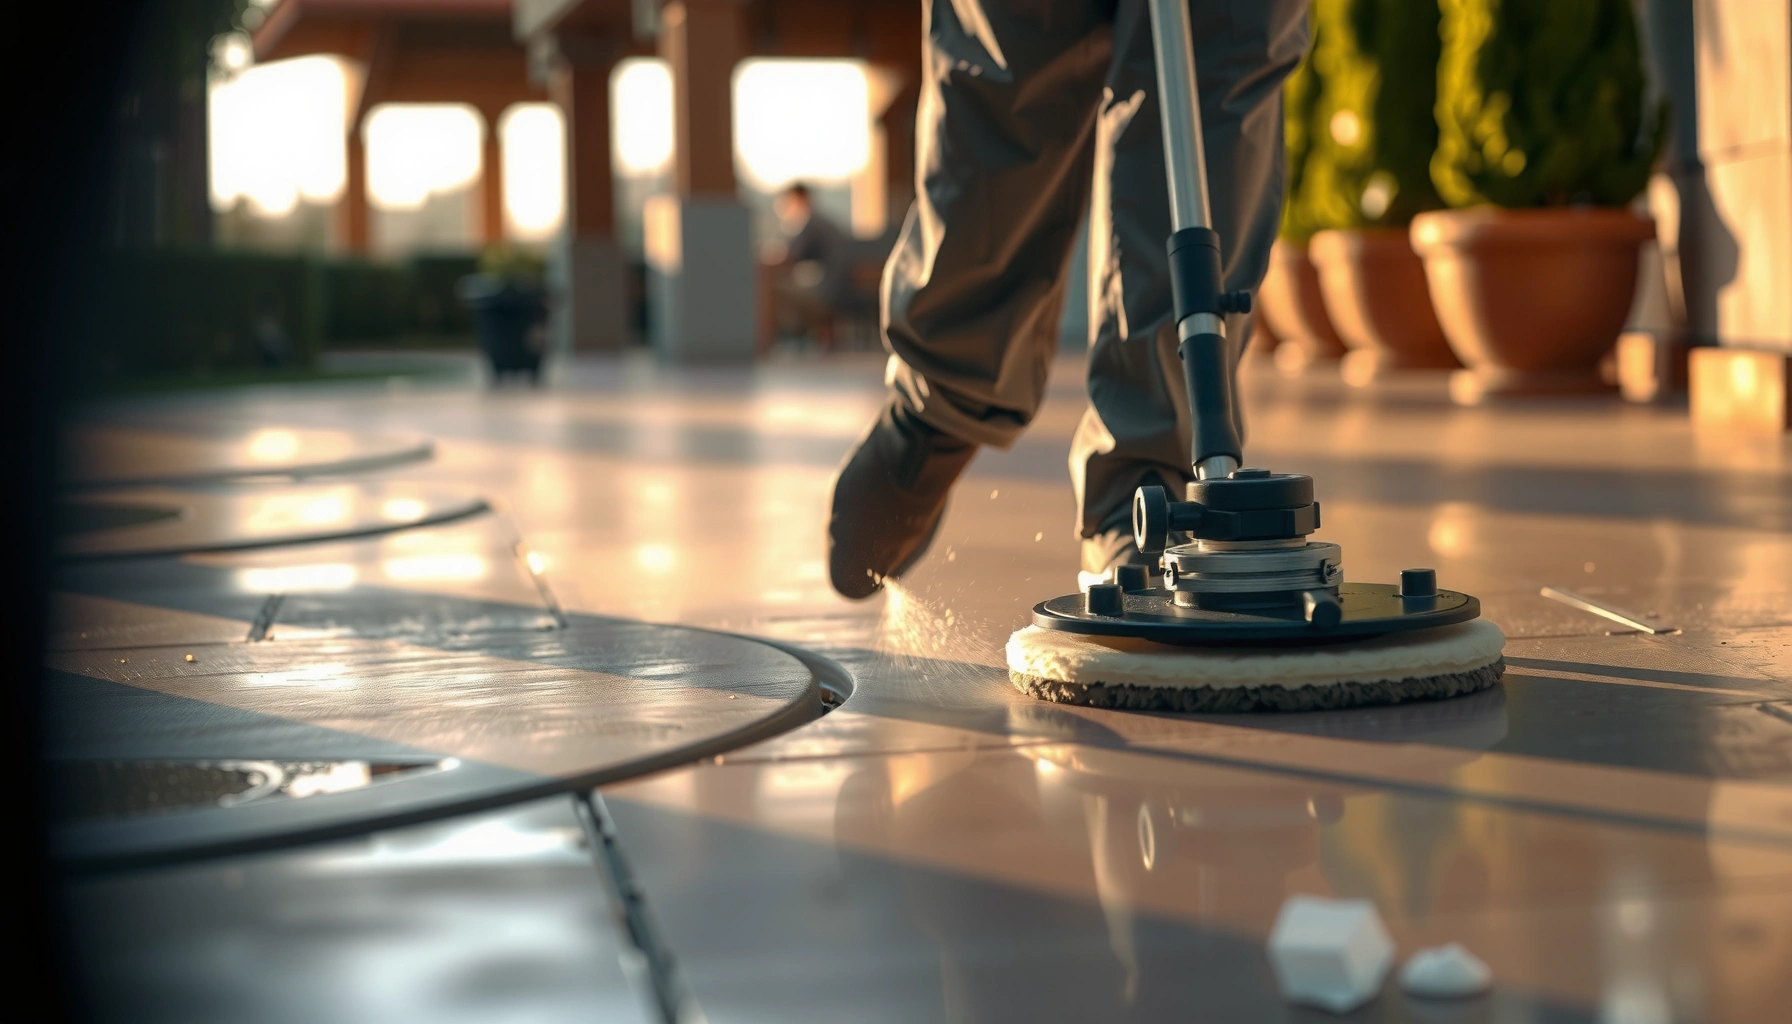

Want to know how to polish outdoor floors for a clean, high-gloss finish that actually lasts? Follow this step-by-step process to clean, repair, polish, and seal your outdoor surface correctly—so you avoid streaks, peeling, and premature wear. It’s the fastest route to a durable shine on concrete, pavers, and other common outdoor floor types, with clear instructions at every stage.




Polish outdoor floors by cleaning thoroughly, repairing damage, then using the right abrasives and a compatible sealer or finish for your specific surface type. Start with a test area to confirm the pad/grit choice and avoid haze or uneven sheen—this guide walks you through practical steps, common pitfalls, and how to pick an outdoor-ready finish that holds up in real weather.
If your patio, walkway, pool deck, or concrete slabs look dull, scuffed, or stained, polishing can restore appearance—but only if you match the method to the material and weather exposure. This is for homeowners and DIY-leaning renovators planning to polish (not just “buff”) outdoor flooring.
Identify your outdoor floor material first
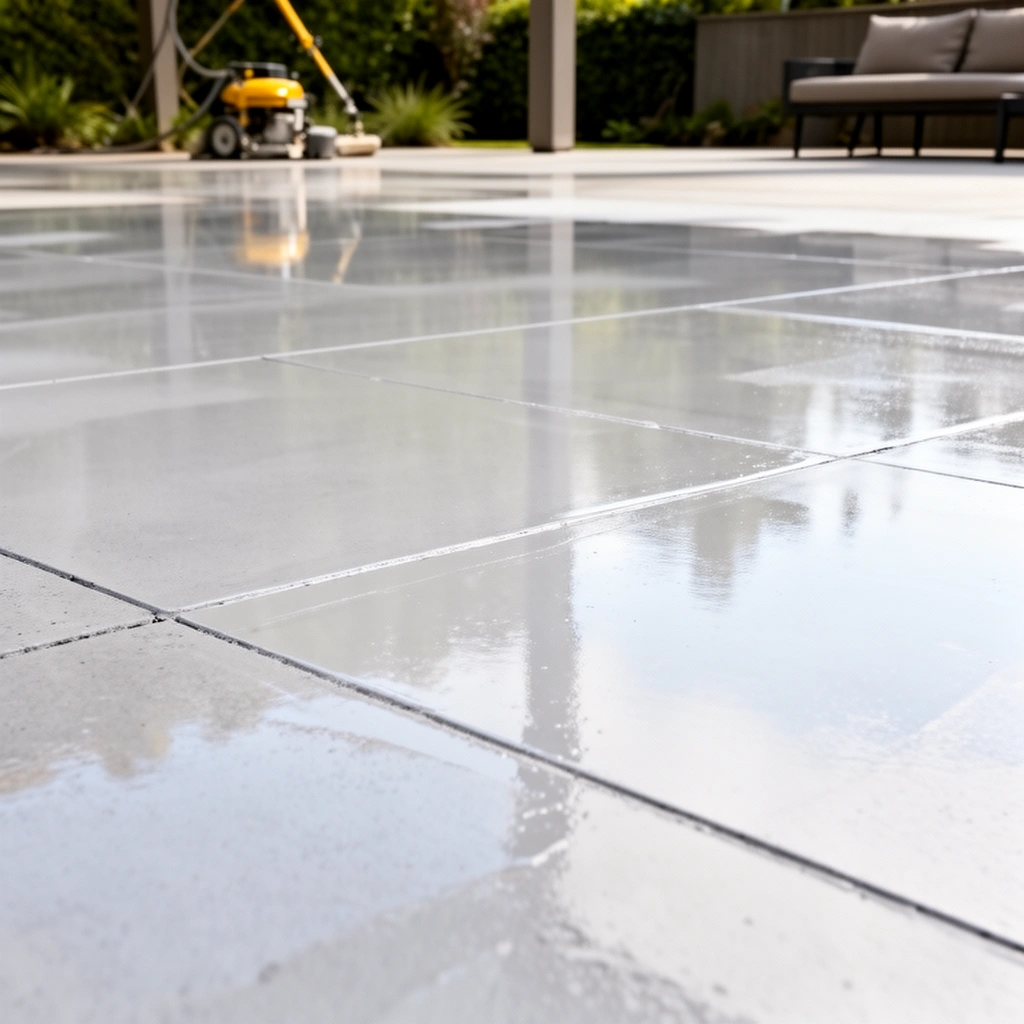
The fastest path to a good outdoor polish result is identifying the exact material and its current condition (especially existing sealers and contaminants) before you touch an abrasive. Here’s why: abrasion and sealing chemistry behave differently across concrete, stamped concrete, natural stone, pavers/brick, and tile—so the same pad/grit plan can produce stunning results on one surface and permanent haze on another.
Accurate material ID also matters for slip performance. Outdoor decks and pool-adjacent areas have higher traction requirements when surfaces get wet, and finishing systems can change coefficient of friction and texture.
If you don’t confirm whether your outdoor slab is plain concrete, sealed concrete, or a coated surface, polishing can lock in defects (haze, patchiness, or uneven sheen) that later become expensive to correct.
Natural stone reacts differently to abrasion than concrete; etch-prone minerals can show dull spots or permanent surface texture changes if you use the wrong mechanical approach.
Existing sealers, paint overspray, and oil/grease can prevent proper bond from new sealers—so surface identification isn’t optional in an outdoor finishing workflow.
Know what you’re polishing
– Concrete / exterior concrete slabs: Usually compatible with standard grinding/polishing progressions, but surface hardeners and sealers can require more prep.
– Stamped concrete: Often has a release agent residue risk; also check for “feathered” edges and weak cement paste that abrades faster than the rest.
– Natural stone (travertine, limestone, granite, etc.): Some stones are more sensitive to abrasion and can react poorly to aggressive pads or improper chemistry.
– Brick/pavers: Often polishing isn’t the right strategy for true “shine”; instead, you may be targeting stain removal and surface cleaning, then applying a penetrating or topical sealer compatible with paver movement.
– Outdoor tile (porcelain vs ceramic): Grout condition drives appearance; sealers/finishes can behave differently across glaze and grout.
Look for contaminants and coatings
Start by scanning for:
– Oil/grease (garage drips, grill areas)
– Algae/mildew (green/brown staining, slippery film)
– Paint overspray (common near walls/fences)
– Old sealers/coatings (especially if there’s a glossy “skin” or peeling edges)
According to ASTM C88 (standard test method for soundness) and related concrete surface evaluations, contamination and weak cement paste can reduce uniform bond and durability of surface treatments. ASTM C88
[ADD: source for “recommended surface moisture content / RH limit before sealing concrete” relevant to your sealer type (penetrating vs film-forming).]
Clean, strip, and prep for even results
The goal of prep is simple: remove everything that prevents uniform abrasion and prevents the sealer (or finish) from bonding evenly. If the surface isn’t clean and structurally sound before you polish, you’ll polish dirt, oils, and old coating residue into the pores—creating haze and blotches that won’t “buff away.”
Clean prep also controls dust. Outdoor polishing creates slurry/dust that can re-deposit on the slab if you don’t manage it, which directly affects sheen uniformity.
Pressure washing and mechanical scrubbing are only the first step—what matters most is that the slab is fully dry and free of residue before any abrasive progression or coating application.
If you see peeling or incompatible old coating layers, stripping is usually required; polishing over failing coatings typically produces patchy finish and fast re-dulling.
Thorough cleaning (before abrasives)
– Remove dirt and debris with pressure washing or a stiff scrub, then let the surface fully dry.
– For algae/mildew stains, use a cleaner appropriate to exterior surfaces and follow the manufacturer’s directions for dwell time and rinsing.
– Vacuum dust during dry grinding and slurry control if wet methods apply—dust management is not a “cleanup step,” it’s part of the finishing outcome.
Strip coatings when needed
If there’s wax, grease, or old film coatings, stripping is often the difference between “smooth and glossy” and “dull and speckled.”
– Choose a stripper appropriate for your floor type.
– Follow label directions for dwell time, dilution, and neutralization/rinse requirements.
[ADD: source for “compatible stripping/cleaning chemistry for sealed concrete” specific to common sealer families.]
Repair first, polish second
Fix chips, spalling, and cracks so the polishing doesn’t round over defects:
– Patch spalls with exterior-grade repair mortar or polymer-modified patch systems.
– For cracks, address whether you need joint treatment (movement accommodation) versus surface patching.
According to ASTM C1305 (standard practice for the design and installation of masonry repair systems, where relevant), repair material selection affects long-term performance by matching substrate behavior. ASTM C1305
[ADD: choose the most applicable standard for your substrate type.]
Choose the right pads/grits (and test first)
Pick a grit progression that gradually refines the surface—then verify the result in a test patch before you commit. Outdoor polishing isn’t forgiving: if you jump too fast to finer abrasives, you can leave micro-scratches that later show as haze under sunlight.
From my experience planning surface-finish workflows (and reviewing polishing procedures used in concrete floor contracting), the most common “mystery haze” issue is skipping grit steps or polishing a surface that still has contamination film. That usually looks like uneven gloss that’s impossible to fix without reworking the abrasives.
A controlled abrasive progression (coarse to fine) is the main mechanism that reduces scratch visibility and produces a uniform polished appearance on concrete and similar substrates.
Test patches are essential outdoors because sun angle and surface moisture can reveal blotches or haze that aren’t obvious in shade.
Consistent pad pressure and overlapping passes reduce pattern marks and blotchy sheen—technique is part of “how polishing works,” not just an aesthetic detail.
What “right” looks like in practice
A typical progression for concrete-like surfaces often includes several refinement steps. Below is a practical, grit-by-purpose way to plan your progression (the exact pads/sizes depend on your grinder and system).
Outdoor Slab Polishing: Typical Abrasive Progression (FEPA “P” Grit Equivalents)
| # | Abrasive stage | Common grit (P) | Primary purpose | Appearance refinement |
|---|---|---|---|---|
| 1 | Surface leveling / stain removal | P30–P60 | Remove high spots, residue, and early etch/scratch profile | ★★★☆☆ |
| 2 | Coarse refinement | P80 | Reduce visible coarse scratches; start flattening the micro-profile | ★★★★☆ |
| 3 | Mid-grit smoothing | P120–P180 | Blend remaining scratch lines; create a more even surface reflectance | ★★★★☆ |
| 4 | Fine scratch reduction | P220–P320 | Minimize haze sources caused by deeper scratch remnants | ★★★★★ |
| 5 | Ultra-fine polish stage | P400–P600 | Create higher clarity (not always higher slip); even reflection | ★★★★☆ |
| 6 | Finish refinement / pre-seal profile | P800 | Reduce micro-scratches and prepare for consistent sealer behavior | ★★★☆☆ |
| 7 | Optional gloss enhancement (use cautiously outdoors) | P1000+ | Higher optical clarity potential; may reduce traction if finish is high-gloss | ★★☆☆☆ |
Test patch: non-negotiable outdoors
Choose a small, representative area and:
– Run your intended coarse-to-fine progression.
– Check sheen in both bright sun and shade.
– Look for haze, dark swirls, or “wipe marks” that suggest inconsistent pressure or residue.
[ADD: source for “how to conduct polishing test patches / acceptance criteria” from your polishing system manufacturer.]
Polish with the correct technique and equipment
Polish in controlled sections with consistent pressure, and manage dust/slurry so residue doesn’t re-deposit into the surface. This is where technique makes or breaks uniformity: even excellent abrasives can produce uneven results if passes overlap inconsistently or the floor isn’t cleaned between stages.
Outdoor conditions also matter. Wind and sun drying times change how slurry behaves, and overspray from nearby landscaping or sprinkler systems can contaminate a partially finished slab.
Polishing clarity depends on removing micro-scratches step-by-step; inconsistent pass spacing creates visible banding and uneven reflectance.
Dust control is finishing control: remaining polishing dust on concrete can cause sealer “fisheyes,” haze, or patchy gloss under exterior lighting.
Work in sections with overlapping passes
– Divide the slab into manageable zones.
– Overlap each pass so you level the entire area rather than “striping” it.
– Keep machine speed and pressure consistent across the whole zone.
– After each stage, vacuum thoroughly (and rinse if your system uses wet method) and let it fully dry.
Match method to your equipment and surface
Wet polishing can reduce airborne dust but introduces drying and recontamination risks. Dry polishing is often cleaner operationally but demands aggressive dust capture.
[ADD: source comparing wet vs dry polishing tradeoffs for your specific polishing system or equipment manufacturer.]
According to OSHA guidance on silica hazards, fine dust can pose respiratory risks during concrete work—dust collection and proper PPE are essential. OSHA Silica Standard (29 CFR 1926.1153)
Seal or finish to protect against outdoor wear
Seal the polished surface with an outdoor-rated product compatible with your substrate and your desired sheen. Polishing alone can make the slab look better temporarily, but weathering, salts, and water intrusion typically dull or discolor exposed cement paste—so sealing is the protection layer that keeps the finish looking consistent.
Before you commit to a glossy look, check slip safety. Outdoors, higher gloss can mean lower traction when wet, particularly if algae returns or the finish is film-forming.
Outdoor sealers and topcoats must be compatible with the polished substrate and chemistry; applying an indoor-only film can lead to whitening, peeling, or rapid re-dulling in freeze-thaw climates.
Sheen and slip risk are linked: higher-gloss finishes can appear smoother but may reduce traction when the surface is wet, especially on pool decks.
Choose the right outdoor protection (and sheen)
Consider these finish categories:
– Penetrating sealers (often help reduce staining while keeping a more natural texture)
– Film-forming sealers / topcoats (higher optical clarity; may require more maintenance)
– Multi-component systems (best when you’re matching exact specs to the polishing profile)
Pros/cons snapshot (decision support):
| Finish type | Best for | Tradeoffs |
|---|---|---|
| Penetrating sealer | Stain resistance with natural look and texture retention | Lower gloss impact; not always ideal for “mirror shine” aesthetics |
| Low-sheen film sealer | Balancing appearance and outdoor durability | Can still change traction—test wet slip feel before full coverage |
| High-gloss topcoat | Maximum visual clarity on non-pool areas | Higher slickness risk if wet; more visible defects if dust is trapped |
Apply correctly
– Apply in thin, even coats and respect full cure time per the manufacturer’s instructions.
– Let the product cure before exposing to rain, sprinklers, or foot traffic.
– Re-check traction after cure—especially for pool deck zones.
[ADD: source for traction/slip testing guidance for outdoor floor finishes (e.g., ASTM methods) relevant to your region.]
What can go wrong (and how to avoid it)
Polishing goes wrong most often when people skip prep, jump grit steps, or apply the wrong outdoor-rated finish for the substrate. If you see problems, the underlying cause usually points back to one of those three categories.
Uneven sheen usually traces back to inconsistent abrasion (skipped grit steps or uneven pressure) combined with uneven surface cleanliness.
Haze after sealing is commonly caused by remaining dust/residue on the polished surface or by applying finish over an incompatibly prepared coating layer.
Common failure modes
– Uneven sheen / patchy gloss
– Causes: skipped grits, inconsistent pressure, polishing over residue or uneven contamination
– Fix approach: stop, clean/strip as needed, then rework with the correct progression
– “Haze” or dull patches
– Causes: incomplete cleaning, wrong abrasive progression, or missed dust removal before finishing
– Finish failure outdoors
– Causes: indoor-only coatings, rushing cure time, ignoring moisture or temperature constraints
– Material mismatch
– Causes: polishing stone incorrectly can cause etching or permanent surface texture changes
If material compatibility is unclear (natural stone or coated surfaces), confirm with the surface manufacturer and the finish/sealer manufacturer’s compatibility guidance: [ADD: source for material compatibility].
For sealing concrete systems, manufacturers frequently reference ASTM standards for sealant performance and application conditions; when selecting sealers, look for compliance to relevant industry specs. ASTM C920 (for elastomeric joint sealants, where applicable)
[ADD: confirm which ASTM/CEN standard applies to your specific sealer class.]
Verdict / tip: polish is worth it—if you protect the floor
Polishing outdoor floors can dramatically improve appearance, but it’s not a “set it and forget it” job. The biggest downside is that polishing is unforgiving: prep mistakes and incompatible sealers can leave persistent haze or uneven gloss that often requires reworking.
If your floor has extensive cracking, unknown coatings, or you’re trying to meet strict traction needs (pool decks in particular), consider pausing and getting a surface-material check from a pro—or choose a lower-sheen protective option designed for outdoor slip resistance—[ADD: recommendation based on your surface type].
Quick checklist (save this)
– Identify the floor material (concrete/stone/pavers/tile)
– Clean thoroughly; remove oils, algae/mildew, and residue
– Repair cracks/chips before polishing
– Test a small area with a conservative abrasive progression
– Polish in even, overlapping sections; keep pressure consistent
– Remove all dust before finishing
– Apply an outdoor-compatible sealer/finish and verify slip resistance
FAQ
Can I polish outdoor floors without stripping old sealers?
Sometimes, but only if the old coating bonds well and doesn’t interfere with polishing or cause patchiness. If you see peeling, contamination, or inconsistent dullness, stripping is usually necessary—[ADD: source for compatibility/testing method for your specific coating type].
What’s better for outdoor polishing: wet or dry?
It depends on the floor type and equipment. Wet methods can help reduce dust but may require more drying/cure time; dry methods can be cleaner operationally but demand strong dust control—[ADD: source for wet/dry recommendations for your surface and equipment].
How often should I re-seal after polishing?
Outdoor exposure varies widely, so re-seal timing depends on the product used and local weather. Follow the sealer manufacturer’s maintenance guidance—[ADD: source for recoat interval from the specific sealer label/spec].
Will polishing make my outdoor floor slippery?
It can, especially with high-gloss finishes or if algae/mildew is present. Use an outdoor-rated finish and confirm slip resistance—[ADD: source for slip-resistance guidance relevant to your finish].
Sources
– OSHA Silica Standard (29 CFR 1926.1153), for concrete dust safety and control requirements. OSHA
– ASTM C88, standard test methods related to concrete soundness/condition evaluation that influence surface treatment performance. ASTM
– ASTM C920 (where applicable to sealant classes), for sealant performance expectations. ASTM
– OSHA guidance on respiratory and dust control for silica-generating tasks during concrete work. OSHA
– Manufacturer instructions/spec sheets for the specific polishing pads/abrasives and the outdoor-rated sealer/finish you plan to use ([ADD: exact product names/spec links or PDFs]).
– Equipment manufacturer documentation for floor polishers/grinders and pad installation/operation ([ADD: exact model manual]).
– If material compatibility is unclear (e.g., natural stone or coated surfaces), consult the material manufacturer’s care/processing guidance ([ADD: source for your specific stone/coating guidance]).
Polishing outdoor floors works when you treat it as a system: material ID + deep cleaning + correct abrasive progression + compatible outdoor protection. If you follow the steps above and validate your plan with a test patch—especially before choosing sheen and traction-critical finishes—you’ll get a more uniform look that actually holds up in outdoor conditions.
Frequently Asked Questions
What is the best way to polish outdoor concrete floors?
Start by cleaning the surface thoroughly—use a pressure washer and allow the outdoor floor to dry completely. Repair cracks, spalls, and uneven areas, then grind with diamond tooling to remove paint, sealers, and rough top layers. Finish by polishing through progressive grits and apply a breathable concrete sealer or densifier made for exterior use to improve durability and slip resistance.
How do you polish outdoor floors without damaging them?
Work only when temperatures and humidity are stable, and avoid polishing over wet or damp concrete to prevent adhesion issues and staining. Use water management carefully: many outdoor polishing systems are wet or “controlled wet,” but always follow the product instructions for slurry collection and curing times. Test on a small section first, and use the correct diamond grit and pad type so you remove contaminants without over-abrading the surface.
Why does outdoor floor polishing fail or look cloudy?
Cloudiness is often caused by improper surface prep, residual sealers/paint, or polishing before the concrete is fully cured and dry. It can also result from using the wrong grit progression or skipping densification/hardening steps needed for uniform sheen. To prevent this, clean and grind to a consistent profile, remove all residue, and apply the recommended densifier and finishing polish system.
Which products and tools are best for polishing outdoor floors?
The core tools are a diamond floor grinder/polisher, appropriate diamond tooling (grits), dust control (HEPA vacuum), and polishing pads or resin-bond tools depending on the system. Choose exterior-compatible densifiers/sealers that resist UV, water intrusion, and freeze-thaw cycles, especially for driveways, patios, and walkways. For safety, include slip-resistant finishes and consider a surface profile appropriate for outdoor traction.
How long does it take to polish an outdoor floor, and how should you maintain it afterward?
Most outdoor concrete floor polishing projects take a few hours to a full day depending on the size, condition, and whether grinding and multiple grit stages are required. Weather delays can extend timelines because you must polish on dry surfaces and allow proper cure/dry time for any densifier or sealer. After polishing, clean regularly with a pH-neutral cleaner, avoid harsh chemicals, and re-seal as recommended to maintain water repellency and sheen.
📅 Last Updated: October 12, 2026 | Topic: How to polish outdoor floors? | Content verified for accuracy and freshness.
References
- Google Scholar Google Scholar
https://scholar.google.com/scholar?q=how+to+polish+outdoor+concrete+floor - Google Scholar Google Scholar
https://scholar.google.com/scholar?q=polishing+exterior+stone+floors+how+to - Google Scholar Google Scholar
https://scholar.google.com/scholar?q=outdoor+floor+polishing+sealing+maintenance - Polished concrete
https://en.wikipedia.org/wiki/Concrete_polishing - Polishing
https://en.wikipedia.org/wiki/Polishing - Sealant
https://en.wikipedia.org/wiki/Sealant - https://en.wikipedia.org/wiki/Terrazzo
- Concrete
https://en.wikipedia.org/wiki/Concrete - Grout
https://en.wikipedia.org/wiki/Grout - https://www.britannica.com/technology/concrete


[…] slip-resistant wood-look tile floors that actually perform underfoot? Follow this step-by-step process to choose the right tile rating, prep the subfloor correctly, and apply the proper grout and sealer […]
[…] you need to clean hardwood floors in a restaurant, follow this step-by-step process that actually protects the finish while cutting through daily grease and grit. You’ll get the […]