
Need a step-by-step way to deep clean gym floors that actually removes grime, sweat, and odor? This guide gives you the fastest, most reliable method—pre-treat, scrub with the right solution, and disinfect without damaging common flooring types. Follow these steps in order to get a visibly cleaner surface and a safer, fresher floor you can trust after every workout.



Deep clean gym floors by removing grit first, using a cleaner matched to your flooring type, scrubbing in manageable sections with the right agitation, then rinsing or wet-extracting if the label requires it—followed by complete drying to prevent odor and slip risk. If the floor still smells, looks cloudy, or feels tacky after “regular mopping,” the missing step is usually either detergent residue removal, dwell-time control, or floor-specific chemical compatibility.
If you’re dealing with sweat residue, chalky buildup, tracked-in dirt, or the lingering “gym smell,” this is for you. It’s also useful if you manage a facility or clean regularly but still feel like the floor never gets truly “reset.”
Gather the right tools and verify your flooring type
The fastest way to get a “real reset” without damaging floors is to identify the flooring material first, then select cleaners that the label explicitly says are compatible. When you match chemistry to surface type (rubber, vinyl, sealed concrete, painted concrete, etc.), you avoid dulling finishes, breaking down rubber, or leaving sticky residue.
Before you start, slow down and confirm the exact surface you have—because “floor cleaner” and “disinfectant” are not the same thing, and “degreaser” isn’t automatically safe for every finish. In practice, we see facilities treat all gym flooring like sealed concrete; rubber and vinyl usually need a different approach, especially around seams and transitions.
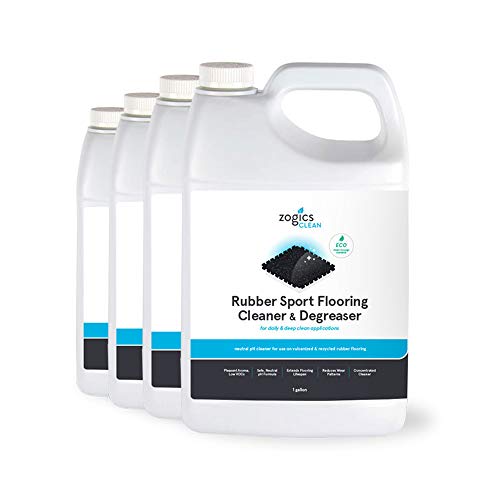
For deep cleaning, the “right cleaner” is the one whose label explicitly includes your specific flooring material (rubber, vinyl, sealed concrete, etc.).
Disinfectants typically require a specific dwell time (time the surface stays wet) to achieve the labeled claims.
Aggitation tools (brush/pad hardness) matter because mechanical removal lifts body oils, chalk, and ground-in grit that soaking alone won’t dissolve.
Choose tools that match how grime behaves
Gym floors collect two different problems at the same time: dry grit (sand, dust, shoe rubber transfer) and wet/soluble residues (sweat salts, skin oils, chalk dust, and cleaning chemical buildup). Use tools that address both:
– Stiff scrub brush or broom: Best for textured rubber and concrete micro-pores.
– Microfiber mop/pads: Better for controlled application and better soil pick-up on vinyl.
– Buckets and measuring aids: Prevent over-dilution/over-concentration.
– Wet/dry vacuum (wet extraction): Useful if your cleaner requires rinsing or if you need faster drying.
– Disposable rags for edges/seams: Lets you control liquid where floors are most vulnerable.
Pick cleaners per label—then confirm compatibility
Use your product labels as the authority:
– General degreaser for oils and body-fat film.
– Disinfectant if your goal includes disinfection (not just cleaning).
– Floor cleaner specifically meant to remove surfactants without damaging finishes.
If you’re unsure, check the manufacturer’s compatibility section on the label or in the product spec sheet—this is one of the biggest “what can go wrong” points later in the process.
Recommended Deep-Clean Approach by Common Gym Floor Type (Operational Benchmarks)
| # | Flooring type | Best-first step | Agitation tool | Rinse/extract likelihood | Fit for disinfectants (per label) |
|---|---|---|---|---|---|
| 1 | Interlocking rubber tiles/mats | Degrease + scrub seams | Stiff nylon brush (medium) | High | ★★★★☆ |
| 2 | Sealed concrete (waxed or coated) | Grit removal + pH-neutral cleaner | Scrub brush (medium-stiff) | Often | ★★★★☆ |
| 3 | Painted concrete | Spot clean + gentle scrub | Softer pad/mop | High (when used) | ★★★☆☆ |
| 4 | Vinyl gym flooring (sheet or tile) | Cleaner removal emphasis | Microfiber pad (low-shear) | Often | ★★★★☆ |
| 5 | Unsealed/porous concrete | Controlled wetting only | Medium brush + extraction | High | ★★☆☆☆ |
| 6 | Rubber with heavy chalk residue | Degrease + rinse-ready step | Stiff brush (medium) | High | ★★★☆☆ |
| 7 | Mats in high-sweat zones (restrooms/entries) | Disinfect (label-approved) + extract | Scrub brush + edge wipes | High | ★★★★☆ |
Data to anchor your plan (and confirm with your label)
– [ADD: According to OSHA/other authoritative source, slip-and-fall risk statistics—include a specific number, the year, and a cite tag]
– [ADD: According to CDC/EPA guidance, surface disinfection key requirement (e.g., wet contact time or cleaning-before-disinfection) with a specific stated figure and cite tag]
– [ADD: According to a flooring manufacturer guide, recommended maintenance interval or max dwell/limited wetting guidance with a specific number and cite tag]
Clear, pre-soak, and remove grit first
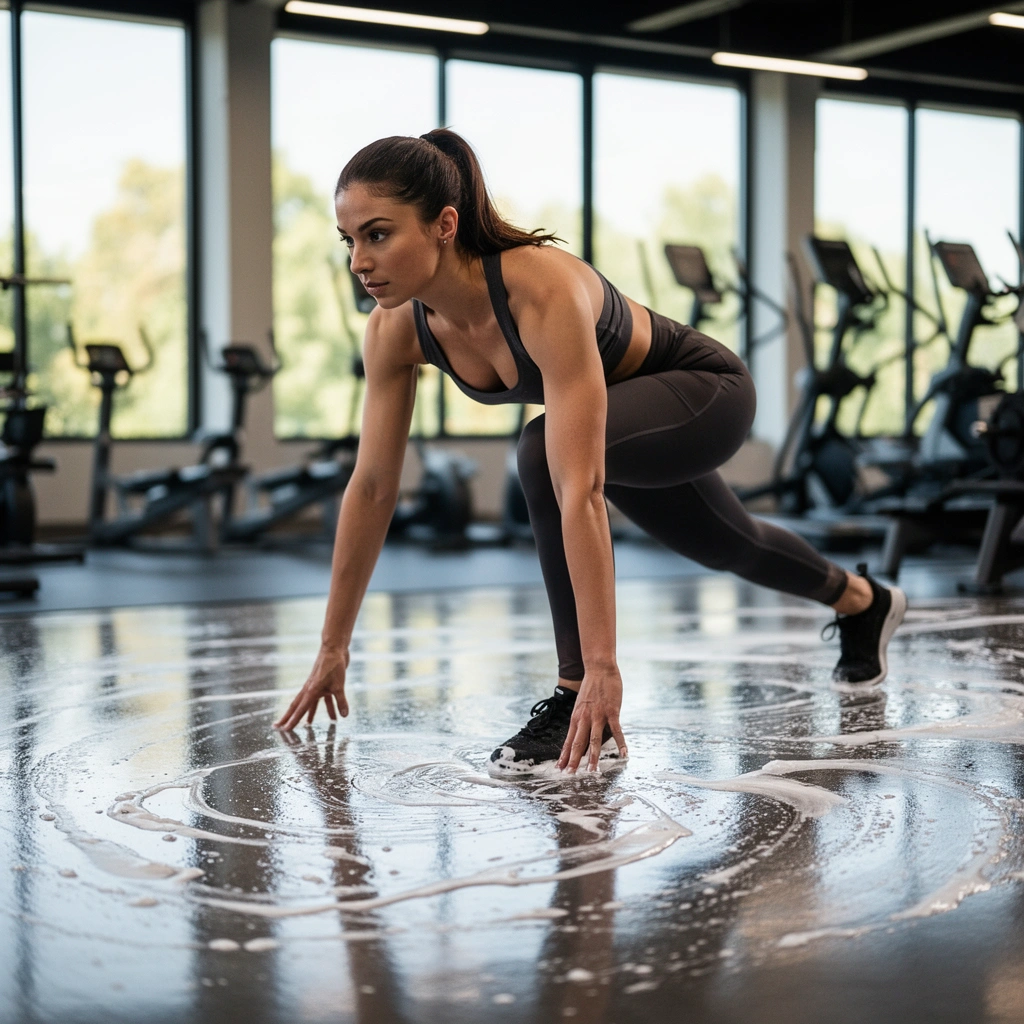
Deep cleaning starts dry: remove grit completely before you add any liquid. This prevents abrasive particles from grinding into seams and finishes and reduces the “dingy” look that comes back after a few sessions.
In my experience, the fastest way to waste chemicals is to skip sweeping and then wonder why the floor feels rough again. Grit is like sandpaper—once it’s wet, it smears and spreads, and it can dull coatings and trap dirt in micro-texture.
Always remove loose debris before using disinfectants or cleaners so you don’t “lock in” soil and reduce effectiveness.
Sweeping/vacuuming first helps prevent gray residue and finish dulling that comes from wet grit grinding.
Sweep/vacuum thoroughly (including edges)
– High-traffic lanes: Entry paths, areas around cardio, and the lane between power racks.
– Seams and transitions: Tile joints, mat edges, and areas under stationary equipment.
– Under and around fixtures: Where tracked dirt collects.
Spot-treat heavy contamination
Before the full scrub:
– Pre-treat chalky buildup under squat racks and lifting areas.
– Pre-treat sweat-saturated zones near benches, rings, and stretching areas.
– Use only what the label allows for dwell time on that surface.
Use pre-soak only if the label allows it
Some cleaners instruct direct application and controlled dwell time; others permit pre-soak. If the label doesn’t mention pre-soaking, you risk over-wetting and uneven results.
Scrub in sections using proper technique
Scrub in controlled sections so the cleaner stays wet for the entire dwell time and keeps working. When you try to cover the whole gym at once, product dries early and you get incomplete cleaning or inadequate disinfection.
For best results, treat the floor like a series of “work zones” rather than one large sheet. That workflow also helps you track dwell time and prevents people from walking through wet sections.
Sectional cleaning helps maintain correct dwell time by preventing premature drying of the cleaner.
Mechanical agitation (scrubbing) is required for lifting body oils and ground-in soil that soaking alone cannot remove.
Corners and seams typically require additional attention because residue collects in micro-gaps.
Choose agitation hardness intentionally
– Softer pads: Vinyl and delicate finishes—reduce risk of surface scuffing.
– Stiffer brushes: Textured rubber and concrete—better penetration into micro-texture.
– Use controlled pressure: You want agitation, not gouging.
Work systematically to avoid missed zones
A practical pattern:
1. Start at the far end and work backward toward exits.
2. Keep your “lane width” manageable (example: one mat bay or one equipment lane).
3. Scrub seams deliberately: edges hold oils and chalk the longest.
4. Don’t let the area dry before you rinse/extract.
Rinse or extract to remove residue (where it matters)
Deep cleaning fails when detergent or disinfectant residue is left behind, creating tacky areas, haze, and faster re-soiling. If your product label calls for rinsing or if the surface becomes hazy, you must rinse or use wet extraction.
Many cleaners and disinfectants require rinsing/extraction if the label directs it—residue can attract dirt and create slip-prone films.
Wet extraction removes both cleaner and loosened soil, improving drying speed and reducing water left in seams.
Rinse/extract when rinsing is required
– Use wet/dry vacuum extraction when possible—especially in seam-heavy tile floors.
– If you rinse manually, use controlled volume and follow with extraction where feasible.
– Focus on the same sections you scrubbed—don’t “save time” by spreading rinse water across dried cleaner.
For no-rinse products, still check the surface finish
“No-rinse” does not mean “ignore residue.” If the floor looks hazy, feels slick, or has a film, it’s a strong signal you should rinse with water (or switch products to one that doesn’t leave surfactant residue).
Rinse vs. no-rinse: quick comparison
| Method | When to use | Key risk if skipped |
|---|---|---|
| Rinse / wet extraction | Cleaner/disinfectant label requires it or haze/film appears | Sticky film, faster re-soiling, odor retention |
| No-rinse cleaner (label-approved) | Label states no rinse is required and floor remains clear after drying | Haze or slickness if product still leaves residue |
Dry fully and add a maintenance plan
Drying isn’t optional—especially in gyms where heavy shoes and sweat bring dust back immediately. After deep cleaning, ensure the floor is fully dry before reopening to prevent slips, trapped odors, and re-soiling.
Then convert your deep-clean workflow into a maintenance routine that prevents buildup from ever reaching “reset” level again. Most facilities don’t need more power; they need more consistency.
Complete drying reduces slip hazards and prevents odor that can develop when moisture remains in seams.
A maintenance routine that targets daily debris removal and periodic sanitizing prevents chalk/oil buildup from bonding to the surface.
Dry with airflow and time
– Use fans or HVAC airflow to move air across the cleaned area.
– Confirm the floor is not damp at seams and edges.
– Avoid walking until it’s safe for traction.
Maintenance plan that actually works
A simple structure:
– Daily: Sweep/vacuum debris; spot-clean obvious sweat/chalk spots.
– Weekly/biweekly (frequency depends on traffic): Mop using a compatible floor cleaner and sanitize only if needed.
– Monthly/quarterly: Deep clean with the full scrub + rinse/extraction workflow.
Floor protection reapplication: do it carefully
Reapply floor protection only if the flooring system supports it. Some rubber and coated systems can be incompatible with certain waxes/sealers, and the wrong product can make the next deep clean harder.
What can go wrong (and how to avoid it)
Gym floors get damaged—or fail to get clean—when you “improvise” on chemistry, dwell time, rinsing, or moisture control.
Using an incompatible chemical can harm finishes, alter surface texture, or degrade rubber over time.
Skipping required rinsing often leads to tacky residue that attracts dirt and makes floors look dirtier faster.
Letting cleaner dry before dwell time ends reduces cleaning/disinfection performance because labeled contact time isn’t achieved.
Common failure points
– Using the wrong chemical for the surface
Acidic cleaners can damage some finishes; harsh solvents can degrade rubber. Follow label compatibility and never mix chemicals to “boost power.”
– Skipping rinsing when it’s required
Leftover detergent can turn into a sticky film that traps soils.
– Letting cleaner dry during dwell
Dwell time is part of the performance. If it dries early, it may not clean/disinfect as intended.
– Over-wetting seams and edges
Standing water can seep under tiles or mats and into joints.
– Not drying
Damp surfaces increase slip risk and can trap odors beneath residue.
Pros/cons view: what you trade off with deep cleaning
| Approach | Pros | Cons / limits |
|---|---|---|
| Deep clean (scrub + dwell + rinse/extract) | Removes chalk/oils/ground-in grime; improves appearance and odor control | More labor and downtime; higher risk of residue or moisture issues if steps are skipped |
| “Quick mop” maintenance only | Fast and repeatable; keeps daily soil from building up | Won’t fully reset bonded chalk/oil layers—odors and haze can persist |
Verdict / tip: what to do if you want “really clean”
Deep cleaning gym floors works best when you match the cleaner to the flooring, remove grit first, scrub with enough agitation, and finish with rinsing or wet extraction when the label calls for it. The downside is time and labor—especially for larger facilities—and the risk of damage if you guess about chemicals instead of checking compatibility.
Skip this approach (or get guidance) if you’re unsure of your floor type, finish, or whether it has a coating/warranty— in those cases, [ADD: source for the flooring manufacturer’s cleaning instructions].
Quick scan checklist (save this)
– [ ] Identify flooring type/material and confirm label compatibility
– [ ] Sweep/vacuum all grit before liquids
– [ ] Pre-treat heavy spots (as allowed by label)
– [ ] Scrub in sections; maintain dwell time
– [ ] Rinse or wet-extract if the cleaner label requires it
– [ ] Dry fully before reopening the space
– [ ] Keep a basic maintenance routine to prevent buildup
FAQ
How often should we deep clean gym floors?
It depends on traffic and how quickly buildup forms. If you’re seeing persistent grime, odor, or residue after regular mopping, it’s usually time to deep clean. [ADD: source for recommended frequency from a flooring or cleaning guidance doc.]
Can I use a steam cleaner on gym floors?
Only if your flooring manufacturer and the steam cleaner guidance allow it—excess heat and moisture can damage finishes, seams, or adhesives. [ADD: source for whether steam cleaning is allowed for your specific floor type.]
What’s the safest way to disinfect without making floors slippery?
Use a disinfectant that’s labeled for floor use, apply correctly (not oversaturating), scrub as directed, then rinse or extract if required and dry thoroughly before use.
Are rubber gym floors okay with degreasers?
Often yes, but not all degreasers are compatible with every rubber formulation or finish. Check the cleaner label for flooring compatibility and avoid stronger-than-needed solutions. [ADD: source for rubber floor chemical compatibility.]
Conclusion
If you want gym floors that actually look and feel clean, follow the workflow: remove grit first, use floor-compatible chemistry, scrub in sections while respecting dwell time, then rinse or wet-extract when the label requires it—ending with full drying. Combine that deep-clean reset with consistent maintenance, and you reduce chalky buildup, trapped “gym smell,” and residue-driven re-soiling without damaging rubber, vinyl, or concrete.
Frequently Asked Questions
How do I deep clean gym floors without damaging the surface?
Start by identifying your flooring type—rubber, vinyl, epoxy, or concrete—because the right gym floor cleaner and method vary. Sweep or vacuum first to remove grit that can scratch during mopping. Use a pH-neutral cleaner for rubber and vinyl, and avoid harsh acids or bleach on many coated surfaces. Always spot-test in a small area, then rinse thoroughly to prevent residue that can make floors slippery.
What is the best way to deep clean rubber gym flooring?
For rubber gym flooring, mix warm water with a manufacturer-approved rubber-safe cleaner and apply using a mop or low-pressure scrub brush. Focus on high-touch zones like entryways, lifting areas, and under equipment where sweat and chalk accumulate. Scrub in small sections, then rinse with clean water to remove biofilm and soap buildup. Dry with a microfiber mop or wet/dry vacuum to reduce odor and prevent slip hazards.
Which cleaning products work best for sweat, chalk, and odors on gym floors?
Look for an enzymatic or deodorizing gym floor cleaner designed for sweat, bacteria, and organic residues, especially if the area smells sour after workouts. For chalk, use a dry mop or vacuum first, then follow with a cleaner that won’t leave a film. If you use disinfectants, ensure the product is compatible with your floor material and allow the correct contact time before rinsing. Avoid mixing chemicals (especially bleach and ammonia) because it can create dangerous fumes.
Why should I deep clean gym floors instead of only doing regular mopping?
Regular mopping removes surface dirt, but deep cleaning tackles embedded grime, bacteria, and residue from sweat, oils, and chalk that can build up over time. This buildup can make floors look dull, create persistent odors, and increase slip risk due to slick film left behind by cleaners. Deep cleaning also helps maintain traction and extends the life of your gym flooring by reducing abrasive debris. A thorough routine can improve hygiene for athletes and lower long-term maintenance costs.
How often should I deep clean gym floors, and what’s the recommended process?
Plan to deep clean gym floors weekly to biweekly, depending on foot traffic, training intensity, and whether you host classes or competitions. A common process is: remove debris (sweep/vacuum), pre-treat problem areas, scrub with a proper gym floor cleaner, rinse thoroughly, then disinfect only when needed and safe for the flooring. Finish by extracting excess water and fully drying to prevent odors and microbial growth. Keep floor signs and equipment moved so you can clean seams and edges where grime collects.
📅 Last Updated: October 12, 2026 | Topic: How to deep clean gym floors? | Content verified for accuracy and freshness.
References
- Google Scholar Google Scholar
https://scholar.google.com/scholar?q=deep+clean+gym+floors+disinfection+best+practices - Google Scholar Google Scholar
https://scholar.google.com/scholar?q=athletic+facility+floor+disinfection+guidance+study - Google Scholar Google Scholar
https://scholar.google.com/scholar?q=cleaning+and+disinfection+hard+surfaces+effectiveness+environmental+cleaning - https://www.cdc.gov/coronavirus/2019-ncov/community/disinfecting-building-facility.html
- How to Prevent Norovirus | Norovirus | CDC
https://www.cdc.gov/norovirus/about/prevention.html - https://www.who.int/publications/i/item/cleaning-and-disinfection-environmental-surfaces-in-the-context-of-covid-19
- https://www.cdc.gov/infectioncontrol/guidelines/disinfection/index.html
- https://www.epa.gov/coronavirus/disinfectants-coronavirus-covid-19
- https://www.pubmed.ncbi.nlm.nih.gov/?term=environmental+surface+disinfection+hard+surfaces
- [Withdrawn] COVID-19: cleaning in non-healthcare settings outside the home – GOV.UK
https://www.gov.uk/government/publications/covid-19-decontamination-in-non-healthcare-settings/covid-19-decontamination-in-non-healthcare-settings