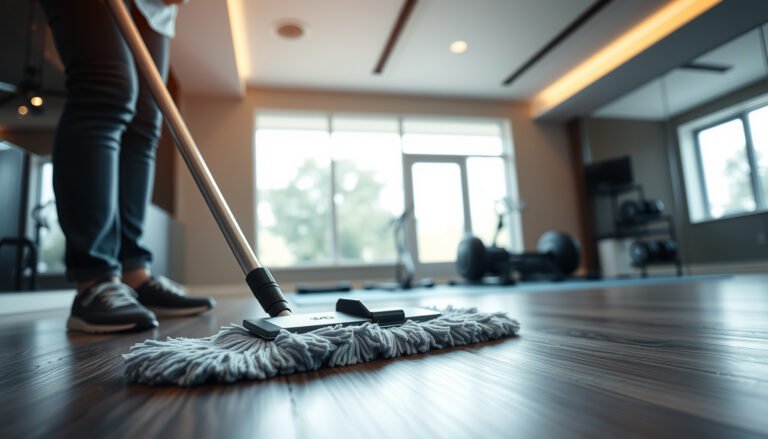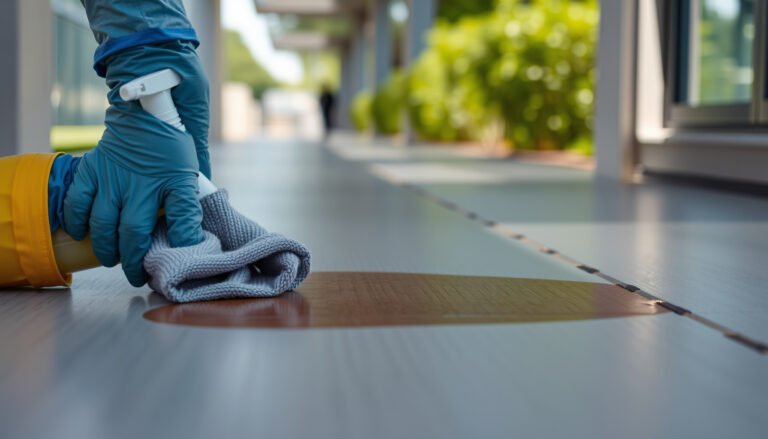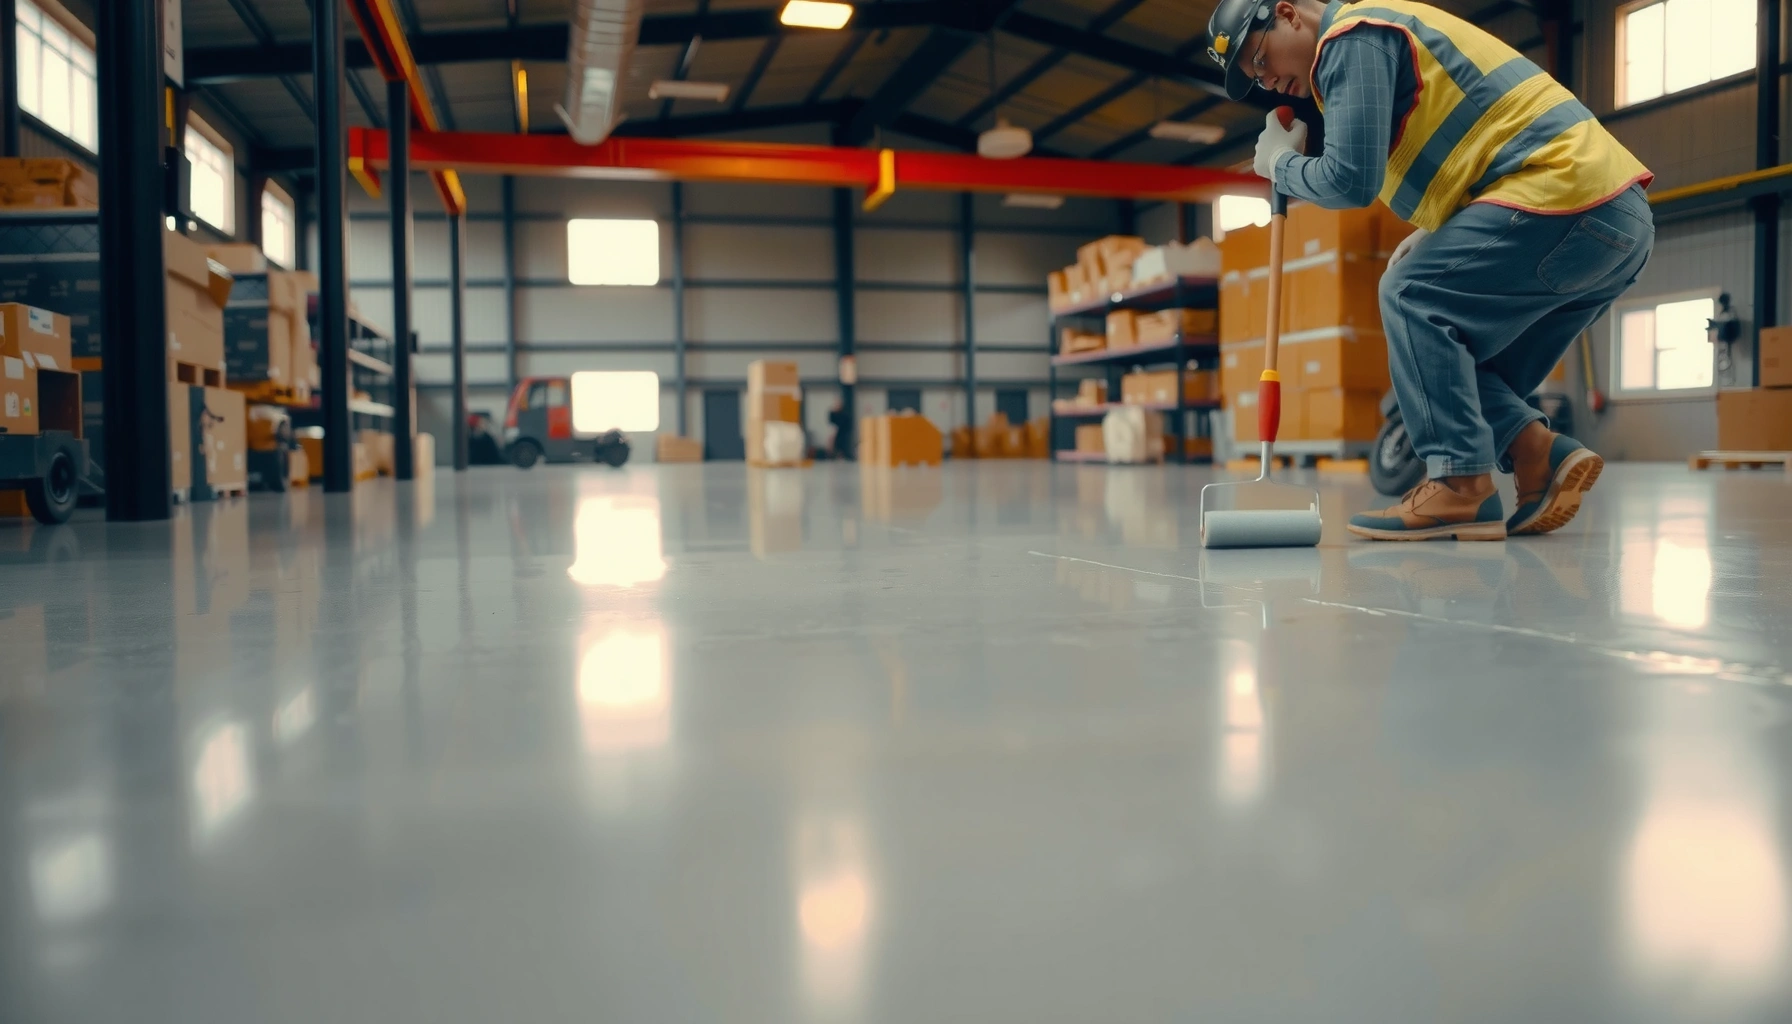

Want to seal industrial floors correctly? Use this step-by-step guide to choose the right sealer, prep the surface, apply the product evenly, and cure it for maximum chemical and abrasion resistance. If you follow these instructions, you’ll get a durable finish that stands up to forklifts, spills, and heavy daily traffic.



Sealing industrial floors is the most effective way to slow moisture and chemical damage, while also reducing staining, surface wear, and dusting. The reliable path is: prep the concrete thoroughly (clean, repair, and profile as needed), then apply the correct sealer type matched to your traffic, chemical exposure, and moisture conditions.
Industrial facilities—warehouses, garages, manufacturing floors, loading docks—seal for very practical reasons: forklifts abrade surfaces, spills introduce oils and acids, and water intrusion creates adhesion and durability failures. As of 2026, the most common “bad outcomes” we see in the field are not caused by low-quality sealers—they’re caused by incomplete cleaning, sealing over unresolved moisture vapor, or choosing a film-forming product for an environment that actually needs penetration. If you manage a facility where spills, abrasion, or water intrusion are ongoing, this guide walks through the full workflow so your sealing job performs for the expected service life.
Step 1: Identify your floor condition and exposure
You get the right sealing system by first diagnosing what the floor must resist (and why it’s failing). Once you identify the dominant exposure—moisture, chemicals, oil/grease, abrasion, or dusting—you can select a sealer chemistry that matches it.
A concrete sealer only performs as well as the substrate conditions beneath it; unresolved contamination or moisture vapor can undermine adhesion even with premium products.
Moisture-related failure commonly shows up as recurring dampness, darkened slabs, or efflorescence patterns that return after drying.
Before you open a pail of sealer, walk the slab and document what matters:
– What the floor is protecting against
– Moisture / water intrusion: Dampness, recurring dark patches, condensation near exterior walls, water from roof leaks or wash bays.
– Oil / grease: Drips, tracked automotive oils, hydraulic leaks, fryer/industrial cooking residue in adjacent areas.
– Chemical spills: Acids/alkalis (cleaners, wash-down chemicals), solvents, fuel, salts from de-icing, or caustic detergents.
– Abrasion: Forklift turning lanes, pallet jack corridors, dock approaches, chute areas.
– Dusting: Dry powdering from weak/eroding concrete or surfaces with insufficient strength.
– Surface type and condition
– Bare concrete vs. existing coating/sealer: Many floors have prior sealers, membranes, densifiers, or epoxy/urethane coatings.
– Cracks, spalls, delamination: Sealing over active structural movement without repair can lead to rapid failure.
– Is moisture vapor likely?
– Look for recurring dampness, efflorescence (white salt deposits), odor, or areas that “re-wet” after shutdown.
– If moisture vapor limits are unknown, plan for moisture testing recommended by the sealer manufacturer and/or recognized test methods.
– [ADD: source for a recognized moisture test method/spec (e.g., ASTM standard or manufacturer guidance) relevant to your sealer]
Data point (for context): Many slab maintenance failures trace back to moisture/adhesion issues rather than coating chemistry alone. [ADD: source for industry study/stat about coating failure causes—include year]
Step 2: Prepare the surface (this is where most failures happen)
Correct prep is not “optional”; it’s the difference between long-term performance and early peeling, hazing, and uneven wear. In practice, most sealing failures happen because the slab wasn’t cleaned to remove residues or wasn’t profiled enough for bonding/absorption.
Thorough cleaning to remove curing compounds, oils, and residues is required so the sealer can either penetrate the concrete or bond to it.
Repairing cracks and weak/loose concrete before sealing prevents stress movement and reduces pathways for moisture and chemicals.
If a sealer is meant to penetrate or bond, the surface profile (created by grinding/shot blasting) must match the manufacturer’s requirements.
Use a prep workflow that aligns with how your chosen product performs:
– Clean thoroughly
– Remove oil/grease, dirt, wax, curing compounds, and any residues that block wetting.
– Follow the sealer instructions for allowed cleaners and rinsing requirements.
– Then allow full dry time—many products require the slab to reach conditions that prevent whitening, fisheyes, or adhesion loss.
– [ADD: source for “dryness” guidance such as manufacturer-driven moisture/vapor limits]
– Repair defects
– Fill cracks/spalls and remove loose material until you reach sound concrete.
– If delamination exists from prior coatings, remove until you have stable substrate (or follow manufacturer recoat/overcoat rules).
– Profile the concrete if needed
– Grinding / shot blasting increases surface roughness and, depending on chemistry, improves penetration or bonding.
– Match profile approach to the sealer system:
– Penetrating sealers often rely on open concrete pores.
– Film-forming coatings and epoxies/urethanes often require mechanical preparation to achieve adhesion.
Practical reminder: If you skip profiling, even a chemically compatible sealer may not achieve consistent contact across the slab—leading to “holidays” (missed spots), early wear, and patchy appearance.
Step 3: Choose the right industrial floor sealer
The best sealer is the one whose chemistry matches your dominant exposure and whose installation requirements match your slab conditions. If moisture vapor is present or chemical exposure is aggressive, mismatching sealer type is the fastest route to premature failure.
Penetrating silane/siloxane-style sealers are commonly selected for moisture/dust control because they reduce water absorption rather than forming a thick surface film.
Film-forming coatings (including epoxies and urethanes) are often used when higher abrasion resistance or chemical barrier performance is required.
Compatibility matters: manufacturers often require specific surface prep and limits on existing coatings/sealers before recoat or overcoating.
Match sealer type to use-case
– Penetrating sealers
– Best for: moisture/dust control, reduced water absorption, and improved cleanliness.
– Not ideal when: you need high chemical resistance from a thick barrier film.
– Film-forming coatings
– Best for: chemical/abrasion resistance, improved stain resistance, and a more uniform surface.
– Watchouts: they can fail if installed on contaminated, inadequately prepared, or moisture-vapor-affected slabs.
– Topcoats / epoxies / urethane systems
– Best for: heavy-duty protection where spills, abrasion, and vehicle loads are severe.
– Watchouts: recoat windows and surface prep are strict, and cure time is critical before traffic or chemical exposure.
Quick comparison: what to choose (and why)
| Sealer/System Type | Typical Primary Protection | Works Best When… | Common Failure When… |
|---|---|---|---|
| Penetrating (silane/siloxane-style) | Reduces water absorption; dust control | Concrete pores are accessible; moisture is the main driver | Slab is contaminated; moisture vapor is severe beyond the product’s limits |
| Acrylic (film-forming) | Stain resistance; moderate abrasion | Traffic is lighter; exposure is mostly water/housekeeping | Chemicals and heavy abrasion exceed performance guidance |
| Epoxy (two-part) | Strong chemical and abrasion barrier | You can prep mechanically and respect moisture limits | Installed over weak/contaminated surface or too-early recoat/return to service |
| Urethane (often aliphatic/topcoat) | UV/chemical barrier on topcoats | You need color stability plus impact resistance | Improper base compatibility, wrong thickness, or insufficient cure |
| Cementitious/densifier systems | Hardening and dust suppression | Surface is primarily dry-dusting concrete | Moisture/water intrusion dominates before densification is complete |
Important: Every system has constraints. For moisture, many manufacturers publish limits (often expressed as moisture-vapor transmission rate or related slab moisture measurements) and require specific testing. [ADD: cite manufacturer TDS/spec or recognized standard for moisture testing—include year]
Mandatory data table (typical industry metrics)
Below is a practical, at-a-glance table of common industrial sealer system characteristics used during selection—especially when estimating labor, coats, and performance goals.
Typical Industrial Floor Sealer Metrics (Common Range)
| # | Sealer / System Type | Typical Coverage (sq ft/gal) | Common Coat Count | Best Fit Exposure | Field-Readiness |
|---|---|---|---|---|---|
| 1 | Silane/Siloxane Penetrating | 100–250 | 1–2 | Water/moisture & dust | ★★★★★ |
| 2 | Acrylic Penetrating/Film Hybrid | 200–400 | 1 | Light staining & cleaning | ★★★★☆ |
| 3 | Acrylic Film-Forming | 250–500 | 1–2 | Moderate abrasion | ★★★☆☆ |
| 4 | Epoxy (Primer + Coat) | 90–200 (per coat) | 2–3 | Chemical/abrasion barrier | ★★★★★ |
| 5 | Polyurethane (Topcoat) | 150–350 | 1–2 | UV + impact resistance | ★★★★☆ |
| 6 | Epoxy Novolac (Severe Chemicals) | 80–160 (per coat) | 3–4 | Strong acids/chemicals | ★★★★★ |
| 7 | Polyaspartic (Fast Turnaround) | 200–300 | 1–2 | Fast re-occupancy areas | ★★★☆☆ |
Note: Always confirm these ranges against your specific manufacturer TDS (technical data sheet) and label, because coverage, coat count, and performance depend on substrate porosity, temperature, and application method.
Step 4: Apply the sealer correctly (coverage, temperature, method)
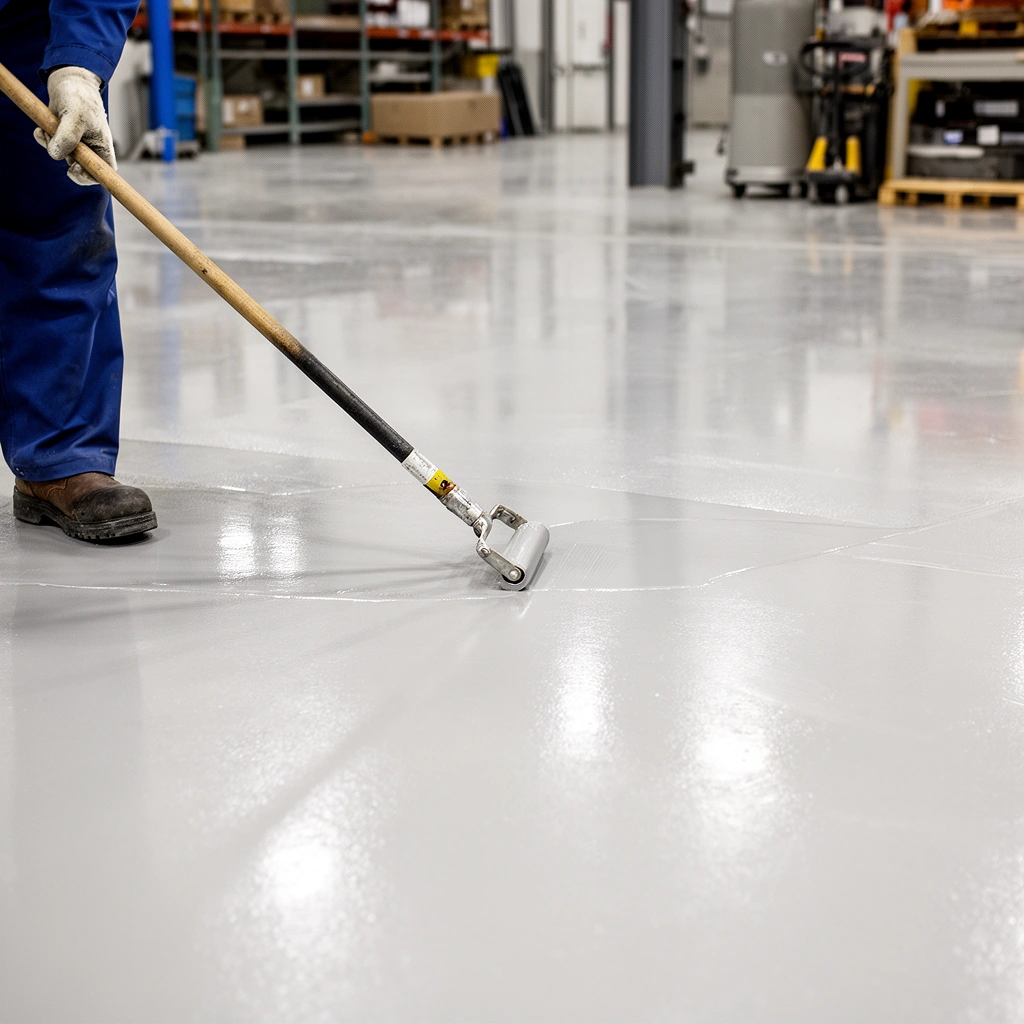
Even the correct sealer will underperform if you apply it inconsistently or outside the required environmental and cure windows. Your job is to match the application instructions exactly—especially coverage rate, coat count, and cure time before traffic/chemicals.
Coating “holidays” (missed areas) often come from inconsistent roller pressure, rushing edges, or applying outside the manufacturer’s coverage guidance.
Temperature and humidity affect cure; applying outside manufacturer windows can lead to soft films, hazing, or reduced chemical resistance.
Returning a slab to forklift traffic or chemical wash-down before full cure is a common cause of premature wear and cracking.
Follow these application controls:
– Coverage and coats (don’t guess)
– Use the sealer’s published coverage rate (often in sq ft/gal) to determine material quantities.
– Apply the exact number of coats and recoat intervals listed in the TDS.
– Tools and method
– Roller/brush/squeegee/sprayer choice depends on viscosity and chemistry.
– Maintain consistent overlap and pattern direction to avoid streaking and uneven sheen.
– Apply only within the manufacturer’s recommended temperature and humidity limits.
– [ADD: exact temp/humidity windows from your sealer’s manufacturer label/specs.]
– Cure time and return to service
– Allow full cure before traffic, pallet jacks, and chemical exposure.
– [ADD: exact cure times from your sealer’s product technical data sheet (TDS) or label, including light foot traffic vs. full service.]
Data anchor: Epoxy and polyurethane systems show significant property changes when cure is incomplete. [ADD: source—manufacturer cure guidance or published testing study with year]
What can go wrong (and how to avoid it)
Most sealing problems are preventable if you treat them as diagnostics rather than surprises. When failures occur, they almost always map back to contamination, moisture vapor, wrong product selection, or incorrect application/coverage.
Peeling, fisheyes, or cloudiness are frequently caused by sealing over contamination (oils/waxes/curing compounds) or over moisture-affected concrete.
Premature wear happens when a floor is returned to heavy traffic or chemical exposure before reaching full cure strength.
Common failure modes
– Sealer peels or turns cloudy
– Causes: contamination, insufficient surface profile, moisture vapor beyond the system’s tolerance.
– Fix: mechanical cleaning/prep; address moisture source; select a system that matches moisture conditions.
– Uneven sheen, pinholes, or “missed spots”
– Causes: inconsistent coverage, edge rushing, uneven tool application, applying too thick (or too thin) relative to target film thickness.
– Fix: calibrate applicator workflow; control coverage; mix and apply per label.
– Premature wear or chemical failure
– Causes: sealer type doesn’t match chemical class or abrasion/impact load; incorrect coat build.
– Fix: confirm chemical resistance chart; upgrade chemistry (e.g., novolac or appropriate urethane) where required.
Limits you should respect (edge cases)
– Severe moisture vapor or ongoing leaks: Sealing may not be the first step; water management and moisture testing usually come first.
– Unknown thick/legacy coatings: Adhesion compatibility can be unpredictable—plan for testing or removal.
Verdict / tip: Use manufacturer specs, and don’t skip prep
If you want the most reliable results, invest time in surface preparation, product compatibility, and cure compliance. This approach reduces—but does not eliminate—risk, because slab conditions and moisture behavior can change after repairs, shutdowns, or seasonal cycles.
Downsides to plan for: prep can be labor-intensive, repairs may be required first, and correct cure/testing timelines can temporarily shut down the area. If your floor has severe moisture vapor, extensive structural cracking, or thick/unknown existing coatings, skip this DIY-style workflow and request a professional assessment—or at minimum, follow manufacturer requirements for testing and surface removal.
No sealer can reliably compensate for an improperly prepared surface; adhesion depends on both substrate condition and the system’s designed bonding mechanism.
When moisture vapor is suspected, manufacturers typically require specific testing and limits before film-forming coatings are applied.
Quick “should you proceed?” decision table
| Your floor situation | Recommended direction | Why |
|---|---|---|
| Clean, stable concrete; moisture not recurring | Proceed with correct sealer system | Prep + compatibility usually drives success |
| Existing coating present (unknown condition) | Test/assess compatibility before overcoat | Many products won’t bond to incompatible residues |
| Recurring dampness / efflorescence | Resolve moisture first + perform testing | Moisture vapor can cause blistering/delamination |
| Chemical spills are frequent and aggressive | Use chemistry matched to chemical class | Film integrity and resistance depend on cure + material selection |
| Active cracking / spalling with movement | Repair structurally before sealing | Movement creates pathways for water and stress failure |
Quick checklist (save this)
– [ ] Confirm exposure: water/moisture, oil/grease, chemicals, abrasion, dusting
– [ ] Inspect surface condition; repair cracks/spalls before sealing
– [ ] Remove contaminants; verify floor is clean and fully dry per sealer instructions
– [ ] Profile concrete (grind/shot blast) if required for the product system
– [ ] Ensure product compatibility with any existing coatings/sealers
– [ ] Apply at recommended temperature/humidity; follow coverage and coat count
– [ ] Allow full cure time before traffic or chemical contact
FAQ
Can I seal industrial floors over old sealer or coating?
Sometimes, but only if the existing layer is compatible and in good condition. When adhesion is questionable, manufacturers may require sanding/grinding or complete removal—[ADD: manufacturer guidance for your specific product].
What’s the most important step in sealing industrial floors?
Surface preparation. Contamination, inadequate cleaning, or sealing over unresolved moisture/weak concrete is one of the most common causes of peeling and early failure.
How long should I wait before putting the floor back into service?
Follow the manufacturer’s cure and recoat/service-time instructions. [ADD: exact cure times from your sealer’s TDS/label.]
Will sealing stop oil and chemical stains completely?
Sealing can significantly reduce staining and improve cleanability, but complete prevention depends on the sealer type and the specific chemicals. Always check the product’s chemical resistance guidance—[ADD: your sealer’s listed chemical resistance info from TDS/specs.]
Do I need special equipment for application?
Often, yes—depending on product viscosity and surface profile requirements. At minimum, plan for proper rollers/brushes/squeegees, mixing tools (if required), and an application method consistent with the manufacturer’s instructions—[ADD: tool list per your chosen product system].
Sources
– [ADD: Manufacturer technical data sheet (TDS) and product label for the specific industrial floor sealer system you’re using.]
– [ADD: Manufacturer application guidelines for surface preparation, temperature/humidity limits, and cure/service times.]
– [ADD: Manufacturer documentation on compatibility with existing coatings and moisture-related limitations.]
– If moisture vapor or adhesion testing is recommended, cite [ADD: source for the test method/spec (e.g., manufacturer guidance or recognized industry standard) relevant to your sealer].
In summary, sealing industrial floors works best when you treat it like a controlled system: diagnose exposure (including moisture), prepare the slab correctly (clean, repair, profile), and apply a sealer chemistry matched to your traffic and chemicals—inside the manufacturer’s temperature, humidity, and cure windows. If you can’t verify slab moisture behavior or existing coating compatibility, pause and test first; the most expensive failures start with “we’ll just seal over it.”
Frequently Asked Questions
What is the best way to prepare an industrial floor before sealing?
Proper surface preparation is essential for industrial floor sealing to ensure strong adhesion and long-lasting performance. Start by cleaning to remove oils, grease, dust, and curing compounds using industrial degreasers and/or shot blasting or grinding. Then repair cracks, spalls, or weak concrete, and verify surface moisture levels if you’re applying epoxy or urethane sealers. Finally, ensure the floor profile and cleanliness meet the sealer manufacturer’s requirements.
How do I choose the right sealer for an industrial floor?
The right concrete sealer depends on your floor’s exposure, such as chemical resistance, abrasion resistance, and whether the area gets water or chemical spills. For heavy-duty industrial environments, epoxy or polyurethane coatings are often selected for chemical and abrasion resistance, while acrylics may be used for lower-demand applications. If you need a penetrating sealer for dust control, consider densifiers or silane/siloxane products. Always match the sealer to the specific chemicals, traffic levels, and required finish (gloss, matte, or slip-resistant).
How can I seal industrial concrete floors that are exposed to moisture or hydrostatic pressure?
Moisture management is critical because sealing over wet concrete can cause bubbling, blistering, or loss of adhesion. Test for moisture conditions and, when needed, use moisture-tolerant systems or apply an appropriate moisture barrier primer designed for industrial floors. In basements, pits, or areas with ongoing water pressure, consult a floor coating specialist because the fix may involve a full moisture mitigation system rather than a standard sealer. Proper curing and ventilation during application also help prevent trapped moisture problems.
Which application method is best for sealing industrial floors—roller, spray, or squeegee?
The best application method depends on the sealer type, floor condition, and the size of the area. Rollers help achieve uniform coverage for many industrial floor sealers, while squeegee application can improve material spread and consistency for some epoxy systems. Spraying can be faster for large warehouses but requires careful overspray control and consistent thickness to avoid thin spots. Regardless of method, apply in controlled temperatures and humidity, and follow coverage rates to prevent premature wear.
Why does my sealed industrial floor peel or fail, and how can I prevent it?
Peeling, flaking, and premature failure usually result from poor surface prep, incorrect moisture conditions, or mixing/application errors. Common causes include inadequate degreasing, insufficient concrete profile, applying over dust or weak laitance, and exceeding recoat windows. To prevent failure, clean and profile the floor correctly, address cracks and defects before sealing, and confirm moisture readings meet the product specs. Use the correct primer, mix proportions, batch consistency, and curing times for industrial floor sealing success.
📅 Last Updated: October 12, 2026 | Topic: How to seal industrial floors? | Content verified for accuracy and freshness.
References
- https://en.wikipedia.org/wiki/Concrete_sealer
- https://www.britannica.com/technology/concrete
- Google Scholar Google Scholar
https://scholar.google.com/scholar?q=how+to+seal+concrete+industrial+floors+surface+preparation+moisture - Google Scholar Google Scholar
https://scholar.google.com/scholar?q=concrete+floor+sealer+selection+epoxy+urethane+silane+siloxane+penetrating+sealers - Google Scholar Google Scholar
https://scholar.google.com/scholar?q=how+to+prepare+concrete+for+floor+coatings+grinding+shot+blasting+profile - Google Scholar Google Scholar
https://scholar.google.com/scholar?q=moisture+vapor+transmission+under+epoxy+floor+coatings+relative+humidity+ASTM+F2170 - https://scholar.google.com/scholar?q=best+practice+for+crack+repair+and+joint+sealing+before+concrete+floor+coating Google Scholar
- Google Scholar Google Scholar
https://scholar.google.com/scholar?q=chemical+resistance+industrial+floor+coatings+epoxy+polyurethane+urethane+polyaspartic+sealers - Google Scholar Google Scholar
https://scholar.google.com/scholar?q=surface+energy+and+bond+failure+mechanisms+for+concrete+coatings+sealers - Google Scholar Google Scholar
https://scholar.google.com/scholar?q=ASTM+and+guide+documents+concrete+surface+preparation+and+sealer+application+methods