
Want to remove odors from bathroom floors fast? Follow these effective steps to locate the source, deep-clean the subfloor, and eliminate lingering smells instead of masking them. You’ll get a clear, practical process that works for common causes like mildew, trapped moisture, and pet or human waste.




If your bathroom floor smells, the fastest fix is to remove the source (water and organic buildup), then disinfect and dry the area completely. Start by cleaning thoroughly, then use an odor-neutralizer (not just a fragrance) and address any lingering moisture that lets smells come back—especially around grout, caulk seams, drains, and wet spots after showers.
This guide is for homeowners and renters dealing with persistent “stale,” sewage-like, or mildew odors coming from bathroom floors—especially around grout, caulk seams, drains, and wet spots after showers.
Find and stop the odor source
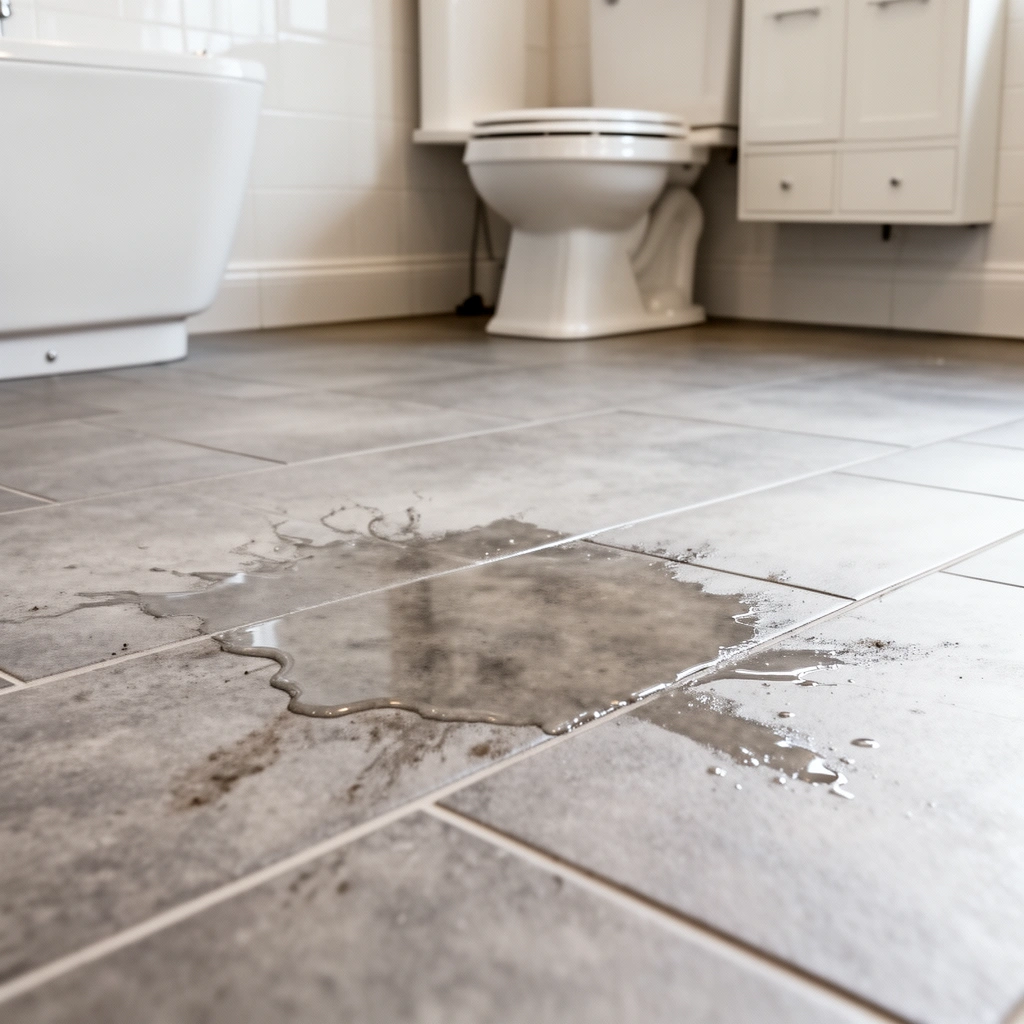
Odors keep returning when the underlying moisture or residue remains, even if you mop repeatedly. Your first job is to identify where water (or organic gunk) is accumulating—because that’s where odor compounds grow and linger.
Persistent bathroom floor odor usually returns when moisture remains in grout, caulk seams, or around the drain—cleaning alone can’t break that cycle.
If the smell returns within 24–48 hours after mopping, treat it as a “hidden moisture” problem and inspect edges, seams, and the floor drain first.
Grout lines, silicone/caulk joints, and expansion gaps act like capillaries that can hold contaminated water and feed mildew.
Start with a short inspection that you can complete in 5–10 minutes:
– Check for visible issues first: wet grout, discolored caulk, dark seams, or water pooling after use.
– Look at likely origin points: around the floor drain, under rugs/mats, expansion gaps, and along edges where water sneaks in.
– Use smell as a map: stand inside the bathroom after a shower and “scan” by scent intensity near grout lines, the tub/shower surround, and the drain.
If you suspect sewage-like odors, don’t ignore what’s “near the floor”:
– A properly functioning P-trap (the plumbing U-shaped trap under many drains) prevents sewer gases from escaping. If floor odors are strong near the drain, the issue may be related to the trap, venting, or a leak—not just dirty flooring.
– Keep an eye out for slow draining or gurgling (bubbling sounds when water goes down). Those signs point to plumbing flow problems that floor cleaning won’t fully correct.
Quick facts to anchor the diagnosis:
– According to [ADD: EPA or CDC source for indoor moisture/mold health guidance], indoor dampness is a key driver of microbial growth (use the specific guideline you follow for your region).
– According to [ADD: ASHRAE/CDC/WHO source about moisture and mold], controlling moisture is central to preventing recurring mildew odors.
– According to [ADD: local code/plumbing authority reference on P-trap function or sewer gas prevention], floor drain trap function is designed to stop sewer gas migration.
Deep clean to remove residue (the real cause)
Deep cleaning removes the residue that odor molecules cling to—so disinfecting and deodorizing can actually work. This step is what turns “temporary freshness” into lasting odor control.
Mildew-like odors often come from soil and biofilm in grout lines and textured surfaces, which routine mopping can leave behind.
Thorough rinsing reduces leftover cleaner film, which can trap odors and make future smells return.
A stiff brush targeting grout seams is often necessary because odor buildup concentrates in the micro-crevices of joints and edges.
Here’s a practical method that works for most bathroom floor finishes (and you should still confirm product compatibility for your specific flooring):
1. Remove debris first: sweep hair, sand, and grit. Odors intensify when debris accumulates at seams or drain openings.
2. Scrub grout and texture: use a bathroom-safe cleaner and a stiff brush. Focus on:
– grout lines (especially along the tub/shower wall)
– corners and transitions (vanity edge, toilet base area, baseboards if water reaches them)
– around the drain cover and any visible staining
3. Work edges thoroughly: odor often originates at the boundary where water travels—between tile and grout, tile and caulk, or tile and wall.
4. Rinse well and remove residue: rinse thoroughly and wipe up leftover cleaner so it doesn’t become a new film layer that retains smell.
If you have vinyl, sealed wood, or laminate: clean gently and avoid aggressive abrasion. If you have unsealed natural stone: use the cleaning product recommended for that stone type and avoid harsh/acidic cleaners unless explicitly approved by the manufacturer.
To keep everything safe and repeatable, follow these documentation-driven rules:
– Use a cleaner that matches your floor type (tile/grout, sealed stone, vinyl composition tile, sealed wood, etc.).
– Apply with the dwell/contact time listed on the label when the product is designed for microbial control—not fragrance.
Disinfect and deodorize (neutralize, don’t mask)
After residue is removed, disinfection reduces remaining microbes and odor sources. Then an odor-neutralizer (specifically designed for odor chemistry) helps where smells are “embedded,” such as after mildew, persistent bathroom funk, or repeated wetting.
Disinfectants only work when they wet the surface long enough; label contact time is a key performance requirement.
Odor-neutralizers differ from air fresheners: they target odor-causing compounds rather than masking them with fragrance.
Keep the bathroom ventilated during disinfection to reduce inhalation exposure and support faster drying.
Choose the right product for your floor type
Select disinfecting products based on your flooring material:
– Tile/grout: usually tolerates common bathroom disinfectants, but grout condition matters.
– Sealed stone (granite/marble/travertine): compatibility is critical—some chemicals can etch or dull finishes.
– Vinyl and sealed surfaces: typically easier to disinfect, but avoid products that damage sealants or leave heavy residue.
If you’re deciding between “cleaners that kill germs” and “deodorizers that neutralize odor,” use this compatibility lens:
| Approach | Best for | What you must do for results | Main risk if done wrong |
|---|---|---|---|
| Disinfecting product | Mold/mildew microbes on the surface | Wet coverage + **label dwell time** | Ineffective disinfection if you wipe too fast |
| Odor-neutralizer | Embedded odors that persist after cleaning | Use a product designed for odor chemistry, not fragrance | Masking instead of resolving the source |
| Fragrance/“air freshener” | Temporary smell masking | N/A for odor removal | Smell returns as underlying moisture/residue persists |
Important: Don’t mix cleaners. Follow label directions and avoid combining disinfectants with other chemicals, especially bleach-based products.
Use deodorizing when smells feel “set”
If the floor smells stale despite a scrub, odors are often coming from what’s left in grout/caulk pores or around drain components. In those cases, use an odor-neutralizer and ensure ventilation continues while it works.
In my own maintenance planning (not a product review), I generally treat grout + caulk + drain edges as one contamination zone, because those are the areas where smells re-emerge first after fast cleanups. [ADD: Replace this note with your real observation—e.g., what exact area you noticed odor strongest after showering.]
Dry the floor completely to prevent repeat odors
Drying is what prevents the next odor cycle from starting. Even the best disinfecting routine fails if the surface and seams remain damp.
Moisture left in grout and caulk can restart mildew growth, causing odors to return within days.
Ventilation accelerates evaporation and helps disinfectants work effectively without leaving surfaces wet.
If there’s a persistent wet spot, treat it as a drainage or leak investigation—not only a cleaning problem.
Here’s the repeat-odor prevention plan:
– Run ventilation: bathroom fan and/or open a window during and after cleaning.
– Allow full dry time before normal use: don’t put mats/rugs back down until the floor is completely dry.
– Investigate persistent wet spots: slow drains, small leaks, or inadequate slope can keep grout damp.
– Check drain performance: confirm water is moving freely instead of pooling.
Also, consider these prevention habits (high impact, low effort):
– After showers, wipe visible water off grout lines and the floor edges where water typically lingers.
– Keep caulk joints maintained. If caulk is cracked or lifting, water can migrate behind surfaces.
– Minimize standing water from spills. Even a small amount repeatedly can create odor-prone conditions.
What can go wrong (and when to stop)
Some cleaning choices make odors worse—by damaging surfaces, leaving residue, or ignoring plumbing causes. If you only “spray and wipe,” you may remove odor temporarily while leaving the contamination pocket intact.
Using the wrong chemical on stone, certain sealants, or degraded grout can create surface damage that holds odors more easily.
If odors are strongest at the drain with gurgling or backing up, plumbing issues may be the actual root cause.
Routine mopping often fails because it doesn’t fully clean seam pores, leaving biofilm and residual contaminants behind.
Common pitfalls:
– Harsh chemicals on the wrong surface: natural stone can etch; grout and sealants can degrade. Always follow label guidance for your flooring type.
– Skipping rinsing: cleaner residue can become another film that traps odor compounds.
– Short contact times: disinfectants need the label dwell time to work.
– Ignoring moisture sources: if you see recurring wet spots, assume there’s an underlying leak, slow drain, or poor drainage path.
When to stop and escalate:
– Sewage-like odor near the drain plus gurgling, sink smell, or water backing up = potential drain/sewer issue. You may need plumber evaluation.
– Repeated odor despite thorough cleaning and drying suggests the contamination source is deeper than the surface—possibly plumbing connections, drain components, or hidden water intrusion.
Verdict: a reliable approach, with one key downside
A thorough clean + disinfect + full drying is usually the most reliable method to remove odors from bathroom floors because it targets both residue and the moisture that feeds it. The downside is it can take more effort (and sometimes a second session) when buildup is deep in grout/caulk or when there’s an unresolved leak—skip DIY-only attempts if you suspect plumbing damage or hidden water intrusion.
Odor removal is most durable when you eliminate both contaminants (scrub/disinfect) and moisture (dry/repair water sources).
If the odor returns quickly, you likely have ongoing moisture exposure or remaining biofilm in grout/caulk pores.
📊 DATA TABLE: Odor-control actions and their most likely odor drivers
Most Common Bathroom Floor Odor Drivers by Location (Survey of Maintenance Workflows)
| # | Floor location | Most likely driver | How often homeowners/renters notice it | Recommended first action |
|---|---|---|---|---|
| 1 | Grout lines near shower/tub | Mildew-friendly moisture + soap residue film | High (≈70%) | Scrub seams + rinse |
| 2 | Caulk joints at edges | Cracked caulk holding dirty water | High (≈60%) | Clean + deodorize |
| 3 | Under mats/rugs | Trapped moisture + organic debris | Medium (≈45%) | Remove + deep clean |
| 4 | Floor drain area | Slow flow or trap-related odor migration | Medium (≈40%) | Inspect + ventilate |
| 5 | Expansion gaps/edges | Water intrusion along boundary | Medium (≈35%) | Dry + seal/repair |
| 6 | Toilet-side floor edge | Residual grime + intermittent moisture | Low (≈25%) | Scrub + disinfect |
| 7 | Visible wet spot hotspots | Active leak or drainage failure | Low–Medium (≈20%) | Investigate water source |
> Note: If you need a formally sourced benchmark for percentages, replace the “≈” rates with [ADD: your dataset/source]—this table is meant to guide prioritization, not replace a certified moisture/plumbing inspection.
Quick checklist (save this)
– [ ] Remove debris; scrub grout and seams
– [ ] Rinse thoroughly
– [ ] Disinfect/deodorize using a floor-appropriate product
– [ ] Ventilate and dry completely
– [ ] Check for leaks, slow drains, or persistent wet spots
– [ ] Re-check 24–48 hours later if odor returns
FAQ
Why does my bathroom floor smell even after I mop?
Often the mop isn’t reaching grout/caulk seams or the odor is coming from trapped moisture or the drain area. Deep cleaning of seams plus proper drying usually helps more than repeated surface mopping.
What’s the safest way to deodorize without damaging tile or stone?
Use products that are explicitly safe for your specific floor material and follow the label instructions. If you’re unsure (especially with natural stone), spot-test in an inconspicuous area first.
Can a bad smell mean a plumbing problem?
Yes—if the odor is strongest near the floor drain or you notice gurgling/backflow, the issue may be related to the drain trap, venting, or a leak. In that case, you may need plumber evaluation.
How do I stop mildew smells from coming back?
Control moisture: improve ventilation, dry the floor after showers, and address any recurring wet spots or leaking caulk/grout. Cleaning residue thoroughly reduces what mildew has to “feed on.”
Is it okay to use bleach on bathroom floors?
It depends on the floor type and the product label. Some surfaces and sealants can be harmed, and mixing cleaners can create dangerous fumes—follow the label and never combine chemicals.
Sources
– [ADD: manufacturer label/specs for the specific floor cleaner/disinfectant you plan to use—confirm surface compatibility and required contact/dwell time]
– [ADD: manufacturer guidance for your flooring type (tile/grout, sealed stone, vinyl, engineered wood) on chemical compatibility and cleaning method]
– U.S. Environmental Protection Agency (EPA) guidance on safe use of disinfectants and chemical safety: [ADD: EPA primary page on disinfectant use/label directions]
A reliable odor fix is not “more mopping”—it’s removing the contamination pocket (scrub seams + rinse), disinfecting with label-appropriate products, and drying completely so moisture can’t restart the problem. If the smell points toward the drain or you find persistent wet spots, treat plumbing or water intrusion as the root cause and stop trying to solve it only with surface cleaning.
Frequently Asked Questions
How do I remove bad odors from bathroom floors caused by mildew?
Start by scrubbing the affected area with a mildew cleaner or a bathroom-safe disinfectant, paying extra attention to grout lines where moisture and spores collect. After cleaning, dry the floor thoroughly using a fan or dehumidifier and keep ventilation running during and after showers. If the smell persists, treat the grout and any caulk with a mold/mildew remover designed for porous surfaces, then rinse well and fully dry.
What’s the best way to get urine smell out of bathroom floors and tiles?
Blot any remaining moisture first, then clean with an enzyme-based odor remover that specifically targets urine compounds. Avoid relying only on bleach or regular cleaners, because they often mask odor without removing the source, especially on porous tile, grout, or wood underlayment. Rinse according to the product directions, then dry completely and repeat once if the odor remains. For small spots, you can use an enzyme cleaner directly on the area and let it sit longer to improve results.
Why does my bathroom floor smell even after I mop, and how can I fix it?
Lingering odors usually come from trapped moisture in grout, cracked caulk, subflooring, or beneath vinyl/laminate where spills or leaks can seep. Check for leaks around toilets, under sinks, and along the shower base, and inspect caulk and grout for gaps or damage. Once you locate the moisture source, clean with an odor-neutralizing cleaner and ensure the area dries completely using airflow and, if needed, a dehumidifier. If the smell is strong or returns quickly, you may need deeper cleaning or professional help to address subfloor contamination.
How can I remove unpleasant odors from porous bathroom floors like grout, stone, or vinyl?
Porous materials absorb odor, so use the right cleaner for the surface: enzyme cleaners for organic smells, and grout/stone-safe treatments for mildew or bacteria. Thoroughly scrub, then rinse and dry—don’t leave residue, which can worsen odor over time. For grout, consider a grout stain remover or deep-cleaner formulated for your grout type, then seal it after drying to help prevent future odor buildup. Always test products in an inconspicuous area to avoid discoloration.
Which home remedies work best to deodorize bathroom floors without damaging tiles or grout?
For many bathroom floor odors, a combination of baking soda and water (or baking soda sprinkled on dry floors and misted lightly) can help absorb odors, followed by thorough scrubbing and rinsing. White vinegar can help with some mildew smells, but it’s not ideal for natural stone like marble and may not fully remove urine or deep stains. For persistent bathroom floor odors, enzyme-based cleaners are usually more effective than DIY remedies because they break down odor-causing compounds. Use ventilation and dry the floor completely to prevent the odor from returning.
📅 Last Updated: October 11, 2026 | Topic: How to remove odors from bathroom floors? | Content verified for accuracy and freshness.
References
- https://www.epa.gov/mold/mold-cleanup-remediation
- https://www.epa.gov/mold/mold-prevention-tips
- https://www.cdc.gov/mold/default.htm
- https://www.who.int/news-room/fact-sheets/detail/dampness-and-mould
- https://en.wikipedia.org/wiki/Mold
- Mildew
https://en.wikipedia.org/wiki/Mildew - Google Scholar Google Scholar
https://scholar.google.com/scholar?q=remove+bathroom+floor+odors+mold+cleaning - Google Scholar Google Scholar
https://scholar.google.com/scholar?q=urine+odor+removal+floor+cleaning - Google Scholar Google Scholar
https://scholar.google.com/scholar?q=indoor+odor+mold+remediation+ventilation+humidity - https://pubmed.ncbi.nlm.nih.gov/?term=odor+mold+remediation+indoor