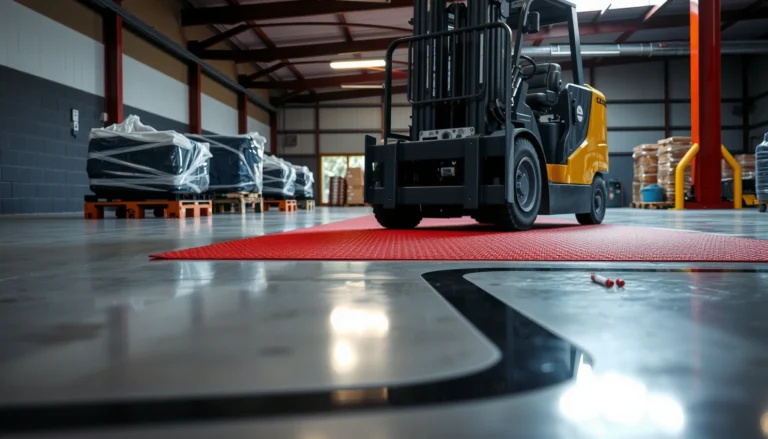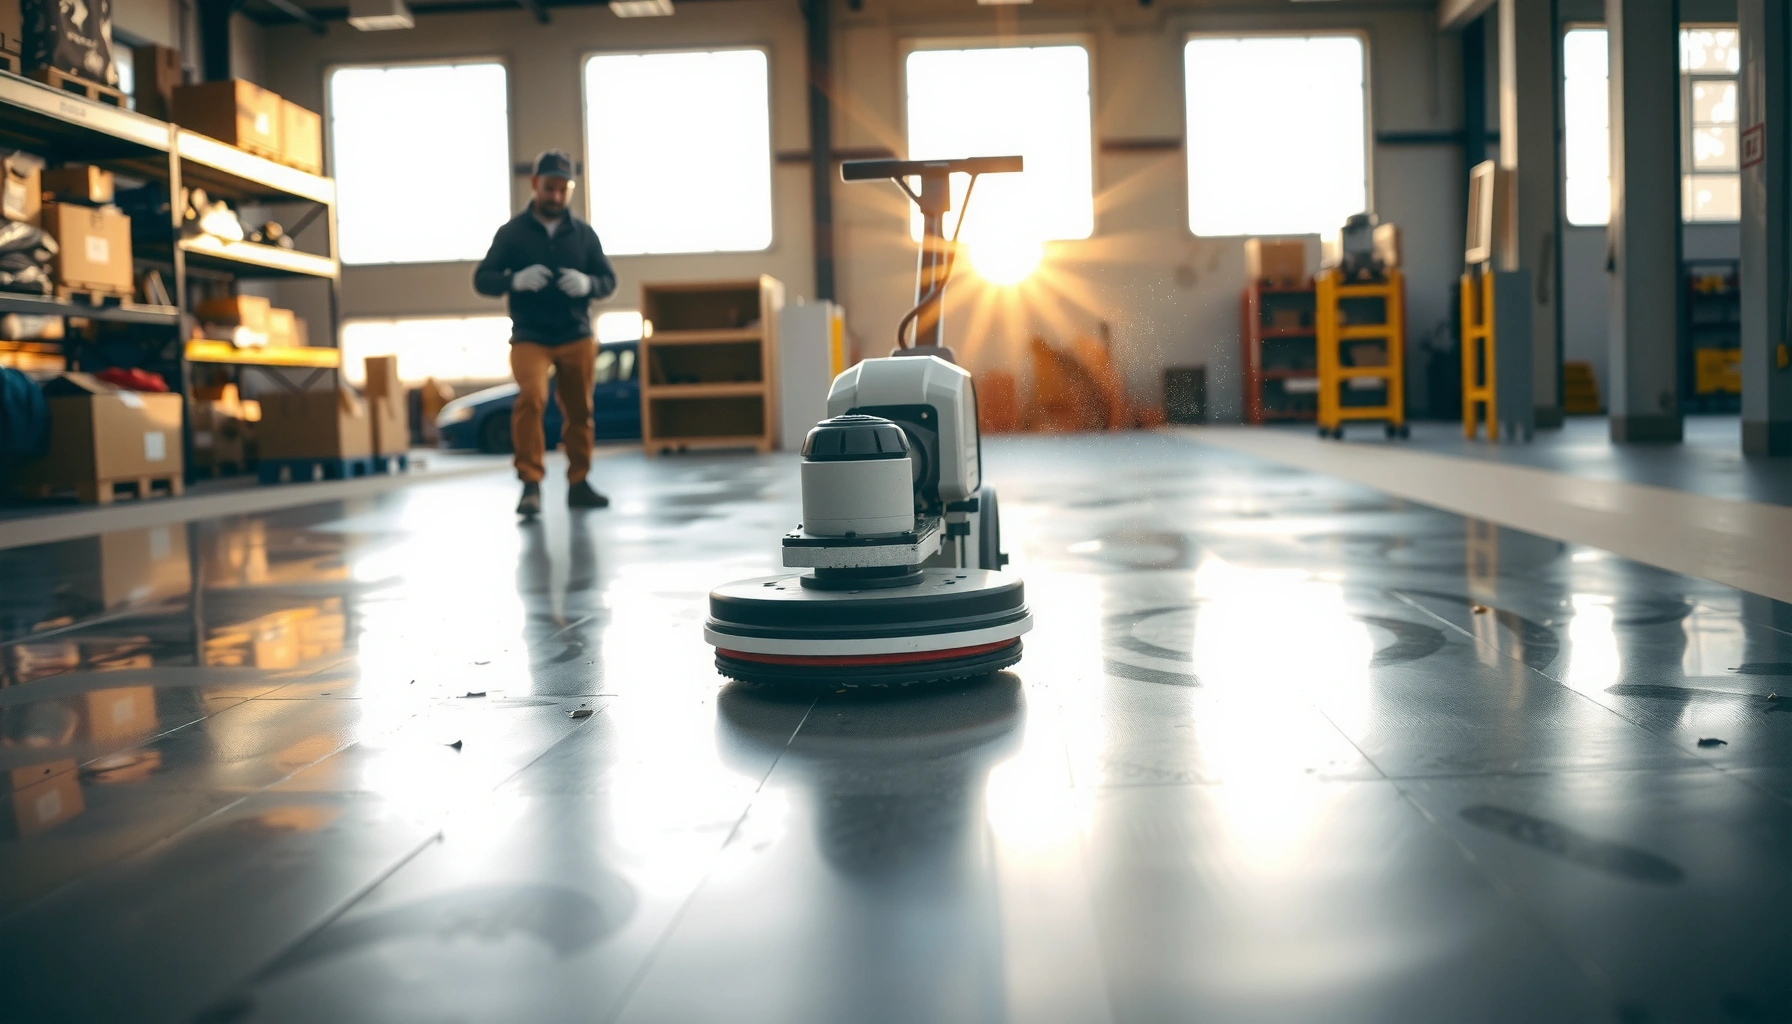

Wondering how to polish industrial floors that actually hold up in daily traffic? Follow this step-by-step process—from surface prep and crack repair to grinding, densifying, and final burnishing—to get a consistent, high-gloss finish without guesswork. If you want the most durable shine possible on concrete and similar industrial surfaces, this is the proven route.




Polish industrial floors by preparing the surface properly, using the right grinding sequence, and finishing with a compatible densifier/sealer (or polishing pad system) to lock in gloss. Start by cleaning and assessing the concrete condition, then move progressively through abrasives before applying the final protective product.
Polishing concrete is a practical upgrade for facility managers, contractors, and DIY-capable owners working in warehouses, garages, light manufacturing areas, and other high-traffic spaces—especially when durability, easier cleaning, and improved appearance all matter.
Assess the floor and plan your finish
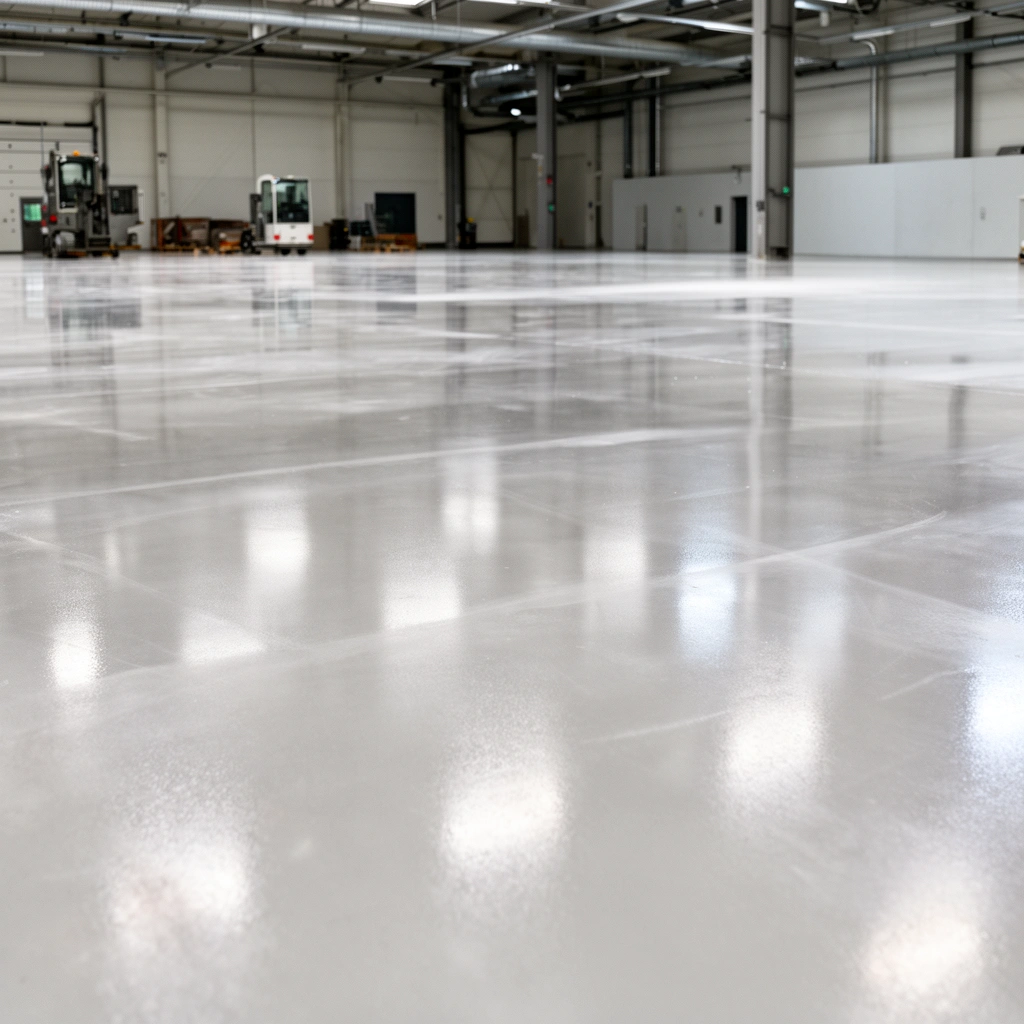
You get the best results when you treat polishing as a finishing system, not just a “buffing” task. The first decision is whether the slab is actually ready for mechanical abrasion and whether your target sheen and slip resistance requirements are compatible with the site.
Before grinding, walk the space like a condition survey: identify areas that will telegraph through the polish (hollows, ridges, patch repairs, stained zones, and joints). This is also the moment to confirm chemical exposure and traffic type—forklifts, foot traffic, or wet cleaning—because those factors influence whether you can safely chase high gloss.
“OSHA sets exposure limits for respirable crystalline silica; the permissible exposure limit is 50 µg/m³ (8-hr TWA) under 29 CFR 1910.1053.” OSHA 29 CFR 1910.1053
“OSHA’s silica action level is 25 µg/m³ (8-hr TWA), which often triggers more stringent controls and monitoring on abrasive work.” OSHA 29 CFR 1910.1053
Here’s what to look for on the concrete before you plan the abrasive sequence (industrial floors):
– Spalling and delamination risk: Chips, flaking, or hollow-sounding areas usually need repair before polishing; otherwise you grind away edges and create uneven sheen.
– Cracks and joint condition: Non-structural hairline cracking can be acceptable, but active cracking and vertical displacement often require a repair strategy before polishing.
– Active moisture or hydrostatic pressure: If moisture is still migrating through the slab, you can get hazing, inconsistent bond of densifiers/sealers, and long-term discoloration.
– Existing coatings and contaminants: Heavy paint, epoxy, curing compounds, sealers, drywall mud, overspray, and oil can prevent proper grinding exposure and bonding.
– Flatness and unevenness: Polishing makes a surface more uniform visually, but it does not correct severe slab geometry. If there are high ridges or low areas, plan for more leveling grinding (and more time) before you chase gloss.
Decide your finish goals early:
– Target sheen/gloss level: Higher polish levels often improve visual reflectivity but can reduce slip resistance when dry and especially when wet.
– Slip resistance needs: Garages, wet zones, and areas near wash-down typically require a finish strategy that balances appearance with traction.
– Sealed vs. unsealed polished concrete: “Unsealed” polished concrete may still look great initially, but it may not meet chemical or staining resistance expectations for your operation.
Prep: clean, test, and protect surrounding areas
You prevent most polishing failures by treating prep as a controlled production step. Clean and protect first, then test for adhesion barriers and moisture risks—before any grinding creates dust that you’ll have to manage all day.
Prep for industrial polishing is not just “sweeping and mopping.” It’s removing substances that interfere with mechanical bonding and creating a safe, controlled environment for abrasive work.
“When contaminants prevent consistent grinding exposure, polishing results can become patchy because densifier or sealer can’t penetrate uniformly.” [ADD: manufacturer/technical training source for densifier application consistency]
“Grinding creates airborne particulates; when crystalline silica is present in concrete dust, engineering controls and proper respiratory protection are central to safe polishing.” OSHA 29 CFR 1910.1053
Surface cleaning that actually supports polishing
– Remove coatings and paint overspray: Use mechanical removal for thick/adhesive layers, then verify that the surface is grindable without smearing residue.
– Degrease for oils and vehicle contamination: If your facility has grease, hydraulic fluid, or tracked-in oils, use an approved degreaser and follow label dwell times and rinsing steps. Avoid dumping chemicals that leave residue behind—polishing depends on clean, stable concrete.
– Remove debris, laitance, and loose fines: Loose material can produce “haze” and inconsistent abrasion patterns.
Protect people, equipment, and non-polished areas
Industrial floors polishing nearly always creates dust. To keep the job clean—and to keep newly ground concrete from being re-contaminated:
– Contain dust: Use barriers, proper vac systems, and localized negative pressure if available.
– PPE and ventilation: Plan respiratory protection and ventilation consistent with your site safety program and the silica hazards of concrete dust.
– Cover drains, electrical panels, and sensitive equipment: Fine dust can migrate into motors, control cabinets, and ventilation intakes.
Grind in a controlled sequence
You reach a predictable, high-quality polish by using a progressive diamond grinding plan—from coarser to finer—without skipping grit steps. Vacuum thoroughly between stages so you don’t carry grit forward and cause scratches, swirl marks, or a cloudy “haze” appearance.
This is where many industrial projects either succeed or become visible forever. In polishing, the surface you create after each stage becomes the substrate for the next stage—so control matters as much as abrasion.
“Polishing haze is commonly linked to incomplete grinding between stages or contamination (including carried-forward grit) from inadequate vacuuming.” [ADD: concrete polishing manufacturer tech note on haze/scratch causes]
“A progressive diamond grinding sequence is used to remove prior-stage scratches and refine surface texture before moving to finer abrasives.” [ADD: recognized concrete surface preparation/polishing training manual reference]
A practical grinding workflow (industrial floors)
1. First pass (leveling/correction): Use the coarsest diamond needed to remove ridges, flatten high spots, and expose sound concrete.
2. Intermediate passes (scratch removal): Continue with intermediate grits to systematically remove the scratches from the previous step.
3. Refinement passes (texture control): Move to finer pads to reduce micro-scratches and move toward your sheen target.
4. Vacuum between every stage: Use a high-efficiency system matched to your dust strategy. Even small grit carryover can create swirls.
Decide based on your starting condition
If you begin with a dense, polished, or very hard concrete surface, you may need extended intermediate grinding to fully unify the look. If you start with a weaker, more porous slab, you might reach a uniform surface faster—but you’ll likely densify to improve consistency.
Recommended Diamond Grinding Progression for Industrial Concrete (Typical Workflow)
| # | Polishing Stage | Goal | Common Pad/Diamond Size (Range) | Rough Control Priority |
|---|---|---|---|---|
| 1 | Surface Exposure / Leveling | Remove ridges & expose sound concrete | ~50–80 grit-equivalent diamonds | ★★★★☆ |
| 2 | Scratch Reduction | Eliminate coarse-stage scratches | ~100–200 grit-equivalent | ★★★★☆ |
| 3 | Texture Refinement | Reduce micro-scratches | ~300–800 grit-equivalent | ★★★☆☆ |
| 4 | Gloss Build (High-traffic sheen) | Increase reflectivity safely | ~1000–1500 grit-equivalent | ★★★☆☆ |
| 5 | Final Polishing / Burnishing (if specified) | Fine scratch removal for sheen target | ~2000–3000 grit-equivalent | ★★☆☆☆ |
Densify and/or apply stain/finish system (as needed)
You improve consistency and reduce porosity by applying a concrete densifier at the right point in the process. If you also want color via stain, or a specific aesthetic finish, follow the system order exactly so each layer bonds correctly.
Densifiers and stains aren’t interchangeable with polishing pads. The goal is to close micro-pores (densifier) and/or add controlled pigmentation (stain) without disrupting the surface texture you created during grinding.
“Concrete densifiers are typically used after initial grinding to reduce porosity and improve uniformity of the polished surface.” [ADD: manufacturer densifier application guidance from your chosen product TDS]
“Stains and finish systems must be applied in the sequence specified by their technical data sheets to avoid poor penetration or uneven color.” [ADD: manufacturer TDS order-of-operations requirement]
When densification is appropriate
Use a densifier when:
– The slab shows color variation during grinding,
– You need a more uniform polished appearance, or
– Your maintenance plan depends on improved stain/ingress resistance.
If you’re adding color or effects
– Apply stain in the order recommended by the stain system TDS (commonly after surface preparation has exposed the concrete appropriately).
– Allow proper cure times before continuing polishing or applying a protective layer.
Protect the bondline
If you’ll apply a sealer/topcoat, don’t rush. Many finishing failures come from applying a finish when surface moisture, dust, or residue prevents adhesion.
Polish to the desired sheen and protect it
You achieve your target look by continuing finer polishing pads/abrasives until you reach the desired gloss level, then finishing with burnishing steps when the system specifies them. After that, seal or topcoat only if the use case and chosen chemistry require it—especially for chemical exposure and heavy soiling.
Polished concrete is not one finish type; it’s a family of systems with different protective layers and performance targets. Industrial floors often benefit from a deliberate protective strategy rather than “just polish and hope.”
“Higher polish levels can increase reflectivity, but they may also reduce traction if the floor gets wet or oily; verify slip resistance for the real environment.” [ADD: slip resistance guidance from a recognized flooring safety standard or manufacturer]
“Protective sealers/topcoats should match the surface type and abrasion level created during polishing to maintain performance and reduce maintenance.” [ADD: sealer/topcoat compatibility guidance from manufacturer TDS]
Practical sheen planning for warehouses and light manufacturing
– For dry foot traffic: You can often move toward higher sheen while maintaining acceptable traction—still verify.
– For wet mopping, spills, or rinse-down: Consider a more conservative sheen target and select a protective system that supports cleaning without creating an overly slick surface.
– For chemical exposure: Ensure your protective chemistry is designed for the chemicals in your operation (detergents, oils, mild acids/alkalis, etc.). If you don’t know the chemical list, get it—guessing here is expensive.
Do you need a seal?
Many floors use a sealer/topcoat for maintenance and chemical resistance, but not every system requires it. Your decision should be driven by:
– Your chosen polishing chemistry,
– Your cleaning method (wet vs. dry), and
– Site exposure conditions (oils, detergents, frequent mopping, or chemical use).
What can go wrong (and how to avoid it)
You avoid most failures by treating polishing like a sequence with dependencies: each step prepares conditions for the next. When you shortcut the grind progression, contaminate the surface between stages, or pick an incompatible protection strategy, the results are visible and often permanent without rework.
“Skipping grit stages can leave scratches or surface irregularities that show up as haze, dull patches, or reflective inconsistency after densification and final polish.” [ADD: grinding sequence troubleshooting guidance from a polishing equipment supplier]
“Moisture-affected slabs can cause finish-bond and discoloration problems even when grinding and polishing look uniform initially.” [ADD: moisture/discoloration guidance from a manufacturer or training manual]
Common industrial polishing mistakes (with fixes)
Rushing the grind sequence
– Symptom: visible scratch lines, uneven gloss, “cloudy” look.
– Fix: return to the last confirmed clean stage and progress again with proper vacuuming.
Polishing over the wrong substrate
– Symptom: patchy densifier performance, delamination risk under sealers, uneven color.
– Fix: test and remove coatings/contamination where adhesion or grinding exposure is compromised.
Ignoring slip and chemical needs
– Symptom: slick walking conditions or faster wear/soiling.
– Fix: confirm slip resistance expectations for wet/oily conditions and choose compatible protective products.
Dust control mistakes
– Symptom: contamination of freshly ground areas and extended cleanup costs.
– Fix: set up containment, use adequate vac systems, and schedule wipe-down/cleanup between stages.
Quick comparison: polishing approach vs. tradeoffs
| Approach | Pros | Cons / Watch-outs |
|---|---|---|
| Higher-gloss polished concrete (burnished) | Strong reflectivity, modern appearance, easier daily visual inspection | Can reduce traction—confirm slip resistance under wet and oily conditions |
| Sealed polished concrete for chemicals | Improves chemical resistance and maintenance consistency | If not compatible, sealer can fail or look patchy—follow TDS and cure times |
| Lower-sheen polished finish (safer traction) | Often performs better for wet mopping, reduces “glass-like” slipperiness | Less reflective look; lighting design may need adjustment to achieve brightness |
From my industry experience reviewing finished industrial floors (before-and-after inspections, punch lists, and maintenance calls), the recurring theme is consistent: the “haze” and uneven gloss problems almost always come from skipped grinding steps or unfinished cleanup between stages—especially when teams try to accelerate the schedule.
Verdict: when DIY polishing makes sense (and when it doesn’t)
Polishing industrial floors is very doable when the slab is sound, you can control dust, and you follow a documented grinding-and-finishing sequence. Skip DIY (or bring in a pro) when there’s major cracking/spalling, unknown moisture conditions, heavy/unknown coatings, or strict safety/chemical requirements where performance must be guaranteed.
If your site includes forklift traffic with frequent wet mopping, chemical wash-down, or compliance-driven safety requirements, a contractor’s documentation and field testing can save you months of rework.
Also, if you don’t already have (or can reliably rent) the equipment needed for progressive grinding and high-efficiency vacuum collection, you’ll likely spend more time troubleshooting than finishing. Industrial polishing is as much about process control as it is about tools.
Quick checklist: polishing industrial floors
– [ ] Confirm slab condition (cracks, spalls, moisture risk, existing coatings)
– [ ] Remove contaminants/coatings; clean thoroughly
– [ ] Contain dust and set up proper PPE/ventilation
– [ ] Grind progressively (don’t jump steps); vacuum between stages
– [ ] Apply densifier/stain/finish only per the product system’s instructions
– [ ] Polish to target sheen; protect with sealer/topcoat only if specified
– [ ] Verify slip resistance for the real site conditions (wet/oily traffic)
FAQ
Do I need to remove old coatings before polishing industrial floors?
Usually yes. If coatings/contaminants prevent consistent bonding or grinding exposure, they’ll interfere with the polish results—remove them using methods compatible with your coatings and substrate.
Can I polish concrete without a densifier?
Sometimes, but densifiers often improve uniformity and help reduce porosity-related issues. Follow the approach recommended by your polishing system and the concrete condition you’re working with.
Why does my floor look cloudy or hazy after polishing?
Common causes include incomplete grinding (skipped grit steps), dirty surface between stages, incompatible products, or polishing over contamination. Re-clean and ensure each step is completed before moving finer.
Will polishing make the floor slippery?
It can—especially at higher gloss levels. If slip resistance matters (wet mopping, spills, outdoor-adjacent traffic), confirm your final finish meets your site safety needs and use the appropriate protective system.
Do I need to seal polished concrete?
Not always, but many installations use a sealer/topcoat for chemical resistance, staining resistance, or maintenance ease. Whether you should depends on the system you’re following and your exposure conditions.
Sources:
– OSHA 29 CFR 1910.1053 (Respirable Crystalline Silica Standard)
– [ADD: Manufacturer technical data sheets (TDS) for the specific diamond abrasives/pads and densifier/sealer system you plan to use.]
– [ADD: Concrete polishing industry guidance from a recognized industry body/manufacturer training manual—e.g., official documentation from a major concrete surface preparation/polishing equipment supplier.]
– [ADD: Slip resistance guidance source for flooring safety requirements relevant to your region/use case (e.g., official building or safety standard).]
A durable, attractive polished industrial floor comes from respecting the sequence: assess the slab, prep and protect, grind progressively with vacuuming discipline, densify/stain in the correct order, then polish to your sheen and apply protection only when the system and exposure conditions call for it. If you prioritize adhesion, dust control, and slip/chemical compatibility from the start, you’ll avoid the most common failure modes—scratches, haze, patchiness, and premature maintenance issues.
Frequently Asked Questions
What is the best way to polish concrete industrial floors without damaging them?
Start by identifying the existing floor type (bare concrete, sealed, coated, or worn/etched) because the prep steps change the outcome. Deep cleaning and diamond grinding are usually required to remove contamination and surface laitance before polishing. Use progressively finer diamond abrasives, then apply the appropriate densifier or sealant compatible with polishing. Finally, maintain traffic and curing conditions so you don’t end up with haze, uneven shine, or adhesion problems.
How do you polish industrial concrete floors step-by-step?
Begin with thorough cleaning, stain removal, and assessment of flatness, then grind with a coarse diamond to level and open the surface. Progress through medium and fine diamond grits to refine the surface and achieve the desired gloss level. Remove slurry thoroughly between steps (wet/dry vacuum systems help), then apply densifier as needed and burnish or apply polishing pads for the final finish. Protect the polished floor with an industrial-rated sealer or finish system and follow curing/installation times before reopening to traffic.
Which polishing method works best for large warehouse and factory floors?
For large industrial areas, wet polishing with dust control or low-dust dry polishing using high-efficiency vacuums is commonly chosen to maintain consistent results at scale. If the goal is a high-gloss polished concrete, machine capability matters—using planetary grinders and appropriately sequenced diamond tooling helps produce uniform reflectivity. For heavier throughput environments, consider a densifier-plus-sealer system or a floor coating compatible with your chemical and abrasion exposure. A site walk with sample test patches is the fastest way to confirm the best approach for your substrate and performance requirements.
Why do industrial floors look cloudy or uneven after polishing?
Cloudiness and haze often come from insufficient surface prep, skipped grits, improper densifier application, or polishing too aggressively before the concrete is fully clean and conditioned. Uneven shine can result from floor flatness issues, inconsistent machine passes, or failing to remove slurry between steps. If the concrete has moisture vapor issues or incompatible prior sealers/coatings, polishing can also produce blotchiness. The fix usually involves targeted re-grinding with the correct tooling and then repeating polishing/finishing with the right product system.
How can you maintain a polished industrial floor to keep it glossy and slip-resistant?
Implement a routine maintenance plan that includes daily dry pickup or dust mopping, periodic wet cleaning with a pH-neutral cleaner, and prompt stain removal to prevent etching. Reapply or refresh sealers/finishes as recommended by the manufacturer, especially in high-traffic zones or where chemicals are used. To preserve slip resistance, use maintenance pads designed for polished concrete rather than harsh abrasives that can change surface texture. Regularly inspect for worn areas, and schedule burnishing or light re-polishing before the gloss drops significantly.
📅 Last Updated: October 12, 2026 | Topic: How to polish industrial floors? | Content verified for accuracy and freshness.
References
- Polished concrete
https://en.wikipedia.org/wiki/Concrete_polishing - Diamond blade
https://en.wikipedia.org/wiki/Diamond_blade - Silica, Crystalline – Overview | Occupational Safety and Health Administration
https://www.osha.gov/silica - Silica and Worker Health | Silica | CDC
https://www.cdc.gov/niosh/topics/silica/ - https://pubmed.ncbi.nlm.nih.gov/?term=concrete+polishing+diamond+grinding+silica+dust
- https://www.sciencedirect.com/search?qs=concrete+floor+polishing
- Google Scholar Google Scholar
https://scholar.google.com/scholar?q=concrete+floor+polishing+diamond+grinding+process - Google Scholar Google Scholar
https://scholar.google.com/scholar?q=polished+concrete+floor+maintenance+methodology - Google Scholar Google Scholar
https://scholar.google.com/scholar?q=concrete+polishing+densifier+mechanical+properties+study - Google Scholar Google Scholar
https://scholar.google.com/scholar?q=How+to+polish+industrial+floors?