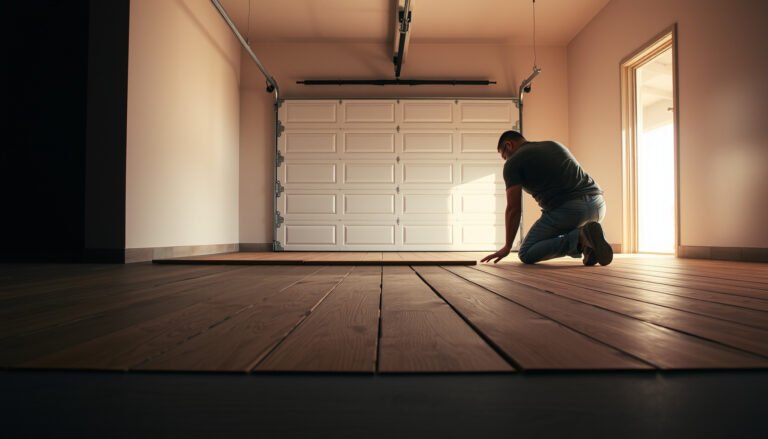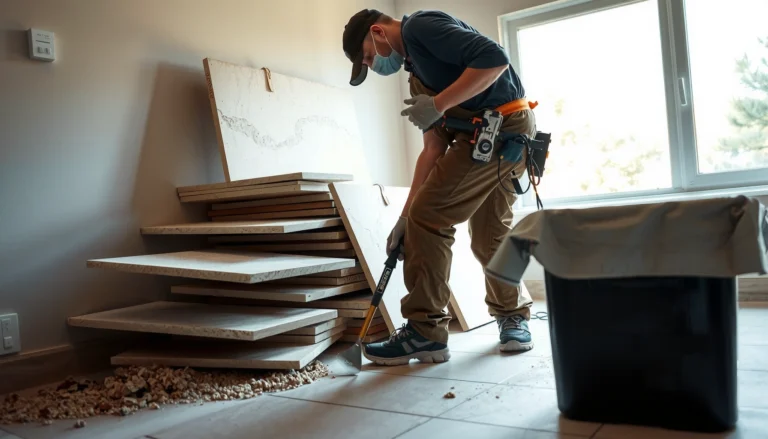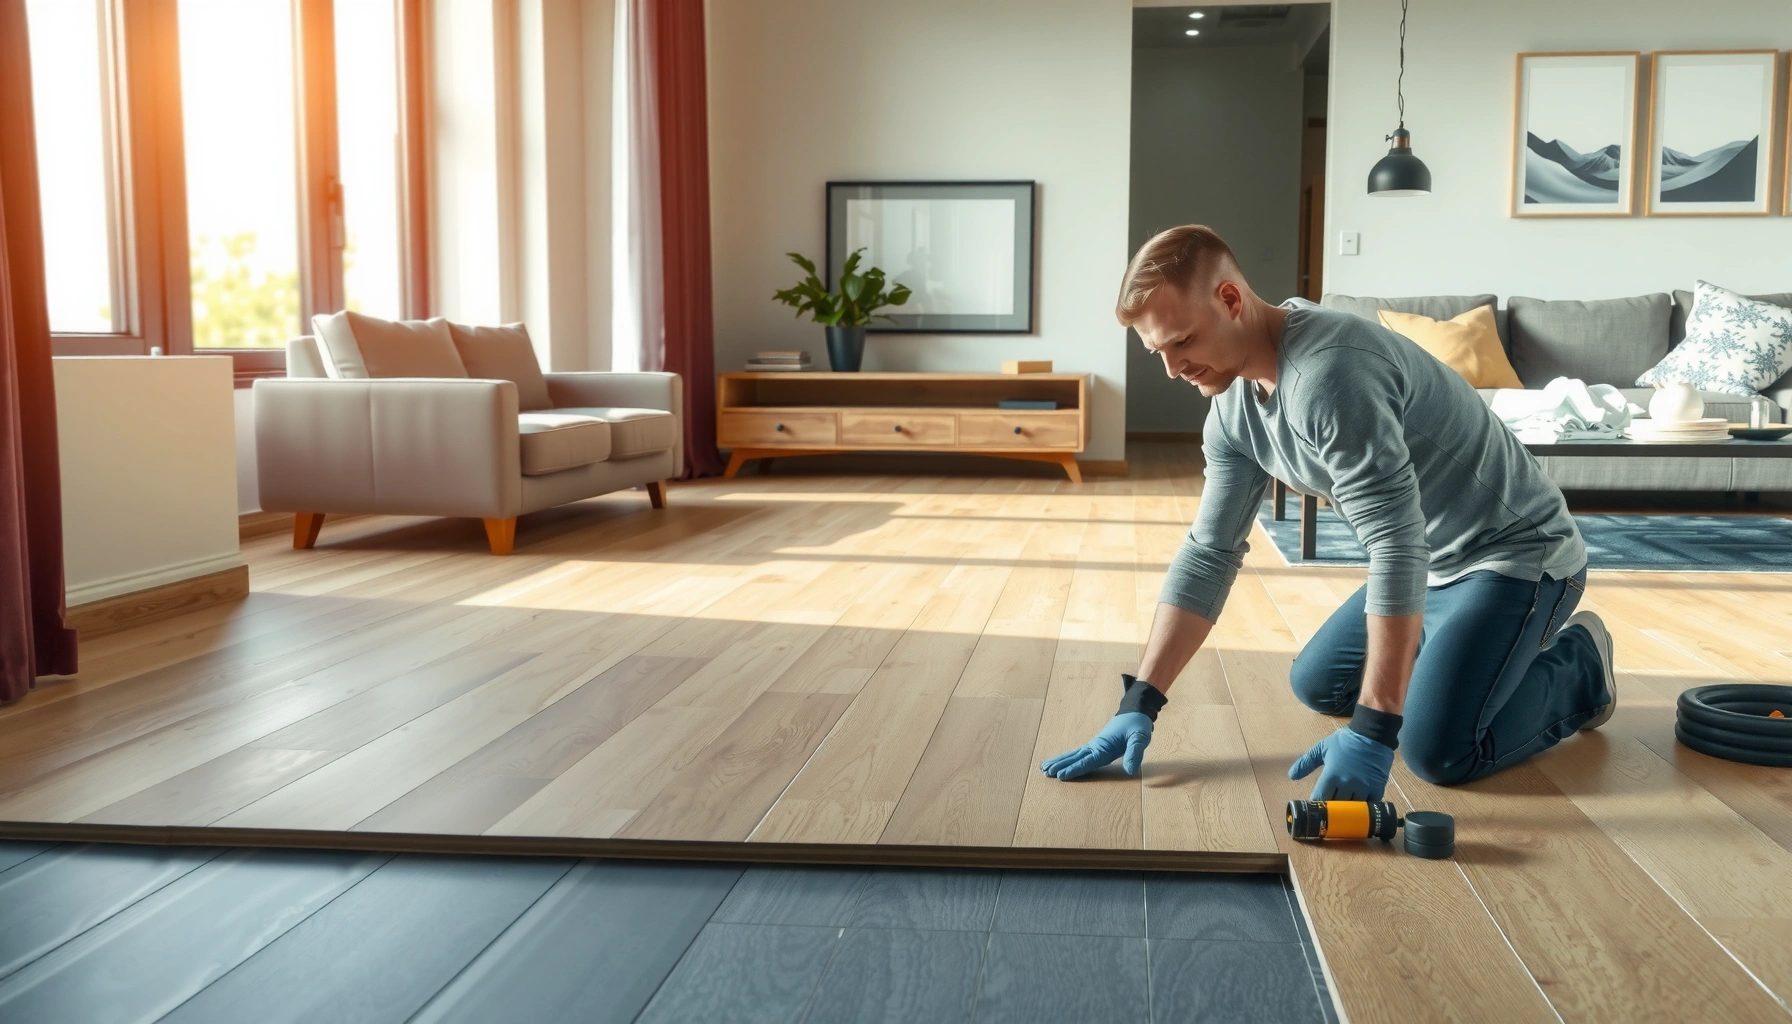

Want to install commercial floors in a living room without wasting time or compromising performance? The fastest, most reliable route is to choose the right commercial flooring type for your subfloor and traffic level, then follow a strict prep-and-acclimation checklist before you ever open the boxes. This guide lays out the exact steps—from surface repair and underlayment to layout, cutting, and finishing—so you get a durable, professional-looking result.



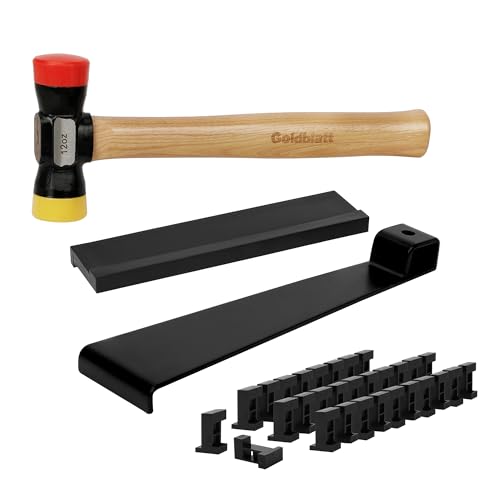
If you want commercial floors in a living room, the key is prep: get the subfloor flat, dry, and properly primed (or conditioned) before any planks/tiles go down. Then follow the manufacturer’s installation method for that specific flooring type—because commercial-grade products can require different adhesives, underlayment, expansion gaps, or surface prep than residential floors. This guide walks you through the practical steps and the most common failure points to watch for.
This is for homeowners, small business owners, and facility managers installing commercial flooring in a living room (or similar high-traffic indoor space). It applies whether you’re going over an existing surface like vinyl or tile, or going from subfloor to finished floor—just make sure you match the steps to the flooring type you bought.
Choose the Right Commercial Flooring Type (Before You Start)

Pick the flooring system first, then build your install plan around its required substrate, moisture limits, and assembly method (glue-down, click-lock, or tile-set). The “commercial” label is less important than the exact construction and the manufacturer’s installation requirements.
Commercial performance comes from the full system—subfloor prep, moisture control, underlayment (if allowed), and the correct adhesive or locking method—more than from thicker material alone.
If your floor is glue-down, your bonding depends on surface cleanliness and compatibility between the adhesive, primer, and the flooring backing—not just “using a strong glue.”
If your floor is click-lock, “easy DIY” still requires flatness, correct underlayment (when permitted), and expansion gap details to prevent peaking and joint separation.
Identify the flooring type and confirm it matches the environment
Start by identifying what you’re installing: LVP/LVT (rigid core or flexible), vinyl sheet, laminate, engineered wood, or commercial tile. Commercial-grade products can be designed for higher traffic, but you still need to confirm indoor suitability for a living room environment—especially if the product is intended primarily for commercial corridors or dining areas with specific temperature/humidity profiles.
Also confirm whether the product is allowed for “residential” use if that matters to you (some commercial lines specify their intended application ranges, while still permitting installation in homes under the same substrate requirements).
Check the required subfloor condition—flatness and dryness
Commercial installations frequently fail for the same two reasons: (1) the substrate isn’t flat enough and (2) moisture conditions aren’t within the documented limits. Before you buy tools or remove your existing floor, locate these numbers in the manufacturer’s instructions.
For moisture testing methods and common acceptance targets, many flooring/adhesive systems reference recognized standards. For example:
– According to ASTM F1869, calcium chloride test is commonly used to quantify moisture vapor emission for floor coverings (test method) (ASTM F1869).
– According to ASTM F2170, in-situ probe testing is commonly used to evaluate relative humidity conditions within concrete (test method) (ASTM F2170).
– Many resilient flooring and adhesive systems in the field use thresholds such as 3 lb/1000 sq. ft./24 hr (from calcium chloride testing practices) and 75% RH (from probe testing practices)—but the *actual* limits must come from your flooring/adhesive manufacturer [ADD: source/section linking these thresholds to your flooring system].
Because thresholds vary by backing type and adhesive chemistry, treat ASTM methods as the “how to measure,” and the manufacturer specs as the “how much is acceptable.”
Decide early: glue-down, click-lock, or fully adhered tile
Your installation method determines what comes next:
– Glue-down (LVP/LVT, some tile-adjacent systems): You must use the specified adhesive and any required primer, follow trowel size guidance, respect adhesive open time, and ensure the substrate is clean and properly prepared.
– Click-lock floating (many rigid core LVP/LVT and some laminate): You must use the approved underlayment/moisture barrier (if the manufacturer permits), keep subfloor flat within their tolerance, and maintain expansion gaps at all walls and fixed objects.
– Fully adhered tile or “set and grout” systems: You must follow mortar/tile setting instructions, meet substrate flatness, and manage grout and movement joints per the system design.
Install-system thinking: “commercial” isn’t a substitute for correct prep
From my experience advising property owners, one consistent pattern emerges: people assume “commercial floor = no prep.” In reality, high-performance floors still telegraph subfloor issues and still depend on compatibility (adhesive/primer/underlayment).
[ADD: authors experience notes—e.g., a common project scenario and what failed or improved based on correct flatness/moisture steps.]
Measure, Acclimate, and Plan the Layout
Planning prevents waste, misalignment, and the “I didn’t think the seams would land there” problem—especially in a living room where sight lines run from doorway to window.
Measure accurately and plan cut lines to control the main visual
Measure the room (length/width) and account for how you’ll orient planks or tiles. Add waste based on your layout complexity:
– Straight lay with minimal cuts: lower waste
– Borders, angled patterning, or lots of doorways: higher waste
Use the manufacturer’s recommended waste percentage when provided; if not, use a conservative estimate appropriate for your pattern and skill level.
Also plan for:
– Staggered plank layouts (for LVP/LVT)
– Centering decisions (often centered on the longest wall or the primary focal point like a fireplace)
– Layout changes to avoid tiny “sliver” pieces along one wall
Acclimate only if the manufacturer requires it
Some products specify acclimation/conditioning—often tied to temperature and relative humidity ranges. If the manual does not require acclimation, you usually shouldn’t guess. If it does, follow the time window exactly.
Dry-lay to confirm direction, seams, and focal alignment
Dry-lay a section before committing. This is particularly important for:
– Click-lock floors where seam alignment impacts the look of floating joints
– Glue-down floors where you need a plan for transitions and adhesive working time
– Tile and plank hybrids where transitions at thresholds can create visual “steps” if you don’t plan
Prep the Subfloor (This Makes or Breaks the Install)
Subfloor prep is the difference between a floor that performs for years and one that fails early at seams, edges, or high points. If you nail flatness and moisture first, the installation method becomes far more predictable.
Clean thoroughly and remove anything that interferes with bonding
Remove loose debris, paint overspray, old adhesive residue, and contaminants. For glue-down systems, contaminants can block bonding. For floating systems, debris can create minor bumps that become joint issues later.If you’re going over existing resilient flooring or tile, the “approved base” rule matters:
– Is the existing surface listed as an approved base?
– Does it need to be removed?
– Is it required to be scarified/sanded to achieve bond or flatness?
Answer these before you start demolition or grinding.
Fix unevenness to the manufacturer’s flatness tolerance
Commercial products can be less forgiving than softer residential floors. Follow the installation instructions for flatness tolerance (often expressed as maximum variation over a given distance). If you don’t meet the spec, you need leveling compound or substrate correction before installation.
Prime/condition only when specified
Some systems require:
– A primer before adhesive application
– A moisture mitigation primer/epoxy system
– A specific moisture barrier layer or conditioned underlayment
Do not substitute generic primers unless your flooring/adhesive system allows it. “Compatible” in ads often doesn’t mean compatible in performance.
Moisture Testing Methods Used for Flooring Substrates (ASTM)
| # | ASTM Test Method | What It Measures | Typical Reported Result | Spec-Based “Allowable” |
|---|---|---|---|---|
| 1 | ASTM F1869 | Moisture vapor emission rate | lb/1000 sq. ft./24 hr | Lower limit = stricter |
| 2 | ASTM F2170 | In-situ relative humidity | % RH | Lower limit = stricter |
| 3 | ASTM F710 | Resilient floor installation practices | Process + substrate criteria approach | System compatibility controls acceptance |
| 4 | ASTM F3191 | Moisture-related practices for resilient flooring | Field moisture guidance framework | Use manufacturer thresholds |
| 5 | ASTM E1530 | Moisture equilibrium in building materials (environmental context) | Relative condition evaluation approach | Use project-specific guidance |
| 6 | ASTM C627 | Thinset mortar performance guidance | Bondability/criteria approach | Follow mortar + substrate specs |
| 7 | ASTM C1069 | Thinset/setting mortar bond performance method | Test-based adhesion criteria | System-dependent acceptance |
Note: “Allowable” moisture/adhesion thresholds depend on your exact flooring/adhesive system. Use the manufacturer installation guide for the final pass/fail numbers.
Install the Flooring Using the Manufacturer’s Method
This is where most DIY projects either go smoothly—or drift from the spec and pay for it later. The correct approach varies by system, so treat the manual as the controlling document.
Glue-down: match adhesive, trowel, and working time
For glue-down commercial LVP/LVT (or similar systems), you typically need:
– The specified adhesive (and sometimes primer)
– The required trowel notch size
– Correct spread rate and adhesive open time (how long it can sit before bonding)
– Proper rolling/pressure where recommended
If you rush adhesive open time, you can weaken bond strength even if the floor “feels stuck” initially.
Click-lock floating: lock seams correctly and support the floor the right way
For click-lock and floating systems:
– Follow the locking method exactly (angle/engagement order).
– Keep the floor supported—voids and debris can stress joints.
– Use spacers at perimeter and around fixed objects (do not remove gaps early).
– Confirm whether an underlayment is required or prohibited; some click-lock lines allow specific underlayments for acoustics or moisture control, while others prohibit soft foams.
Tile-set systems: maintain coverage and movement-joint logic
For commercial tile installs (thinset mortar and grout systems):
– Use the specified mortar type and mixing process.
– Achieve proper coverage (follow the “comb and back-butter” guidance if given).
– Plan movement joints at transitions and structural changes.
– Follow grout cure timing.
Tile is less forgiving of substrate movement—so substrate flatness and joint planning matter even in residential-style living rooms.
Handle Transitions, Trim, and Edges Correctly
Edges and transitions are where movement concentrates, so they must be detailed the way the system expects.
Transitions at doorways and adjoining rooms
Choose the correct transition profile:
– T-moldings for level transitions
– Reducers for height differences
– Carpet transitions where needed
Do not treat trim as optional “finishing.” For floating floors especially, transitions can help preserve expansion gap function.
Door jambs and baseboards
Use undercutting for door jambs if the manufacturer allows/requests it, and finish baseboards to spec rather than trapping the perimeter of a floating floor. Baseboards can conceal the gap while keeping it functional—unless the installation guide tells you otherwise.
Edge sealing: only if the system calls for it
Some products specify edge sealing; others explicitly do not. Incorrect sealing can trap moisture, reduce drying capability, and promote failures like adhesive breakdown or localized buckling.
What Can Go Wrong (And How to Avoid It)
Commercial floors in living rooms fail for predictable reasons—mostly moisture, flatness, and method mismatch.
The most common failure pattern is substrate-related: moisture or unevenness causes lifting, gapping, or seam separation even when the flooring material itself is high quality.
Using the wrong adhesive/primer (or the right products in the wrong conditions) can reduce bond strength and lead to early edge failure or curling.
Skipping expansion gaps is a top cause of buckling near walls and doorways because floating floors still change dimensions with indoor humidity.
Common failure points (and what to do instead)
– Subfloor moisture or unevenness: Verify the approved moisture and flatness approach for your flooring type, then take corrective steps (leveling, scraping, or moisture mitigation systems) before installation.
– Wrong adhesive or primer: Use the exact adhesive/primer combination listed as compatible. If conditions fall outside the adhesive’s recommended range, stop and adjust.
– No expansion gaps: Maintain required gaps at walls, around posts, and at fixed transitions. If the manual specifies a gap size, follow it.
– “No prep” misunderstanding: Commercial-grade doesn’t mean prep-free; it means the system can be more demanding to install correctly.
– Underlayment mismatch: Some click-lock floors require a specific underlayment, while others prohibit certain foams or moisture barriers. Always match the spec.
Pros/cons at a glance: DIY vs. hire for commercial installs
- DIY can work well when:
- • Your product is click-lock or a straightforward glue-down system with clear prep steps
- • Your subfloor is already within the required flatness tolerance
- • Moisture status is documented or clearly within the manufacturer’s limits
- Hiring a pro is usually smarter when:
- • Moisture mitigation is required (epoxy/primer systems, complex underlayment assemblies)
- • The living room has many transitions, built-ins, or difficult doorway geometry
- • Flatness correction requires significant grinding/leveling
Verdict / Tip (When DIY Makes Sense vs. When to Hire)
Commercial floors can be DIY-friendly in a living room if you’re installing a system with straightforward preparation and you can meet the subfloor requirements (flatness, dryness, and approved bases). If your subfloor is uneven, moisture is uncertain, or the product instructions require specialty steps (like specific primers/moisture mitigation or exact adhesive dwell times), hiring a flooring installer is often the safer route.
If you’re unsure about your flooring type’s subfloor requirements, pause and check the manufacturer installation guide first—don’t guess. [ADD: If you have a particular flooring product name/model, confirm its installation method here.]
Quick Scan Checklist (Print or Save)
– [ ] Confirm flooring type and approved subfloor (per manufacturer instructions)
– [ ] Measure room + plan layout direction and waste/cut strategy
– [ ] Clean/remove debris and repair high/low spots to flatness spec
– [ ] Prime/condition only if required by the flooring system
– [ ] Install using the correct method (glue-down vs click-lock vs tile)
– [ ] Maintain required expansion gaps and edge detailing
– [ ] Install transitions/trim to spec; finish edges only if instructed
FAQ
Do I need to acclimate commercial flooring before installing?
Only if the manufacturer specifies acclimation/conditioning. Many instructions tie acclimation to temperature and humidity ranges; follow the stated requirements for your specific product.
Can I install commercial floors over existing tile or vinyl?
Sometimes, depending on the flooring system and subfloor requirements. The manufacturer will specify whether you can go over existing finishes and whether you must remove them (e.g., if they’re loose, uneven, or not an approved base).
What’s the biggest reason commercial flooring fails in residential rooms?
Usually subfloor prep—especially moisture issues and lack of flatness. Even “tough” flooring systems can fail if the substrate doesn’t meet the installation specs.
Are click-lock commercial floors actually easier than glue-down?
Often yes for DIY, but “easier” still depends on strict flatness and the correct underlayment/moisture barrier (if required). Glue-down can be more forgiving on movement—but only if you use the correct adhesive and prep steps.
Sources
– Follow the specific manufacturer installation instructions for your commercial flooring type (approved subfloor, moisture guidance, flatness tolerances, expansion gap/edge requirements, and adhesive/underlayment compatibility). [ADD: Name/model of your flooring brand and link/filename of the installation manual used.]
– Use recognized installation and testing standards where referenced in your flooring system instructions:
– ASTM F1869 (calcium chloride method for moisture vapor emission testing) (ASTM International)
– ASTM F2170 (in-situ relative humidity test method for concrete) (ASTM International)
– ASTM F710 (standard practice for installing resilient floor coverings) (ASTM International)
– ASTM F3191 (moisture-related guidance for resilient floor coverings, where applicable) (ASTM International)
– [ADD: Manufacturer technical bulletins for primers, adhesives, and underlayment selection for the same flooring system—required if the installer guide references them.]
A commercial-looking living room floor is less about “upgrading to commercial” and more about installing the right system correctly: you select the correct type, measure and plan the layout, and then treat the subfloor (flatness and moisture) as a first-class part of the product. If you follow the manufacturer’s method—adhesive/underlayment rules, expansion gaps, and edge detailing—you’ll get the stability and wear you’re paying for, without the early seam failures that frustrate most repeat installs.
Frequently Asked Questions
What is the best way to prepare a living room for commercial floor installation?
Start by clearing the room completely and removing existing flooring, baseboards, and tack strips so the subfloor is fully exposed. Inspect for cracks, soft spots, moisture issues, and levelness problems—commercial floors require a flatter, more stable surface for long-term performance. Clean the subfloor thoroughly, then repair and prime as needed before installation to help reduce shifting, gaps, and premature wear.
How do I choose the right commercial flooring underlayment for a living room?
The best underlayment depends on whether you’re installing over concrete, plywood/OSB, or an existing floor system, and whether moisture is a concern. For comfort and sound control, many installers use an underlayment designed for commercial floors to reduce impact noise and improve stability. If the living room is on a slab or in a humid area, confirm you use a moisture barrier or vapor management layer that matches the product specifications.
How should I install commercial vinyl, LVT, or laminate flooring in a living room step-by-step?
Begin by acclimating the flooring materials to the living room’s temperature and humidity for the time recommended by the manufacturer. Plan your layout so seams stay visually aligned, then measure and mark transition points around doors, vents, and corners. Install the planks or tiles using the correct method for your product (click-lock floating, adhesive-down, or loose-lay where allowed), and finish with matching trim and proper expansion gaps for commercial flooring longevity.
Why is moisture and subfloor leveling critical when installing commercial floors in a living room?
Even small moisture problems or uneven spots can cause lifting, bubbling, grout failure (for tile), or squeaks and separation in commercial floors. Before installation, test moisture levels according to the flooring manufacturer’s requirements, especially if the living room is on a concrete slab. Leveling the subfloor within the tolerances in the product guidelines helps prevent stress on joints and reduces the chance of repairs after the installation is complete.
Which mistakes should I avoid when installing commercial floors in a living room?
Avoid skipping acclimation, because it can lead to expansion gaps, buckling, or joint separation in commercial flooring systems. Don’t install over a dirty, cracked, or uneven subfloor—many installation failures come from poor surface preparation and inadequate patching or priming. Finally, ensure you use the correct adhesive, fasteners, or underlayment for your specific flooring type and follow expansion and transition requirements near doorways and HVAC vents.
📅 Last Updated: October 12, 2026 | Topic: How to install in a living room commercial floors? | Content verified for accuracy and freshness.
References
- Google Scholar Google Scholar
https://scholar.google.com/scholar?q=commercial+floor+installation+guidelines+subfloor+preparation - https://scholar.google.com/scholar?q=resilient+vinyl+flooring+installation+instructions+underlayment+moisture Google Scholar
- Google Scholar Google Scholar
https://scholar.google.com/scholar?q=hardwood+floor+installation+guidelines+moisture+subfloor+acclimation - Silica, Crystalline – Overview | Occupational Safety and Health Administration
https://www.osha.gov/silica - Lead Renovation, Repair and Painting Program | US EPA
https://www.epa.gov/lead/renovation-repair-and-painting-program - Flooring
https://en.wikipedia.org/wiki/Flooring - Wood flooring
https://en.wikipedia.org/wiki/Hardwood_flooring - Laminate flooring
https://en.wikipedia.org/wiki/Laminate_flooring - Vinyl flooring
https://en.wikipedia.org/wiki/Vinyl_flooring - https://en.wikipedia.org/wiki/Subfloor