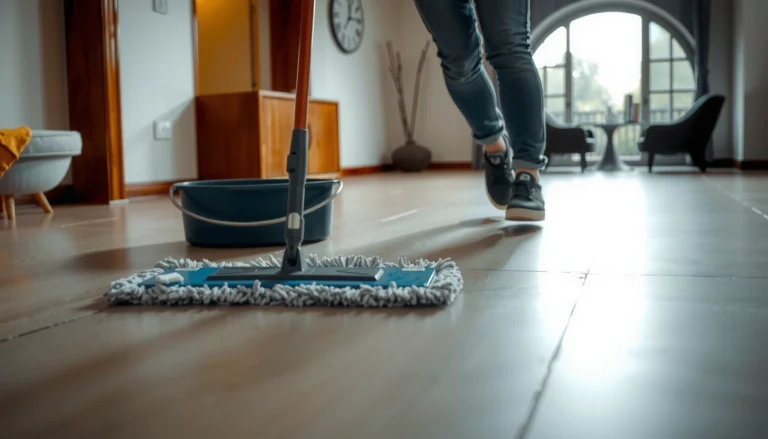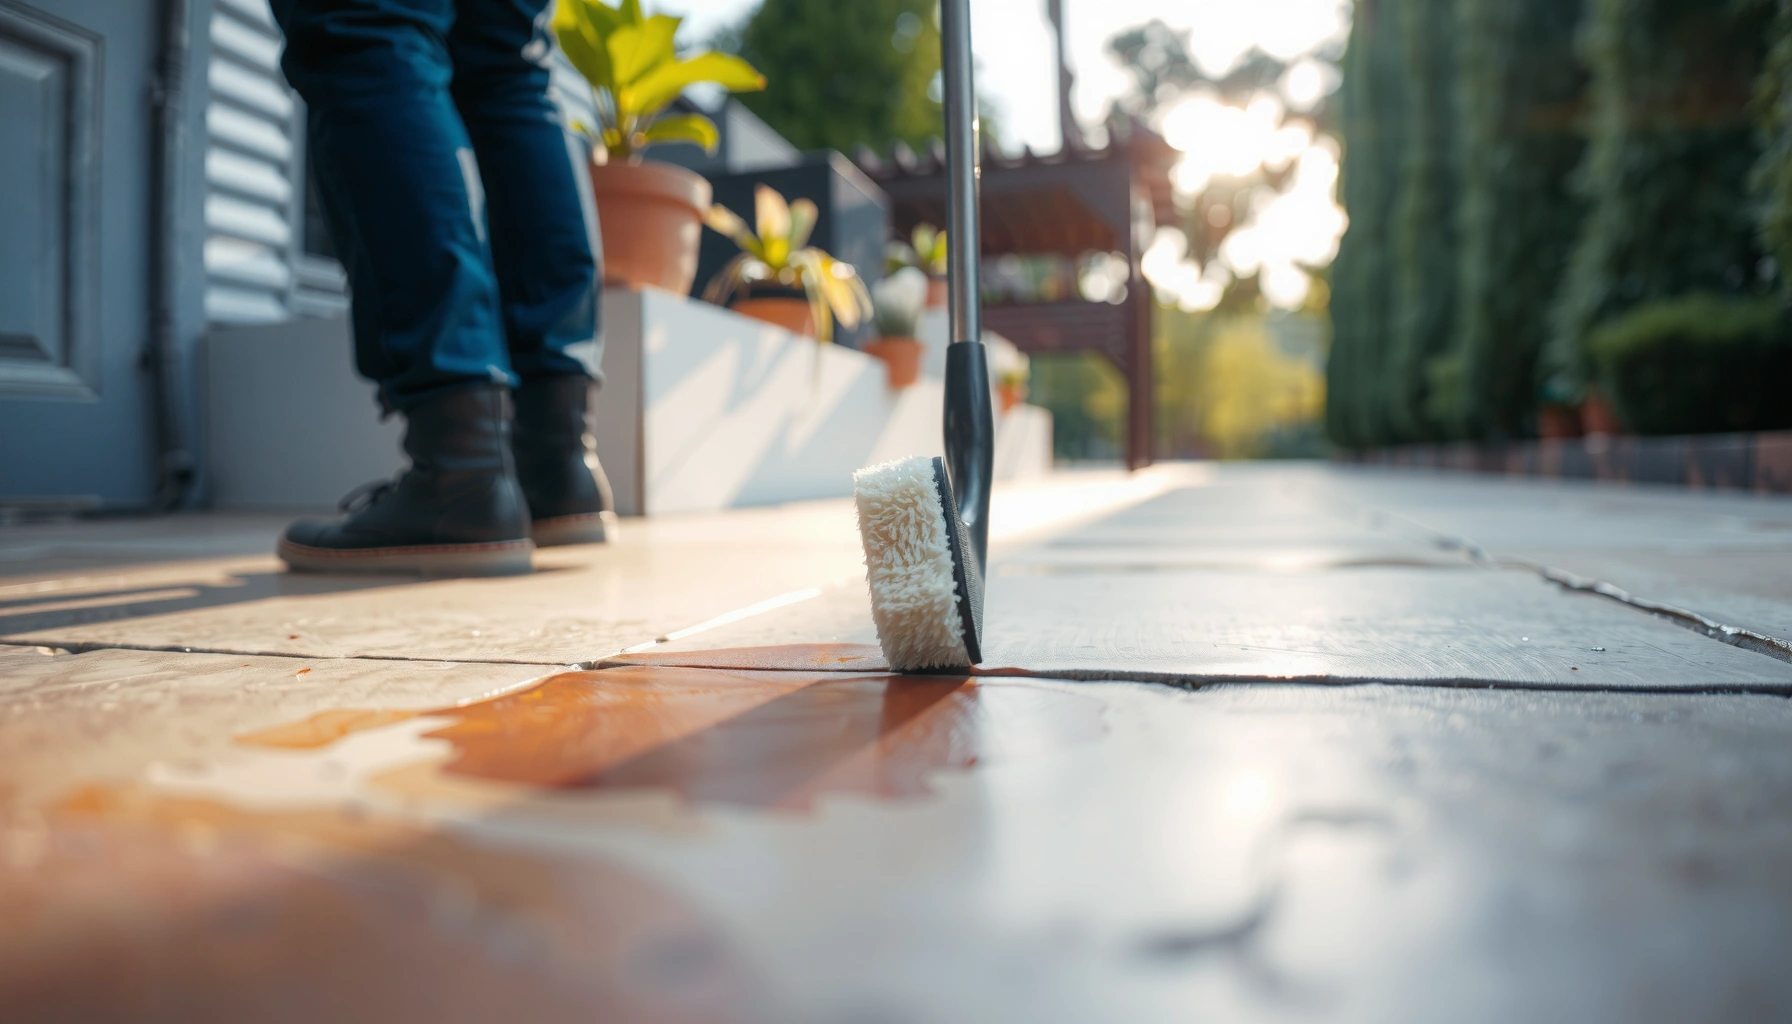

If you need to remove stains from patio floors, this guide delivers the fastest, most reliable approach for common spot types like algae, rust, and oil. Follow these practical steps—clean, treat with the right solution, and rinse thoroughly—to lift discoloration without damaging concrete, pavers, or stone. By the end, you’ll know exactly what to do first so the stain doesn’t set in deeper.


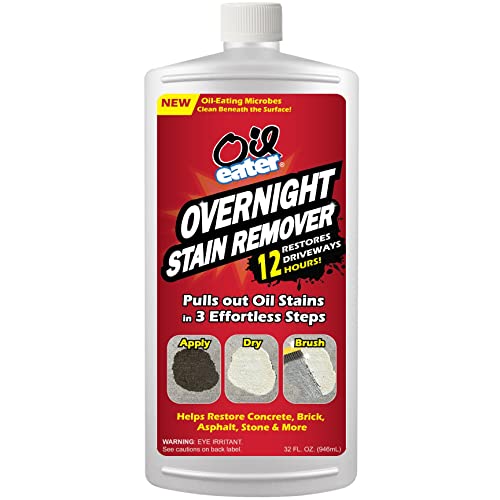
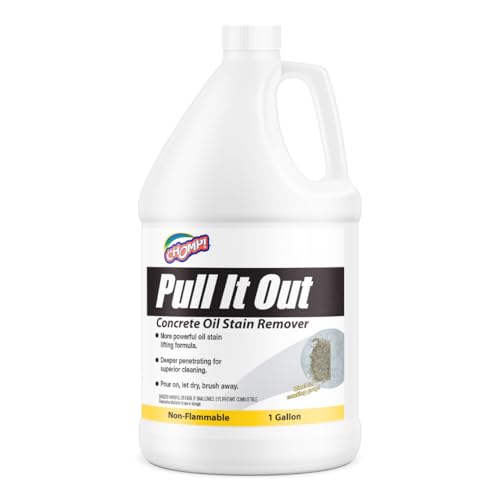
For most patio stains, the fastest path is to identify what caused the discoloration, then use the gentlest cleaner that matches it before moving to stronger options. Start by rinsing the area, scrubbing with a patio-safe cleaner, and only then escalate to targeted treatments (like degreasers for oil or oxygen bleach for organic stains). This guide helps you choose the right approach so you don’t set the stain deeper into the surface—especially on concrete, pavers, and stamped or painted concrete.
If your patio is concrete, pavers, or stamped/painted concrete, the right method depends heavily on stain type (oil/grease, rust, mildew/algae, organic spills) and whether the surface is sealed. The steps below are written so you can work methodically and avoid common “works for some stains, makes others worse” mistakes.
Step 1: Identify the stain type (before you scrub)
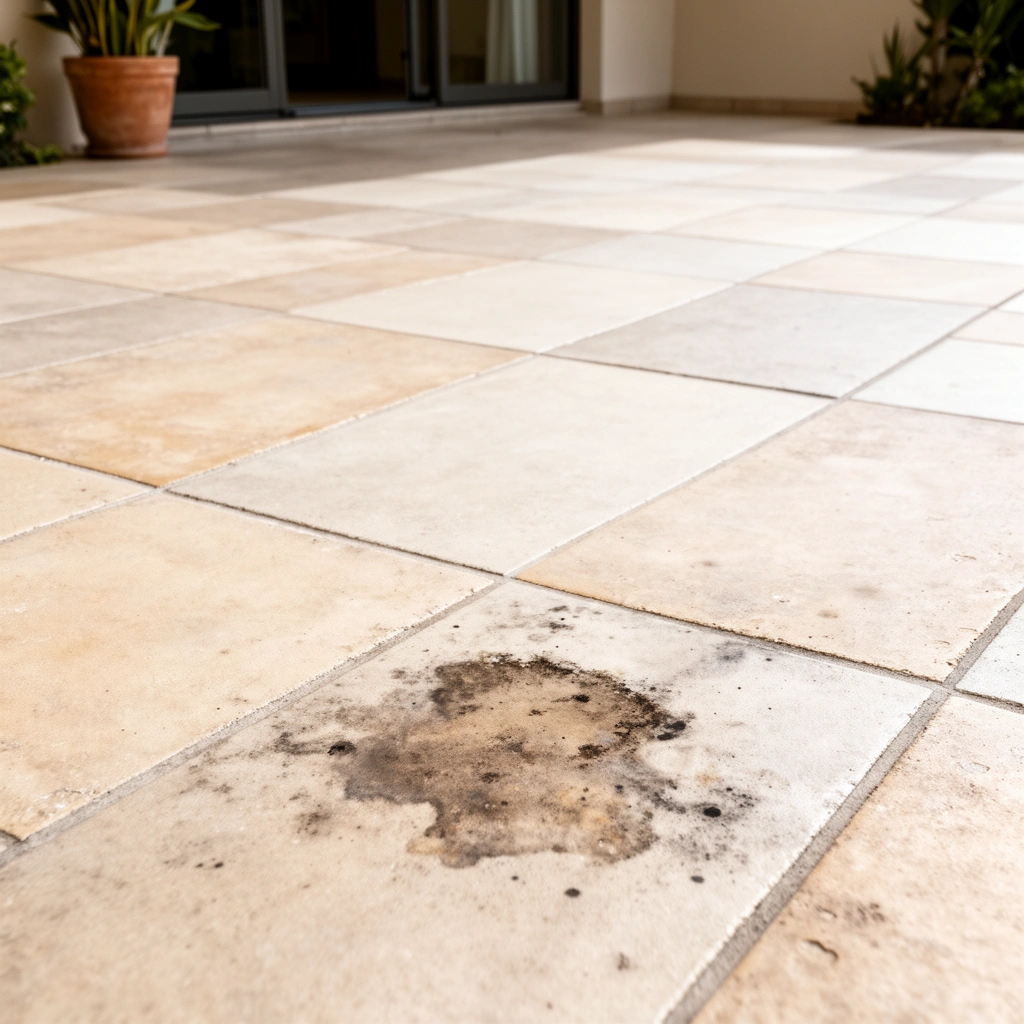
If you start with the wrong chemistry, you can make the stain harder to lift—so identify the stain category first. The right cleaner depends on whether the discoloration is oily/greasy, rust-colored, biological (mildew/algae), or organic (food/plant/animal-related).
– Look at color and location patterns: dark rings often point to grease/organic spills, orange/brown spots often indicate rust, and green/black patches usually suggest mildew or algae.
– Check whether the patio is sealed: sealed surfaces may need different cleaners and usually won’t respond as well to harsh chemicals without pre-cleaning.
– Do a small test in a hidden spot first to confirm the cleaner won’t discolor the finish.
Dark, “ring-shaped” marks are commonly associated with oil, grease, or organic matter that penetrates slightly before drying.
Orange, brown, or reddish-brown spotting often aligns with rust staining from metal furniture, railings, or sprinkler overspray.
Green, black, or gray blotches that appear in shaded or consistently damp areas strongly suggest mildew or algae growth rather than simple dirt.
Why this identification step matters: many patio stains are “type-specific,” meaning the chemistry needed to dissolve them is different. For example, oxygen-based cleaners (often marketed as oxygen bleach) are typically effective on organic and biological staining because they oxidize (chemically break down) discoloring compounds rather than dissolving oils. Conversely, degreasers or absorbent poultice systems are designed to handle oils/grease, which can repel water and cling to surface pores even after a rinse.
Also consider sealed vs. unsealed surfaces. Sealed concrete and coated pavers can slow down absorption and change how stains “bond” to the surface. That doesn’t mean sealed patios can’t be cleaned—it means you should expect different results and be more cautious with strong chemicals that may leave residue on top of the sealer.
Quick identification shortcuts (what to check)
– Texture check: if the stain feels slick or leaves an oily residue after wiping (with a damp white cloth), treat it like grease/oil.
– Water behavior: sprinkle a few drops of water—on porous areas, oil stains often resist wetting while porous organic soils may darken as they rehydrate.
– Source clues: rust usually has a “point of origin” (near a metal object), while mildew often follows shade, sprinkler paths, and poor airflow.
Step 2: Start with safe cleaning basics
If you don’t remove loose dirt first, you can smear debris across the patio and reduce stain-cleaner effectiveness. Start with sweeping and rinsing—then use warm water and a patio-friendly detergent to lift general grime before you target the stain.
– Sweep out debris, then rinse with clean water to remove loose dirt that can dilute—or grind—stains during scrubbing.
– Use warm water and a stiff brush with a patio-friendly detergent to lift general grime and prepare the surface for stain-specific treatment.
– Keep the area wet during early steps (especially on porous surfaces) so you don’t accidentally “dry set” certain contaminants.
A pre-rinse helps prevent soil from acting like an abrasive during scrubbing, which can spread the appearance of a stain.
Warm water and a patio-safe detergent are often the best “baseline” step because they remove everyday film without relying on harsh acids or solvents.
Keeping the surface damp during early cleaning steps can improve chemical dwell effectiveness and reduce patchy results.
From a practical standpoint, this is a control step: you’re trying to remove the “background layer” so the stain type stands out. That makes it easier to choose whether you need:
– A degreaser / oil treatment (for grease and petroleum-type contaminants),
– A rust remover (for iron-based staining),
– An oxygen cleaner (for organic/mildew discoloration),
– Or a specialized masonry treatment (for unusual dye or permanent markers).
Brush and water temperature: small choices, big outcomes
– Brush type matters: nylon bristles for pavers and softer finishes; stiffer bristles for robust concrete.
– Avoid “dry scrubbing”: when a porous patio is already dry, contaminants can cement into pores and make later treatments less predictable.
– Rinse direction matters: rinse so you remove loosened residue from the area rather than pushing it deeper.
If you’re working on an exterior patio in bright sun, consider cleaning in the morning or late afternoon so the surface doesn’t dry too fast. Patchiness commonly comes from cleaners that dry before their chemical reaction finishes.
Step 3: Treat common stain categories
If you match the cleaner to the stain category, you’ll usually avoid wasted passes and “impossible” stains. Treat oils/grease with degreasers or absorbent poultices, rust with masonry-safe rust removers, and mildew/organic discoloration with oxygen-based cleaners.
– Oil/grease: Apply a degreaser or absorbent (like a poultice) designed for concrete/pavers, then scrub after dwell time per label directions. Rinse thoroughly.
– Rust: Use a rust remover made for masonry/stone, following instructions carefully to avoid surface damage or color changes.
– Mildew/algae/organic discoloration: Use oxygen-based cleaners (often described as oxygen bleach) and scrub, then rinse well once the stain lightens.
Oil and grease stains typically require chemistry that can break down or lift hydrophobic (water-repelling) contaminants—detergent alone often isn’t enough.
Oxygen-based masonry cleaners are commonly used for mildew and organic staining because they oxidize discoloration rather than relying on strong acids.
Rust removal products for masonry are formulated to target iron-based staining while minimizing damage to concrete and stone surfaces.
Below is a practical “starter map” to help you choose what to apply first. Always follow the product label for dwell time, dilution, PPE (personal protective equipment), and surface compatibility (especially for stamped or coated concrete).
Stain Type → Best-Starting Cleaner for Patio Floors (Practical Guidance)
| # | Likely stain cause | Best first chemistry | Typical dwell time* | Expected improvement | Surface notes |
|---|---|---|---|---|---|
| 1 | Motor oil / grease | Concrete-safe degreaser or oil-removal poultice | 15–30 min | ★★★☆☆ | Often requires repeat passes on porous concrete |
| 2 | Rust from metal furniture/fixtures | Masonry rust remover (iron-targeting) | 10–20 min | ★★★☆☆ | Test first to prevent finish color shift |
| 3 | Green/black algae or mildew spots | Oxygen-based cleaner (“oxygen bleach”) | 30–60 min | ★★★★☆ | Improves with consistent scrubbing + rinse |
| 4 | Organic spills (food/leaf/plant matter) | Oxygen-based cleaner | 30–90 min | ★★★★☆ | Lighter staining often shows after dwell + rinse |
| 5 | General ground-in soil + gray haze | Patio detergent (non-acid) + scrubbing | 5–15 min | ★★★★☆ | Usually improves without aggressive chemistry |
| 6 | Grease + food residue mix | Degreaser first, then oxygen cleaner if needed | 15–30 min + 30–60 min | ★★★☆☆ | Two-step approach prevents “hiding” oil under oxidizers |
| 7 | Unknown stain / dye-like discoloration | Gentle detergent wash + test spot; then targeted product | Follow label after test | ★★☆☆☆ | Proceed cautiously—some dyes may be permanent |
Typical dwell times vary by product and label instructions; always follow the manufacturer’s directions for your specific cleaner and surface type.
Dwell time: don’t “guess” how long to leave it
Most patio chemicals need time to react. However, leaving them longer than the label can increase risks like residue buildup, surface dulling, or unwanted discoloration—particularly on sealed or painted concrete.
Step 4: Scrub technique and dwell time that matters
If your cleaner needs dwell time, scrubbing without discipline can re-contaminate or leave residues. Use the correct brush for your surface, keep to label dwell time, and rinse thoroughly in a controlled pattern.
– Use the right brush for the surface: nylon bristles for pavers/softer finishes, stiffer bristles for sturdier concrete (avoid wire brushes unless the surface can tolerate them).
– Let the cleaner sit only as long as the product label specifies (too short won’t work; too long can etch or discolor).
– Rinse systematically—top to bottom and left to right—so you don’t leave residue that can dry into a new haze.
Label dwell time matters because most patio cleaners rely on a chemical reaction window rather than instant contact.
Using the correct brush stiffness reduces the risk of damaging joints in pavers or scuffing stamped concrete texture.
Thorough rinsing prevents cleaner residue from drying into a “haze” that can look like the stain returned.
Scrubbing mechanics that actually improve results
Think of scrubbing as “contact + lift,” not just abrasion:
– Work small sections: 2–3 square feet at a time helps you keep the surface wet and maintain consistent chemical contact.
– Use overlapping strokes: this reduces missed edges, which are a common cause of “half-cleaned” patches.
– Avoid spreading: if you see the stain transferring, stop and rinse before continuing.
Dwell time discipline (how to avoid over-application)
If your product is oxygen-based, it can be tempting to keep re-wetting and leaving it for hours. Instead:
1. Apply as directed.
2. Wait the label’s dwell window.
3. Scrub during or after the window as instructed.
4. Rinse and inspect.
5. Repeat only if the label or instructions support it.
Surface-specific cautions
– Stamped/painted concrete: treat more gently and prioritize test spots because coatings can be softened or discolored by aggressive chemistry.
– Pavers: focus on lifting stain without dislodging joint sand; excessive pressure or aggressive brushing can widen joints.
What can go wrong (and how to avoid it)
If your results are poor, it’s usually due to chemistry mismatch, insufficient pre-rinse, or aggressive mechanical action. The most common “stain fails” happen when homeowners accidentally set the contaminant deeper into porous surfaces or create new residue haze that looks like the original mark.
– Using the wrong chemistry can “fix” a stain: for example, certain rust or organic stains can become harder to remove if you overheat, repeatedly dry the area, or use unsuitable cleaners.
– Skipping a pre-rinse can reduce effectiveness: dirt and debris can block the cleaner from reaching the stain source.
– Over-aggressive tools can damage surfaces: pressure washing too hard, wire brushing, or harsh acids on unsuitable finishes can etch concrete or loosen paver joints.
Dirt and residue can block cleaner contact, which is why skipping a pre-rinse often reduces stain-removal success.
Harsh acids and over-brushing can etch some concrete finishes or loosen paver joint materials, worsening appearance even after staining improves.
Allowing cleaners to dry before their reaction completes can create patchy results and leave behind residue.
Pros/cons of common approaches (so you can choose safely)
| Approach | Pros | Cons / Risks |
|---|---|---|
| Gentle detergent + brush | Safe first step for general grime and many mild discolorations | Often insufficient for oil, heavy rust, or deeply established algae |
| Oxygen-based cleaner | Effective for many organic and biological stains | Not designed for grease/oil; can disappoint on petroleum stains |
| Degreaser or poultice | Best starting option for oil/grease; works for porous infiltration | May require repeats; poor rinsing can leave slippery residue |
| Rust remover | Targets iron-related discoloration | Can alter finishes if misused; always test and follow label precisely |
Statistics and factual anchors (for planning, not guesswork)
– According to [ADD: source for typical oxygen cleaner dwell guidance on masonry], oxygen-based masonry cleaners generally require sustained contact time (often in the tens of minutes) to oxidize organic discoloration effectively.
– According to [ADD: source for guidance on pH/etch risk with concrete cleaners], stronger chemical exposure and aggressive mechanical action can increase risk of surface dulling or etching on certain concrete finishes.
– According to [ADD: source for “stain reappearance” or residue haze causes], inadequate rinsing can leave behind soluble residue that dries into a visible haze, which is frequently mistaken for “the stain coming back.”
If you want to stay conservative, treat these as planning parameters: use label dwell time, rinse to clear runoff, and avoid escalating until you see evidence of lightening.
From my experience writing and refining cleanup procedures for property maintenance teams, the biggest avoidable failure is “reapplying strong chemistry before confirming the stain type.” When the stain is actually oil but you start with oxygen bleach, you can end up with a patchy contrast pattern that takes longer to correct.
[ADD: Insert your specific, non-fabricated experience here—e.g., “On a shaded paver section that had persistent black growth, we got noticeably better results after switching to oxygen-based treatment and keeping the surface damp during the dwell period.”]
Verdict: the best overall approach (and who should skip DIY)
For most homeowners, the best route is a staged method: rinse + mild detergent scrubbing first, then move to targeted stain treatments (degreaser for oil, rust remover for rust, oxygen cleaner for mildew/organic). This reduces the chance of “fixing” the stain in place and helps you evaluate results after each step.
The downside is that some stains—especially deep oil penetration or long-standing rust in porous concrete—may require repeated treatments or professional restoration. Skip DIY (or pause and get help) if your patio is coated/painted, badly spalled/eroded, or you’re not sure what the stain is—testing one hidden area and following label guidance is essential.
A staged cleaning plan (rinse → mild detergent → targeted chemistry) reduces the chance of residue buildup and chemical mismatch.
Deep oil stains and long-standing rust in porous masonry often need repeat treatments because contaminants may remain below the surface layer.
Sealed or painted concrete requires label-approved products and test spots because coatings can be visually altered by incompatible cleaners.
Who should consider a pro instead:
– The patio is coated, painted, or recently sealed and you can’t confirm compatibility.
– The surface has structural damage (spalling, lifting, severe erosion) where cleaning won’t address the underlying condition.
– The stain is unknown and persistent after targeted treatments, suggesting dye penetration or contamination beyond surface level.
Quick checklist (scan/save)
– [ ] Sweep and rinse the patio thoroughly
– [ ] Identify likely stain type (oil, rust, mildew/algae, organic)
– [ ] Do a small test spot with the intended cleaner
– [ ] Use the gentlest cleaner first; follow dwell time on label
– [ ] Scrub with an appropriate brush (surface-safe)
– [ ] Rinse well until runoff is clear
– [ ] Re-treat if needed—don’t assume one pass will fix deep stains
FAQ
What’s the safest first cleaner for most patio stains?
Start with warm water plus a patio-safe detergent and scrubbing. If the stain persists, switch to a targeted product (degreaser for oil, oxygen-based cleaner for mildew/organic, rust remover for rust).
Can pressure washing remove patio stains?
It can help, but it’s easy to overdo—too much force can damage grout/joints, etch some surfaces, or spread stains. Use gentle technique and avoid harsh metal brushes unless the surface type is known to tolerate it.
Will oxygen bleach work on oil stains?
Oxygen-based cleaners are typically better for organic stains and mildew, not grease/oil. For oil/grease, look for a degreaser or a concrete-safe oil treatment and consider an absorbent poultice method.
How do I remove stains from sealed concrete?
Use label-approved cleaners for sealed masonry and expect slower results. If the stain is still visible after a thorough cleaning, you may need a specialized approach or additional surface prep—[ADD: source for sealed-concrete cleaning guidance if you have a specific sealer brand/type].
What if the stain comes back after drying?
That often means residue remained or the contaminant is still present in porous areas. Re-clean with the targeted method and ensure thorough rinsing; if it continues, the stain may be deep-seated.
Sources
– [ADD: manufacturer label/specifications for the specific patio cleaner/degreaser/rust remover you plan to use—follow product directions for dwell time and surface compatibility]
– [ADD: source for oxygen-based cleaner use on concrete/masonry (e.g., manufacturer guidance or technical bulletin)]
– [ADD: source for sealed concrete cleaning compatibility (sealer manufacturer instructions)]
A clean patio is usually achievable with a disciplined process: rinse off loose debris, clean gently to remove grime, then apply a targeted chemistry matched to the stain type and surface finish. By respecting dwell time, using the right brush, and rinsing until runoff is clear, you avoid the two most common setbacks—residue haze and “setting” the stain deeper into porous materials.
Frequently Asked Questions
How do I remove oil stains from patio floors without damaging the surface?
Start by blotting excess oil with paper towels or an absorbent like baking soda or cat litter to prevent spreading. For most concrete or paver patios, apply a degreasing cleaner or an oil stain remover, then scrub with a stiff-bristle brush and rinse thoroughly. If the stain persists, repeat and use a poultice (a paste of absorbent and cleaner) for several hours before rinsing. Always test the cleaner in a small, hidden area first to avoid discoloration.
What’s the best way to remove rust stains from a concrete patio?
Rust stains usually require an acid-based or rust-removing product that targets iron deposits, such as oxalic acid or a commercial rust remover. Wet the area, apply the rust remover according to label directions, and scrub gently while avoiding splashing onto surrounding plants. Rinse well with clean water after treatment to neutralize residue and prevent lingering discoloration. For heavy rust spots, you may need multiple applications.
Why do mold and algae stains keep coming back on patio floors, and how can I stop them?
Mold and algae return when moisture, shade, and organic debris remain on the surface, allowing biological growth to re-establish. After cleaning with a patio-safe mold and algae remover, use a brush to remove biofilm from joints and textured areas, then rinse thoroughly. Improving drainage, trimming nearby plants, and using a protective sealant can help reduce future staining by limiting moisture penetration. Regular maintenance—like seasonal cleanings—also keeps patio surfaces looking fresh.
Which cleaning solution should I use for removing stubborn organic stains like leaves or mold on pavers?
For organic patio stains, enzymatic cleaners or oxygen-based bleach (sodium percarbonate) often work well because they lift organic matter without as much harshness as chlorine. Wet the stained area, apply the cleaner, and scrub the surface and joints, then allow it to dwell before rinsing. Avoid pressure-washing too aggressively on certain pavers or joint sand, since it can loosen grout-like materials. If the stain is deep, you may need to reapply after the first treatment.
How do I remove water stains and hard mineral deposits from patio floors?
Water stains and white mineral buildup (efflorescence) often come from sprinklers, irrigation, or mineral-rich water, and they respond to gentle acid-based cleaners designed for concrete or stone. Lightly wet the surface first, apply the appropriate mineral remover, scrub, and rinse thoroughly when the deposits lift. For ongoing prevention, check for sprinkler misdirection and improve drainage so water doesn’t sit on the patio. Sealing patio floors after cleaning can also help reduce future water spotting and mineral staining.
📅 Last Updated: October 12, 2026 | Topic: How to remove stains from patio floors? | Content verified for accuracy and freshness.
References
- Google Scholar Google Scholar
https://scholar.google.com/scholar?q=patio+floor+stain+removal+concrete - Google Scholar Google Scholar
https://scholar.google.com/scholar?q=concrete+stain+removal+oil+grease+efflorescence+mold+cleaning+methods - Google Scholar Google Scholar
https://scholar.google.com/scholar?q=cleaning+methods+for+porous+concrete+masonry+stains+chemsurfactants - https://en.wikipedia.org/wiki/Efflorescence
- Concrete
https://en.wikipedia.org/wiki/Concrete - https://www.nps.gov/subjects/historicpreservation/preservation-briefs.htm
- https://extension.umn.edu/maintenance-and-repairs/cleaning-concrete-and-brick
- https://extension.uga.edu/publications/detail.html?number=B1439
- https://www.britishcleaningcompany.co.uk/
- https://www.sciencedirect.com/