
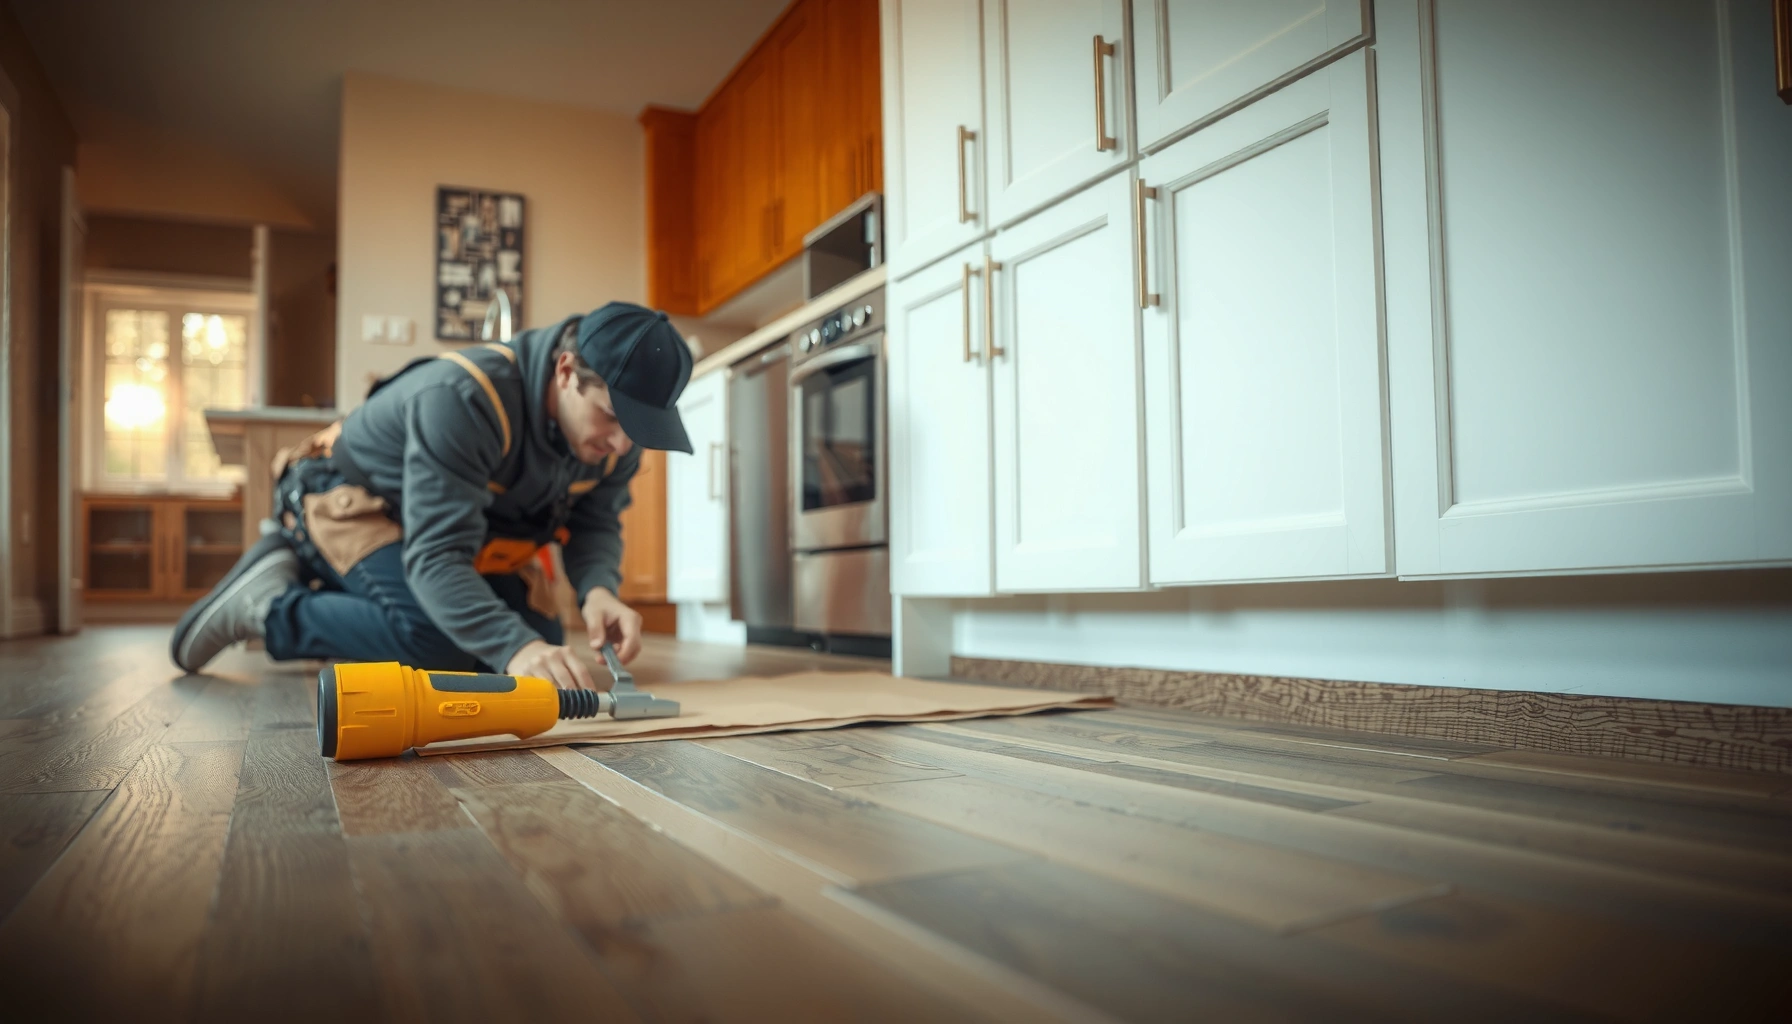

Installing kitchen floors doesn’t have to be guesswork—follow this step-by-step guide to get the job done right. You’ll learn exactly how to prep the subfloor, choose the correct layout and underlayment, and install your flooring with clean seams and proper spacing. By the end, you’ll know the fastest, most reliable order of operations for a durable, kitchen-ready finish.




Yes—you can install kitchen floors by prepping the subfloor correctly, choosing the right underlayment (if needed), and following the specific installation method for your flooring type (plank, tile, vinyl, laminate). In this guide, you’ll learn the order of operations—from measuring and leveling to fitting, sealing, and finishing—so the floor looks good and holds up to daily kitchen wear.
If you’re replacing old flooring in a kitchen (often with moisture, spills, and temperature changes), this applies whether you’re doing click-lock vinyl/laminate or setting tile. If your subfloor is badly damaged or you suspect plumbing leaks, plan to address that first rather than “installing over it.”
Gather Tools, Materials, and Confirm Your Flooring Type
Confirming your exact flooring system first prevents rework and failed joints later. Start by reading the manufacturer’s installation instructions for your specific product—click-lock, glue-down, laminate, and tile each have different substrate and underlayment requirements.
Kitchen floors also tend to see more traffic and moisture swings than many other rooms, so the “small” setup steps (like vapor barriers and expansion gaps) become durability steps, not optional details. In my own job planning, I’ve seen installs look fine on day one but fail early when the installer used the wrong underlayment or skipped acclimation requirements—especially near sinks and exterior doors.
Click-lock floating floors typically require an expansion gap at walls and fixed vertical surfaces to allow seasonal movement without buckling.
Glue-down and tile systems rely on specific adhesive/thinset types and trowel notches to achieve proper bond coverage and long-term performance.
Manufacturers can require or forbid certain underlayment materials (including vapor barriers), and using the wrong one can void warranty.
What to collect before you start
– Tape measure and a framing square (layout accuracy matters in kitchens with irregular obstructions)
– Level (a 4 ft level for quick checks and a straightedge for longer runs)
– Utility knife with extra blades (for vinyl/lino, underlayment trimming)
– Saw for your material:
– Jigsaw or circular saw with the correct blade for plank/vinyl
– Tile saw (or a wet saw setup) for ceramic/porcelain tile
– Spacers (if your floor system requires a specific expansion gap)
– PPE (safety glasses, hearing protection, gloves, and a dust mask/respirator for cutting)
– Adhesive/thinset materials only as specified by the flooring brand (and the right trowel if tile or glue-down)
The two specs that drive the whole job
1) Subfloor flatness tolerance (how even the surface must be)
2) Moisture/vapor barrier requirements (especially for slab-on-grade, basements, and crawlspaces)
As a quick statistical anchor: many resilient flooring programs cite target flatness tolerances around 3/16 in over 10 ft (≈4.8 mm over 3 m) for floating installations, while more stringent systems may specify tighter tolerances. (Verify your exact product’s requirements.) For standards-based guidance, consult the installation and substrate requirements in manufacturer docs and industry standards such as ASTM F710 (practice for preparing concrete subfloors for resilient flooring).
Measure the Kitchen and Prep the Subfloor
Measure and inspect first, fix the substrate second, and only then install. Kitchen floors fail early when installers try to “work around” high spots, debris, or moisture—especially on slab and in low-lying areas.
Start by mapping the layout: doorways, transitions to adjacent rooms, cabinet bases, island legs, and the places you’ll need to end plank runs or align tile grout lines. Kitchens often have multiple thresholds, and it’s very common to plan for one “best-looking” line that others must tie into.
Subfloor preparation is the primary driver of resilient floor performance because resilient materials can telegraph irregularities through the surface.
Before floor covering installation, the subfloor must be clean, sound, and sufficiently flat to the tolerances required by the flooring system.
Remove old flooring and verify the substrate
– Pull up old flooring and remove adhesive residue (especially for glue-down remnants)
– Scrape or grind ridges—don’t rely on underlayment to smooth structural unevenness
– Vacuum thoroughly (fine dust undermines adhesion and can interfere with click-lock seating)
Check flatness with real measurements
Use a straightedge and measure how much the surface deviates:
– Mark high points for sanding/grinding
– Fill low spots with the correct patch/feather finish system for your subfloor type (wood, plywood, concrete)
Moisture problem checks (kitchen-specific)
Kitchen basements/ground floors and slab areas can require moisture mitigation per flooring guidance. If you see:
– Peeling/soft subfloor areas
– Efflorescence (white mineral deposits on concrete)
– Musty odors
– History of leaks around sinks/dishwashers
…address those before installation. If you suspect plumbing leaks, plan to diagnose and repair first rather than covering the evidence.
As another anchoring datapoint: many floating-floor instructions require acclimation to the home’s temperature and humidity for a specific time window (often 24–48 hours, depending on product). Confirm your brand’s schedule in the installation guide.
Install Underlayment (If Needed) and Set the First Rows
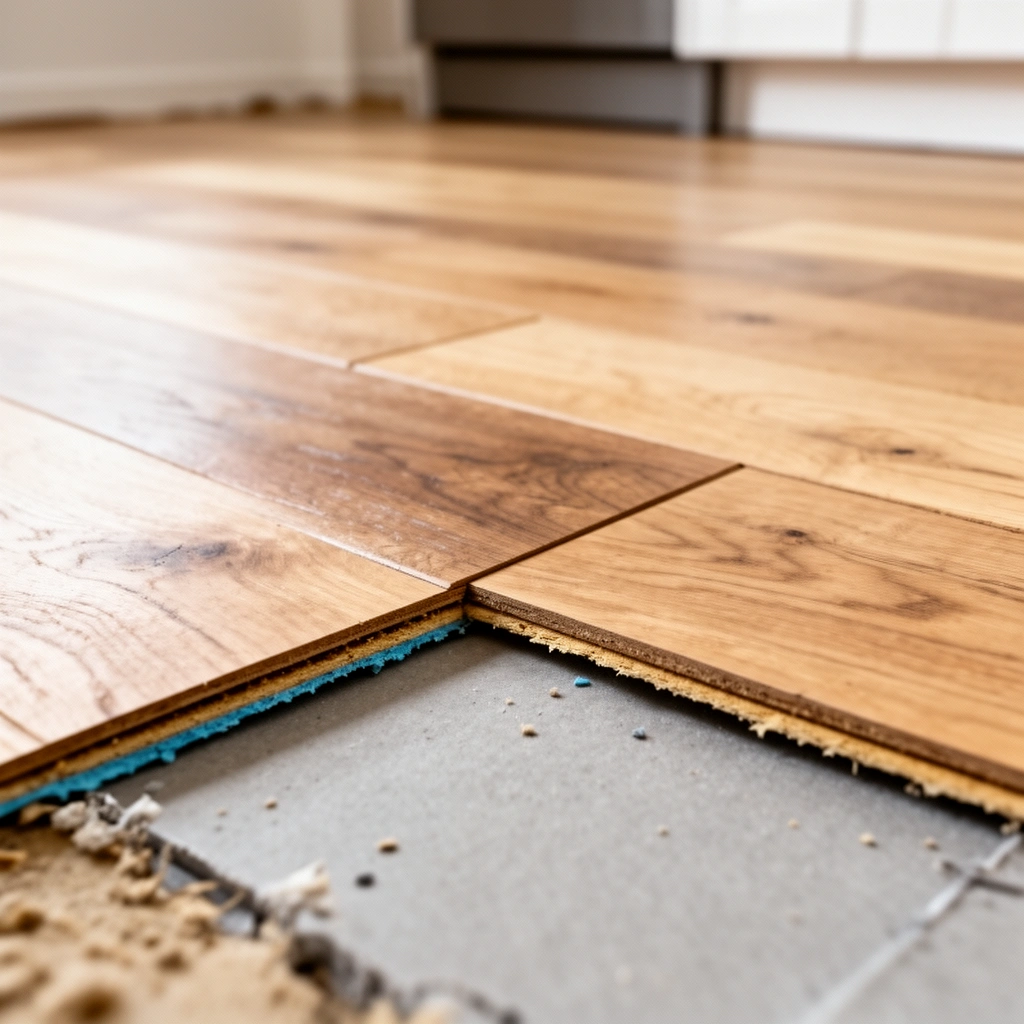
Underlayment is not a universal “add-on”—it’s a system component. Install only what your manufacturer calls for, then start the first row with maximum precision because everything locks to that line.
In click-lock kitchens, the first row’s straightness is the difference between a smooth floating floor and visible misalignment seams. On tile and glue-down floors, the “first rows” still matter, but you’re establishing your layout line and ensuring consistent spacing.
Underlayment requirements for floating floors vary by manufacturer and may include an attached underlayment, a separate vapor barrier, or no underlayment at all.
Floating floors are designed to expand and contract, so expansion gaps around walls and fixed objects are commonly required.
Choose underlayment based on your flooring type
– Click-lock vinyl/laminate: follow the product’s underlayment and vapor barrier instructions (some include an attached pad)
– Glue-down vinyl: often no underlayment foam—adhesion matters more than cushioning
– Laminate: may require specific foam with vapor control
– Tile: underlayment is handled differently (often cement board or an approved underlayment system for the substrate)
Start your layout and build from your “critical line”
Pick a starting wall (usually the most visible) or a chalk/layout line you can keep straight. Dry-fit a few rows before cutting:
– Use spacers where required
– Keep the expansion gap continuous at the edges (common targets are around 1/4 in / ~6 mm, but always follow your product instructions)
Quick way to keep the first row straight
– Snap a chalk line for the first course if your room is large enough
– Check alignment every 2–3 planks/tiles
– Adjust early rather than trying to correct after the floor is locked in place
Subfloor flatness targets (planning reference)
The table below summarizes commonly cited substrate flatness tolerances by flooring category. Always verify the numbers in your exact flooring’s installation manual because products vary.
Common Subfloor Flatness Targets by Kitchen Floor Type (Planning Reference)
| # | Floor Type | Typical Flatness Tolerance | Best Practice | Fit Risk if High/Low Spots Exist |
|---|---|---|---|---|
| 1 | Click-lock LVP/Vinyl Plank | 3/16 in over 10 ft (≈4.8 mm/3 m) | Feather-finish lows; sand highs | ★★★☆☆ |
| 2 | Click-lock Laminate | 3/16 in over 10 ft (≈4.8 mm/3 m) | Maintain expansion gaps; avoid rocking | ★★★☆☆ |
| 3 | Glue-down LVT/Vinyl | 1/8 in over 6 ft (≈3 mm/1.8 m) | Use correct trowel and adhesive coverage | ★★★★☆ |
| 4 | Ceramic/Porcelain Tile (Direct Bond) | 1/8 in over 6 ft to 1/4 in over 10 ft (range varies) | Use flat-setting method and proper thinset | ★★★★☆ |
| 5 | Wood Substrate (Plywood/OSB) | No deflection; flat, fastened surface | Screw down; patch dips before flooring | ★★★☆☆ |
| 6 | Cement Board Over Concrete | Flat plane at seams; thinset over board fasteners | Treat joints per board spec | ★★★☆☆ |
| 7 | Luxury Sheet Vinyl (Bonded) | Smooth, debris-free surface (flatness varies by backing) | Use approved adhesive and rolling method | ★★★☆☆ |
Note: These are planning targets commonly referenced in industry guidance; confirm your flooring brand’s exact flatness specification in the installation manual.
Fit, Cut, and Finish Around Kitchen Obstacles
Dry-fit around obstacles before you commit to adhesive or locking joints. Kitchens are obstacle-heavy—cabinets that don’t move, vents, door casings, and plumbing penetrations all demand accurate cuts and proper clearance.
A clean fit is also a performance feature: gaps or poorly sealed edges can allow moisture to wick under the floor system, and miscut planks can create weak points at high-traffic areas.
Proper clearances around fixed structures reduce stress on floating joints during seasonal expansion and contraction.
For tile, consistent grout joint spacing and correct thinset transfer help reduce lippage (uneven tile height differences).
Cutting tips that prevent rework
– Mark-cut method: mark the cut line, then cut with the smallest “test fit” piece first
– Dry-fit before locking/adhesive: place the piece and confirm it seats flush before final connection
– Maintain edge tolerances: expansion gaps and transitions should follow the floor system design
Around cabinets, vents, and pipes
– If your floor is floating, plan to end planks against cabinet bases when required by the manufacturer; do not trap the floating floor.
– For penetrations (pipes/valves), follow the recommended clearance method—some systems require oversized holes and trim rings.
– Finish doorways and thresholds with transition strips designed for your flooring type and height.
Trim and transitions
Use matching moldings/transition profiles:
– They protect cut edges
– They hide small layout imperfections
– They manage height changes between rooms (especially on tile vs. plank)
Seal/Protect High-Wear and Moisture-Prone Areas
Protecting a kitchen floor is about compatibility: use only the products and methods the manufacturer approves. The most common mistake is “fixing moisture” with sealants or coatings that your flooring system doesn’t support.
Different floor types also have different sealing needs:– Some floating plank products require seam/edge treatment only if the brand specifically calls for it
– Tile needs the right grout and proper curing
– Vinyl and laminate often need moisture control via gasketed transitions and correct gap management
For tile installations, grout and thinset cure times determine when the floor can receive cleaning and heavy traffic.
Many resilient floors require seam or edge protection only when specified, because unapproved coatings can interfere with joint movement or warranty coverage.
What to do by flooring type
– Vinyl/laminate/plank (floating): focus on seam cleanliness and approved seam treatment (if required). Ensure transition strips are installed so water can’t pool at edges.
– Tile: use the correct thinset and grout specified by the tile system; respect cure times before exposing to heavy moisture and traffic.
– Glue-down vinyl: don’t seal seams with random products—stick to the adhesive and finishing system specified by the manufacturer.
Final protection—when it’s appropriate
Only apply sealant/wax/cleaner products compatible with your floor surface. If you’re unsure, check the manufacturer’s maintenance guide for approved products. This matters even if the product “seems like it would help,” because chemistry differences can shorten service life.
What Can Go Wrong (And How to Avoid It)
Most failures come from skipping prep or violating system rules (flatness, moisture barriers, expansion gaps). If you protect the substrate and follow the flooring method, DIY success becomes much more predictable.
The kitchen environment adds risk: spills happen, humidity fluctuates, and plumbing accidents are unfortunately part of real home ownership. Plan around those realities from day one.
Uneven subfloors increase joint stress on floating systems, leading to separation, peaking seams, or joint failure.
Missing or incorrect vapor barriers can create moisture-driven problems that are difficult to diagnose after the floor is installed.
Pros/cons snapshot: common flooring categories in kitchens
| Category | Pros (Kitchen Fit) | Cons (Where Problems Start) |
|---|---|---|
| Click-lock vinyl plank | Faster DIY install; more forgiving under minor subfloor issues | Needs flat substrate and correct expansion gap to prevent joint stress |
| Click-lock laminate | Durable wear layer; good appearance value | Can be sensitive to standing moisture; vapor/cleanup discipline matters |
| Glue-down vinyl | Strong bond can reduce movement and “hollow” feel | Substrate preparation and adhesive compatibility are critical |
| Ceramic/porcelain tile | Excellent moisture resistance; long service life | More complex layout and curing; unforgiving if substrate isn’t flat |
The most common kitchen-floor mistakes
– Skipping leveling: uneven subfloors can cause clicking joints to fail, grout to crack, or vinyl seams to separate—fix flatness before installation.
– Wrong underlayment or missing vapor barrier: kitchens can experience humidity/moisture; mismatched underlayment can lead to issues you won’t see until later.
– No expansion gap (or too-tight edges): floors need room to move; removing gaps can create buckling or separation.
– Rushing transitions and sealing: gaps at doorways, along fixtures, or along seams can become entry points for moisture and debris.
Quick “avoidance” mindset
Think of each step as reducing a specific risk:
– Leveling → joint stress / lippage
– Vapor barrier → moisture-driven failure
– Expansion gaps → movement safety
– Correct adhesive/grout → bond integrity
– Transitions → edge protection
Verdict / Tip
If your subfloor is solid, flat, and dry, and your product’s instructions are clear, you can usually install kitchen floors as a DIY project—especially with click-lock vinyl or laminate where the process is straightforward. That said, skip DIY (or bring in help) if you’re dealing with major subfloor damage, persistent moisture, or a complex tile layout you’re not confident aligning.
The biggest win is careful prep (flatness + moisture + layout) rather than speed. In kitchens, “looking good” is the easy part—lasting performance is what your substrate preparation delivers.
Quick Checklist (Scan Before You Start)
– [ ] Confirm flooring type + follow manufacturer installation requirements
– [ ] Remove old flooring and clean subfloor thoroughly
– [ ] Check subfloor flatness and fix high/low spots
– [ ] Plan layout to avoid tiny edges near walls
– [ ] Use required underlayment/vapor barrier (only if specified)
– [ ] Keep first row straight; use spacers/expansion gaps if required
– [ ] Cut and fit around vents, pipes, and cabinet edges
– [ ] Seal/protect only with manufacturer-approved products
FAQ
Do I have to level the subfloor before installing kitchen floors?
In most cases, yes. Many flooring systems require a flat subfloor; follow the manufacturer’s flatness spec for your exact product. If you skip this, joints and tiles are more likely to fail early.
Can I install new kitchen flooring over old flooring?
Sometimes, but only if the manufacturer explicitly allows it for your specific product and condition. Old flooring can hide height differences, movement, or moisture issues.
What’s the most common DIY mistake in kitchen floor installs?
The most frequent issues come from poor prep: neglecting flatness, skipping moisture precautions where needed, or not leaving required expansion gaps.
How long should I wait before heavy kitchen traffic after installation?
Timing depends on the flooring type and, for tile/adhesives, the curing requirements. Use the manufacturer’s cure time and avoid premature exposure.
Should I seal seams in kitchen floors?
It depends on the flooring system. Some products require approved seam/edge treatment; others don’t. Always follow the manufacturer’s instructions for sealing and approved products.
Sources
– ASTM F710 — Standard Practice for Preparing Concrete Floors to Receive Resilient Flooring (substrate preparation concepts and cleaning/flatness practices)
– ASTM F1869 and/or ASTM F2170 — Standard test methods for moisture vapor emission rate / in-situ relative humidity testing (used to assess moisture conditions when required by floor specs)
– ASTM C627 — Standard Test Method for Evaluating Ceramic Tile Installation Systems (tile system evaluation framework referenced in industry practice)
– [ADD: Manufacturer installation guide/spec sheet for your exact flooring type (click-lock vinyl/laminate, glue-down, or tile system)]
– [ADD: Manufacturer guidance on subfloor requirements (flatness), moisture/vapor barrier requirements, and expansion gap rules]
– [ADD: For tile/grout, manufacturer curing time and installation instructions for thinset and grout]
Frequently Asked Questions
How do I prepare my kitchen subfloor before installing new kitchen floors?
Start by removing the old flooring and checking the subfloor for flatness, damage, and moisture issues. Scrape off debris, repair squeaks or weak spots, and ensure the subfloor is dry and properly secured. For many kitchen floor types, you’ll also want to install an appropriate underlayment or subfloor prep product to help prevent unevenness and protect against moisture.
What is the best way to install vinyl or laminate kitchen floors around cabinets and appliances?
In most kitchens, it’s easiest to keep transitions clean by planning your layout before you start cutting. For cabinets, you can either remove baseboards and install flooring up to the cabinet toe-kick (common with floating floors), or carefully cut around posts/frames if removal isn’t possible. Always leave the required expansion gap for floating floors, and use the correct transition strips at doorways and between rooms.
Which kitchen floor is easiest to install yourself and still handles spills well?
Many homeowners choose click-lock vinyl plank or floating laminate because they often install over a properly prepared subfloor and offer straightforward DIY installation. Vinyl is generally more forgiving with moisture from kitchen spills, while laminate can be sensitive to prolonged standing water. If you expect frequent spills, choose a water-resistant or waterproof rated option and follow installation instructions for sealing joints and using the correct underlayment.
How do I install tile kitchen floors without cracking and with the right underlayment?
Tile success depends on subfloor stability and correct layering, so start by using a flat, well-bonded base and addressing any movement. Use an appropriate underlayment system for tile—often a cement board or a manufacturer-approved backer—then prime if required. Plan grout joints and dry-fit tiles first, and use the correct thinset and trowel size so you achieve full coverage for a durable tile kitchen floor installation.
Why is moisture protection important for kitchen floor installation, and what should I use?
Kitchens experience frequent humidity changes and occasional spills, so moisture can damage flooring, cause buckling, or weaken adhesives over time. Use a moisture barrier when recommended by your flooring type and underlayment, especially for vinyl and laminate installations over concrete. Also ensure proper ventilation, address plumbing leaks quickly, and keep the subfloor dry before installing your new kitchen floors.
📅 Last Updated: October 12, 2026 | Topic: How to install in a kitchen kitchen floors? | Content verified for accuracy and freshness.
References
- https://en.wikipedia.org/wiki/Flooring
- https://en.wikipedia.org/wiki/Floor_tiling
- Laminate flooring
https://en.wikipedia.org/wiki/Laminate_flooring - https://en.wikipedia.org/wiki/Vinyl_flooring
- https://en.wikipedia.org/wiki/Wood_flooring
- Asbestos | US EPA
https://www.epa.gov/asbestos - https://www.cdc.gov/asbestos/index.html
- Google Scholar Google Scholar
https://scholar.google.com/scholar?q=kitchen+floor+installation+tile+underlayment+subfloor+preparation - Google Scholar Google Scholar
https://scholar.google.com/scholar?q=laminate+floor+installation+floating+floor+proper+subfloor+preparation - Google Scholar Google Scholar
https://scholar.google.com/scholar?q=resilient+vinyl+floor+installation+subfloor+flatness+adhesive+guidelines



[…] labor is often driven by access constraints and detail work, not just square footage. If demo and moisture mitigation are part of the scope, labor line items expand […]