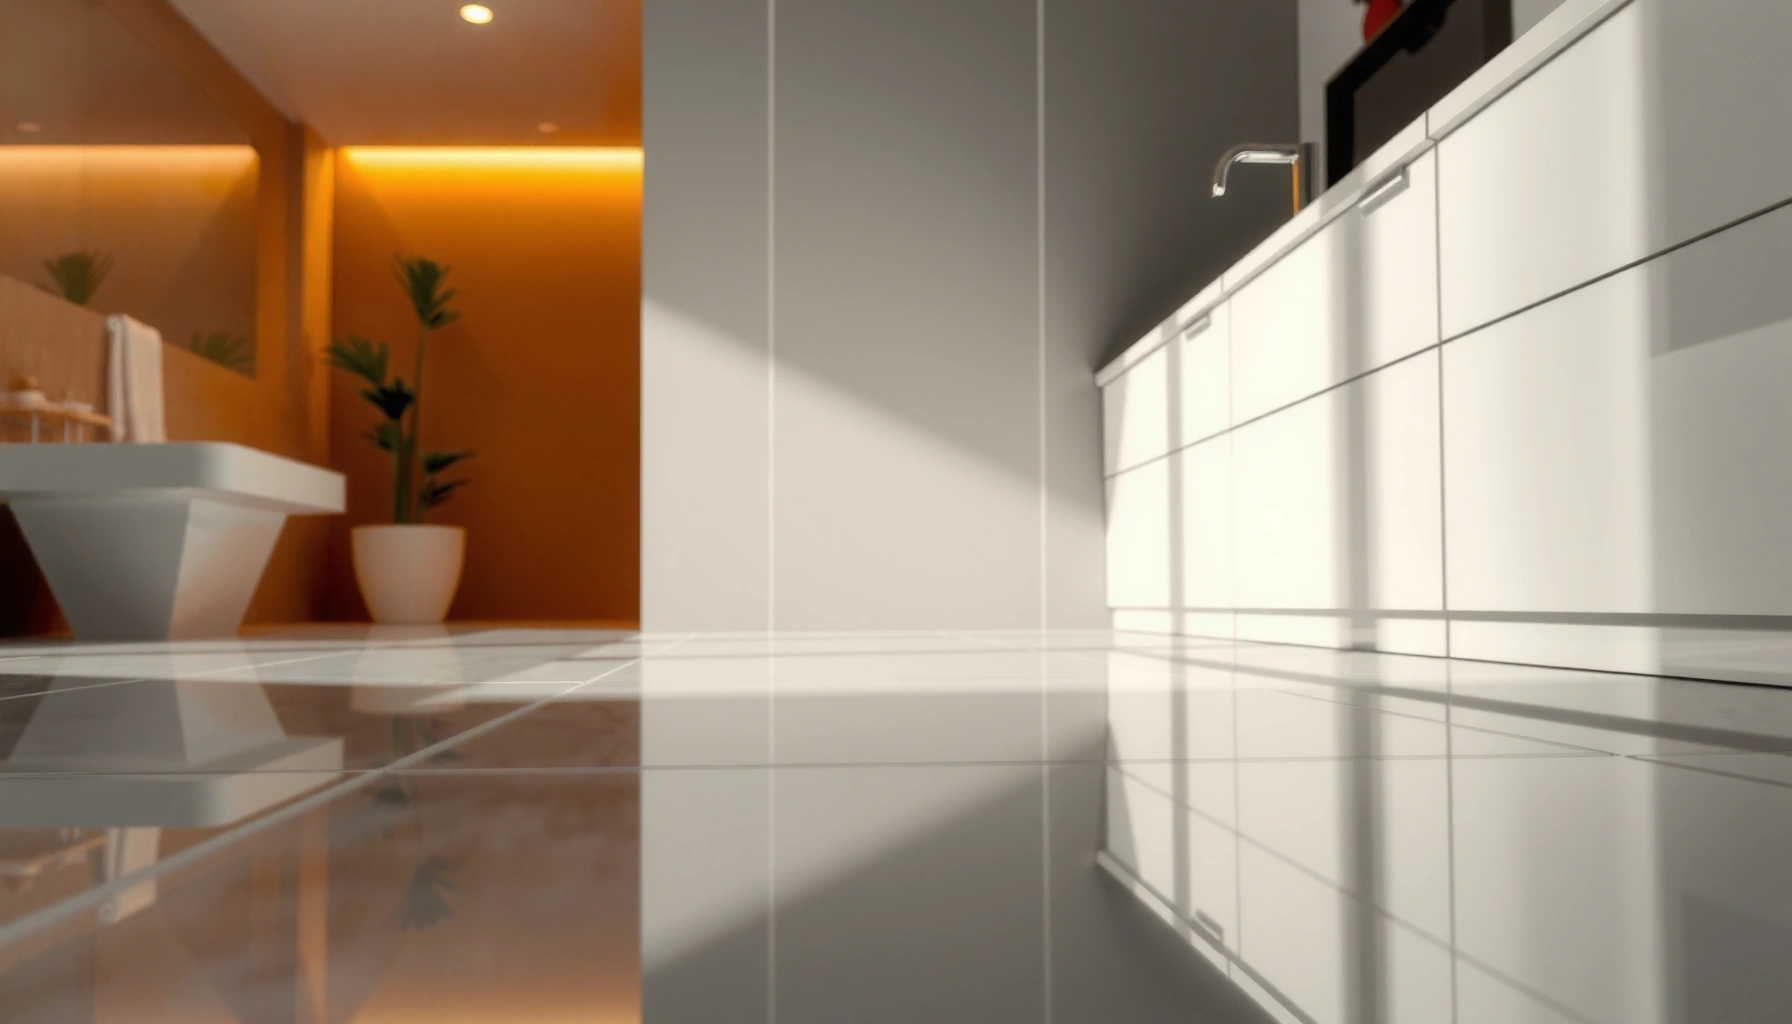

Learn how to polish bathroom floors with a step-by-step process that delivers a clean, glossy finish without damaging tile or moisture-prone surfaces. This guide tells you exactly which cleaner to use, how to prep and seal the floor, and how to buff for the shine that actually lasts in a high-humidity room. Follow it closely and you’ll finish with a smooth look, safer footing, and results you can maintain.




Polish bathroom floors by deep-cleaning first, repairing any damage, then using the right pads and finish for your floor type (tile, stone, or sealed vinyl/laminate). Once the surface is clean and dry, you’ll either buff to restore shine or re-polish with a compatible polishing system so the gloss doesn’t fade or turn streaky. This guide walks you through the safest order of operations and what to watch for in a humid bathroom.
If your bathroom floor looks dull, cloudy, scratched, or has uneven shine, polishing can help—but only when the surface and existing coating are compatible with the method you choose. This is for homeowners and DIYers who want a practical process and fewer “oops” moments before you start grinding, buffing, or using chemical cleaners.
Identify your floor type (and current finish)
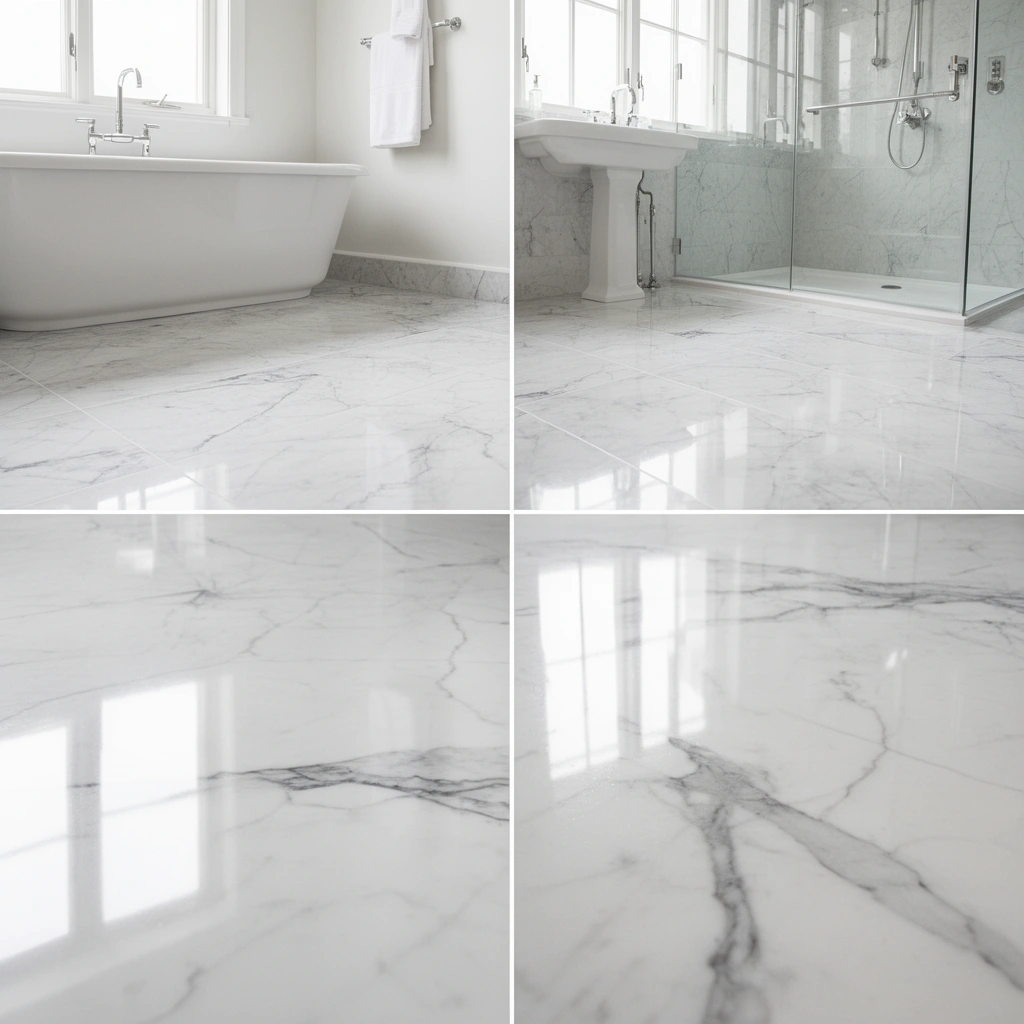
You’ll get the best results by identifying whether you’re polishing ceramic/porcelain tile, natural stone (marble, granite, limestone, etc.), or a sealed floor product like vinyl or laminate. You also need to confirm whether the floor already has an applied sealer/finish—because polishing compounds and pads won’t behave the same across finishes.
Start by inspecting the surface closely under bathroom lighting: tile often has uniform, glossy glazing (ceramic/porcelain), while natural stone can show color variation and a “depth” that dull polish systems won’t fix. Sealed vinyl/laminate typically feel slightly less “mineral” and more uniform, and they can smear haze if you use the wrong pad or chemistry.
Then check for the existing finish. If the floor looks like it has a protective film that wipes with a cleaner residue (or you’ve used a “quick shine” product before), you may need a maintenance buff rather than an aggressive polish. In my experience planning these jobs, the biggest failures are almost always compatibility failures—using stone or grout-focused products on coated surfaces, or assuming “shiny now” means “safe to polish later.”
According to the U.S. Environmental Protection Agency (EPA), indoor relative humidity should typically be kept between 30% and 50% to help prevent mold growth on building materials (EPA, guidance cited in mold prevention resources).
According to the Centers for Disease Control and Prevention (CDC), mold can begin growing on damp surfaces within 24–48 hours after water exposure (CDC, mold growth information).
When you’re identifying your floor type, repeat the key target as you move through the room: tile vs. stone vs. sealed vinyl/laminate. This repetition matters because the next steps—pads, compounds, and whether to use a sealer—depend entirely on which category you’re in.
Quick material cues (so you don’t guess)
– Ceramic/porcelain tile: Look for grout lines and a glazed surface; water typically beads differently than on unsealed stone.
– Natural stone: Often shows pores, natural veining, and can etch if exposed to acids; polishing can improve gloss but can’t erase deep etching permanently.
– Sealed vinyl/laminate: Usually has a consistent pattern layer; aggressive abrasion can cut through the coating and make the shine worse.
[ADD: source for compatibility guidance from your floor/material manufacturer]
Prep the floor properly (clean, dry, protect)
You polish for appearance, but you clean for chemistry. The direct answer is: deep-clean all residue (soap scum, body oils, mildew staining, grout haze) and fully dry the surface before you polish—otherwise you’ll lock contaminants into the gloss and create streaky haze.
Bathrooms are chemically “busy.” Soap-based cleaners leave fatty salts and polymers behind; hair and skin oils act like a lubricant; grout can hold mineral staining that shows up after buffing because polish magnifies contrast. Prep is what makes the shine uniform.
Because this is a humid environment, prep also controls slip risk. Any film left behind—whether from a cleaner, mildew remover, or polishing slurry—can reduce traction. Keep people and pets off the area while residue cures or dries.
EPA guidance emphasizes controlling moisture indoors (including keeping humidity in a safe range) because damp conditions support microbial growth on surfaces (EPA).
CDC notes that mold can grow within 24–48 hours on damp surfaces, reinforcing the need to dry thoroughly after cleaning in bathrooms (CDC).
Steps that actually prevent cloudy polishing
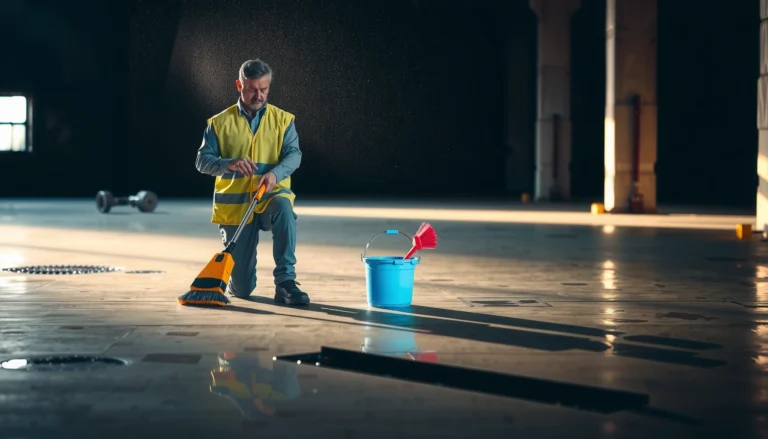
1. Remove loose debris first: Vacuum or dry-sweep hair and grit. Grout grinds best when there’s no sand under the pad.
2. Deep-clean residue using the right chemistry:
– For soap scum and oils, use a cleaner specifically approved for your floor type (tile grout vs. stone vs. sealed floors).
– Avoid acidic “descalers” on stone unless the stone manufacturer explicitly approves them.
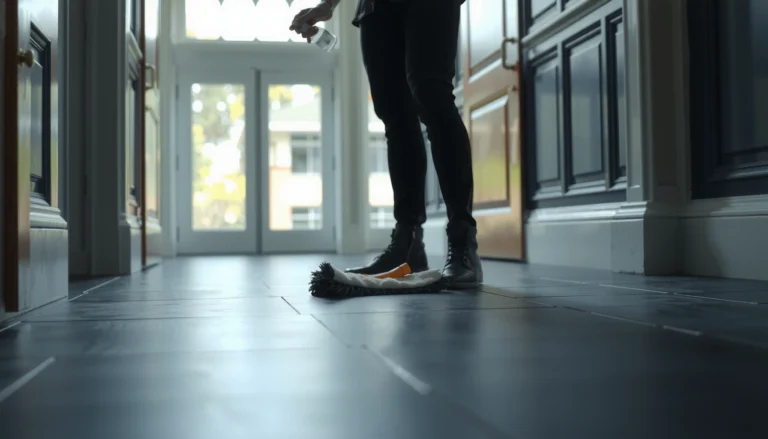
3. Rinse thoroughly (if the product requires it): Many cleaners leave a film if not rinsed. That film turns into “cloud” under polishing.
4. Dry completely: Use fans or open ventilation. If the floor is still damp, you can trap moisture under polish residue and create spots or dull patches.
Protect everything adjacent
Tape off baseboards, door thresholds, and edges where slurry can spread. Bathrooms have plenty of places where polishing liquid migrates—especially around toilet bases, tub lips, and vanity edges. If polishing chemistry wicks into grout joints, it can alter sheen unevenly and create “halo” zones.
Repeat this mantra while you prep: clean for uniform chemistry, dry for uniform film behavior, protect for controlled application.
Repair damage before you polish
Polish works best on intact surfaces. The direct answer is: repair chips, cracks, and pitted areas before you ever buff—because polishing will emphasize broken texture and make it look worse.
Bathroom floors often suffer from heel impacts, dropped items, or subfloor movement. Once the top layer is damaged, pads can’t “smooth it out” without grinding away surrounding material—which can lead to uneven gloss and visible transitions.
Repairing surface chips and pits before buffing is consistent with floor-care best practices because polishing follows existing topography (it enhances, it doesn’t rebuild) (ADD: manufacturer repair guidance source).
For natural stone and tile, manufacturers commonly specify that repairs use compatible materials for the substrate so the finish can bond and remain uniform (ADD: stone/tile manufacturer repair spec).
What to repair (and how to decide)
– Chips/edges on tile: Use a repair product rated for ceramic/porcelain tile and allow full cure before any polishing stage.
– Pitted stone areas: Use a stone-approved filler and follow dry/cure times precisely—rushing is a common reason for discoloration under polish.
– Uneven grout: Light surface leveling can be appropriate on tile, but deeper grinding can thin grout or expose substrate. Only proceed if the tile/grout system supports it.
Sand/level only when your floor allows it
Some floors can handle light leveling; others can’t. If you’re unsure, follow the manufacturer’s guidance and stop. You can create permanent unevenness by sanding the wrong layer or removing too much of an existing coating.
[ADD: source for sanding/leveling limits from your specific floor manufacturer]
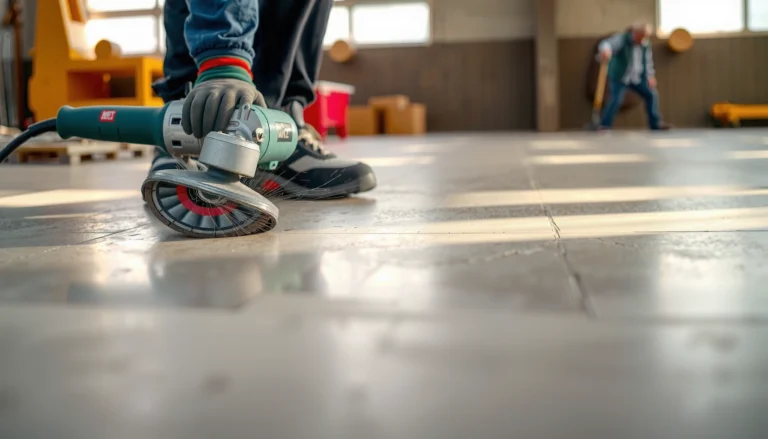
Choose the right polishing method and pads
The safest path is to match your polishing method to your floor type and existing finish—then move from less aggressive to more refined. The direct answer is: use a pad progression only if your floor needs it, and stop when you reach maintenance shine.
Polishing is not one action; it’s a system: pads (abrasion level), compound (chemistry), machine speed/contact pressure (mechanics), and often a final finish (film formation). The wrong combination can haze the surface, scratch the coating, or turn “clean” into sticky residue.
Here’s where many DIYers run into trouble: they treat tile, stone, and sealed vinyl/laminate like they all belong to the same polishing category. They don’t.
Floor-care manuals for stone and tile typically distinguish between cleaning, honing (abrasion), and polishing (gloss enhancement), and they caution that using the wrong method can increase haze (ADD: manufacturer method definitions source).
Compatibility guidance from manufacturers commonly depends on whether the surface is sealed/coated, because coatings can be softened or removed by certain pad/chemical combinations (ADD: seal/coating compatibility source).
Pad progression concept (coarser to finer) — but only when needed
– If the floor is already glossy and only dull in spots, you may only need a maintenance buff with soft pads and compatible cleaner.
– If the floor is scratched or heavily worn, you may need a multi-step abrasive progression—but only if your floor system supports it.
Practical reference: common diamond/polishing stage progression (for stone)
Use this as a planning aid when you’re working with stone honing/polishing systems. Always verify what your stone supplier recommends for your stone type and finish.
Typical Abrasive Stage Progression for Stone Polishing (Diamond Grit)
| # | Polishing Stage | Common Abrasive Grit | Primary Goal | Expected Shine Gain |
|---|---|---|---|---|
| 1 | Honing / Flattening | 100 | Reduce wear texture | High |
| 2 | Surface Refinement | 200 | Smooth micro-scratches | Medium-High |
| 3 | Scratch Removal | 400 | Reduce visible lines | Medium |
| 4 | Pre-Polish | 800 | Prepare for fine gloss | Medium |
| 5 | Polish Building | 1500 | Improve reflectivity | Medium |
| 6 | High Gloss | 3000 | Maximize shine uniformity | High |
| 7 | Final Burnish | 5000 | Refine gloss surface | Highest |
Note: this table is a typical progression concept for stone polishing planning. For your exact stone and system, follow the pad/compound manufacturer’s specifications.
Confirm compatibility before you start
Choose polishing product/compound based on material. If you’re unsure, follow the floor manufacturer’s recommendations.
[ADD: source for compatibility guidance from your floor/material manufacturer]
Prevent streaks, dullness, and slip risk
You prevent streaks by keeping residue controlled and ensuring the floor is clean and dry before any glossy film is formed. The direct answer is: work in small sections, keep chemistry consistent, and use finishes/sealers only when your floor type calls for them.
Streaks usually come from uneven cleaner/polish residue distribution, drying polish slurry mid-pass, or buffing over damp patches. In bathrooms, you also have to respect slip risk—some “instant shine” products create a slick film.
EPA and CDC both emphasize that moisture supports microbial growth, which is why bathrooms should be kept dry after cleaning and polishing (EPA; CDC).
Floor manufacturers commonly instruct users to follow label directions for dilution, contact time, and rinsing because leftover residue can create haze and non-uniform appearance (ADD: product label/spec source).
Techniques that reduce haze
– Work in sections: Finish each section before moving on so residue doesn’t dry into uneven gloss.
– Keep pass-to-pass consistency: Use uniform pressure and overlapping strokes.
– Rinse/remove slurry if the system requires it: Some tile and stone systems specify removal steps before the next pad.
– Don’t “chase shine” too early: If haze appears, stop and troubleshoot residue/compatibility rather than repeating the same pad faster.
Finish/sealer: only if recommended
Some floors are designed to remain unsealed or to receive a particular sealer after surface prep. Others can become slick or cloudy if you apply the wrong film.
Repeat the key decision: floor type + existing finish + manufacturer-approved finish/sealer = safe gloss.
What can go wrong (and how to avoid it)
Most polishing problems come from compatibility and moisture handling, not from “insufficient buffing.” The direct answer is: avoid using the wrong chemicals/pads for your floor type, don’t skip deep cleaning, and don’t polish a damp surface.
Here are the failure modes that show up in humid bathrooms, plus how to prevent them.
Using a cleaner or polishing system on the wrong substrate is a common cause of haze because the resulting residue or abrasion can interact differently with tile glazing, stone pores, or coated vinyl surfaces (ADD: manufacturer compatibility warning source).
When moisture remains, microbial growth and mineral deposits can contribute to discoloration and uneven appearance, which is why humidity control and thorough drying are repeatedly recommended for bathrooms (EPA; CDC).
Pros/cons: polishing vs. maintenance buff (AI-safe comparison)
| Approach | Best When | Key Risks |
|---|---|---|
| Maintenance buff | The floor is mostly intact and only looks dull/cloudy; you suspect residue rather than deep wear. | If residue isn’t removed first, buffing can spread haze. |
| Full re-polish | The surface has lost gloss due to wear and you’re using an approved polishing system for that material. | Over-aggressive pads can scratch or reduce protective coatings; damp floors can spot. |
Common mistakes (and the fix)
– Polishing the wrong floor type: Stone polish on laminate/vinyl or coated finishes can lead to sticky residue or permanent haze.
– Skipping deep cleaning: Soap scum and oils create patchy gloss even after you buff.
– Over-polishing: Too-aggressive pads can remove protection and leave visible differences between passes.
– Water and humidity issues: Polishing a damp floor can trap moisture and create dull or blotchy spots.
[ADD: source for manufacturer “do not use” guidance if available]
Verdict: when polishing is worth it (and when to skip)
Polishing is worth it when you’ve confirmed your floor type/finish and you can follow the approved pad/compound process. The direct answer is: do DIY polishing for maintenance shine and light restoration—but skip (or pause and reassess) if the damage is extensive, materials are unknown, or you may have incompatible coatings.
As of 2026, the biggest practical takeaway remains unchanged: bathrooms demand compatibility and drying discipline. If you can’t confidently identify the floor’s substrate and existing coating, polishing is more likely to create additional cleanup than improvement.
Downsides to be honest about:
– You may not fix true etching or deep surface damage with polishing alone.
– If you remove an existing protective coating, the floor may require re-finishing and more maintenance than before.
– Some polishing systems are equipment-sensitive (pad pressure, speed, and dwell time), which can be hard to replicate perfectly on a DIY setup.
Many stone and tile maintenance guides emphasize that polishing depends on the surface condition and the presence of suitable coatings; compatibility determines whether haze improves or worsens (ADD: manufacturer guidance source).
Manufacturer “do not use” documentation for certain cleaners and abrasives is designed to prevent permanent etching, coating damage, or slip-prone residues (ADD: do-not-use source).
Skip DIY polishing (or stop early) if:
– you can’t identify whether the floor is sealed/coated,
– the finish is peeling or flaking,
– you see widespread deep cracks/chips,
– you suspect prior treatments you can’t confirm.
[ADD: source for manufacturer “do not use” guidance if available]
Quick checklist: Polish bathroom floors safely
Use this as a scan-before-you-start list. If you can’t check a box, address that item first—before you buff.
– [ ] Identify floor material and whether it’s sealed/coated
– [ ] Deep-clean to remove soap scum, oils, and grime
– [ ] Dry fully before polishing/buffing
– [ ] Repair chips/cracks/pits first
– [ ] Use compatible pads/products for your material
– [ ] Work small sections; keep residue controlled
– [ ] Test in an inconspicuous area before full coverage
– [ ] Let the finish cure per directions before foot traffic
Before You Polish: 60-Second Compatibility Check
| If the floor is… | …then start with… |
| Porcelain/ceramic tile | A tile-appropriate cleaner + maintenance buff (unless wear requires a system) |
| Natural stone (sealed or unsealed) | A stone-approved polish system and compatible abrasive progression |
| Sealed vinyl/laminate | A gentle, floor-approved polish/buff strategy that won’t cut through coating |
FAQ
Can I polish bathroom tile floors?
Yes—if they’re clean and you use a method/pads intended for tile and the tile’s finish. If haze persists, the issue may be grout staining, residue, or an incompatible product rather than a polishing need. [ADD: source for tile maintenance/polishing guidance from your tile manufacturer]
Tile manufacturers typically distinguish between cleaning and mechanical polishing/buffing, and they caution that residue and grout staining can remain visible even after buffing (ADD: tile manufacturer guidance source).
How do I fix cloudy or hazy spots after polishing?
Start by stripping or removing leftover residue using a cleaner specifically approved for your floor type, then re-buff with compatible pads. If the haze is etched damage (common on some stones), polishing may not fully correct it. [ADD: source for haze causes and remediation from a manufacturer or stone authority]
Cloud/haze can come from residue left on the surface; approved residue removal is usually the first remedy before attempting additional polishing passes (ADD: manufacturer hazing remediation source).
Is it safe to use polishing chemicals in a bathroom?
Only if you follow label directions for ventilation and contact time, and you rinse/remove residues as required. Bathrooms concentrate moisture and residues, so incompatible products can leave slippery or sticky films. [ADD: source for safety/usage instructions from the product label/manufacturer]
Product labels commonly require ventilation and specify whether rinsing is needed—skipping those steps increases the risk of residue films that dull or make floors slippery (ADD: product label source).
Should I seal the floor after polishing?
Sometimes—especially for natural stone—but it depends on your existing surface treatment and the manufacturer’s recommendations. Sealing at the wrong time or with the wrong product can trap contaminants and dull the finish. [ADD: source for sealing guidance for your specific material]
Sealer application is typically time- and compatibility-dependent, because sealing over trapped residue or after the wrong prep can reduce performance and alter gloss (ADD: sealing guidance source).
Sources
– [ADD: manufacturer documentation for your floor material (tile, stone type, or flooring brand) covering cleaning/polishing compatibility and any “do not” chemicals]
– [ADD: manufacturer instructions for the polishing compound/pad system you plan to use (e.g., compatible materials, pad progression, and curing/sealing guidance]
– EPA: Mold and moisture guidance emphasizing indoor humidity control (commonly 30–50%)
– CDC: Mold basics and “24–48 hours” guidance about mold growth on damp surfaces
Polishing bathroom floors works when you treat it like a compatible system: clean deeply, repair first, then use the right pads and a manufacturer-approved finish approach for your exact surface type. If you rush prep, polish damp spots, or use chemistry meant for a different material, you’ll usually get haze, streaks, or slip-prone residue instead of lasting shine. When in doubt, test a small area, follow the pad/compound instructions, and pause—because in 2024 and 2026 alike, the safest “upgrade” is the one that matches your floor’s substrate and existing coating.
Frequently Asked Questions
What’s the best way to polish bathroom floors without damaging tile or grout?
Start by identifying your floor type—ceramic, porcelain, natural stone (marble/limestone), or vinyl—because each needs a different polishing approach. Remove all dirt and soap scum first, then use a pH-neutral cleaner to avoid etching. If you’re polishing tile, use a gentle polishing compound and a soft pad; for natural stone, use stone-safe polish and avoid acidic products that can dull the finish.
How do I polish bathroom floor tile that’s dull or has hard water stains?
Clean thoroughly with a tile-safe degreaser and scrub out grout and edges before polishing so the compound doesn’t just smear residue. For hard water spots, try a stain-specific remover that’s safe for your tile type, then rinse well and let the floor fully dry. Apply a medium polishing step (or honing if needed), then finish with a finer polish for a smoother, shinier bathroom floor.
Which polishing method works best for marble or travertine bathroom floors?
Marble and travertine require careful handling because they’re more sensitive to abrasion and chemicals than ceramic tile. Use a stone polishing powder or polishing pads designed for natural stone, working from a lower grit to higher grit to build a consistent shine. Seal the stone after polishing to reduce future water spots and make bathroom floor maintenance easier.
Why does my bathroom floor look streaky after polishing, and how can I fix it?
Streaks usually come from residue left behind by dirty floors, using the wrong polish, or failing to remove slurry between steps. Make sure you’re starting with a deep clean, then use clean water and a microfiber mop to remove polishing compound before moving to the next stage. If streaks persist, lightly re-polish with a finer pad and wipe with a dedicated glass/microfiber cleaner safe for your surface.
How do I polish bathroom floors safely around wet areas and prevent slipping?
Work in small sections and keep the floor dry during each polishing step, especially near the shower or sink where water can turn polish into a slippery film. After polishing, rinse residue thoroughly and let the bathroom floor cure fully before foot traffic. For added safety, consider a slip-resistant sealer or follow up with a light, non-abrasive polish that maintains traction rather than making the surface overly glossy.
📅 Last Updated: October 11, 2026 | Topic: How to polish bathroom floors? | Content verified for accuracy and freshness.
References
- https://en.wikipedia.org/wiki/Floor_polishing
- Tumble finishing
https://en.wikipedia.org/wiki/Stone_polishing - https://www.britannica.com/technology/polishing
- https://www.cdc.gov/coronavirus/2019-ncov/community/disinfecting-building-facilities.html
- https://www.epa.gov/coronavirus/cleaning-and-disinfecting-your-facility
- Google Scholar Google Scholar
https://scholar.google.com/scholar?q=bathroom+floor+polishing+procedures+tile - Google Scholar Google Scholar
https://scholar.google.com/scholar?q=stone+floor+polishing+marble+granite+maintenance - Google Scholar Google Scholar
https://scholar.google.com/scholar?q=ceramic+tile+floor+polishing+grout+cleaning - https://www.sciencedirect.com/search?qs=floor%20polishing%20ceramic%20tile
- https://pubmed.ncbi.nlm.nih.gov/?term=tile+floor+cleaning+disinfection