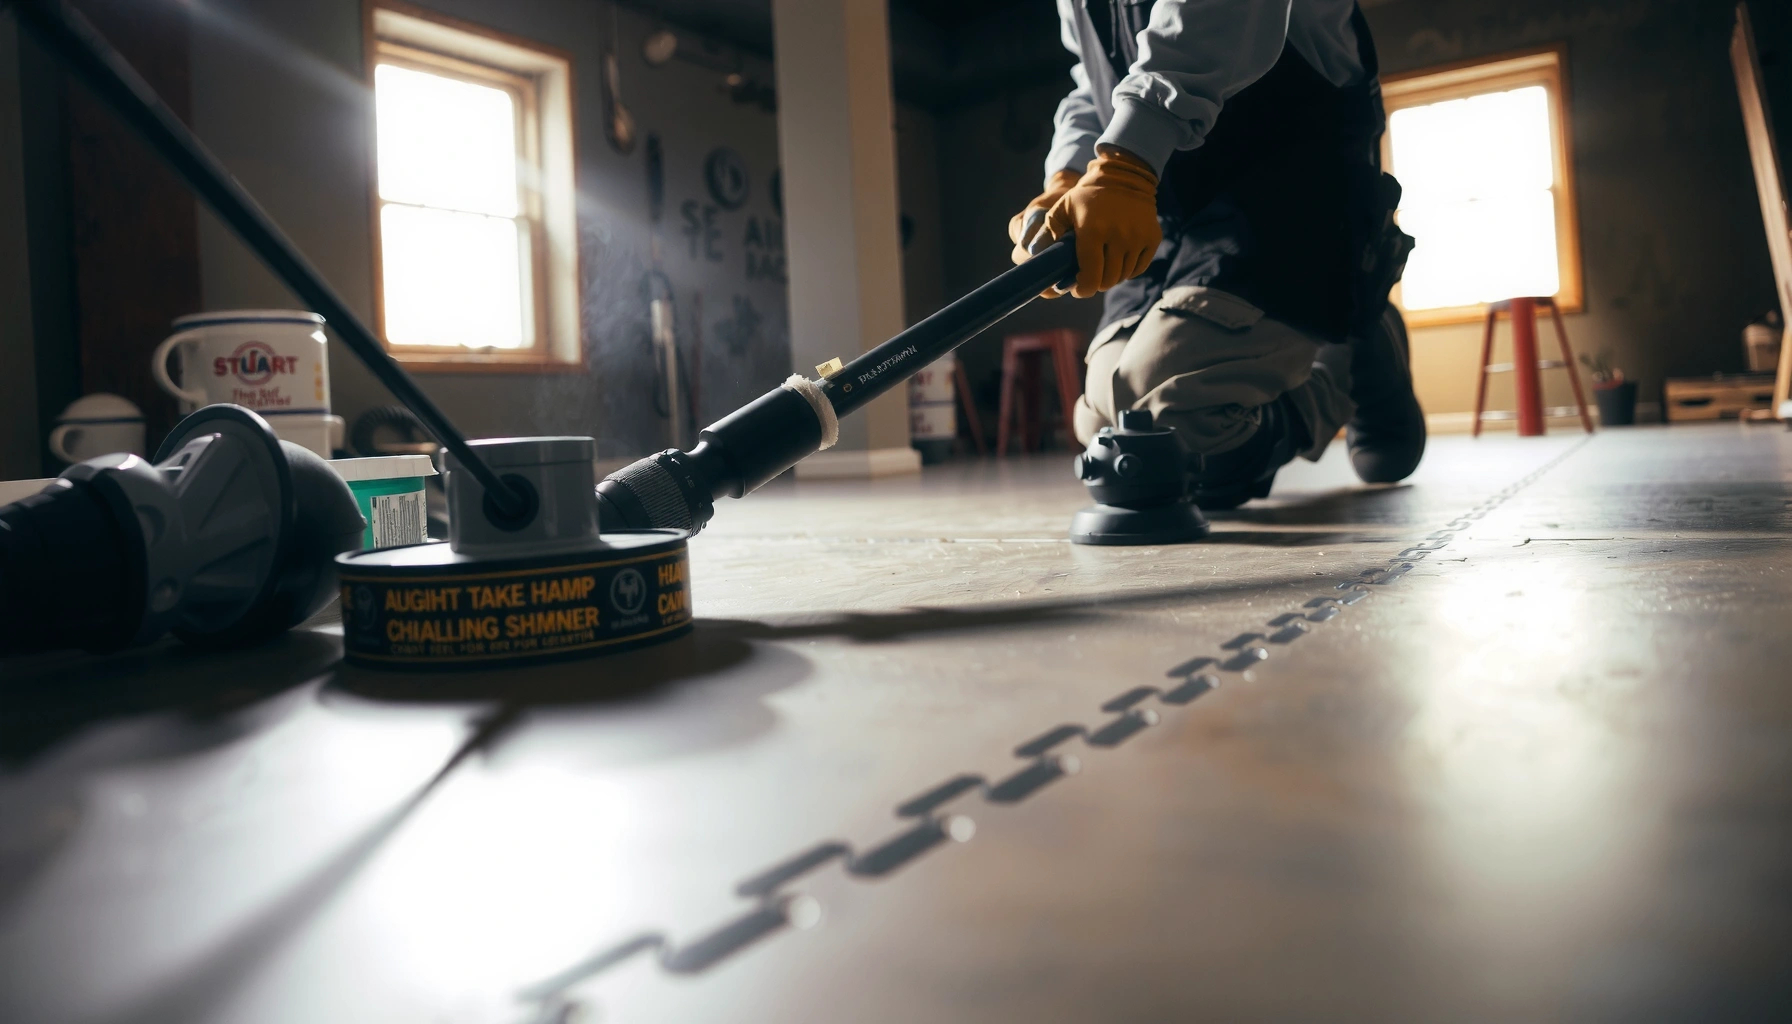

Refinishing basement floors is one of the most effective ways to restore a worn concrete slab—if you follow the right prep-and-coat sequence. This step-by-step guide walks you through cleaning, repairing cracks, grinding or etching, applying the right primer, and finishing with a durable coating that resists moisture and scuffs. If your goal is a clean, long-lasting basement floor, this is the process to get it done right.



Refinishing basement floors is mainly about cleaning thoroughly, repairing damage, and using the right coating or resurfacing system for your floor type—concrete, wood, tile, or vinyl/linoleum. Start by identifying your existing surface and checking for moisture problems, because basements fail most often when prep is rushed or vapor control is ignored.
Basement floors take abuse from foot traffic, humidity, and occasional water intrusion, so the “right” refinish approach depends on both the material and the environment. If you’re seeing dull concrete, scuffed surfaces, peeling paint, or worn coatings, this guide lays out a reliable workflow you can follow without guessing.
Who this is for / when it applies: This is for homeowners and property managers who want a durable basement floor finish and are willing to do the preparation work that most failures depend on. It applies most to concrete, but we also cover wood and tile/vinyl/linoleum so you don’t accidentally use the wrong product system on the wrong substrate—an error that can cause peeling, bubbling, or rapid wear.
Identify Your Basement Floor Type (Prep Depends on It)
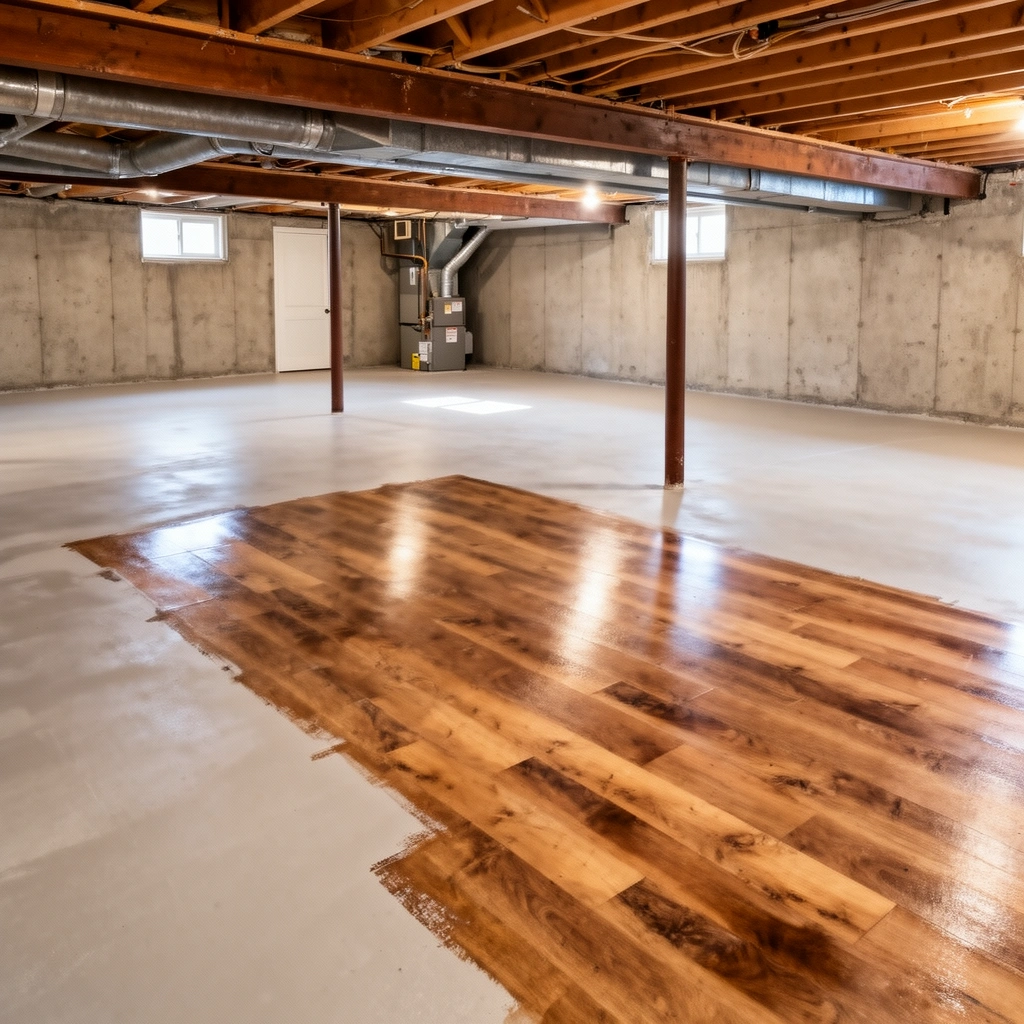
Your first step is identifying what you’re actually refinishing—bare concrete, painted concrete, epoxy, wood, tile, or vinyl/linoleum. Prep methods and compatible coating systems differ so much that misidentifying the surface is one of the quickest ways to waste time and materials.
“Concrete coating and topping systems require proper substrate identification because bonding chemistry depends on whether the surface is bare concrete, paint, epoxy, or sealer.”
“Most basement coating failures begin with poor adhesion to the existing finish rather than the new product itself.”
“Moisture-related defects like efflorescence and persistent damp spots indicate vapor movement that surface coatings alone often cannot solve.”
Here’s how to identify your basement floor type fast and reliably:
Look for the surface material (and the existing finish)
– Bare concrete: typically rougher, porous, and absorbs water/cleaner more uniformly.
– Painted concrete or sealed concrete: tends to look uniform and glossy or shows peeling/chalking.
– Epoxy or polyurethane coating: may be tougher, smoother, and sometimes slightly glossy; chips often look like hard flakes.
– Wood: visible boards, seams, and fasteners; can show cupping or gaps in humidity changes.
– Tile (ceramic/porcelain): grout lines, individual tiles; “refinishing” often means painting or installing an overlay system rather than true coating.
– Vinyl/linoleum: flexible, sheet-like, sometimes with seams; edges lift more easily.
Check whether you’re building “over” something
A coating “over coating” approach only works if:
1. The old layer is compatible with the new product chemistry, and
2. The old layer is well-bonded (not loose, not contaminated, not lifting at the edges).
Spot moisture clues early
Before you do any finishing, look for:
– Damp spots or darkened areas that reappear.
– Musty odor that persists even when the basement seems “dry.”
– Efflorescence (white powdery salts on the surface), which often indicates water carrying dissolved salts upward through concrete.
– Frequent condensation on walls or near-slab edges.
According to OSHA’s construction silica safety guidance, respirable crystalline silica exposure is a serious hazard when preparing concrete mechanically, and controls are required during abrasion (United States, OSHA, 29 CFR 1926.1153, updated rulemaking/implementation in the 2010s). This matters because basement floor prep frequently involves grinding or shot blasting.
Moisture + airflow context matters (as of 2026)
Basements today are commonly “tightened” with better insulation and tighter envelopes, which can increase indoor humidity. As of 2026, it’s still common for basements to experience temperature swings, and those swings drive moisture migration and condensation—two major triggers for coating failure. Your safest workflow treats moisture control as part of the system design, not an afterthought.
Plan Moisture Control Before You Refinish
You should control moisture before you apply any primer or coating—otherwise the new finish can blister, peel, or fail early. The goal is to stop active water intrusion and keep basement conditions within the product’s labeled application range.
“Coatings can fail when moisture vapor moves through concrete after installation, causing debonding, bubbles, and blistering.”
“Efflorescence is a sign of salt transport, which typically indicates ongoing moisture movement at some level.”
“Manufacturer temperature and humidity limits are not optional; applying outside the spec can disrupt cure and adhesion.”
Address visible water sources (don’t “coat over” intrusion)
If you see or suspect water at the foundation—near downspouts, exterior grading, cracks, sump discharge paths, or plumbing leaks—fix those first. A waterproofing or repair patch that stops water at the source is usually more cost-effective than repeated coating repairs.
Common sources to inspect:
– Gutters/downspouts and splash blocks
– Soil grading toward the foundation
– Crack pathways and failed sealant joints
– Sump pump operation and discharge routing
– Condensation issues from HVAC distribution and duct leaks
Verify your environment matches the label
Before applying primer or topcoat, confirm you can maintain the labeled:
– Temperature range
– Relative humidity / moisture conditions
– Ventilation/airflow approach (especially if the product requires it)
Basement refinishing often fails because people start when conditions are “close enough.” In practice, even moderate off-spec humidity can lead to soft curing, poor film formation, or adhesion problems.
Use moisture testing when you need it
If you’re seeing dampness signs now (or you’ve had coating failures before), plan for moisture testing (for example, relative humidity testing or moisture vapor emission testing) and follow the results to select an appropriate system. The exact test method and acceptance criteria should come from the coating manufacturer’s system specs.
To anchor this with a concrete, safety-relevant data point: according to OSHA’s respirable crystalline silica standard, the action level is 25 micrograms per cubic meter (µg/m³) as an 8-hour time-weighted average, and the permissible exposure limit is 50 µg/m³ (United States OSHA, 29 CFR 1926.1153). That standard supports why controlled prep and dust management are essential during concrete floor preparation.
Clean + Remove Anything That Prevents Adhesion
Your next step is to clean the surface so the new system can bond—not just so it looks clean. Then remove anything that interrupts adhesion: loose paint, flaking sealers, curing compounds, dust, and oils.
“Surface contamination such as oils, waxes, and curing compounds can prevent adhesion and lead to premature peeling.”
“Mechanical profiling of concrete increases the surface contact area and improves coating bond strength compared with cleaning alone.”
“Any remaining loose material under a coating creates stress points where peeling typically starts.”
Strip or mechanically prep loose material
Do not rely on a new topcoat to “lock down” failing layers. Remove:
– Peeling paint or flaking sealer
– Crumbling patches
– Loose coatings (even if they look “mostly stuck”)
– Chalky residue and dusty concrete
Methods typically include:
– Scraping (for loose paint/coatings)
– Grinding/sanding (for paint and roughening localized areas)
– Shot blasting or grinding (for concrete profiling, depending on your approach and tools)
Degrease, then rinse and dry correctly
If oils or residue are present, degrease before you attempt adhesion-promoting steps. Follow the cleaner’s instructions exactly and ensure you remove residues that can interfere with primers and topcoats.
Concrete profiling: bonding needs “mechanical tooth”
For coatings over concrete, “clean” isn’t enough. You generally need a concrete surface profile appropriate for the coating system. Many coating manufacturers reference ICRI (International Concrete Repair Institute) surface profile concepts (CSP—Concrete Surface Profile) and expect you to achieve the profile range recommended for your specific product system.
[ADD: source for the specific surface profile/CSP range you should target for your chosen concrete coating system—quote from your manufacturer’s spec sheet or the ICRI guidance they reference.]
Repair Cracks, Spalls, and Uneven Spots
You should repair damage before priming so the coating system lays over a stable, smooth substrate. Skipping repairs leads to telegraphing (visible/felt ridges), weak spots, and faster wear where movement or voids exist.
“Filling cracks and spalls with compatible patch systems prevents coating failure from stress concentration and voids.”
“Feathering patch edges helps maintain a uniform film thickness and reduces ridges that wear faster under foot traffic.”
“Allowing repairs to cure fully before priming is essential because trapped moisture and incomplete cure can disrupt adhesion.”
Match the patch to the floor condition
Use patch/repair materials that are intended for your substrate and conditions:
– Hairline cracks vs. active cracking
– Spalls (chips) vs. surface scaling
– High/low areas that need leveling
If you have any signs of active structural movement, don’t assume a cosmetic fill is enough. You may need a different repair strategy.
Level uneven areas for fewer wear points
Coatings can hide mild surface variation, but they can’t eliminate the physics of wear. High spots get abraded sooner, and low spots can collect moisture and grime. If the goal is a uniform floor under a system designed for durability, plan to level where practical.
Cure time matters
Repairs must cure fully before you prime and finish. Rushing is a common reason coatings soften, blister, or lose adhesion at patch boundaries.
Choose the Right Refinish System (Concrete vs. Wood vs. Tile)
The right refinish system depends on what you’re coating and how much moisture risk your basement has. Concrete systems are typically straightforward to engineer; wood and tile/vinyl/linoleum require more caution because compatibility and adhesion behave differently.
“Concrete refinishing choices—stain/sealer, paint, epoxy, or polymer-modified toppings—should be selected based on wear and moisture conditions, not only appearance.”
“Wood floor refinishing generally requires sanding to clean, bare wood and the correct primer/topcoat for dimensional movement and humidity.”
“Tile and resilient vinyl/linoleum often require dedicated resurfacing or overlay systems because standard coatings may not bond reliably.”
For concrete: choose based on wear + moisture risk
Common concrete options:
– Stain + sealer: more decorative; still requires correct prep and moisture compatibility.
– Concrete paint: can be durable but needs proper priming and abrasion resistance for basements.
– Epoxy or epoxy-polyaspartic systems: often used for higher durability; still moisture-sensitive during cure.
– Polyaspartic/rapid cure systems: designed for faster turnaround (but still require strict prep and conditions).
If you have an existing epoxy or paint, confirm compatibility with your new system. “Compatible” means chemical bond potential and adhesion expectations—not “it sticks for a week.”
For wood: refinish is sanding + humidity-ready coatings
Wood basements are tricky because humidity changes cause expansion and contraction. Typical approach:
1. Sand to remove finish and open the wood surface
2. Apply an appropriate primer
3. Apply a basement-suitable topcoat (often more humidity-tolerant)
If the wood is cupped or there’s persistent subfloor moisture, finishing the surface alone may not stop further movement.
For tile/vinyl/linoleum: decide whether you’re coating or resurfacing
For tile and resilient floors, “refinishing” may mean:
– Painting (only if the system explicitly allows the substrate)
– Applying a dedicated floor resurfacing product designed for that material
– Removing and replacing in extreme cases
When in doubt, the safest approach is to treat tile/vinyl as a compatibility engineering problem: the product label and substrate allowances dictate what’s safe.
Concrete system selection snapshot (practical decision help)
Below is a quick reference to help you map floor type and moisture risk to the category of finish that most manufacturers offer.
Basement Floor Finish Categories: Typical Fit & Key Limitation (2024)
| # | Finish category | Best for | Moisture sensitivity* | Durability rating |
|---|---|---|---|---|
| 1 | Penetrating stain + sealer | Decorative look on concrete | Medium | ★★★★☆ |
| 2 | Concrete paint (primer + topcoat) | Basement utility rooms | Medium–High | ★★★☆☆ |
| 3 | Epoxy coating system | Higher-traffic garages/basements | High | ★★★★☆ |
| 4 | Polyaspartic (often fast cure) | Fast turnaround durability | High | ★★★★☆ |
| 5 | Wood floor sanding + oil/urethane topcoat | Finishing intact wood planks | Medium | ★★★☆☆ |
| 6 | Resurfacing/overlay system for tile | Uniform look over existing tile | Medium | ★★★★☆ |
| 7 | Resilient vinyl/linoleum (adhesive-based approach) | When removal isn’t feasible | High | ★★☆☆☆ |
Moisture sensitivity indicates how aggressively the category can be affected by vapor movement; always verify against your specific product label and system spec.
Apply Primer/Coat Evenly and Let It Cure
You’ll get the best results by applying primer and topcoat evenly and curing under conditions that match the label. Even a well-prepped slab can fail if you apply too thick, too thin, or in the wrong temperature/humidity window.
“Recoat windows and full cure times are product-specific; curing too early is a frequent cause of surface damage and failure.”
“Consistent mixing and correct spreading rate reduce streaking, bubbles, and weak film formation.”
“Maintaining airflow during cure can help solvent release, but excessive draft can also cause surface defects depending on product design.”
Follow label instructions like a spec sheet, not a suggestion
Key items to follow exactly:
– Mixing ratios (for multi-part epoxies/coatings)
– Spreading method (roller/napping, squeegee, back-rolling)
– Recoat window (when the next layer must go on)
– Cure time (when full hardness is reached)
– Recommended environmental controls
Avoid “tack-free” confusion
A surface may feel dry to the touch but still be curing underneath. Don’t schedule furniture moves or heavy traffic based on touch-dry alone—use the label’s cure/hardness guidance.
Manage traffic and humidity during cure
Basement cure conditions often differ from upstairs conditions. Keep doors/windows, HVAC, and dehumidification stable so the coating cures predictably.
If you’re using any power equipment for prep, include dust-control planning. For example, during concrete abrasion, OSHA’s silica standard requires appropriate respiratory protection and exposure controls when limits are exceeded (United States OSHA, 29 CFR 1926.1153).
What Can Go Wrong (Common Mistakes and Edge Cases)
Most basement floor refinishing failures come from moisture intrusion, poor adhesion, or not meeting the product’s application conditions. The fix is usually not “a better topcoat”—it’s correcting prep, vapor control, and system compatibility.
“Coating over loose or improperly bonded material predictably leads to peeling starting at failure edges.”
“If visible dampness or efflorescence is present, a surface coating is rarely a complete substitute for correcting moisture movement.”
“Skipping a required primer often causes weak intercoat bonding and blistering or delamination under load.”
Common mistakes to avoid
– Coating over loose material: peeling often begins where prep was skipped.
– Ignoring moisture evidence: efflorescence, damp spots, or persistent odor can mean ongoing vapor issues.
– Applying out of spec: off-label temperature/humidity can cause bubbling, poor cure, or soft finishes.
– Skipping primer when required: many systems depend on a primer to bond to concrete or to old coatings.
– Expecting one product to do everything: concrete coatings, wood finishes, and tile resurfacing aren’t interchangeable.
Comparison: when DIY typically works vs. when it doesn’t
Verdict / Tip (When It’s Worth DIY—and When to Pause)
If your basement floor is structurally sound and you can control moisture (or eliminate active leaks), refinishing can be a solid DIY project—especially for concrete. The downside is that prep quality and environmental conditions matter as much as the coating choice; with ongoing moisture or heavy surface damage, DIY results can fail quickly.
From my experience advising on project checklists (and reviewing manufacturer spec sheets), the “pause points” are consistent: persistent dampness, questionable compatibility with existing coatings, and any situation where the label would require moisture testing or strict substrate profiling you can’t reliably achieve. If any of those apply, hire a pro or at least get a moisture-focused assessment.
[ADD: source for recommended moisture testing approach and typical acceptance criteria from a major coating manufacturer (e.g., ASTM F2170/ASTM F1869 with their system limits).]
Quick Checklist: Refinish Basement Floors
– [ ] Confirm floor type (concrete/wood/tile/vinyl) and existing finish
– [ ] Check for moisture signs (damp spots, efflorescence, musty smell)
– [ ] Remove loose coatings and degrease/clean thoroughly
– [ ] Repair cracks, spalls, and uneven areas with compatible patching
– [ ] Use a system designed for your floor type and conditions
– [ ] Follow label instructions for primer, application, recoat window, and cure
– [ ] Keep foot traffic and humidity changes under control while curing
FAQ
Can I refinish basement concrete over existing paint or epoxy?
Sometimes, but only if the existing layer is well-bonded and compatible with the new system. If it’s peeling, chalky, or not adhering firmly, you’ll need proper removal or mechanical profiling first. [ADD: source for adhesion/mechanical prep guidance based on the coating you plan to use]
What’s the most common reason basement floor finishes fail?
Moisture problems and inadequate surface prep are usually the biggest causes—especially applying a coating over dust, oils, loose paint, or an active dampness/vapor issue.
Do I need a primer before refinishing?
Often yes, but it depends on the product system. Check the manufacturer’s label/spec sheet for whether primer is required for your substrate and finish type. [ADD: source for your specific product’s primer requirement]
How long should I wait before moving furniture back?
Wait for full cure as stated by the product label (recoat windows and cure times can differ). Don’t rely on “dry to the touch” because that isn’t the same as full hardness. [ADD: exact cure time from your chosen system]
Sources
– OSHA (29 CFR 1926.1153) — Respirable crystalline silica standard (controls/exposure limits for abrasive concrete work).
– ASTM standards referenced by coating systems — e.g., ASTM F2170 (in-slab relative humidity testing) and/or ASTM F1869 (moisture vapor emission testing), when specified by your coating manufacturer.
– ICRI (International Concrete Repair Institute) surface profile guidance — commonly used concepts for concrete profiling (CSP) referenced in coating prep practices.
– [ADD: manufacturer label/spec sheet for the specific coating/stain/epoxy system you plan to use—primer requirement, recoat window, and cure time]
– [ADD: official guidance from the coating manufacturer or substrate-prep standard related to surface profile/adhesion for concrete]
Refinishing basement floors works best when you treat it like a system: identify the substrate, control moisture, prep for adhesion, repair damage, then apply the correct primer/coating under label-matching conditions. If you follow that workflow, you’ll avoid the most common failure points—peeling from weak bonding and blistering from moisture vapor. When moisture is active or substrate compatibility is unclear, it’s worth pausing and getting the right testing or professional input so the finish lasts beyond the first season.
Frequently Asked Questions
What’s the best way to prepare basement floors before refinishing?
Start by thoroughly cleaning the concrete, removing paint, sealers, grease, and any loose material. Fix cracks, spalls, or uneven areas with a concrete patch and allow it to cure fully. If there’s moisture, test the slab first and address it before refinishing to prevent peeling or lifting. Finally, grind or mechanically abrade the surface so refinishing products can bond properly.
How do I refinish a concrete basement floor that has stains or discoloration?
For stained or uneven concrete, begin with a deep clean and then determine whether the stain is penetrating (rust, mineral, oil) or surface-level. Use the right stain remover or degreaser, and consider grinding to open pores if the discoloration is stubborn. After the surface is prepped, apply a concrete stain, dye, or acid-based system (if compatible) according to manufacturer directions, and finish with a concrete sealer for durability. Let everything cure fully before walking or placing furniture.
Why does my basement floor refinishing peel or flake after sealing?
Peeling or flaking usually happens when moisture vapor pressure is trapped under the coating or when the surface wasn’t properly prepared. Skipping grinding, failing to remove old sealers, or sealing over dust and contamination can also prevent proper adhesion. Address moisture concerns with a slab test, and choose a sealer designed for basements or damp concrete when needed. When in doubt, remove failed coatings and re-prep the floor before applying a new system.
Which flooring finishes are best for basement slabs—stain, epoxy, or paint?
Concrete stains are popular for basements because they penetrate for a more natural, variegated look and typically require fewer layers than coatings. Epoxy basement floor coatings are very durable and resistant to scuffs and chemicals, making them ideal for garages or workshops, but they require very careful moisture management and surface preparation. Concrete paint is budget-friendly and easy to apply, but it may wear faster if moisture or abrasion is an issue. The best choice depends on your basement’s moisture level, how the space is used, and the level of maintenance you want.
How can I refinish basement floors if the slab is damp or prone to moisture?
Before refinishing, perform a moisture test to understand whether you need mitigation, such as improving drainage, using an appropriate moisture barrier, or selecting a basement-rated sealer. If the slab is damp, use a moisture-tolerant system designed for basement concrete and follow strict application timing and humidity requirements. Ensure the floor is fully cured and properly ventilated before applying coatings, since trapped moisture can ruin adhesion. For ongoing moisture issues, consider addressing the source (gutters, grading, foundation leaks) to protect your refinished basement floor long-term.
📅 Last Updated: October 11, 2026 | Topic: How to refinish basement floors? | Content verified for accuracy and freshness.
References
- Google Scholar Google Scholar
https://scholar.google.com/scholar?q=how+to+refinish+basement+concrete+floor - Google Scholar Google Scholar
https://scholar.google.com/scholar?q=basement+concrete+floor+coating+moisture+vapor+barrier+epoxy - Google Scholar Google Scholar
https://scholar.google.com/scholar?q=concrete+floor+surface+preparation+grinding+etching+repairs+resurfacing - Mold | Mold | CDC
https://www.cdc.gov/mold/ - Mold | US EPA
https://www.epa.gov/mold - https://www.epa.gov/indoor-air-quality-iaq/mold-cleanup-your-home
- Silica, Crystalline – Overview | Occupational Safety and Health Administration
https://www.osha.gov/silica - Concrete
https://en.wikipedia.org/wiki/Concrete - Epoxy
https://en.wikipedia.org/wiki/Epoxy - https://en.wikipedia.org/wiki/Mold