
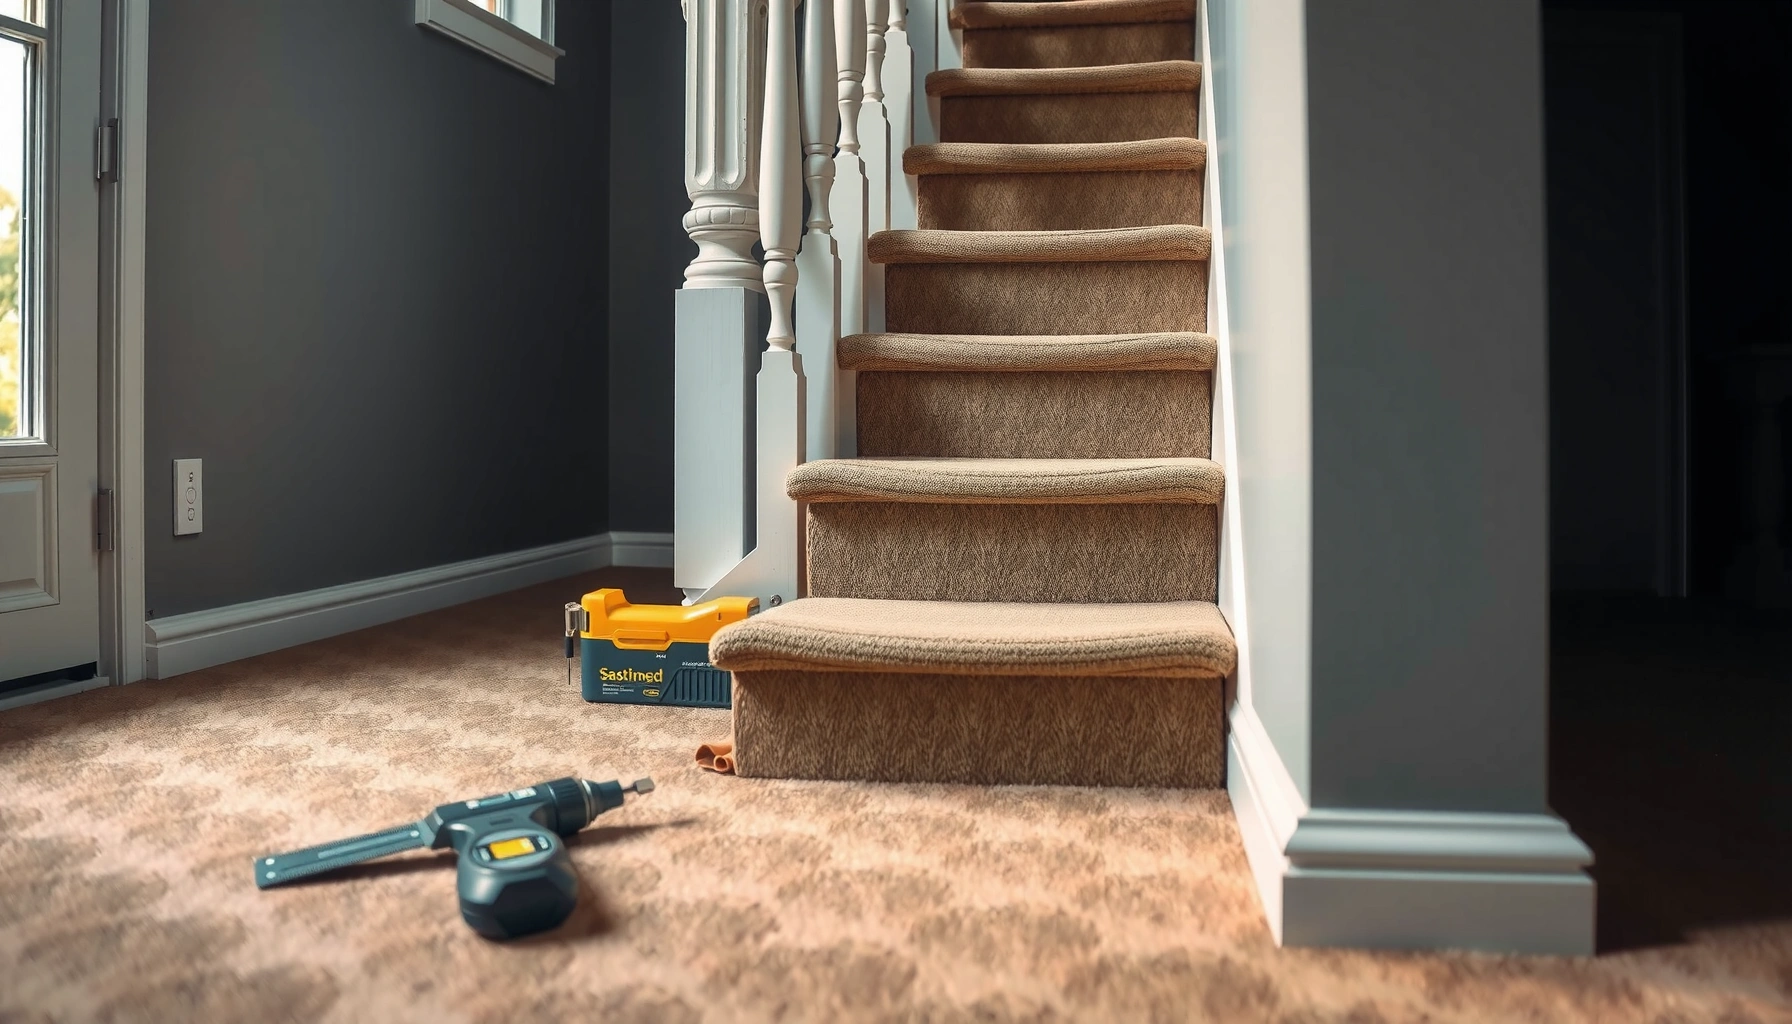

Want to install carpet tiles around stairs without gaps, curling edges, or a messy cut job? This guide walks you through the exact layout, measuring, and stair-tread wrapping steps that make the tiles land cleanly on every step. Follow it closely and you’ll finish a tight, durable stair fit that looks custom even if you’re new to carpet tile installation.


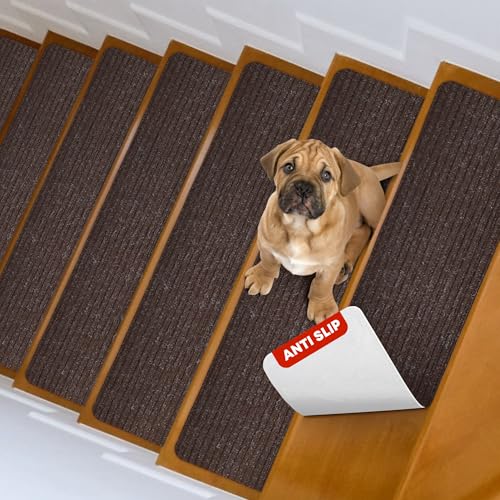
Plan your cuts around each tread and riser—then install treads first and use a stair-friendly edge plan so seams stay tight and don’t lift. If you’re using adhesive-backed carpet tiles, surface prep and correct edge-clearance are what prevent buckling and frayed borders at the stair nose.
If your staircase has open risers, rounded stair noses, or you’re working with adhesive-backed carpet tiles, the approach can change quickly. This guide is for homeowners and DIY installers doing carpet tiles on stairs (not wall-to-wall carpet) who want a neat finish without gaps, buckling, or worn-looking edges.
Plan Your Layout Before You Cut
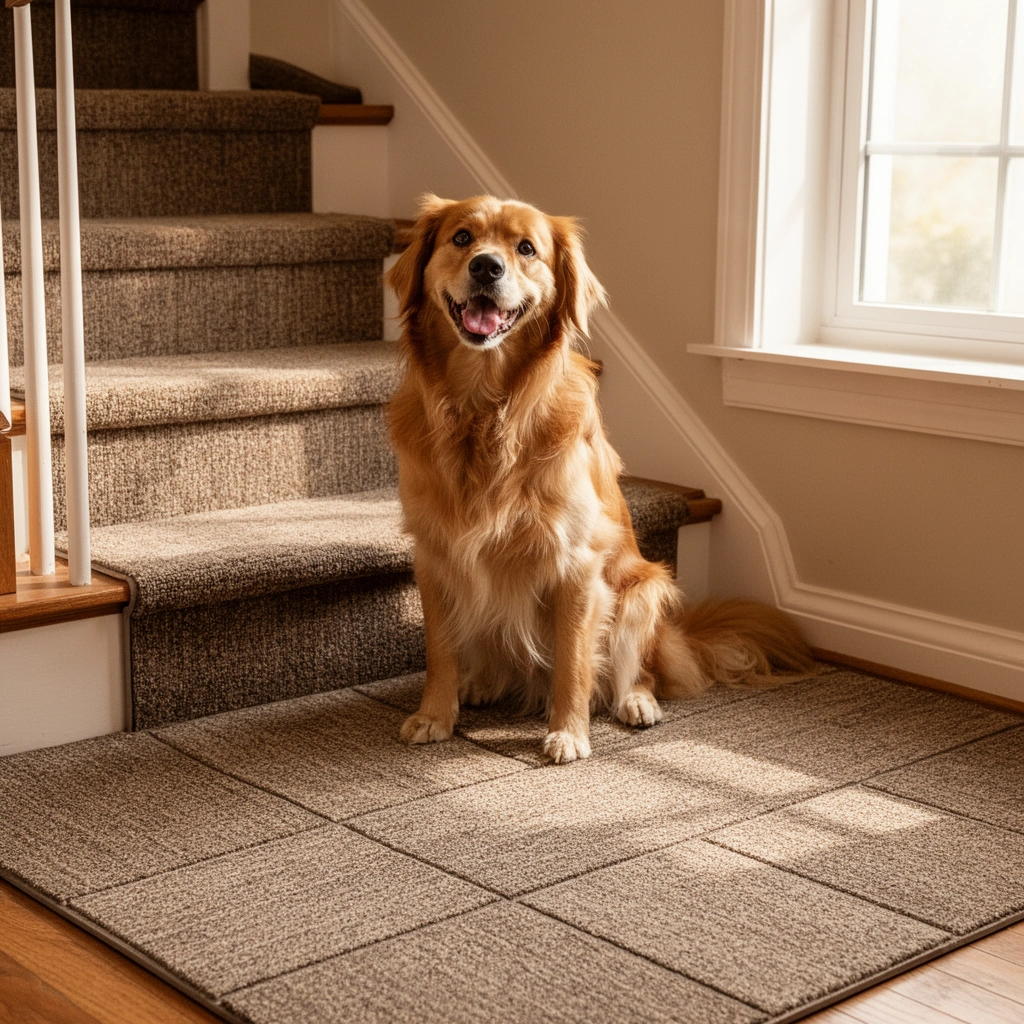
You can avoid most stair-install problems by measuring every step, planning your seam locations, and deciding where tile transitions will sit. The goal is simple: make sure tread edges and riser lines meet the way your stair profile intends—not the way a flat carpet-tile grid “wants” to land.
“Residential stair design commonly uses a minimum tread depth and maximum riser height to ensure safe foot clearance and consistent step geometry.” — I-Codes / IRC stair requirements
“To keep stair coverings from lifting, installers typically prioritize full contact at edges and seams, especially around tread noses and corners.” — Manufacturer installation practices for modular carpet
“A measured, dry-fit layout before cutting helps prevent cumulative error across multiple steps where small differences in riser height add up.” — General flooring layout methodology
“Staggering seams reduces visible ridges where tread lines and riser lines could otherwise align.” — Flooring patterning best practice
– Measure tread depth and width, plus each riser height, and note any variation between steps.
– Dry-fit a “starting line” so tile seams land where you can hide them (often toward the back or at the least visible edges).
– Decide early whether you’ll run tiles across the tread, along the stair direction, or use a border/trim tile near the edge.
Quick reality check: stair dimensions aren’t always identical
Even when a staircase looks uniform, riser height can vary enough to matter when you’re cutting rigid-ish carpet tiles (or tiles with a backing that doesn’t compress well). For layout, treat each step as its own “module.” Measure at least:
– Tread depth: the distance from the stair nose surface to the next tread line (or nosing point you’ll reference).
– Riser height: the vertical distance the tile will “wrap” or meet.
– Stair width: both at the top and bottom of the run (wider or narrower by the time you reach the lower steps).
If you want data-backed targets for safety geometry, building codes specify minimum tread depth and maximum riser height for typical stairs. For example, the IRC sets commonly cited values of a minimum 10″ tread depth and a maximum 7 3/4″ riser height (exact requirements depend on code edition and stair configuration). According to [ADD: source for IRC/IBC stair tread/riser dimensions], the minimum/maximum limits above are widely used as reference points in North American design.
Stair Geometry Limits Commonly Referenced in Building Codes (US)
| # | Design constraint | Typical limit | Carpet-tile fit impact |
|---|---|---|---|
| 1 | Minimum tread depth | 10″ | ★ ★ ★ ★ ★ |
| 2 | Maximum riser height | 7 3/4″ | ★ ★ ★ ★ ☆ |
| 3 | Tread-to-riser balance (comfort) | 17″ rule basis (tread + 2×riser) | ★ ★ ★ ★ ☆ |
| 4 | Consistent step geometry | Variation affects fitting | ★ ★ ☆ ☆ ☆ |
| 5 | Nosing profile tolerance | Varies by stair build | ★ ★ ☆ ☆ ☆ |
| 6 | Stair width consistency | Varies by landing details | ★ ★ ☆ ☆ ☆ |
| 7 | Edge clearance vs. tile thickness | System-dependent | ★ ★ ★ ★ ☆ |
Prep the Stairs for Carpet Tile Adhesion
Proper prep is what makes carpet tiles stay flat at the edges and avoid loosening after foot traffic. Before you cut anything, you want the tread and riser surfaces clean, repaired, and stable enough for the adhesive system you’re using.
“Adhesion failures on flooring projects are commonly caused by contamination (dust, oil, paint overspray) and inadequate surface prep.” — Manufacturer adhesion guidance for flooring systems
“Modular carpet installations generally require a clean, sound substrate to prevent corners from curling or separating.” — Carpet tile installation instructions
“Repairing dents and uneven areas reduces telegraphing—especially where carpet tiles meet at corners and stair noses.” — Flooring installation best practices
– Clean and fully remove dust/debris from each tread and riser so the adhesive (or glue) can bond properly.
– Repair loose edges, dents, or uneven surfaces; carpet tile corners telegraph imperfections quickly.
– If your tiles require a flat, dry surface, confirm the manufacturer’s prep requirements before installing ([ADD: source for your tile adhesive/prep instructions]).
What to treat as “non-negotiable”
On stairs, the highest-risk failure points are typically:
– Stair nose edge and underside transition (where the foot “changes direction”).
– Outer corners and any change of direction (landing transitions, winders if present).
– Any spot with old adhesive, wax, or paint residue.
A practical method is to vacuum thoroughly, then wipe with a cleaner the manufacturer approves for your substrate (wood, plywood, concrete, or existing flooring). If you’re unsure, follow the tile maker’s substrate and cleaner recommendations ([ADD: source for your tile adhesive/prep instructions]).
Cut Tiles for Treads and Risers (Without Bulk)
Smart cutting prevents the “stacked seam” look and keeps tile edges from becoming stress points at stair noses. Cut treads first, then use them as templates for risers so the layout lines up naturally.
“Cutting treads first and using them as templates helps maintain alignment between horizontal and vertical stair coverings.” — Modular carpet installation layout methodology
“Using a sharp blade suited to the tile backing reduces frayed edges that are most visible on stairs.” — Cutting guidance from carpet tile manufacturers
“Stair coverings require careful clearance planning near edges and nosings because rigid edges have less ability to flex.” — Flooring/covering installation best practices
– Cut tread tiles first, then use those pieces to mark riser cuts so the edges line up naturally.
– Leave a small tolerance at edges if the stair nose has movement or if you’re using an edge trim—exact requirements depend on the tile system ([ADD: exact product guidance for edge clearance]).
– Use a straightedge and a sharp blade suited to your tile backing; dull blades cause frayed edges that are obvious on stairs.
Stair profiles that change your cut plan
1. Rounded stair noses: Flat tile edges don’t sit correctly on curves and can lift at the perimeter. Your best option is a stair-edge strategy your tile system supports—often a stair nose/edge trim or a custom-shaped border tile ([ADD: source for stair nose guidance]).
2. Open risers: You’re more likely to see gaps from below. Plan seams so they don’t land where a visible line would “read through” the opening.
3. Adhesive-backed tiles: You typically need precise alignment fast, because once you set the tile, repositioning may be limited by the adhesive’s tack window (follow the spec sheet time guidance; see below).
Install in Order: Treads First, Then Risers
Treads-first installation gives you the most control over alignment because the horizontal surface sets the visual “reference line” for the run. You then build the risers to match those tread edges instead of trying to fit treads around already-placed vertical pieces.
“Many modular carpet tile installations use an install sequence that aligns horizontal surfaces before vertical transitions to minimize rework.” — Carpet tile installation methodology
“Pressing edges and seams firmly is critical because stair traffic concentrates stress at corners and edges.” — Manufacturer installation instructions for modular carpet
– Start at the top (or the most visible stair) so any minor seam imperfections are less noticeable lower down.
– Press tiles firmly at the edges and seams; focus on contact where lifting would happen first (stair edges/corners).
– If your system is adhesive-backed, follow the manufacturer’s install method (alignment time, press time, rolling/weight guidance) from the spec sheet ([ADD: source for your tile installation method]).
Installation sequence that works in the real world
If you’re working step-by-step, a practical flow is:
1. Apply adhesive (if required by your tile system) only where you’ll work immediately, not across an entire stair run.
2. Set the first tread tile, align to your starting line, and press the edges.
3. Install the rest of the tread tiles, keeping seams tight.
4. Measure and set riser tiles to match the tread perimeter.
I recommend doing one “dry contact” pass—pressing a tile into place without full setting—just to confirm your seam lines land where you planned. If your stair has any irregularities, you’ll spot them before adhesive becomes a problem.
What Can Go Wrong (And How to Avoid It)
Stair carpet tiles fail visually and structurally for predictable reasons: poor prep, incorrect seam staggering, and trying to force tiles over incompatible stair geometry. Most issues are fixable early—before the adhesive fully sets or before you lock in a misaligned pattern.
“Lifting at edges commonly indicates insufficient substrate prep, inadequate contact pressure, or contamination that interferes with adhesion.” — Manufacturer flooring adhesion troubleshooting
“Seams that align vertically (tread seam meeting riser seam) can create visible ridges and a ‘stacked’ look under foot traffic.” — Patterning best practice for modular coverings
“Attempting to force flat-backed modular carpet over rounded or warped stair edges can cause wrinkling or curl-back.” — Flooring installation troubleshooting guidance
– Tiles lifting at stair edges: typically caused by poor surface prep, dust, or insufficient edge contact—re-clean and re-seat if needed.
– Uneven cuts on risers: stairs vary; measure each step if you suspect inconsistency and avoid assuming identical dimensions.
– Seams that “stack” awkwardly: if tread seams line up with riser seams, you can get noticeable ridges—stagger seams where possible.
– Bunching or wrinkling: don’t force tiles to fit over rounded noses or warped surfaces; instead use the correct cut strategy or add edge trim designed for stairs.
– Glue/adhesive mismatch: using the wrong adhesive for your tile backing can fail early—confirm compatibility from the manufacturer instructions ([ADD: adhesive compatibility reference for your tiles]).
Pros/cons: what changes most on stairs
| Approach | Pros on stairs | Cons / watch-outs |
|---|---|---|
| Treads first, then risers | Easier alignment at tread nose; fewer re-cuts. | If your first tread is off, every riser repeats the mismatch. |
| Staggered seams | Reduces visible ridges where tread and riser meet. | May increase border cutting and require a trim plan. |
| Edge trim for stair noses | Improves durability at corners; hides imperfect transitions. | System-dependent; wrong trim clearance can create gaps or lift points. |
Verdict: A Clean Finish Is Possible—But Only If You Match the System
Carpet tiles around stairs can look great when you plan seams, keep edges tight, and follow the specific prep/adhesive instructions for your tile backing. The downside is that stair installations are detail-heavy—if your stair surfaces are uneven or you’re not confident measuring and cutting consistently, it’s reasonable to hire a flooring installer or switch to a stair-specific covering system.
Skip DIY if your stairs are significantly uneven, damaged at the edges, or your chosen tile system’s documentation doesn’t support stair/riser installation ([ADD: confirm “stairs suitability” for your tile brand/model from official documentation]). Also skip if you can’t meet the manufacturer’s substrate requirements (flatness, dryness, and approved cleaners).
From a planning standpoint, I’ve found it’s the “compatibility checklist” that prevents rework more than any single cutting trick—surface prep + adhesive matching + seam/edge plan must all be consistent. If any one piece is missing, you’ll usually see it at corners first.
“Always follow manufacturer documentation for substrate preparation, adhesive compatibility, and approved installation areas (including stairs if stated).” — Standard modular carpet tile installation requirements
Quick Checklist (Scan & Save)
– Measure each tread and riser; confirm they’re consistent
– Dry-fit tile layout; plan where seams and edges will land
– Clean and repair surfaces; follow tile adhesive/prep rules
– Cut treads first, then mark risers using fit alignment
– Install top-to-bottom; press edges and seams firmly
– Add edge trim if recommended for your stair profile
– Re-check for lifting/buckling before fully committing
FAQ
Do I need to use a special adhesive for carpet tiles on stairs?
It depends on the tile type. Some carpet tiles are adhesive-backed; others require approved glue—check your manufacturer’s installation instructions for stair/riser compatibility ([ADD: source for your tile’s adhesive requirements]).
How do I handle rounded stair noses?
You’ll usually need custom shaping and a plan for edge transitions; forcing flat tile over a curve often causes lifting or visible ridges. If your tile system doesn’t support rounded noses, use the manufacturer’s recommended stair-edge approach ([ADD: source for stair nose guidance]).
Should I stagger tile seams on stairs?
In most layouts, yes—staggering reduces “ridged” lines where tread and riser edges meet. Your best pattern depends on the dimensions of your tiles and the stair profile you’re working with.
What’s the best order to install tiles on steps?
A common approach is treads first, then risers, so you can align edges more accurately and avoid getting trapped by already-installed pieces. Follow any order guidance from your carpet tile instructions if provided ([ADD: source for installation order]).
Sources
– [ADD: official manufacturer installation instructions/spec sheet for your carpet tile system, including surface prep, adhesive compatibility, and stair suitability]
– [ADD: official guidelines for cutting/installation method from the carpet tile manufacturer, if separate documentation exists]
– [ADD: source for IRC/IBC stair tread and riser dimension limits referenced in the article (e.g., minimum tread depth and maximum riser height)]
A clean stair tile finish comes down to one discipline: measure every step, cut with a plan for seams and edges, then install in the sequence your tile system expects. If you match surface prep, adhesive/attachment method, and stair-edge strategy, carpet tiles can hold up well—and look intentionally finished instead of improvised.
Frequently Asked Questions
What’s the best way to measure and plan carpet tile layout around stairs?
Start by measuring each stair tread and riser (including the nosing) and note the width and length of your carpet tiles. Dry-fit tiles on the straight portions first, then plan how you’ll handle the curved or angled areas near the stair edges—usually with cut tiles to avoid awkward narrow strips. Mark a centerline on the stair run and keep your pattern consistent, so the carpet tile seams land evenly and look intentional from top to bottom.
How do I cut carpet tiles to fit stair treads and risers neatly?
Use a straightedge and a sharp utility knife or carpet tile cutting tool designed for your tile type, then score and snap or cut in shallow passes for clean edges. For stair tread corners and around bullnose or angled edges, take precise measurements and test-fit the cut piece before installing with adhesive. If you’re using peel-and-stick or modular carpet tiles, cut slightly smaller and use seam edges to cover any minor gaps so you don’t create visible fraying.
How should I install carpet tiles on stairs to prevent slipping and seam separation?
Use stair-rated flooring adhesive or the manufacturer-recommended bonding method for your specific carpet tile backing, and press firmly along every seam. Install tiles starting at the top of the stairs and work downward so you’re not stepping on freshly bonded areas. For extra stability on high-traffic stairs, consider anti-slip underlayment compatible with carpet tiles and ensure seams are snug to minimize lifting that can cause tripping hazards.
Which adhesive or underlayment is best for carpet tiles on staircases?
The best choice depends on your carpet tile backing, but many installs use a pressure-sensitive adhesive or carpet tile glue that’s specifically formulated for modular carpet. For underlayment, choose a thin, stair-safe product that doesn’t increase height too much and won’t interfere with stair nosing clearance. Always follow the tile manufacturer’s recommendations because using the wrong adhesive can lead to bubbling, poor adhesion, or edge curl on stair treads.
Why do carpet tiles sometimes lift on stairs, and how can I prevent it?
Carpet tiles often lift due to inadequate surface prep, insufficient adhesive coverage, or tiles being cut too tightly so they buckle at stair edges. Make sure the steps are clean, dry, and smooth, then apply adhesive evenly—especially along corners and where tread meets riser. Finally, keep the pattern and seams aligned while avoiding excessive stretching, and install with the tile flat and fully contacted so the carpet tiles remain secure over time.
📅 Last Updated: October 11, 2026 | Topic: How to install around stairs carpet tiles? | Content verified for accuracy and freshness.
References
- Google Scholar Google Scholar
https://scholar.google.com/scholar?q=carpet+tile+installation+stairs+transition+detail - Google Scholar Google Scholar
https://scholar.google.com/scholar?q=how+to+install+carpet+tile+around+stairs+treads+risers - Google Scholar Google Scholar
https://scholar.google.com/scholar?q=carpet+tile+installation+instructions+stairs+cutting+pattern - https://en.wikipedia.org/wiki/Carpet_tile
- Carpet
https://en.wikipedia.org/wiki/Carpet - https://carpet-rug.org/resources/carpet-installation/
- https://www.osha.gov/slips-trips-and-falls
- https://www.cpsc.gov/Safety-Education/Safety-Guides/General-Safety-Information/Tripping-Falls
- https://www.nyc.gov/site/doh/health/health-topics/falls.page
- Google Scholar Google Scholar
https://scholar.google.com/scholar?q=How+to+install+around+stairs+carpet+tiles?


