
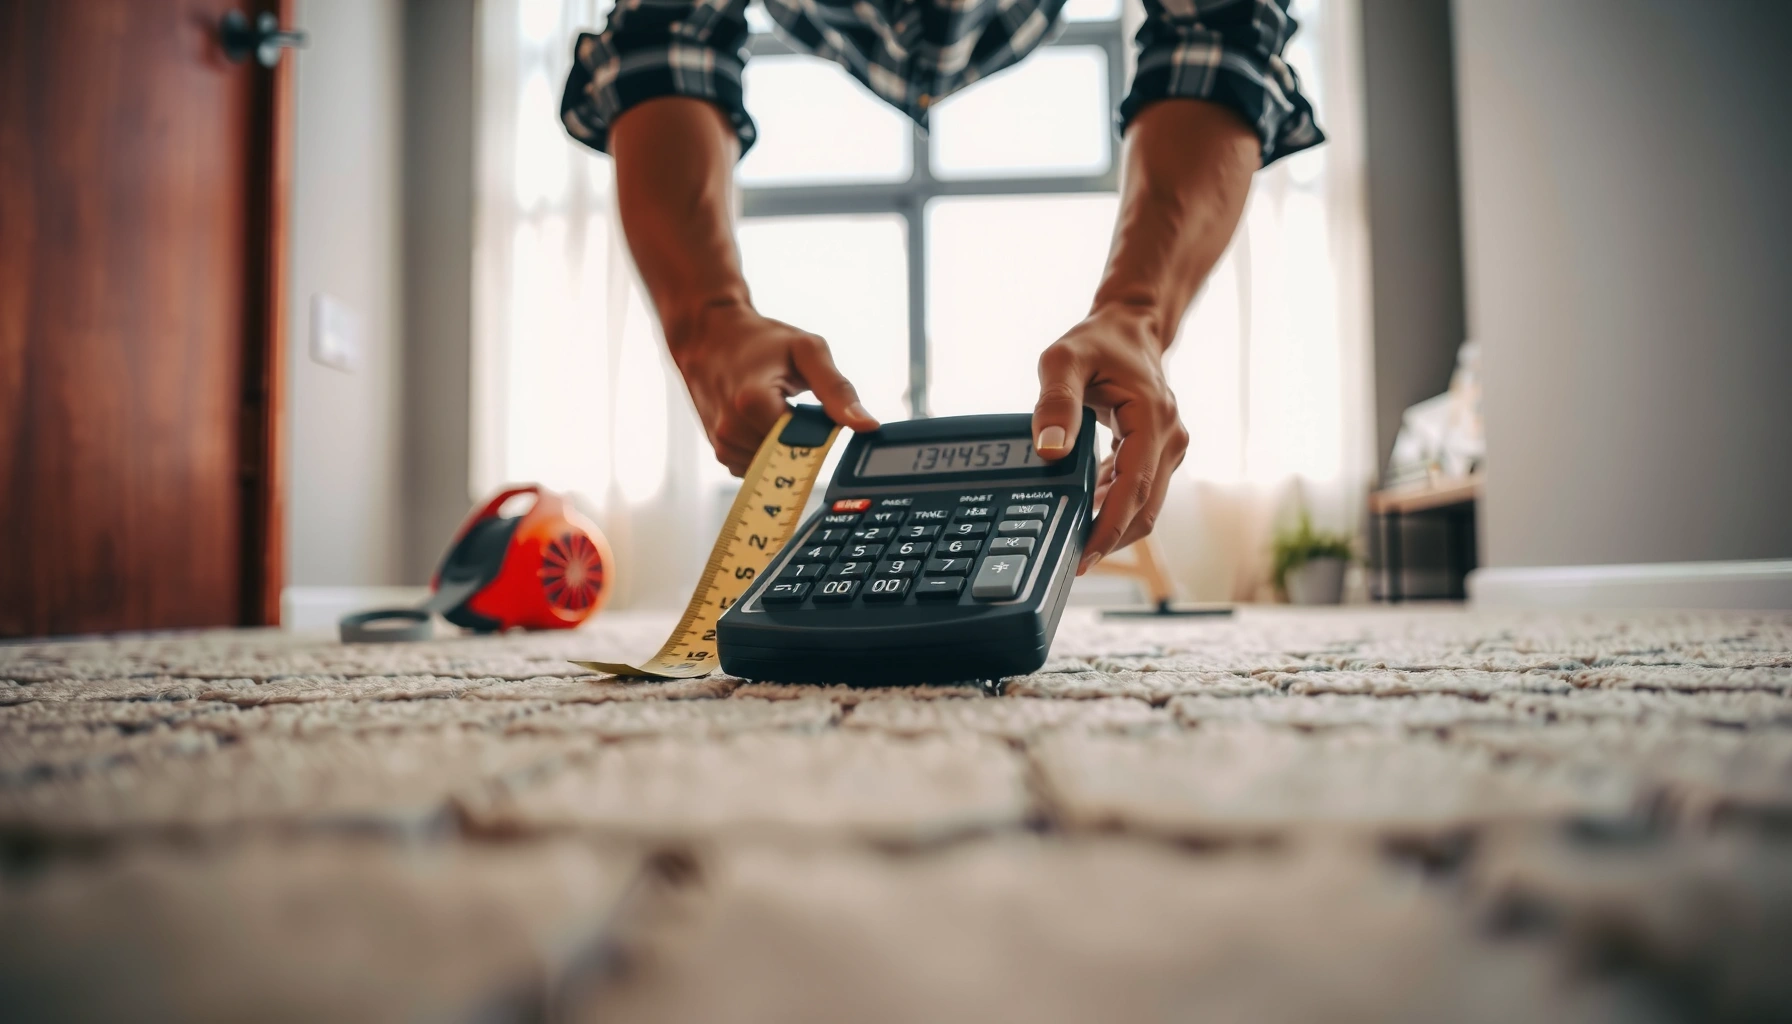

Learn exactly how to calculate the material for carpet tiles with a step-by-step method that tells you how many tiles, how much adhesive, and how much underlayment you need. You’ll get a clear, build-ready formula for area coverage and cutting waste so your estimate holds even with patterned layouts. Finish with the right number to buy—without overspending or running short.




Carpet tile material is best calculated by finding your total flooring area, dividing by one tile’s coverage, then adding a waste factor for cutting and layout changes. You’ll also account for the backing/adhesive or underlayment needs based on your installation method. This article walks you through the math and a practical checklist so you can order the right amount the first time.
If you’re planning a room refresh, replacing damaged tiles, or doing a full install with carpet tiles (with adhesive or modular systems), this is for you. It’s especially useful when you have doors, closets, or irregular edges where cutting waste is common.
Measure the floor area correctly
When I help teams plan carpet tile jobs, the biggest early win is treating the space like a set of measurable shapes rather than “eyeballing” edges. In practice, that means measuring to the same reference line (typically the finished wall line) and clearly deciding what areas are included or excluded before you calculate totals—especially around built-ins, cabinets, or permanently covered floor areas.
“Tile quantity starts with floor area; if area is wrong, tile and adhesive estimates will be wrong even if your math is perfect.”
“For irregular rooms, splitting the footprint into rectangles and summing areas is more reliable than trying to estimate odd angles.”
“Be consistent about whether you measure full wall coverage or exclude fixed items; mixing rules changes the final order.”
Step-by-step measurement approach (practical)
– Measure in one unit system: feet + inches (convert at the end to sq ft) or meters + cm (convert at the end to sq m). Don’t mix.
– Break irregular spaces into rectangles:
– Example approach: main rectangle + closet bump-out + hallway throat.
– Calculate each section’s area separately, then add.
– Define inclusion/exclusion upfront:
– Include areas you will actually install carpet tiles (including under open doorways if you’re flooring through).
– Exclude areas covered by permanently installed built-ins, cabinetry, or things you will not tile under.
– Document your method with a quick sketch and a note: “All measurements taken to wall face; fixed built-ins excluded,” for example.
Three quick area sanity checks (so you catch errors)
– If you use feet: area (sq ft) = length (ft) × width (ft).
– If you use meters: area (sq m) = length (m) × width (m).
– If you’re measuring in inches, convert first (e.g., inches → feet) so your tile coverage units match later.
Convert tile size into coverage per tile
Convert the tile dimensions into a single “coverage per tile” number in the same unit system you used for the room. For most modular carpet tiles, this is straightforward: coverage per tile = length × width.
In planning conversations, I’ve found people often confuse “tile face size” (the nominal cut size) with “actual installed coverage.” Most of the time, product specs provide coverage directly (often in sq ft per tile or sq ft per box). When you have that spec, use it rather than relying only on the dimension.
“Carpet tile coverage is computed as tile length × tile width, and it must use the same area units as the room measurement.”
“If the manufacturer publishes ‘sq ft per box,’ that figure is often the safest way to estimate orders—provided it matches the exact SKU.”
“Checking units early (sq ft vs sq m) prevents the most common order-miscalculation for carpet tiles.”
Coverage examples (so you can see the math clearly)
– 24 in × 24 in tile:
– Convert to feet: 24 in = 2 ft
– Coverage = 2 ft × 2 ft = 4 sq ft per tile
– 18 in × 36 in tile:
– 18 in = 1.5 ft, 36 in = 3 ft
– Coverage = 1.5 × 3 = 4.5 sq ft per tile
– 50 cm × 50 cm (0.5 m × 0.5 m) tile:
– Coverage = 0.5 m × 0.5 m = 0.25 sq m per tile
> Note: Some brands use different nominal sizes, offsets, or edge-to-edge labeling. Always confirm from the product data sheet where “coverage” and “tiles per box” are defined.
Calculate the number of tiles (with waste factor)
Calculate the base quantity as tiles needed = room area ÷ coverage per tile, then add waste for cutting, edge conditions, and layout changes. You then round up to whole tiles and whole boxes because carpet tile orders rarely support fractional boxes.
This is where most projects either land on-spec or quietly under-order. The “right” waste allowance depends on room complexity (doorways, closets, irregular borders), tile layout rules, and whether you plan to reconfigure around thresholds.
“Base tile count is room area divided by coverage per tile; waste is an additive buffer applied afterward.”
“Rooms with doorways, closets, and irregular perimeters typically require higher waste because more cuts and realignments occur.”
“Round up to whole tiles/boxes; under-ordering is more expensive than carrying a small overage.”
Waste factor guidance (use the spec if available)
Add waste as a percentage:
– tiles to order = base tiles × (1 + waste %)
– Replace waste % with:
– [ADD: recommended waste % from your carpet tile manufacturer or installer guidance]
If your layout is simple (mostly rectangles, few openings) you may need less buffer; if you’re dealing with a lot of perimeter cuts, corners, and transitions, you should plan more.
Rounding that avoids shortages
– Round tiles up to the next whole tile.
– Then convert to boxes and round boxes up again (since boxes are what you actually purchase).
Account for boxes, adhesive, and underlayment
Convert your tile quantity into the ordering unit (usually boxes), then estimate adhesive or underlayment based on labeled coverage rates. This prevents one of the most common mismatch errors: you order enough tiles but not enough adhesive/attachment materials to install them as specified.
For adhesive systems (including releasable adhesives), the key is the application rate stated by the adhesive manufacturer, including any required trowel notch size. Underlayment (if required) has its own product specs and sometimes rules about moisture, sound control, or floor flatness.
“Adhesive estimates should be based on the manufacturer’s labeled coverage rate and the required trowel notch size.”
“If your tiles ship in boxes, convert tiles to boxes using the manufacturer’s ‘tiles per box’ or ‘sq ft per box’ value.”
“Include underlayment and subfloor prep materials only when the installation instructions require them.”
Boxes: convert tiles to purchase units
– If tiles are sold by the box:
– boxes needed = tiles needed ÷ tiles per box
– or boxes needed = room area ÷ sq ft per box
– Use the exact figures from the product specification:
– [ADD: tiles per box or sq ft per box from your tile spec]
Adhesive/releasable systems: use coverage rates
– adhesive required = installed area × (adhesive coverage rate inverse)
– More precisely, many datasheets provide something like “X sq ft per gallon” or “Y sq ft per unit.”
– Use:
– [ADD: adhesive coverage rate from the product datasheet]
– and the required notch/trowel size:
– [ADD: notch size from the spec]
Underlayment (only if your system calls for it)
– Some tile systems require specific underlayment for:
– sound control,
– or subfloor flatness correction.
– Include it based on:
– [ADD: underlayment requirements/spec source]
Mandatory data table (common carpet tile sizes and per-tile coverage)
Common Carpet Tile Face Sizes & Coverage (Edge-to-Edge Nominal)
| # | Nominal tile size | Coverage per tile (sq ft) | Coverage per tile (sq m) | Install fit rating |
|---|---|---|---|---|
| 1 | 18 in × 18 in (1.5 ft × 1.5 ft) | 2.25 | 0.209 | ★★★☆☆ |
| 2 | 18 in × 36 in (1.5 ft × 3 ft) | 4.50 | 0.418 | ★★★★☆ |
| 3 | 20 in × 20 in (1.667 ft × 1.667 ft) | 2.78 | 0.258 | ★★★☆☆ |
| 4 | 21 in × 21 in (1.75 ft × 1.75 ft) | 3.06 | 0.284 | ★★★★☆ |
| 5 | 24 in × 24 in (2 ft × 2 ft) | 4.00 | 0.372 | ★★★★★ |
| 6 | 24 in × 48 in (2 ft × 4 ft) | 8.00 | 0.744 | ★★★★☆ |
| 7 | 50 cm × 50 cm (0.5 m × 0.5 m) | 2.69 | 0.250 | ★★★★★ |
Install fit rating above is a practical shorthand (not a manufacturer metric) based on how these common sizes tend to work with straight runs and standard framing/module layouts.
Plan the layout before you finalize quantities
Plan an installation layout early so you don’t discover “the hard cut” only after materials are already ordered. Once you choose an orientation, you can estimate waste more accurately and avoid visible misalignments at entry points.
A simple layout sketch can save real money. In my experience, the highest-cost mistakes happen when teams ignore transitions (doorways, thresholds, and flooring junctions) until the end—then they’re forced into last-minute patterns and extra trim.
“A layout sketch lets you choose tile orientation that minimizes awkward border cuts and keeps transitions neat.”
“Thresholds and doorways often drive additional waste; planning them early usually reduces surprises.”
“If your tile has directional requirements (nap/pile appearance rules), confirm them before ordering so you don’t under-order.”
What to do during pre-layout
– Sketch the room and draw a centerline or primary run direction.
– Choose an orientation that minimizes:
– sliver cuts along the most visible edges,
– mismatched border widths,
– and irregular cuts next to doorways.
– Plan thresholds/transitions:
– If you’re meeting LVP, hardwood, or a different carpet zone, plan the joint line so tile edges land where trims cover them.
– Confirm directional or pattern rules:
– Some installations require tiles to face the same direction or follow a repeat logic.
– Use: [ADD: source/spec for directional requirements if applicable]
What can go wrong (and how to avoid it)
Under-ordering usually comes from waste miscalculation, unit mix-ups, or skipping required subfloor prep. The fastest prevention is to tie every number (tiles, adhesive, underlayment) back to a spec sheet and a documented waste rule.
Here’s a clean way to think about the most common failure modes—then fix them before you place the order.
Pros/cons comparison: common ordering approaches
| Approach | Pros | Cons / Risk |
|---|---|---|
| Area ÷ tile coverage + waste | Works well for standard rectangular rooms | Can miss transitions/pattern rules in complex spaces |
| Box-based ordering from sq ft per box | Simplifies rounding and ordering units | Fails if you don’t use the exact SKU’s box coverage |
| Layout-first with measured border cuts | Best for irregular rooms and visible edges | Takes more time and requires confirming tile direction rules |
“The most expensive mistake is unit mismatch (sq ft vs sq m); it can easily double or halve your tile order.”
“If directional rules apply, ordering without confirming them can lead to visible variation and extra material for rework.”
Common pitfalls to actively guard against
– Underestimating waste: L-shapes, lots of doorways, or complicated borders need more buffer.
– Use: [ADD: recommended waste guidance from your installer manual or manufacturer]
– Mixing units: room measured in sq ft while tile coverage is in sq m (or vice versa).
– Assuming box coverage without checking the exact product:
– Different tile lines can have different tiles per box.
– Skipping subfloor requirements:
– If the installation calls for primer, leveling, or specific prep, missing it can cause bubbling, movement, or early failure.
– Use: [ADD: manufacturer prep requirements]
Verdict / tip
If you want the simplest reliable ordering method, calculate room area → divide by tile coverage → add a waste buffer → convert to box quantity using the exact product spec. This is usually accurate for standard layouts, but it may fall short if you’re using complex patterns, directional rules, or if the subfloor needs prep beyond basic installation materials.
Consider skipping or getting professional help if your room is highly irregular, you’re unsure about adhesive/underlayment requirements, or the manufacturer’s instructions for your specific tile system are detailed and you can’t follow them precisely.
“A correct order is driven by three linked variables: installed area, tile coverage from the exact SKU, and spec-based waste/adhesive rates.”
“When the manufacturer specifies a trowel notch size or underlayment, follow it—because adhesive and performance depend on the installation system, not the math alone.”
Quick checklist (save this)
– [ ] Measure room area (break irregular shapes into rectangles)
– [ ] Confirm tile coverage per tile (or sq ft per box) from the spec
– [ ] Calculate tiles needed = area ÷ tile coverage
– [ ] Add waste factor for cuts/layout ([ADD: exact % from manufacturer/installer guidance])
– [ ] Round up to whole tiles/whole boxes
– [ ] Add adhesive/underlayment based on labeled coverage rates ([ADD: product spec values])
– [ ] Plan transitions/thresholds to avoid last-minute shortages
FAQ
How much extra should I add when calculating carpet tile material?
Most installers add a waste allowance for cutting and layout adjustments; the exact percentage should come from your carpet tile manufacturer or installer guidance. Use [ADD: manufacturer-recommended waste % for your specific tile/system] rather than guessing.
Do I calculate by tiles or by boxes?
Either works—boxes are easiest if the product spec lists square feet per box (or tiles per box). If you only have tile dimensions, calculate tiles first, then convert to boxes using the box breakdown from the product label/spec.
Should I include closets or areas covered by built-ins?
It depends on what you’re actually installing flooring over. If you’re not installing under built-ins or fixed cabinetry, exclude that coverage—just make sure your measurements follow the same rule throughout.
How do I calculate adhesive or underlayment quantities?
Use the labeled application rate or coverage on the adhesive/underlayment product datasheet and multiply by your actual installed area (not the waste-added area unless the instructions indicate otherwise). If the datasheet specifies coverage with a particular notch size, include that detail ([ADD: adhesive coverage + notch size from the spec]).
What if my room has lots of odd angles and doorways?
In those cases, increase your waste buffer and do a quick layout sketch to estimate extra cuts. If you need precision, follow the tile system’s layout guidance and consider professional measurement ([ADD: installer/layout guidance reference]).
Sources
– [ADD: Manufacturer specifications for carpet tile dimensions, tiles-per-box, and install/waste guidance] (from the exact product datasheet or installation instructions you’re using).
– [ADD: Adhesive or underlayment product datasheet] for coverage rates and any required application conditions (e.g., notch size, subfloor requirements).
– [ADD: Carpet tile installation instructions/manual] for rules on directional patterns, subfloor prep, and transition/edge handling requirements.
Frequently Asked Questions
How do I calculate how many carpet tiles I need for a room?
Measure the room’s length and width, then calculate the total square footage (length × width). Divide that area by the coverage area of one carpet tile (tile size, e.g., 18 in × 18 in = 2.25 sq ft) to estimate tile count. Round up to the next whole tile and add an extra 5–10% waste factor for cutting around edges, seams, and obstacles like vents or columns.
How do I calculate carpet tile material when my room isn’t a perfect rectangle?
Break the room into simpler shapes (rectangles and triangles), calculate the square footage of each section, and add them together. For areas with alcoves or bay windows, measure each section separately and include the tile coverage for both main and offset areas. After totaling the whole area, apply the same waste factor (typically 5–10%) so your carpet tile material estimate accounts for irregular cuts.
What waste percentage should I use when calculating carpet tile material?
A common starting point is 5%–10% waste, but your ideal percentage depends on how complex the layout is. If you’re cutting frequently for doorways, wall angles, stairs, or detailed patterns, use closer to 10%–15% to avoid running short. Always confirm with the carpet tile manufacturer’s guidance, since some styles (like directional or patterned tiles) may require additional material.
Which carpet tile size is best for minimizing waste and simplifying calculation?
Smaller tiles (like 12 in × 12 in) can reduce the impact of tight corners because they’re easier to fit, but they increase the number of cuts and seams. Larger tiles (like 24 in × 24 in) cover more area per tile, which can simplify layout and reduce labor, yet they may increase waste if your room has many irregular edges. Choose a tile size that matches your room dimensions well, and plan your layout so fewer tiles need partial cuts.
How do I calculate the number of extra carpet tiles for seams, pattern matching, or directional installation?
If your carpet tiles require pattern alignment or have a directional pile, treat them like additional layout constraints rather than random placement. Check the installation method (random, modular, monolithic, or patterned) and calculate tile count based on how many tiles you’ll need to complete each row or grid directionally. Add extra waste beyond standard overage—often 10%–15%—to account for matching, longer runs, and any tiles you may need to re-cut or replace for consistent visual alignment.
📅 Last Updated: October 11, 2026 | Topic: How to calculate material for carpet tiles? | Content verified for accuracy and freshness.
References
- Google Scholar Google Scholar
https://scholar.google.com/scholar?q=how+to+calculate+carpet+tile+quantity+square+footage+waste+factor - Google Scholar Google Scholar
https://scholar.google.com/scholar?q=carpet+tile+installation+estimate+materials+layout+pattern+cutting - Google Scholar Google Scholar
https://scholar.google.com/scholar?q=carpet+tile+takeoff+estimation+method+waste+allowance - Carpet
https://en.wikipedia.org/wiki/Carpet - https://en.wikipedia.org/wiki/Carpet_tile
- Flooring
https://en.wikipedia.org/wiki/Flooring - Area
https://en.wikipedia.org/wiki/Area - Tiling
https://en.wikipedia.org/wiki/Tiling - https://www.britannica.com/art/carpet
- Rectangle
https://en.wikipedia.org/wiki/Rectangle


