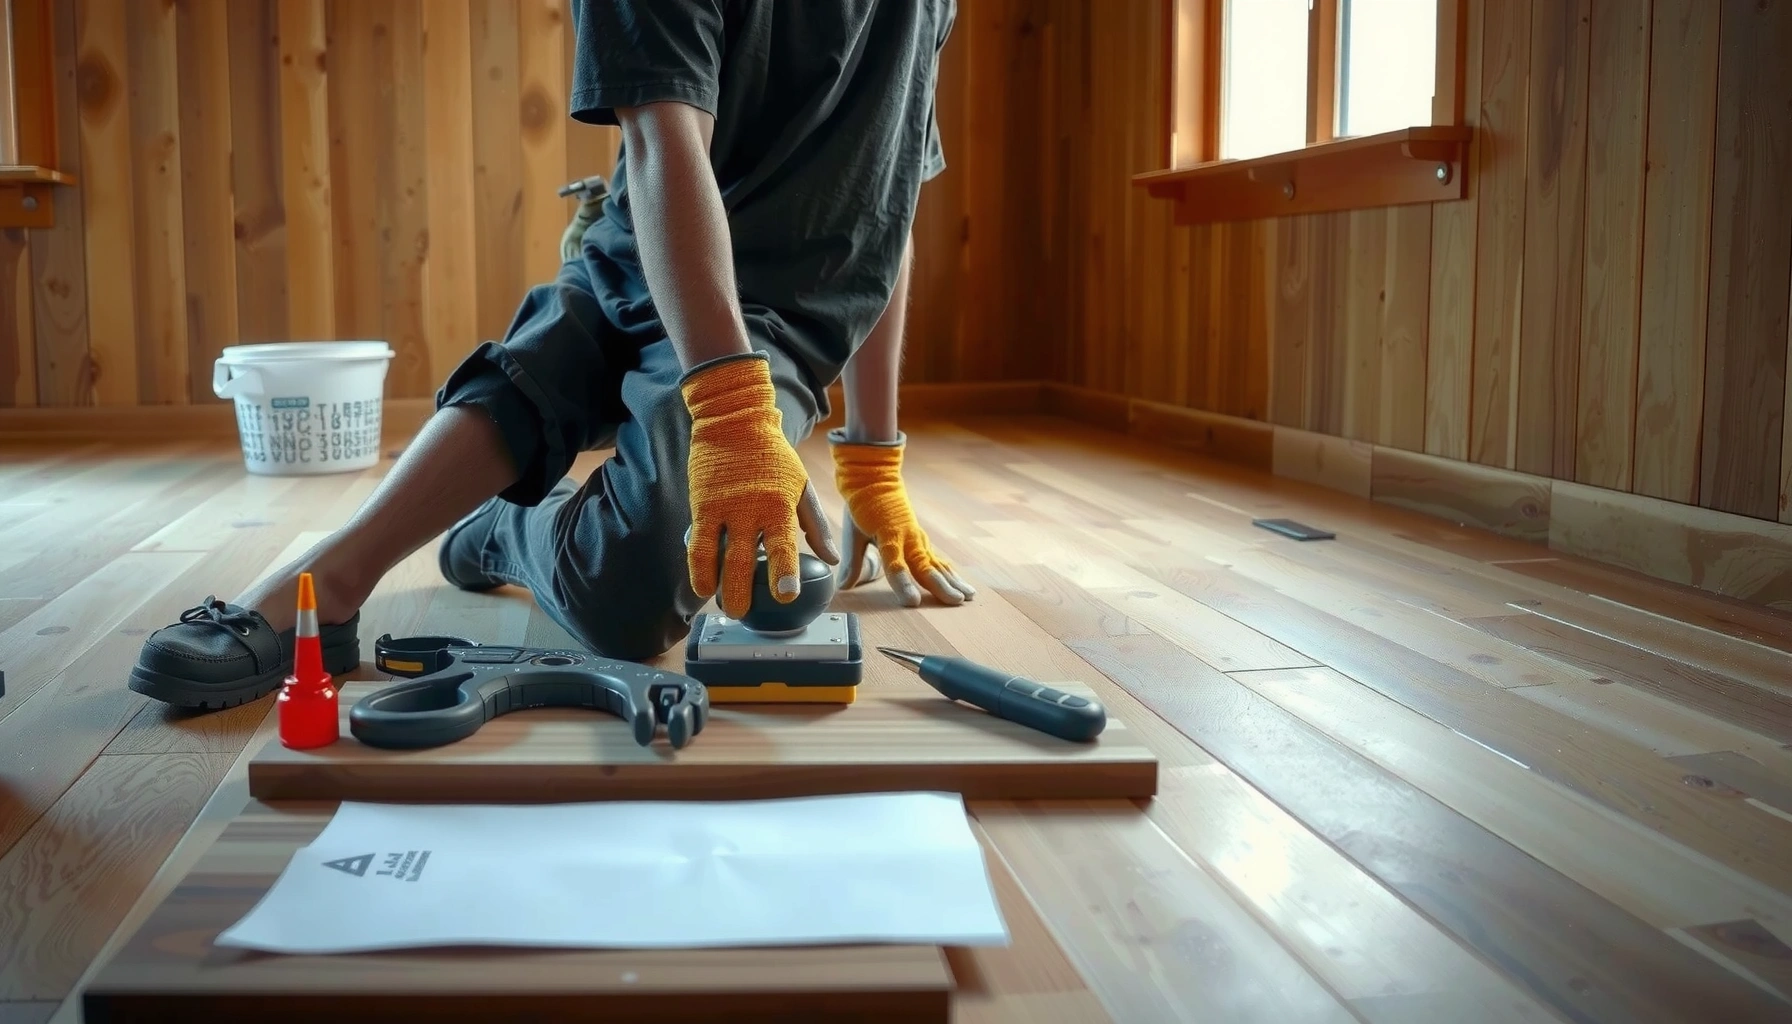

This step-by-step guide shows you exactly how to install bamboo floors, from prepping the subfloor to fitting and locking boards. Follow these clear instructions to get a tight, professional-looking finish with minimal mistakes. If you want the fastest, most reliable route to a clean install, you’ll know what to do at every stage before you start the first plank.




Installing bamboo floors is mainly about getting the subfloor flat, controlling moisture, and using the exact installation method your planks are designed for (click-lock floating vs. glue-down vs. nail-down). If you prep the base correctly and leave the required expansion gaps, bamboo typically lays smoothly and holds up stably over time.
Installing bamboo flooring is less about “following a pattern” and more about managing three variables that move together: the substrate (subfloor flatness and condition), moisture (vapor drive from concrete or crawl spaces), and the floor system you chose (floating, glue-down, or nail-down). If any one of those is wrong, the symptoms often show up later as gaps, squeaks, joint separation, cupping, or separation at transitions.
Who this is for / when it applies: This is for homeowners, DIYers, and small contractors who are planning to install bamboo flooring and want a clear process before they start cutting, acclimating, and fastening. It’s most useful when you’re choosing a layout plan and want to understand what changes depending on bamboo type and whether you’re using a floating, glue-down, or nail-down system.
Check your bamboo type and installation method

The right start is simple: confirm whether your bamboo is click-lock (floating), glue-down, or nail-down, then follow the manufacturer’s instructions for that exact system. The installation method determines underlayment needs, fastening requirements, and how you handle moisture—so this step prevents most downstream failures.
Before you buy tools or start measuring, find the product label and installation manual for your specific bamboo model. Bamboo varies widely by construction (strand-woven vs. engineered vs. solid bamboo), surface finish, plank width/thickness, and joint design. Even if two products both say “bamboo,” their moisture guidance and gap requirements can differ. Also confirm the required underlayment: some click-lock systems need a specific pad or foam thickness and an attached vapor barrier, while some glue-down installs require a compatible moisture-management layer only when specified.
“Installation method (floating vs. glue-down vs. nail-down) is not interchangeable—each system relies on different joint behavior and fastening mechanics.”
“Slab moisture control and vapor barriers are typically determined by the manufacturer’s requirements for that specific bamboo product.”
What to verify on the label/manual
– Is it click-lock (floating), glue-down, or nail-down?
– Does it specify an underlayment, and does that underlayment need to be vapor-barrier rated for concrete?
– What subfloor flatness tolerance does it require (often stated as a maximum deviation over a given length)?
– What expansion gap size does it require around walls and fixed vertical surfaces?
– Does it require acclimation to a temperature/humidity window, and for how long?
Prepare the subfloor (this is the make-or-break step)
A good bamboo install depends on one underlying principle: the subfloor has to be flat, clean, structurally sound, and dry. Bamboo will “telegraph” base problems—especially joint stress in click-lock systems and bond failures in glue-down installs—so preparation is where quality is made.
Start by removing dust, paint overspray, old adhesive residue, and anything that could keep the floor from sitting evenly. Then check flatness with a straightedge (or a level long enough to span typical highs/lows). Fix everything that can move under load: loose boards, broken fasteners, or soft spots. If you’re working over concrete, check for curing residues, moisture conditions, and surface integrity. For glued systems, the bond depends on correct substrate porosity and cleanliness.
“Flooring failures frequently trace back to subfloor flatness and moisture conditions rather than the flooring boards themselves.”
“Glued systems are especially sensitive to contamination and unevenness because bond strength depends on full-area contact.”
Moisture testing basics you should expect
Different manufacturers reference different moisture protocols, but you’ll typically see standards used for slab verification:
– ASTM F1869 (calcium chloride test) reports results in lbs/1000 sq ft/24 hours.
– ASTM F2170 (in-situ relative humidity probes) reports relative humidity in % using embedded probes.
Even when a manufacturer doesn’t name the ASTM method in your manual, they often reference a moisture limit or testing approach consistent with these standards. Use the method they require (or at least the same standard) because the threshold isn’t interchangeable across test types.
Subfloor prep comparison (quick reality check)
| Subfloor condition | What it causes in bamboo | Best fix before install |
|---|---|---|
| High spots/humps | Joint stress, squeaks, click-lock interlock stress | Grind high areas; re-check flatness |
| Dips/low spots | Gaps at joints; uneven load transfer | Level with approved patch/underlayment |
| Loose/creaky areas | Movement underfoot; fastener failure (nail-down) | Re-nail/re-screw; replace damaged areas |
| Dust/paint/adhesive residue | Poor bond (glue-down), poor pad performance | Mechanically clean; follow adhesive primers if specified |
| Damp slab/crawl moisture | Cupping, finish damage, mold risk | Correct vapor barrier/approved moisture plan |
Insert your installation-method decision data
Because the “right way” depends on system type, here’s a practical snapshot of the requirements you should be prepared to meet. (Use your bamboo manual for exact numbers and tolerances.)
Bamboo Installation Systems: Typical Requirements and DIY Fit
| # | Installation system | Common moisture control | Subfloor flatness sensitivity | DIY fit | Notes |
|---|---|---|---|---|---|
| 1 | Click-lock floating (dry) | Attached pad or separate vapor barrier if specified | High (joints telegraph base) | ★★★☆☆ | Keep expansion gaps; avoid trapping movement |
| 2 | Glue-down engineered bamboo | Vapor barrier/primer only when required by manual | Very high (bond depends on contact) | ★★☆☆☆ | Requires approved adhesive and subfloor prep |
| 3 | Glue-down solid bamboo | Often stricter slab moisture limits | Very high | ★☆☆☆☆ | Usually less forgiving for DIYers |
| 4 | Nail-down bamboo (tongue-and-groove) | Moisture plan depends on grade/subfloor type | Medium-high (fasteners resist movement) | ★★★☆☆ | Use correct nail angle and spacing per manual |
| 5 | Hybrid: glue + mechanical | Vapor control still typically required | High | ★☆☆☆☆ | Only attempt if manual is explicit |
| 6 | Click-lock over slab (with vapor barrier) | Vapor barrier plus jobsite dryness checks | High | ★★★☆☆ | Most important: flatness and gap control |
| 7 | Nail-down over wood subfloor | Moisture content limits for framing/subfloor | Medium | ★★★☆☆ | Avoid overdriving nails; keep boards tight |
Acclimate bamboo and plan your layout
A stable installation starts before boards touch the floor: acclimate bamboo and plan the layout so seams land well. This prevents the common DIY problem of cutting “perfect” pieces that later become short or leave awkward end gaps due to movement.
Acclimation means bringing the bamboo into the jobsite environment—temperature and relative humidity—so the planks reach equilibrium. Your manual will specify the conditions and timeframe; follow it exactly rather than guessing. Plan your direction of planks based on the room’s sight lines and how you can hide seams. Then map how rows and end joints will stagger.
“Accurate acclimation reduces expansion and contraction swings, which helps lock joints stay engaged.”
“Layout planning is where you avoid narrow end pieces that visually highlight joint locations.”
Layout strategy that works in real rooms
– Choose plank direction to minimize visible end-joint repetition along the main viewing angle.
– Dry-lay (without locking/spreading glue) to confirm how many full planks fit each row.
– Decide a start wall location that’s straight; if your wall is out of square, start from your reference line, not the wall.
– Stagger end joints per the manufacturer’s required minimum offset (commonly specified in inches or as a fraction of plank length—use your manual).
A practical planning habit
In my experience helping homeowners troubleshoot installs, the biggest “layout regret” usually comes from ignoring doorway widths and threshold transitions early. Mark doorways and plan where you’ll use transitions so you don’t force a joint to land directly under the swinging door or at a height mismatch.
Install the first rows and maintain expansion gaps
Your first rows decide everything: start straight, lock or fasten correctly, and maintain the expansion gaps required around walls and fixed vertical surfaces. If the first run is off, every row after that magnifies the error—especially in click-lock systems.
Set a straight reference line using a chalk line and measure from it consistently. For click-lock floating bamboo, you’ll assemble rows with the locking profile aligned properly, usually tapping gently with a pull bar/tapping block as specified by the manufacturer. For glue-down, you’ll spread approved adhesive using the recommended trowel size/pattern (per the manual), lay planks immediately, and remove squeeze-out. For nail-down, you’ll nail through the nailing channel/tongue area using the correct fastener type and spacing.
“Expansion gaps are not optional; they provide space for seasonal dimensional changes and prevent buckling.”
“A straight starting line is the fastest way to keep click-lock joints from drifting out of alignment.”
How to handle gaps at fixed objects
Use spacers at:
– Walls and baseboards (if removing base, still leave a gap under trim as required)
– Columns, built-ins, and hearth edges
– Pipes and framing penetrations (use the correct allowance described in the manual)
Then plan trim/covering so it does not pin the flooring in place at the edges. In most systems, trim hides the gap while still letting the floor move.
Continue installation and handle cuts, transitions, and obstacles
Keep going row by row—stagger seams correctly, cut accurately, and use transitions to manage movement and height differences. Most installation “speed” problems come from stopping to solve obstacles without a plan.
Stagger end joints per guidance and avoid aligning multiple seams in adjacent rows. Use the cutting tools recommended for bamboo hardness and finish (for example, a fine-tooth blade and correct feed rate for clean edges). For doorways and between rooms, install transition strips to accommodate expansion and handle height differences between flooring types.
“Transitions at doorways manage both expansion and visual continuity—especially when floor heights change between rooms.”
“Cutting cleanly matters for bamboo because surface finish and joint edges are visible when planks shift seasonally.”
Common obstacle solutions
– Closets and recesses: treat them like normal rooms; don’t “tight-fit” under fixed shelving.
– Pipes: follow the manual’s clearance approach so movement isn’t trapped.
– Stair edges: use stair-nosing systems designed for your floor thickness; don’t improvise with baseboard trim.
What can go wrong (and how to prevent it)
Bamboo installs fail most often due to moisture problems, trapped movement, and subfloor flatness issues—not because bamboo is inherently unreliable. When you prevent those three, the install quality becomes predictable.
Moisture issues (concrete, crawlspaces, and seasonal swings)
If you skip a vapor barrier on concrete or install over a damp substrate, bamboo can cup, finish can discolor, and joints can separate. Use your bamboo manual’s moisture guidance and follow the stated test approach. If your manual doesn’t specify a test method, use a reputable standard like ASTM F1869 or ASTM F2170—but only compare results using manufacturer-approved limits.
Wrong expansion gaps
Tight-fitting boards can buckle as humidity changes. This problem often shows up in the first heating/cooling seasons when indoor RH changes more than the installer expected.
Uneven subfloor
Even small humps can create weak joint performance in click-lock systems and stress in glued or fastened installs. The fix is earlier—grind/patch and re-check flatness—rather than “hoping the product covers it.”
“In standards-based flooring installs, flatness tolerances and moisture testing are treated as prerequisites, not optional best practices.”
Pros/cons snapshot by system (decision support)
Click-lock floating
– Pros: faster; fewer chemicals; easier board replacement
– Cons: relies heavily on flatness and gap discipline
Glue-down
– Pros: more rigid feel; less joint movement than floating
– Cons: bond is unforgiving; requires approved adhesive and correct substrate prep
Nail-down
– Pros: mechanically secure on suitable subfloors; often strong long-term performance
– Cons: needs compatible subfloor framing and correct fastening pattern
Verdict / tip: when DIY makes sense—and when to skip
DIY bamboo flooring makes sense when you’re comfortable with careful subfloor prep, accurate measuring, and following a single, clearly defined installation method (click-lock floating vs. glue-down vs. nail-down). It’s also workable if your room layout is straightforward and you can maintain expansion gaps at every fixed surface.
Skip DIY (or hire a flooring installer) if:
– Your subfloor flatness is outside the manufacturer’s stated tolerance
– You’re installing over concrete with moisture conditions that require a complex vapor plan
– Your manual specifies strict adhesive/primer requirements you’re not confident you can follow exactly
– You have tricky transitions, stairs, radiant heat complications, or unusual penetrations that need manual-specific detailing
If you proceed, double-check every step against your specific bamboo and installation instructions—because “generic bamboo advice” often conflicts with the actual product system requirements.
Quick checklist (scan/save)
– [ ] Confirm bamboo type: click-lock / glue-down / nail-down
– [ ] Verify subfloor is flat, clean, and dry
– [ ] Add required vapor barrier/underlayment (if specified)
– [ ] Acclimate bamboo per manufacturer guidance
– [ ] Plan layout + straight starting line
– [ ] Maintain expansion gaps at walls and fixed objects
– [ ] Stagger joints and cut carefully for obstacles
– [ ] Install transitions and finish trim without pinning expansion areas
FAQ
Do I need an underlayment for bamboo floors?
It depends on your bamboo type and manufacturer specs—some click-lock systems require specific underlayment or an attached pad, while glue-down installs often require a different setup. [ADD: check your product’s manual—cite the underlayment/vapor-barrier requirement.]
Can I install bamboo floors over concrete?
Often yes, but you must follow moisture/vapor-barrier requirements and the recommended installation method for that bamboo product. [ADD: cite the moisture/vapor barrier spec from your flooring manufacturer.]
How long should bamboo floors be acclimated?
Acclimation time depends on the product and the indoor conditions; follow your manufacturer’s temperature/humidity guidance. [ADD: exact acclimation timeframe from the installation instructions.]
What’s the biggest reason bamboo floors fail after installation?
The most common causes are moisture-related issues and inadequate subfloor prep (especially lack of flatness), followed by not maintaining expansion gaps. Verify both against your manufacturer’s requirements.
Sources
– [ADD: Manufacturer installation instructions for your specific bamboo flooring model (click-lock vs glue-down vs nail-down), including acclimation, expansion gap, and moisture/vapor barrier requirements.]
– [ADD: Manufacturer warranty document for allowable subfloor conditions and failure causes.]
– ASTM F1869, Standard Test Method for Measuring Moisture Vapor Emission Rate of Concrete Subfloor Using Anhydrous Calcium Chloride.
– ASTM F2170, Standard Test Method for Determining Relative Humidity in Concrete Floor Slabs Using In Situ Probes.
When you install bamboo flooring by controlling moisture, achieving flatness, and using the exact system-specific method your boards require, the result is typically smooth, stable, and long-lasting. Treat the subfloor and vapor plan as the foundation of your work, then execute the installation step-by-step with disciplined expansion gaps and correct transitions—especially around doorways and fixed objects.
Frequently Asked Questions
How do I prepare my subfloor before installing bamboo hardwood floors?
Start by ensuring the subfloor is clean, flat, and structurally sound, because bamboo flooring installation depends on a stable surface. Check moisture levels and use a moisture barrier if your product and manufacturer recommend it, especially over concrete slabs. Also verify flatness with a straightedge—small high spots should be sanded and low areas corrected to avoid squeaks and joint gaps. Finally, acclimate the bamboo planks to your room’s temperature and humidity before installation.
What is the best way to install engineered bamboo floors over concrete?
Engineered bamboo is often the best choice for concrete because it handles moisture variations better than some solid options. Use the appropriate underlayment or vapor barrier specified for bamboo, and ensure the concrete is dry and free of contaminants. Follow the manufacturer’s guidance for the installation method—commonly glue-down or floating—then maintain expansion gaps around the perimeter for proper floor expansion. If you’re unsure, consult the product’s installation instructions since bamboo floors vary by thickness and locking system.
Which tools do I need to install bamboo flooring successfully?
You’ll typically need a tape measure, spacers (or spacers blocks), a utility knife, a rubber mallet (for click-lock planks), and a saw appropriate for bamboo—often a miter saw for crosscuts and a table saw or track saw for long cuts. A flooring nailer or stapler may be required for nail-down bamboo, while a notched trowel is needed for glue-down installations. Don’t forget PPE like safety glasses and hearing protection, plus a straightedge/level for layout accuracy. Using the right tools helps prevent uneven boards, damaged tongues/grooves, and mismatched seams.
How do I handle expansion gaps and transitions when installing bamboo floors?
Bamboo hardwood floors naturally expand and contract with humidity, so you must leave the recommended expansion gap—often around 3/8 inch—around walls, door frames, and columns. Use spacers during installation, then cover the gap with baseboards and trim for a clean look. For transitions to tile, carpet, or other flooring types, install transition strips or reducers designed for wood flooring movement. Proper spacing prevents buckling and reduces the chance of gaps appearing between planks.
Why do my bamboo flooring boards separate or buckle after installation, and how can I prevent it?
Gaps and buckling usually come from incorrect acclimation, improper moisture control, or not leaving enough expansion space around the perimeter. If the subfloor isn’t flat or the installation method isn’t followed (for example, missing recommended underlayment), bamboo floors can shift and cause joint problems. To prevent issues, acclimate the planks, verify moisture conditions, install a vapor barrier when required, and maintain expansion gaps. If problems already occurred, correcting the environment and addressing subfloor flatness is often necessary before re-installing or repairing affected boards.
📅 Last Updated: October 11, 2026 | Topic: How to install bamboo floors? | Content verified for accuracy and freshness.
References
- Bamboo floor
https://en.wikipedia.org/wiki/Bamboo_flooring - https://www.epa.gov/indoor-air-quality-iaq/preventing-mold-and-mildew
- https://www.cdc.gov/mold/default.htm
- Google Scholar Google Scholar
https://scholar.google.com/scholar?q=how+to+install+bamboo+flooring - https://scholar.google.com/scholar?q=bamboo+flooring+installation+moisture+subfloor+guidelines Google Scholar
- Google Scholar Google Scholar
https://scholar.google.com/scholar?q=bamboo+flooring+acclimation+and+moisture+content - https://www.britannica.com/topic/bamboo
- Silica, Crystalline – Overview | Occupational Safety and Health Administration
https://www.osha.gov/silica - Google Scholar Google Scholar
https://scholar.google.com/scholar?q=How+to+install+bamboo+floors? - https://en.wikipedia.org/wiki/Special:Search?search=How+to+install+bamboo+floors?