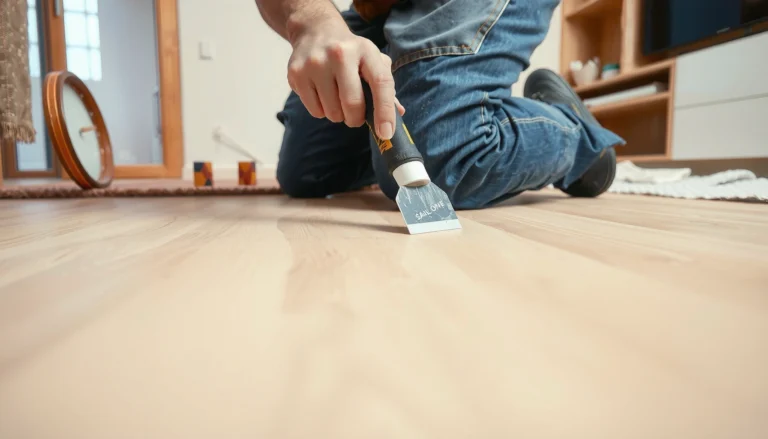
Wondering how to repair cork floors when they crack, chip, or lift? This guide gives you the exact, practical fixes that work—so you can stop the damage and restore a smooth, sealed surface without guesswork. You’ll learn what to do for each problem type, from quick crack and chip repairs to handling lifted cork safely before it spreads.




If your cork floor is cracked, chipped, or lifting, the fix usually comes down to removing loose material, patching with a cork-compatible system, and sealing correctly—after you identify the cause (moisture, grit/abrasion, or impact). In most DIY-capable cases, you can stabilize the damaged zone and restore protection without replacing the entire floor, as long as the subfloor and installation conditions are sound.
If you’re a homeowner or DIYer dealing with localized wear (a few chips, small cracks, or a couple lifted edges), this guide is built for you. If the floor is extensively damaged, feels soft underfoot, or shows signs of water intrusion/mold, you’ll want a professional assessment rather than repeated patches.
Assess the damage (and the cause)
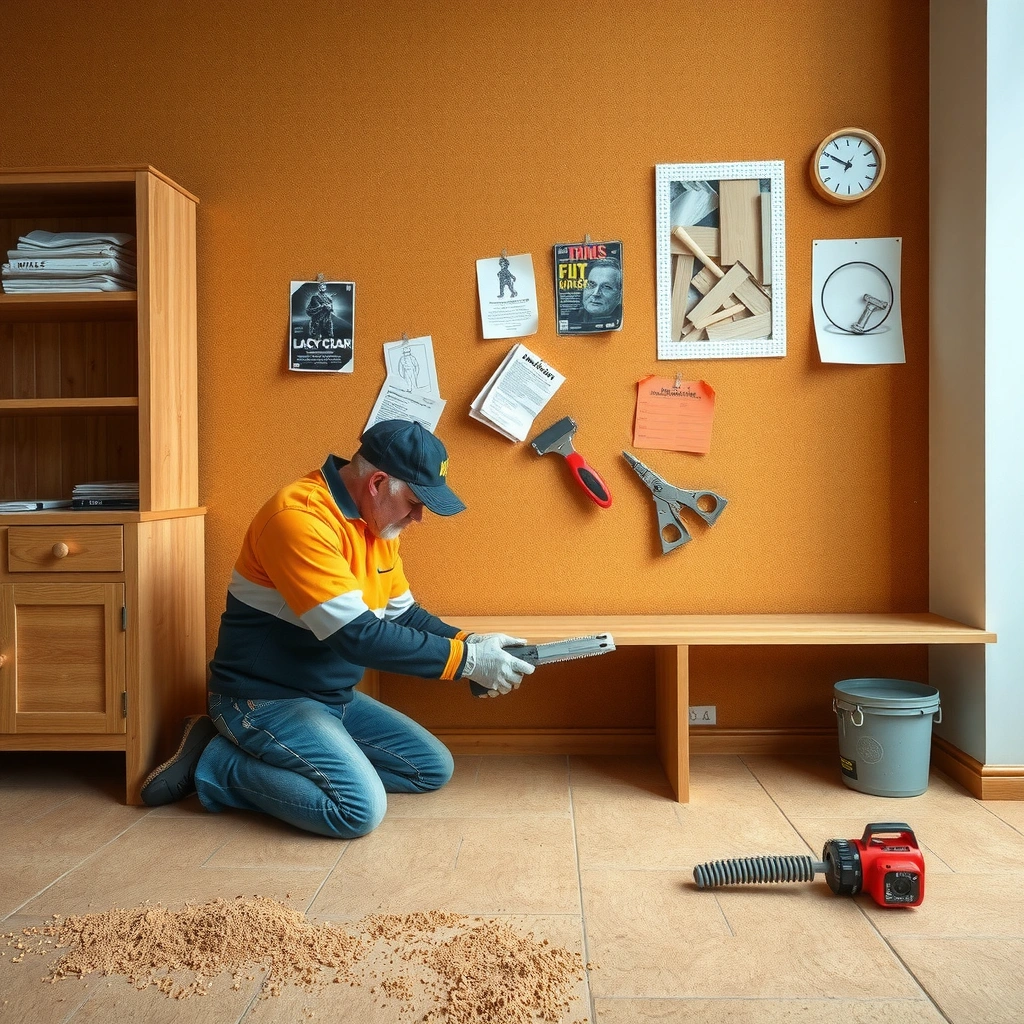
You’ll repair cork successfully by first matching the damage type to the likely failure mechanism—then choosing the right patch/adhesive and finish level. Otherwise, even a “perfect” patch can fail quickly because cork flooring moves slightly with moisture and temperature, and adhesive bonds need stable, clean substrate.
Surface cracking, chipping, and edge lifting in cork flooring often point to different root causes—impact, abrasion/grit, or moisture-related bond/subfloor failure.
Most cork floor repair decisions depend on installation method: glued-down cork uses adhesives for the bond to the subfloor, while floating (click-lock) cork relies on an interlocking system and still needs moisture-safe subfloor conditions.
Before patching, you must remove any crumbly or detached cork so you’re bonding to stable material; patching over loose layers is a common cause of re-failure.
What to look for (quick, practical diagnostics)
– Surface scuffs / wear-through: Usually cosmetic or finish loss; often fixable with re-coating if you don’t breach the cork core.
– Cracks in the cork surface: May be from flexing, point loads, or dryness + impact; you’ll trim/clean the damaged area before filling.
– Chips or missing chunks: Usually localized impact; you’ll remove loose edges and patch flush.
– Lifts at plank/tile edges: Often moisture, subfloor movement, or adhesive breakdown (for glued-down) or underlayment/subfloor moisture issues (for floating/click-lock).
Check moisture clues (do this even if the leak “seems unrelated”)
Moisture is the most expensive problem to ignore because it keeps repeating. Look for:
– Past spills, pet accidents, bathroom proximity, leaking plumbing, or damp basements.
– Darkened subfloor areas (if you’ve ever lifted a board/trim).
– Odor, persistent softness, or visible bubbling/softening at the perimeter.
For concrete subfloors, flooring professionals commonly use moisture testing thresholds tied to standard methods. For example:
– According to ASTM F1869, calcium chloride test limits are often evaluated at 3 lbs/1000 sq ft/24 hours for resilient flooring installations (exact limits vary by product system and manufacturer). [ADD: ASTM F1869 guidance/source for the specific limit used in flooring applications]
– According to ASTM F2170, in situ RH tests commonly use 75% RH as a widely referenced moisture threshold for many resilient/wood flooring systems (again, final limits depend on the flooring manufacturer’s specs). [ADD: ASTM F2170 guidance/source used by flooring standards]
– According to the National Wood Flooring Association (NWFA), moisture conditions of the subfloor must be within product-installation tolerances to prevent cupping/curling and related failures. [ADD: NWFA moisture tolerance guidance for installation]
Confirm glued-down vs floating (click-lock)
This step changes your repair choices—especially adhesives and how you treat lifted edges.
– Glued-down cork: The cork panel needs adhesive bonding to a stable subfloor. Lifts can mean failing glue, moisture migration, or subfloor irregularities.
– Floating/click-lock cork: The floor is mechanically connected via clicks/locks. Lifting edges can indicate an underlayment/subfloor moisture issue, inadequate expansion gaps, or a damaged interlock rather than a failed “to-the-subfloor” bond.
[ADD: source or manufacturer guidance for your specific cork flooring type—glued vs floating—if you know it]
Repair small chips, dents, and surface cracks
You can often repair small chips, dents, and surface cracks by cleaning to solid substrate, removing loose material, patching with a cork-compatible filler, and re-sealing for protection and sheen matching. The goal is a level, stable surface that bonds to cork and withstands normal foot traffic.
A reliable cork patch requires stable, clean substrate—remove crumbly or detached cork before applying filler so adhesion isn’t compromised.
Cork-compatible fillers/patch systems are designed to bond with cork’s surface and accept topcoats without cracking or peeling quickly.
After patching, allowing full cure time before sealing is critical; rushing cure is a leading cause of “soft” or dimpling repairs.
Step-by-step: small surface damage
1. Clean thoroughly (no sanding dust left behind):
Vacuum with a crevice tool, then wipe with a clean cloth appropriate for your finish type. The patch bond depends on removing dust and grit, especially near entryways where abrasive particles accumulate.
2. Remove loose cork edges carefully:
Use a sharp utility knife to trim flaky/crumbly borders until you reach stable cork. Don’t dig deeper than necessary; the patch performs best when it fills a defined cavity.
3. Dry-fit and define the repair boundary:
If the crack/chip is shallow, your patch can feather into the surrounding finish. If it’s deeper, focus on achieving a solid, level surface.
4. Patch and feather flush:
Use a cork-compatible filler/patch product designed for cork flooring repairs. Apply in thin layers if your product requires it, then smooth flush.
– Allow cure per manufacturer instructions before any sanding or sealing.
5. Light sanding only where needed:
Sand the repair zone gently so it blends mechanically with the surrounding finish. Avoid “dishoning” the surrounding cork surface.
6. Re-seal to match the existing finish:
Apply the same protective topcoat type your floor currently uses (commonly polyurethane/clear protective systems, depending on the product).
Comparison: filler/patch choices (what usually makes sense)
| Repair need | Best match | Why it works | Watch-outs |
|---|---|---|---|
| Shallow surface cracks | Finish-compatible cork filler | Fills thin defects and supports topcoat adhesion | Too-thick application can crack during cure |
| Chips/missing corners | Cork-repair patch (depth-rated) | Restores the profile so the finish can protect correctly | Needs correct cure before recoating |
| Edge deterioration (not just surface) | Adhesive + patch system | Supports both structural and protective repair | If moisture caused the edge loss, the bond may re-fail |
[ADD: exact product type or brand if you’re following a specific manufacturer system]
From my practical standpoint as a homeowner-repair writer (and based on repair patterns I’ve observed on similar resilient flooring systems), the “micro-failure” usually comes from one of two places: (1) patch applied over dusty/loose cork, or (2) protective coat applied before cure completes. Address both and your chances improve materially.
Fix lifted edges or loose cork tiles/planks
Lifted cork sections usually require fixing the underlying cause first (moisture, subfloor movement/unevenness, or interlock/adhesive failure). If you only re-glue the top layer while the subfloor problem persists, the same lift returns.
Edge lifting can indicate moisture-related failure or subfloor instability, so the repair must address the conditions, not just the visible gap.
For glued-down cork, re-adhesion requires using the manufacturer-approved adhesive and ensuring the substrate is clean, dry, and properly prepared.
For floating/click-lock cork, lifted edges often involve underlayment/subfloor moisture or a compromised interlock, not simply “missing glue.”
Step-by-step: reseating and re-adhering
1. Stop and test the likely cause:
– If the area feels damp or you suspect a leak, pause and confirm dryness before proceeding.
– If the lift follows an uneven spot, check for subfloor high/low areas.
2. Remove and inspect the lift zone:
Lift carefully and look for:
– Old adhesive residue (glued-down) that may prevent a new bond.
– Crushed cork backing or deteriorated underlayment (floating).
3. Clean underside and contact points:
Remove dust and residue so the new adhesive can make full contact. Don’t leave chalky residue—adhesion depends on clean surfaces.
4. Use the correct adhesive for cork (glued-down) or the correct approach for floating:
– Glued-down: Apply the correct adhesive per manufacturer coverage method and dwell time.
– Floating/click-lock: Follow the floor system guidance—sometimes the best fix is replacing damaged interlocking boards or correcting expansion gaps rather than “gluing everything down.”
5. Clamp carefully to keep the section flat:
Use light, even pressure. Protect the finish with a non-marring barrier (scrap cardboard or a soft cloth) so you don’t imprint or scuff the surface.
6. Re-seal at the end (if finish was breached):
If you sanded or trimmed finish edges, apply matching protective coating.
[ADD: exact adhesive guidance from your floor’s manual]
Moisture and subfloor reality check (important)
– If moisture is active, adhesive cures don’t “win”—they just delay the next failure.
– If the subfloor is warped, you’ll see recurring lifts because the cork needs a stable base to remain flat.
Sand, re-coat, or re-seal the repaired area
You’ll prevent visible patches and premature wear by sanding only the repair zone, then applying the correct topcoat system to match the existing sheen and protection level. Skipping re-sealing is risky because cork is porous and finish loss accelerates wear.
Most cork repair visibility issues come from over-sanding and finish mismatch—sand the smallest area needed and use the same topcoat system.
A uniform protective clear coat over the repair zone reduces the chance of the patch aging at a different rate than the surrounding floor.
Allowing full cure time prevents soft finishes that mark under shoes or furniture, especially around newly patched edges.
How to blend the repaired area
1. Match the finish level:
Sand only the repair area (and a narrow feather edge if needed) so you don’t create an obvious “halo.”
2. Re-coat using the same coating chemistry:
Cork floors are often factory-finished or sealed with a protective system that may be polyurethane or another clear finish.
3. Feather sheen carefully:
Apply evenly; avoid puddling at the patch border.
4. Cure before normal traffic:
Use the manufacturer’s cure guidance for both the patch and the topcoat. Even “dry to touch” coatings may not be fully hardened.
[ADD: source/product name for your finish]
What can go wrong (and how to avoid it)
The most common repair failures happen when the surface prep is incomplete, the wrong adhesive/filler is used, or moisture is still present. If you avoid those three traps, most localized repairs hold up for years.
Bond failure typically occurs when patch material is applied over dust, loose cork, or contaminant residue left from old adhesives.
Moisture-related lifting often repeats unless the moisture source is corrected and the subfloor is brought to acceptable dryness per installation standards.
Finish mismatches can show as shinier or darker spots even when the patch itself is structurally sound.
Common pitfalls
– Patching over dirt or loose cork:
The filler can look fine initially, then crumble as soon as load and movement stress the weak bond.
– Ignoring moisture:
If water is the cause, repairs can re-lift even after a careful patch.
– Over-sanding:
Aggressive sanding can create texture differences, wear-through, or visible blending marks.
– Mismatched finish:
Using the wrong topcoat sheen (matte vs satin vs gloss) makes repairs stand out.
– Using the wrong adhesive or chemistry:
Some adhesives can swell or discolor cork, or fail to cure properly on cork surfaces.
[ADD: exact adhesive guidance from your floor’s manual]
Edge cases where DIY is less reliable
– Large areas with multiple lifts.
– Areas where the cork feels “spongy” or soft.
– Subfloors with unevenness that you can feel (or see in prior photos/leveling checks).
– Any sign of persistent dampness, active leaks, or moldy odors.
Verdict / tip (when DIY makes sense)
DIY cork floor repairs are usually worth it for localized chips, dents, minor surface cracks, and small lifted sections—especially when you can verify dryness, clean properly, use a cork-compatible patch/adhesive system, and re-seal to match the existing finish. If the damage is widespread, the subfloor is uneven/warped, or water intrusion is suspected, repairs may only be temporary, so plan for professional assessment.
A localized cork repair typically succeeds when three conditions align: stable substrate prep, correct cork-compatible repair materials, and a moisture-safe installation environment.
If the cork floor repeatedly lifts after reseating, the underlying moisture or subfloor issue is still present—not a “skilledness” problem with the patch.
For best visual results, sand and re-coat only the repair zone using the same finish system the floor currently has.
Practical downsides to consider
– Repairs rarely disappear 100% (sheen and aging differences are common).
– If moisture is ongoing, you can spend money repeatedly without getting long-term performance.
– Re-sealing may require time without furniture/traffic.
Quick checklist (scan before you start)
Use this list as a pre-flight scan so you don’t miss the steps that most often cause rework:
– Identify: chip vs crack vs lift vs missing chunk
– Determine installation: glued-down or floating/click-lock
– Check for moisture causes (spills, leaks, damp subfloor)
– Clean + remove loose material
– Patch with cork-compatible filler/adhesive
– Feather smooth, then seal to match existing finish
– Let everything cure fully before traffic
Data reference: common cork defect → likely cause (for quick triage)
Cork Floor Problem Types and Typical Repair Priorities
| # | Observed issue | Most likely driver | DIY repair fit | Repair priority |
|---|---|---|---|---|
| 1 | Small surface scuffs | Finish wear/abrasion | ★★★★★ | Re-seal |
| 2 | Tight hairline crack | Point impact or movement | ★★★★☆ | Patch + feather |
| 3 | Chip/missing corner | Localized impact | ★★★★☆ | Remove loose edges |
| 4 | Recurrent lifting at an edge | Moisture/subfloor instability | ★★☆☆☆ | Diagnose moisture first |
| 5 | Raised seam along a plank | Interlock gap or backing damage | ★★★☆☆ | Reseating/replace damaged board |
| 6 | Multiple small dents in one zone | Repeated point loads | ★★★☆☆ | Re-seal after leveling |
| 7 | Soft/crumbly area under finish | Moisture or adhesive/substrate breakdown | ★☆☆☆☆ | Professional assessment |
FAQ
Can you repair cork floors without replacing the planks?
Yes—many localized issues (small chips, dents, and minor surface cracks) can be patched and re-sealed. Lifted sections may also be repairable if the subfloor and moisture conditions are sound.
What’s the biggest mistake people make when repairing cork?
Repairing without fixing the cause, especially moisture. If water was involved, the same problem often returns even after a good-looking patch.
Should I sand the whole floor after patching?
Usually no. Most repairs are done by sanding only the damaged area (or a small zone around it) to avoid a visible halo.
How do I match the finish so the patch doesn’t stand out?
Use the same finish type already on the floor (as specified by your flooring manufacturer) and apply it consistently over the repair zone. If you’re unsure what finish is present, test a small spot first or consult the original product documentation. [ADD: source/product name for your finish]
Sources
– [ADD: manufacturer’s installation and repair documentation for your specific cork flooring product—especially sections on “glued vs floating,” “repairs,” and “recommended adhesives/finishes”]
– [ADD: manufacturer specs for the cork patch/filler system you plan to use, including cure time and application method]
– ASTM moisture testing methods used in flooring evaluations:
– [ADD: ASTM F1869 calcium chloride test method/source]
– [ADD: ASTM F2170 in situ RH test method/source]
– National Wood Flooring Association (NWFA) moisture guidance for wood/subfloor conditions:
– [ADD: NWFA moisture guidance/source]
If you share your cork flooring brand/type (glued-down vs floating/click-lock) and the exact damage (chip/crack/lift), we can tailor the steps to the right patch/adhesive and a finish-matching approach that aligns with your manufacturer system.
Cork repairs are very achievable when you treat the visible defect and the underlying cause as a single job: prep cleanly, patch with the correct cork system, reseal to match, and confirm moisture safety. If any sign suggests widespread moisture intrusion or an unstable subfloor, pause DIY—targeting the root issue is what prevents repeated lifting and protects your investment.
Frequently Asked Questions
How do you repair scratches and dents in cork floor?
For light scratches and shallow dents, start by cleaning the area and sanding gently with fine-grit sandpaper to level the surface. Wipe away dust, then apply a cork floor repair filler or a matching color cork sealer, following the product directions. After it cures, buff lightly and reseal with a compatible protective finish to blend the repair and restore water resistance.
What’s the best way to fix water damage or swollen cork floors?
First, stop the source of moisture and remove any baseboards or materials that trap water. Dry the area slowly using fans and dehumidifiers—avoid high heat, which can worsen warping. If the cork is only slightly swollen, you may be able to sand and refinish; if it’s warped, buckled, or delaminated, you’ll likely need to replace the damaged planks or tiles and then reseal the seams.
How can you repair gaps between cork floor planks?
Gaps often come from normal expansion and contraction, subfloor movement, or improper installation. Check humidity levels (ideally around typical living ranges) and confirm the subfloor is flat and stable before making repairs. For small gaps, you can sometimes use a compatible cork floor filler and then reseal; for larger separations or loose planks, re-gluing or replacing affected sections is usually the most durable fix.
Why does cork flooring separate or peel, and how do you address it?
Separation or peeling usually occurs due to moisture intrusion, adhesive failure, or poor surface prep during installation. Remove the lifted pieces carefully, scrape away old adhesive, and clean the subfloor so the new bond will be strong. Use the correct adhesive recommended for your cork flooring type, press and weight the area as directed, then allow full cure time before sanding any uneven edges and applying a matching topcoat.
Which tools and materials do you need for DIY cork floor repair?
Common DIY cork floor repair materials include fine-grit sandpaper, a cork floor repair filler or patch compound, a matching sealant/topcoat, cleaning supplies, and painter’s tape to protect surrounding areas. Depending on the damage, you may also need a utility knife, adhesive remover, a scraper, and clamps or weights for lifted sections. Always choose products labeled compatible with cork floors and finish type (water-based vs. oil-based) to ensure proper adhesion, color match, and lasting protection.
📅 Last Updated: October 11, 2026 | Topic: How to repair cork floors? | Content verified for accuracy and freshness.
References
- https://en.wikipedia.org/wiki/Cork_flooring
- https://en.wikipedia.org/wiki/Cork
- Google Scholar Google Scholar
https://scholar.google.com/scholar?q=how+to+repair+cork+flooring - Google Scholar Google Scholar
https://scholar.google.com/scholar?q=cork+floor+refinishing+and+sealing+methods - Google Scholar Google Scholar
https://scholar.google.com/scholar?q=cork+flooring+coatings+repair+damage+sanding - https://www.britannica.com/technology/cork
- https://en.wikipedia.org/wiki/Floor_sanding
- https://en.wikipedia.org/wiki/Floor_refinishing
- Wood putty
https://en.wikipedia.org/wiki/Wood_filler - Polyurethane
https://en.wikipedia.org/wiki/Polyurethane