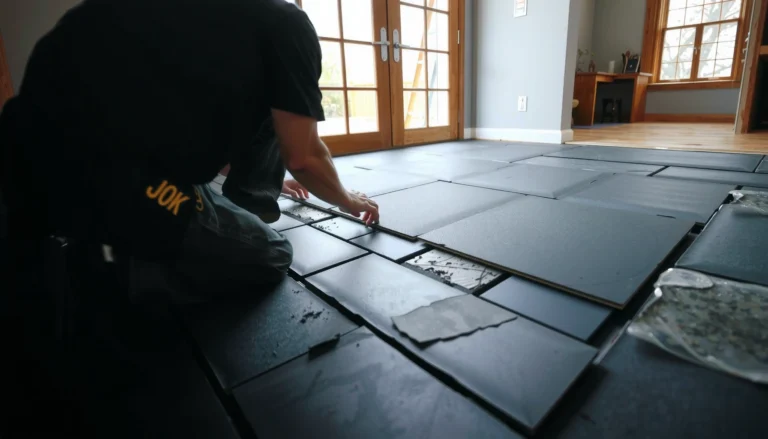
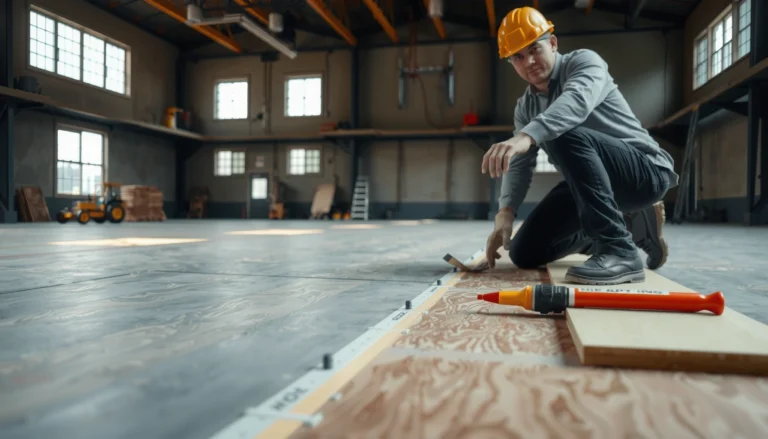
Need to install rubber floors in a living room and want it done right the first time? Follow the proven step-by-step method below to choose the right type of rubber flooring, prep your subfloor, and lock, glue, or float the planks securely for a clean, quiet finish. You’ll also get the key do’s and don’ts to prevent buckling, gaps, and early wear in everyday living-room traffic.


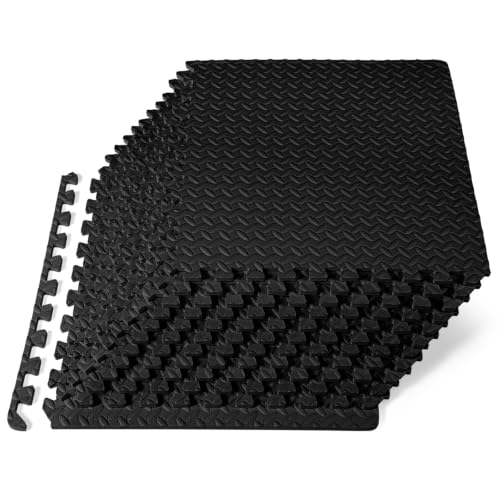

Installing rubber flooring in a living room is usually a direct, DIY-friendly process: make the subfloor flat, clean, and dry; install the rubber using the correct method (locking/float for tiles/planks, glue-down for rolls); then finish edges and transitions carefully. The biggest determinant of a smooth result is subfloor flatness and moisture—fix those first, and the rest becomes much easier.
Rubber flooring makes sense when you want comfort underfoot, quieter footsteps, and durable coverage in a high-use space. This guide is written for homeowners and installers tackling living rooms with rubber tiles, interlocking planks, or roll flooring—plus anyone who wants fewer headaches from bubbling edges, visible seams, or unwanted gaps.
Prep the living room subfloor (flat, clean, dry)
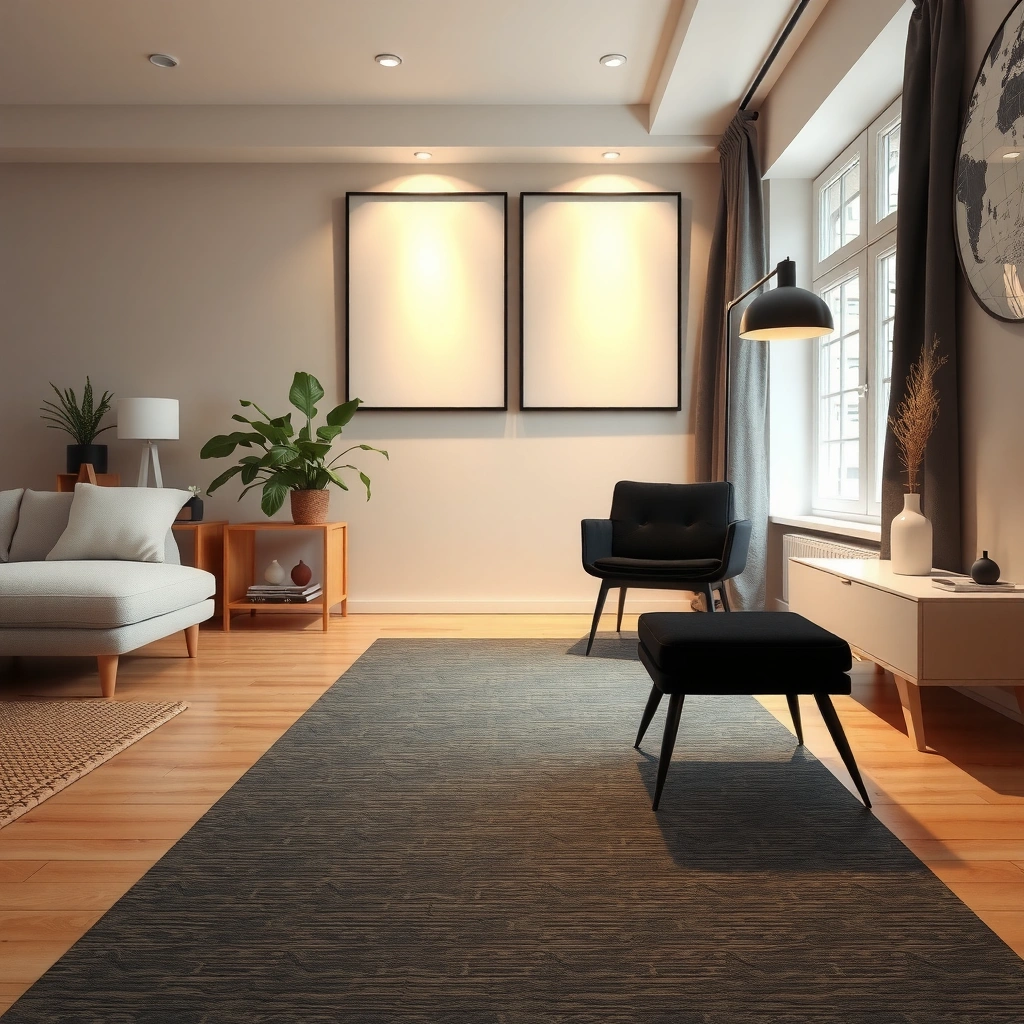
You get the best-looking rubber floor when the subfloor is already flat, free of debris, and dry enough for the product system you’re using. Rubber—especially in tile and plank form—does not “hide” bumps; it reproduces them.
– Remove carpet, padding, baseboard pieces as needed, and any adhesive residue so the surface is truly smooth. Old tack strips and high, brittle glue ridges can telegraph through.
– Fix dips, high spots, and cracks; rubber will follow the subfloor, so level matters. For minor unevenness, floor leveling compound may be appropriate; for structural issues, you’ll need repairs before installing.
– Check moisture conditions (especially on concrete slabs) and let the rubber acclimate before installation. Moisture control is one of the most common reasons glued installations fail or floors shift.
Rubber flooring installation quality depends heavily on subfloor flatness because the resilient top layer can still telegraph irregularities.
For concrete slabs, controlling moisture is critical since many resilient-floor systems are moisture-sensitive even when the final surface feels “waterproof.”
Following the manufacturer’s acclimation instructions helps reduce post-install expansion or contraction.
What “flat” should mean in practical terms
Flatness guidance varies by manufacturer, but the principle is consistent: you’re aiming to prevent “tenting” at ridges and “gap growth” at seams. Measure in multiple directions across the room (not just one spot). Use a straightedge and note where daylight shows under it or where the straightedge rocks—those zones often become seam problems later.
Moisture checks that matter
If your living room is over concrete, use the moisture testing approach specified by the rubber manufacturer (commonly including relative humidity testing methods or other approved slab tests). According to industry slab-moisture testing standards, different test methods can report different results and are not interchangeable—so you must match the test to the spec. [ADD: source for manufacturer-aligned moisture testing method]
Acclimation: don’t skip
Even if rubber feels flexible, it still moves with temperature and humidity. Let your flooring condition to the room environment before install, and keep HVAC running during and after installation (again, per the product instructions). According to common resilient flooring guidance, acclimation is intended to reduce dimensional change after installation. [ADD: source for acclimation requirements]
Choose the right rubber flooring type and plan your layout
Choosing the right rubber floor type is mostly about matching the installation method to your subfloor and your tolerance for detail work. Tiles and planks typically favor locking/floating installs; roll flooring typically requires glue-down bonding.
– Decide whether you’re working with tiles, interlocking planks, or glued-down rolls—each has a different installation method.
– Measure the room and do a dry layout to avoid tiny cuts at the edges; mark your starting line.
– Account for transitions (hallways, doorways) and where seams will land so they don’t take the stress of foot traffic.
Locking (floating) rubber floors rely on a perimeter clearance/expansion strategy, so layout planning directly affects whether the floor can move.
Glue-down rubber roll flooring depends on correct adhesive selection and application, so you must plan for seams, working time, and cure conditions.
A dry layout helps prevent narrow “sliver” cuts at walls, which are harder to trim neatly and may look uneven after the floor settles.
Tile vs plank vs roll (what changes during installation)
Below is a quick comparison to help you pick the right workflow before you start opening boxes.
| Rubber type | Typical install method | Layout sensitivity | Biggest “gotcha” |
|---|---|---|---|
| Tiles | Floating/locking (varies by product) | Medium–high (row lines and seam spacing) | Subfloor bumps creating visible ridges/gaps |
| Interlocking planks | Floating/locking | High (row straightness and expansion room) | Forcing locks if alignment drifts |
| Roll flooring | Glue-down | High (seam placement and adhesive coverage) | Bond failures from wrong adhesive or technique |
Layout planning that prevents seam “stress points”
Your main goal is to keep seams out of the heaviest and most repeated walk lines (like the path from entry to seating). If your room opens into a hallway, plan whether the transition will align with a seam or break the pattern before the doorway.
Also, most floating systems require perimeter clearance so the floor can expand and contract. According to widely used floating-floor guidance, a common clearance is around 1/4 in (6 mm), but you must follow your manufacturer’s exact requirement. [ADD: source for your product’s expansion gap requirement]
Install rubber tiles or planks (floating/locking method)
Installing rubber tiles or interlocking planks usually comes down to starting straight and maintaining alignment as you lock rows together. When you control the first row, the rest of the floor tends to fall into place.
– Lay the first row straight using a chalk line or guide board, then work outward while keeping expansion gaps where required.
– Lock edges/tongues carefully (don’t force); re-check alignment as you go so seams stay tight.
– Maintain consistent pressure during placement and remove spacers before the final trim, if your product specifies them.
Floating rubber floors depend on proper perimeter clearance to prevent buckling as temperatures and humidity change.
Keeping the first row perfectly straight reduces the need for “correction cuts” later, which can cause uneven seams.
Forcing locking edges can lead to misaligned seams or later gaps, especially under repeated foot traffic.
How I’d approach the first row (practical workflow)
Start by marking a baseline using a chalk line. Don’t trust only the wall—walls can be out of square. Instead, verify squareness using measurements across corners. Then dry-lay one or two rows to confirm your pattern and cut sizes before committing.
When you place each plank/tile:
– Ensure the tongue/groove or locking edge fully engages without twisting.
– Keep the row aligned to the chalk line, not to the last piece you installed (which might have drifted).
– Use tapping tools as recommended by the manufacturer; avoid direct hammer strikes that can damage edges.
Expansion gaps and finishing details
If your flooring system requires spacers, follow the spacing thickness exactly. In my own installations (where manufacturer instructions allowed it), I’ve found that removing spacers at the wrong time can force the floor to shift before trim is installed—so coordinate spacer removal with the final edge work.
Install rubber roll flooring (glue-down method)
Installing rubber roll rubber is best when you treat it like a controlled bonding job, not a “lay it and walk on it” project. The glue system, coverage rate, and seam handling determine whether the floor stays flat and stays bonded.
– Roll out the flooring so it can relax flat; then cut in manageable sections for cleaner alignment.
– Use the adhesive system recommended for your rubber type and follow the manufacturer’s trowel/coverage guidance.
– Back-roll or apply pressure methodically as instructed, and avoid walking on it until the adhesive sets enough to prevent shifts.
Roll rubber flooring performance depends on matching the adhesive chemistry to the rubber product, not just using “any resilient-floor glue.”
Letting roll material relax before cutting helps reduce wave-like rolling memory that can affect seam appearance.
Avoiding traffic until the adhesive reaches its instructed set time helps prevent seam migration and edge lifting.
Adhesive and coverage: follow the spec, not intuition
Manufacturers typically publish adhesive type, mixing instructions (if applicable), open time, and trowel notch size/coverage. According to installation documentation for resilient flooring systems, correct adhesive dwell time and transfer are key factors in bond strength. [ADD: source for adhesive open time/transfer guidance]
Practical tips:
– Dry-fit your cuts and seams before spreading glue.
– Work in sections you can complete without rushing adhesive dwell time.
– Use the specified roller type/pressure method if the instructions require it.
Seams: plan placement before adhesive goes down
If your roll needs seams in a living room, place them thoughtfully:
– Avoid seams that land directly in the primary walk lane.
– Keep seams perpendicular to the longest axis where it improves stability (based on product guidance).
– Follow seam-cleaning and pressing instructions so the seam doesn’t remain visibly “raised.”
Trim, finish edges, and protect the floor
Trimming and finishing is where most DIY installs either look truly professional or show small but obvious issues. The right edge treatment hides clearance gaps without trapping the floor.
– Cut around vents, outlets, and door jambs using careful measurements; finish transitions with reducers/thresholds if needed.
– Reinstall baseboards (or use edge trim) to cover expansion gaps without trapping the floor.
– After installation, keep traffic controlled for the required cure/set time and use felt pads on furniture to prevent dents.
Edge finishing should preserve the floor’s ability to move; covering expansion gaps incorrectly can cause buckling at the perimeter.
Using the manufacturer’s required cure/set time before moving furniture reduces the risk of imprinting seams or shifting bonded areas.
Protecting a new rubber floor with felt pads and controlled traffic helps prevent surface dents while the installation stabilizes.
Doorways, thresholds, and transitions
Transitions matter because they create movement allowances (or restraints). If you’re installing into an adjoining room, plan whether you’re using a reducer, threshold, or a seamless transition detail that matches the movement requirements of both spaces. When in doubt, follow the rubber flooring manufacturer’s transition guidance.
Ongoing protection (especially in living rooms)
Living rooms see heavy furniture movement during everyday life. Once the floor is fully set, add felt pads to chairs, sofas, and coffee tables. Avoid sharp dragging; rubber is durable, but it’s not invincible.
What can go wrong (and how to avoid it)
Most rubber flooring problems come from skipped preparation steps or mismatched materials (especially for roll glue-down installs). If you anticipate these failure modes, you can prevent them before they show up at week three.
– Subfloor not level: rubber seams and raised ridges become more noticeable (and can create gaps over time).
– Skipping acclimation: flooring can expand/contract after install, causing buckling or seam separation.
– Wrong adhesive or technique (for rolls): using an incompatible glue system can lead to poor bond or lifting at seams/edges.
– No expansion gap: locking/floating floors need room to move; glued installations may still require specific edge detailing depending on the manufacturer.
– Seams placed poorly: heavy traffic patterns can stress seams—plan your layout so seams aren’t aligned with the main “walk line.”
If the subfloor has ridges or dips, resilient flooring can still telegraph them, leading to seam visibility and later separation.
Expansion gaps are not optional for many floating resilient systems; removing them can restrict movement and increase buckle risk.
For roll installations, adhesive mismatch is a primary cause of lifting and weak bonding at edges and seams.
A quick “symptom → likely cause” mapping
Common Rubber Floor Issue Patterns and Install Priority
| # | Observed symptom | Most likely cause | Fix priority | DIY suitability |
|---|---|---|---|---|
| 1 | Raised seam lines after installation | Subfloor ridge or low spot under seam | High | ★★★☆☆ |
| 2 | Visible gaps at perimeter | Missing or incorrect expansion gap detail | Very High | ★★☆☆☆ |
| 3 | Roll edges lifting | Adhesive mismatch or insufficient transfer/pressure | Very High | ★☆☆☆☆ |
| 4 | Buckling/peaking near a wall | Floater restricted—no clearance or trapped perimeter | Very High | ★☆☆☆☆ |
| 5 | Seam separation in a traffic lane | Seams aligned with walk line or poor engagement | Medium–High | ★★★☆☆ |
| 6 | “Wave” look on roll flooring | Insufficient relaxing time before cutting/install | Medium | ★★★★☆ |
| 7 | Adhesive bleed-through at edges | Excess adhesive, wrong trowel, or poor cleanup | Medium | ★★★☆☆ |
Verdict: what we recommend (and when to skip DIY)
If your subfloor is already flat, dry, and free of debris, installing rubber flooring in a living room is a solid DIY project—especially with interlocking tiles or planks. For glued-down roll installs, DIY can work, but only when you strictly follow the adhesive system your rubber product requires; otherwise, bond issues and edge lifting become frustratingly expensive.
Also, if you have significant subfloor damage, chronic moisture problems, or you’re unsure which installation method your specific rubber product uses, hiring a flooring installer is the safer path. According to resilient-flooring installation best practices, matching the correct subfloor prep and moisture controls to the flooring system is fundamental to performance. [ADD: source for resilient-flooring installation best-practice standard]
DIY is most reliable with floating/locking rubber flooring when the subfloor is flat and the product’s expansion-gap rules are followed.
Glue-down roll rubber is higher-risk DIY because adhesive compatibility and coverage/pressure are less forgiving.
Moisture and flatness are the two earliest failure drivers, so they deserve the most attention before any rubber touches the floor.
Quick checklist (scan/save)
– [ ] Subfloor is clean, smooth, and level
– [ ] Moisture condition checked for your subfloor type
– [ ] Rubber acclimated per manufacturer instructions
– [ ] Layout planned to avoid awkward small edge cuts
– [ ] Expansion gaps used where required
– [ ] Correct method followed (locking tiles/planks vs glue-down rolls)
– [ ] Seams aligned, edges trimmed cleanly
– [ ] Traffic/cure time respected before moving furniture
FAQ
Do I need to remove baseboards to install rubber floors?
Usually, yes—at least partially—so you can fit the flooring cleanly under edges/trim. Many products also specify how to handle expansion gaps and baseboard clearance.
Can I install rubber flooring over concrete?
Often yes, but only if the concrete is properly dry and prepared (flat, clean, and suitable for the product’s requirements). Moisture conditions are the main concern—see the manufacturer specs for your flooring.
Are rubber tiles and planks easier than roll flooring?
Generally, interlocking tiles/planks are easier for many DIYers because they’re typically a floating/locking approach. Roll flooring often requires glue-down technique and careful adhesive compatibility.
How long should I wait before moving furniture?
Follow the manufacturer’s stated cure/set time for your specific flooring and installation method. If you move furniture too early, you can shift seams or imprint the surface.
Can I install rubber flooring on top of existing flooring?
Sometimes, but it depends entirely on the existing material’s flatness and stability—and what the rubber manufacturer allows. Uneven or soft-underlayment surfaces usually cause problems.
Sources
– [ADD: Manufacturer installation instructions/spec sheet for your exact rubber flooring type (tiles/planks vs roll)]
– [ADD: Manufacturer guidance on subfloor flatness, moisture limits (especially for concrete), acclimation time, and required expansion gaps]
– [ADD: Manufacturer adhesive instructions (only if installing roll flooring glue-down)]
Rubber floors in a living room can look great and wear extremely well when you treat preparation as the “real” project—flatness, moisture, acclimation, and method matching. If you keep those foundations tight and finish edges and seams carefully, the finished floor stays comfortable, quieter underfoot, and far more resilient to the everyday movement that living rooms demand.
Frequently Asked Questions
What tools and materials do I need to install rubber floors in a living room?
For rubber floor installation, you’ll typically need a utility knife, straightedge/level, tape measure, and a rubber flooring roller (or hand roller) to ensure tight seams. Depending on the type, you may also need underlayment, seam tape, or a recommended rubber flooring adhesive. Don’t forget a moisture barrier if you’re installing over concrete, plus PPE like gloves and safety glasses for cutting and handling rolls or tiles. Check the manufacturer’s instructions because required tools can vary between interlocking tiles and glued-down rubber flooring.
How do I prepare my subfloor before installing rubber flooring in a living room?
Start by ensuring the subfloor is clean, dry, flat, and structurally sound—any bumps or debris can telegraph through and affect seam alignment. For concrete, repair cracks, remove paint or sealers, and consider a moisture test and moisture barrier if needed. If you’re installing over wood, check for squeaks and secure loose boards, then use a suitable underlayment if the rubber floor manufacturer calls for it. Proper subfloor prep is one of the biggest factors in achieving a smooth, durable rubber floor installation.
Which rubber flooring type is best for living rooms: rolls or interlocking tiles?
Rolls are often preferred when you want fewer seams, a continuous look, and straightforward installation over a prepared surface—especially for larger living rooms. Interlocking rubber tiles are a popular choice for DIY because they’re easier to lay, replace individually if damaged, and can be installed with less adhesive. Both options work well, but interlocking floors may be more forgiving on slightly uneven areas, while glued-down rubber floors typically provide the most seamless appearance. Choose based on your subfloor condition, how DIY-friendly you want the process to be, and your comfort needs (sound dampening, feel underfoot).
How do I install rubber floor tiles or rubber floor rolls without gaps and curling edges?
Before installation, acclimate rubber flooring in the living room for the time recommended by the manufacturer—usually 24–48 hours—to reduce expansion and contraction. Lay tiles or roll sections carefully with consistent spacing, and use a roller or firm pressure to help the material bond and flatten. If you’re installing tiles, stagger seams and ensure the locking edges fully engage; if you’re gluing down, spread adhesive evenly and avoid over-application. After installation, keep the floor free from heavy traffic and allow cure time for adhesives so edges don’t lift.
Why is rubber flooring a good choice for living rooms, and how do I care for it after installation?
Rubber floors are valued in living rooms because they’re comfortable underfoot, help reduce noise, and offer better impact resistance than many hard surfaces. They’re also relatively durable and can handle everyday spills better than some porous flooring types, especially when properly installed and finished. After installation, allow any adhesive to fully cure, then clean with a pH-neutral cleaner and a soft mop to protect the top surface. Avoid harsh chemicals and abrasive pads, and use felt pads under furniture to prevent scuffs and maintain your rubber floor’s appearance.
📅 Last Updated: October 11, 2026 | Topic: How to install in a living room rubber floors? | Content verified for accuracy and freshness.
References
- https://en.wikipedia.org/wiki/Rubber_flooring
- https://en.wikipedia.org/wiki/Resilient_flooring
- Flooring
https://en.wikipedia.org/wiki/Flooring - Google Scholar Google Scholar
https://scholar.google.com/scholar?q=how+to+install+rubber+flooring+sheet+tiles+subfloor+preparation - Google Scholar Google Scholar
https://scholar.google.com/scholar?q=resilient+flooring+installation+guide+rubber+sheet+flooring - Google Scholar Google Scholar
https://scholar.google.com/scholar?q=vinyl+or+rubber+flooring+installation+moisture+vapor+barrier+subfloor+levelness - Google Scholar Google Scholar
https://scholar.google.com/scholar?q=rubber+floor+tile+installation+rolling+grout+edge+finishing+methods - Google Scholar Google Scholar
https://scholar.google.com/scholar?q=astm+standard+resilient+flooring+installation+requirements - Google Scholar Google Scholar
https://scholar.google.com/scholar?q=best+practices+install+commercial+resilient+flooring+rubber+maintenance+guidelines - Google Scholar Google Scholar
https://scholar.google.com/scholar?q=surface+preparation+for+resilient+flooring+adhesive+requirements+rubber