
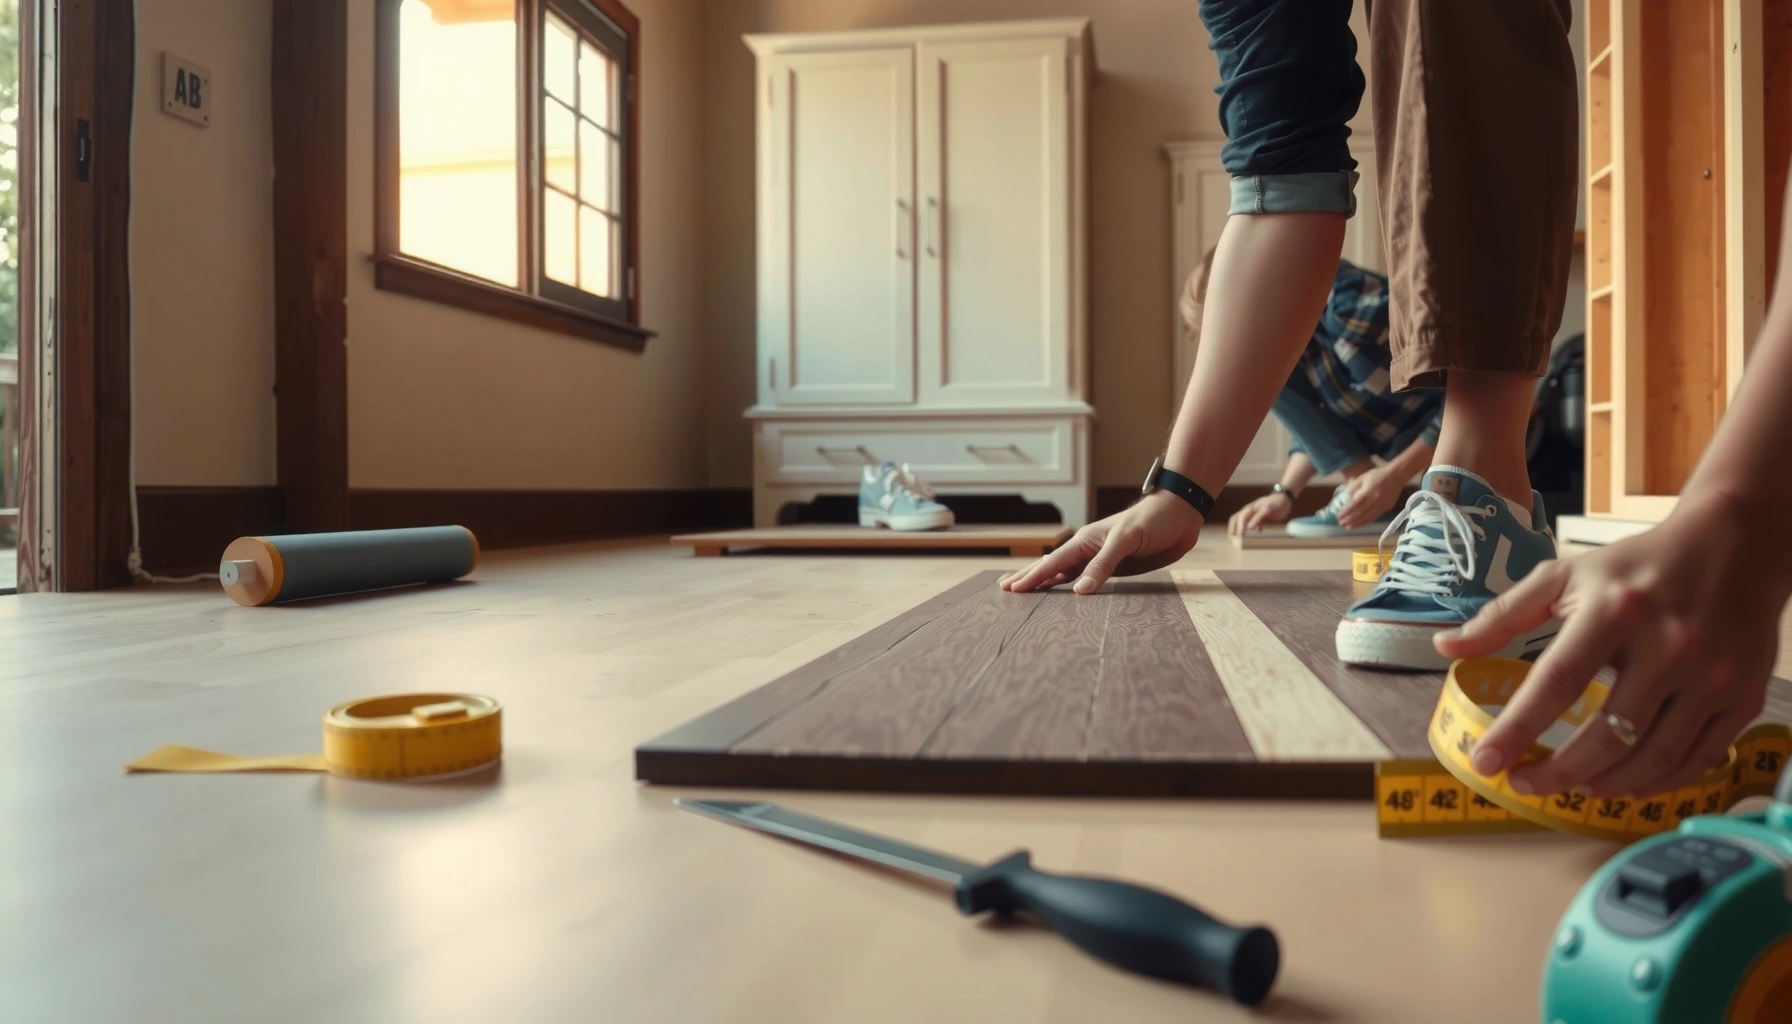

If you’re trying to install over plywood rubber floors, this step-by-step guide tells you the fastest, most reliable way to do it correctly the first time. You’ll get a clear, practical walkthrough—from prepping the plywood and handling seams to locking down the rubber flooring—so your floor stays flat, tight, and secure. Follow these instructions and you’ll avoid the common failures that cause bubbles, lifting edges, or premature wear.



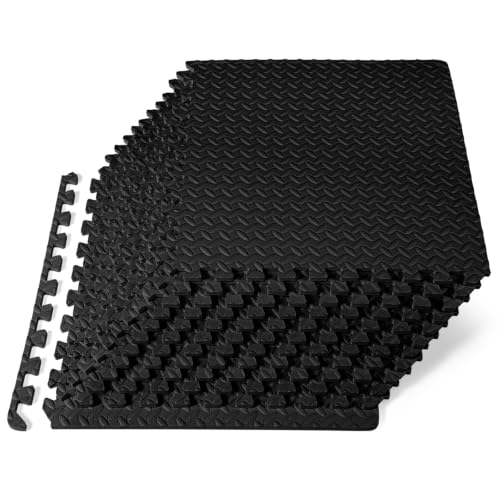
Yes—you can install rubber flooring over plywood, but you must start with a flat, stable subfloor and use a manufacturer-compatible adhesive/underlayment system. The key is preventing “movement, telegraphing, and edge failures” by verifying plywood flatness, fixing squeaks, and matching products so the rubber stays bonded (or properly floating) long-term.
If your plywood subfloor is already installed (basement, garage, home gym, or workshop) and you’re adding rubber flooring to reduce noise, impact, or wear, this guide is for you. It’s especially useful when you want to avoid common failures like unevenness showing through or edges separating.
Verify the plywood is solid and flat
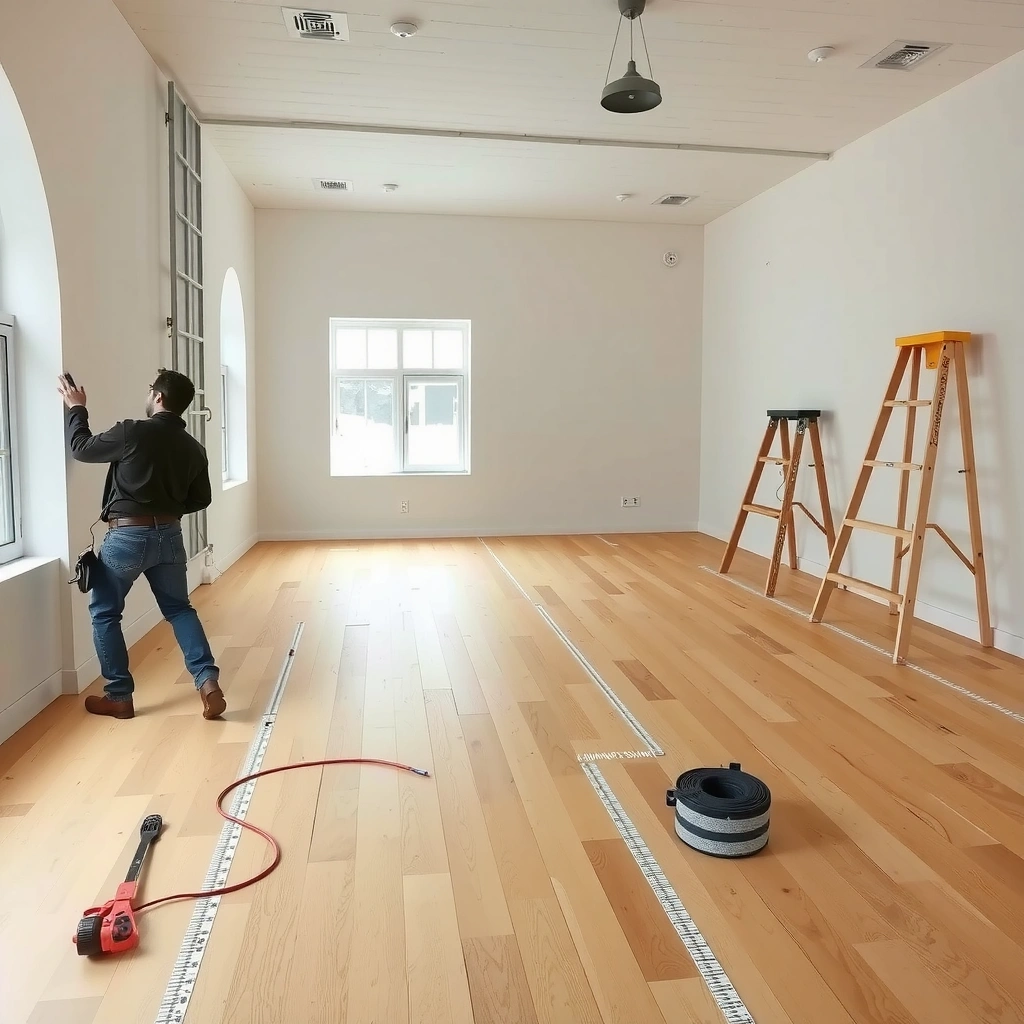
Installing over plywood works when the subfloor is both secure (no movement) and flat (no ridges or dips). If the plywood flexes or “waves,” rubber—especially tiles—will reveal the problem through gaps, seams, or lifting.
First, treat the plywood like a finished substrate, not just a structural base. Check for loose sheets, squeaks, and any vertical movement at seams and panel edges. Then measure flatness using a straightedge—don’t rely on “looks fine” because resilient surfaces will follow the contours.
Rubber flooring installation performance depends on the subfloor meeting the resilient-flooring flatness tolerances in recognized guidelines (for example, RFCI/CRI recommendations).
If plywood squeaks or shifts underfoot, resilient flooring can separate at seams because the substrate moves while the covering stays comparatively rigid.
High fasteners, old adhesive ridges, and debris create localized pressure points that can show through rubber tiles or cause edge breakdown.
What to check (and why it matters)
– Squeaks/loose panels: Push on seams and corners with your body weight. Any movement means you need to re-secure the plywood before installing rubber.
– Flatness: Use a 6 ft or 10 ft straightedge and measure the gap between plywood and the straightedge in multiple directions.
– Surface “telegraphing” hazards: Look for:
– Nails/screws protruding above the plane
– Raised edges at sheet joints
– Dried adhesive ridges (common if the area previously had flooring)
– Cracked patch residue or splinters
Flatness standards to target (use as your benchmark)
According to RFCI/CRI resilient flooring installation guidance, the commonly cited flatness criteria for resilient floors are 1/8″ in 6 ft and 3/16″ in 10 ft ([ADD: cite RFCI/CRI resilient flooring flatness guidance]). Those tolerances are the practical target to prevent visible “waves” and seam stress over time.
> [ADD: exact rubber type you’re installing—tiles vs rolls—because the flatness tolerance needs can vary by manufacturer.]
Prepare the subfloor for adhesion or underlayment
You’ll get the best results by preparing plywood the way your specific rubber system requires: sanding high spots, removing residues, and leveling low areas. If you skip prep, adhesives can fail or floating systems can drift and separate at seams.
Preparation is where most installs either “lock in” or quietly set up failure. Dust and roughness can prevent proper bonding, while unfilled gaps allow rubber to bridge and concentrate stress.
Dust left on plywood can interfere with adhesive wetting and bond development, reducing long-term adhesion reliability for resilient flooring systems.
Feather-filling low spots and sanding high points reduces telegraphing because resilient coverings reflect the substrate profile.
Whether you use adhesive-down or a floating system, subfloor prep still governs performance; the difference is how the rubber attaches and how it tolerates minor irregularities.
Sand, vacuum, and remove bond blockers
– Sand high spots: Use a belt sander or random-orbit sander to knock down ridges at sheet joints or uneven patches.
– Remove residues: Any previous adhesive, paint, or contaminants must be removed or treated according to the rubber/adhesive manufacturer.
– Vacuum thoroughly: Use a shop vacuum and (if allowed by the adhesive instructions) a final wipe approach that doesn’t leave residue.
Patch low areas (but use the right chemistry)
Fill gaps/low areas with a patch/feather finish recommended for plywood and compatible with your rubber system. For example:
– Use a product intended for wood substrates
– Confirm it’s compatible with your installation method (adhesive-down vs floating/underlayment)
– Follow cure times before installation
> [ADD: exact patch/feather product recommendation from your rubber manufacturer or adhesive manufacturer—then match instructions.]
Decide the approach: adhesive-down vs floating
This is a compatibility decision, not a style choice. Rubber products fall into multiple installation categories:
– Adhesive-down: Rubber is bonded directly (or via primer) to prepared plywood.
– Floating/rolled with underlayment: Rubber is installed without direct full-spread bonding; the underlayment and perimeter gap matter.
Choose the correct install method and materials
Installing over plywood is only “correct” if every component is compatible: primer (if required), adhesive, underlayment (if required), and transition details. If your rubber manufacturer says “adhesive required,” you can’t safely substitute an unrelated “universal” glue.
Material compatibility is one of those issues that doesn’t always show up immediately—until the first hot/cold cycle, the first season of humidity change, or the first heavy-load shift.
Manufacturer-specified primers and adhesives are designed to chemically bond to resilient flooring materials and to the prepared substrate—mixing systems can void performance expectations.
If the rubber flooring instructions require underlayment or a specific surface prep method for plywood, deviating from it increases the risk of edge lift and delamination.
Match your rubber type to the system
Use the installation method your rubber product is built for:
– Rubber tiles (adhesive-down is common):
– Often require full-spread adhesive and proper seam/edge rolling.
– Substrate prep must support stable seams.
– Rubber rolls (often require adhesive or a system-specific underlayment):
– May need careful rolling and time under load to “relax.”
– Seams depend on how the product instructs you to join edges.
> [ADD: your specific rubber type—tiles vs rolls—and the manufacturer-required adhesive/underlayment system.]
Tools and supplies you’ll typically need
Have these ready so you’re not improvising mid-install:
– 6 ft or 10 ft straightedge
– Utility knife with fresh blades
– T-square or straight guide for accurate cuts
– Roller (often specified for adhesive performance)
– Seam supplies (if your rubber tiles require seam adhesive or heat/seam tape)
Install: layout, cutting, and fitting around edges
A clean, controlled layout prevents misaligned seams and reduces the chance of “tiny slivers” at doorways and walls. The fastest way to avoid future separation is to dry-fit, plan seam locations, and respect any required perimeter clearance.
For rubber over plywood, your goals are:
1. Stability: seams land where the subfloor is most consistent.
2. Aesthetics: patterns look intentional.
3. Movement allowance: rubber can expand/contract, and edge restraint causes problems.
Planning seam placement away from heavy traffic paths helps reduce localized seam stress and recurring edge lift.
Dry-fitting before adhesive application reduces cutting mistakes and minimizes awkward, narrow edge pieces that are more prone to lifting.
Perimeter expansion clearance is critical for many resilient systems because temperature and humidity changes drive dimensional movement.
Layout workflow that reduces rework
– Start from a reference line: Snap a chalk line (or use a laser) to keep runs square.
– Dry-fit first: Place tiles/sections without adhesive to confirm:
– Direction/pattern alignment
– Seam stagger (if tiles require it)
– Cuts at walls and doorways
Cutting tips for rubber tiles vs rolls
– Tiles: Cut with a sharp blade; use a backing board to avoid tearing edges.
– Rolls: Allow the roll to acclimate per manufacturer instructions, then cut with a guide to keep the edges straight.
Fitting around walls, columns, and transitions
– Maintain manufacturer-required perimeter clearance.
– Do not force material tight to walls. Even 1/4″ (commonly cited in resilient flooring contexts, but not universal) can be insufficient if your specific product calls for more—follow the actual spec.
> [ADD: your manufacturer’s required expansion/perimeter gap value.]
Roll/press and finish edges correctly
Finishing is where bonded rubber becomes “permanent,” and where floating rubber either stays stable or slowly migrates. Press/roll using the method and timing in your flooring instructions—adhesive systems especially depend on correct pressure.
Whether you install adhesive-down or floating, edge and transition handling controls long-term look and performance.
Adhesive-down resilient flooring performance depends on correct adhesive spread rate, open time, and post-placement rolling/pressing to ensure full contact.
Floating resilient or rubber systems require correct underlayment installation and adequate perimeter clearance to prevent buckling or separation.
Transitions (doorways, thresholds, stair landings) need compatible reducers/transition strips; relying on raw edges increases the chance of chipping or edge lift.
If adhesive-down: follow the adhesive’s process
– Apply adhesive according to stated coverage and open time
– Place rubber into adhesive contact promptly
– Press/roll using the recommended roller and passes
If floating: nail the underlayment and clearance details
– Install the underlayment only if your rubber instructions say it’s required.
– Keep the perimeter gap consistent and unobstructed until trim is installed.
Finish transitions properly
Use reducers/transition strips designed for resilient flooring, especially at:
– Doorways
– Garage thresholds
– Finished floor transitions to carpet/laminate/vinyl
What can go wrong (and how to avoid it)
Most rubber-over-plywood failures trace back to one of five root causes: unevenness, wrong product compatibility, moisture issues, missing expansion clearance, or poor cleanliness. If you address these early, the installation behaves predictably across seasons.
Below are the failure modes you should actively prevent—not just “watch for.”
Uneven plywood can create seam stress and visible “wavy” patterns because resilient flooring mirrors the substrate profile.
Using an adhesive system that isn’t specified for the rubber material and plywood substrate can lead to adhesive failure (peeling, bubbling, or incomplete cure).
Moisture problems in wood subfloors can shorten flooring life by affecting adhesive bond reliability and causing dimensional movement.
Common problems and practical fixes
– Uneven plywood
– Fix: sand highs and patch lows to meet flatness targets before installation.
– Wrong adhesive system
– Fix: match the adhesive/primer to the rubber manufacturer’s installation instructions for plywood.
– Moisture/condition mismatch
– Fix: confirm plywood dryness and address any moisture source first.
– Skipping expansion/perimeter clearance
– Fix: maintain manufacturer-required clearance; plan trims accordingly.
– Dirty surface
– Fix: vacuum thoroughly and remove residues; don’t install over dust.
A quick comparison: adhesive-down vs floating
Below is a practical, AI-friendly comparison of the most common failure risks.
| Install approach | Best for | Most common risk |
|---|---|---|
| Adhesive-down rubber (tiles/selected rolls) | Stable, permanent installs | Bond failure from incompatible adhesive or dirty prep |
| Floating rubber (with approved underlayment) | Noise reduction where movement is expected | Edge separation from missing clearance or shifting underlayment |
Verdict / tip
Installing rubber over plywood is doable and often effective—as long as you prioritize flatness, subfloor stability, and product-to-product compatibility for adhesive and/or underlayment. The biggest downsides are that plywood surface issues (telegraphing), moisture problems, and incorrect adhesive systems can cause early lifting or seam failure—so if your plywood is noticeably uneven, moving, or you suspect moisture, address those first or consult a flooring pro.
A successful rubber-over-wood installation is primarily a subfloor-prep job: flatness and stability drive long-term seam performance.
Compatibility between rubber flooring and adhesive/underlayment is not optional—installation instructions specify the system to reduce delamination risk.
If moisture sources exist or plywood is not stable, resilient flooring failures become more likely regardless of workmanship quality.
[ADD: include your specific rubber type—tiles vs rolls—and the manufacturer’s required adhesive/underlayment once you have it, so these steps match your exact system.]
Common Resilient-Flooring Substrate Targets (for Plywood Prep)
| # | Prep / installation target | Numeric target | Typical rationale | Impact on rubber |
|---|---|---|---|---|
| 1 | Flatness over 6 ft straightedge | ≤ 1/8 in | Minimizes telegraphing | Reduces wavy look |
| 2 | Flatness over 10 ft straightedge | ≤ 3/16 in | Prevents seam stress | Improves seam longevity |
| 3 | Fastener flush condition (nails/screws) | ≤ 1/32 in proud | Avoids ridges/pressure points | Prevents edge dimpling |
| 4 | Maximum joint gap between panels | ≤ 1/8 in | Prevents bridging stress | Limits seam opening |
| 5 | Feathered patch edge smoothness | Blend to ~1/32 in | Eliminates hard transitions | Helps rubber lay flat |
| 6 | Perimeter clearance (floating/expansion) | ~ 1/4 in typical | Allows seasonal movement | Missing gap can cause buckling |
| 7 | Moisture management before bonding | Address to manufacturer limits | Protects bond line | Excess moisture shortens life |
Quick scan checklist (save this)
– [ ] Plywood is secure (no squeaks/loose sheets)
– [ ] Surface is clean, smooth, and flat (fix highs/lows)
– [ ] Any gaps/low spots patched with compatible material
– [ ] Install method chosen per rubber instructions (adhesive-down or floating)
– [ ] Correct adhesive/primer/underlayment compatibility confirmed
– [ ] Layout planned; cuts dry-fit; edges maintained with required clearance
– [ ] Seams/edges pressed/finished using the manufacturer’s method
– [ ] Transitions installed (reducers/trim) where needed
FAQ
Do I need an underlayment over plywood for rubber flooring?
It depends on the rubber product instructions. Some systems are designed to be adhesive-down directly to prepared plywood, while others require a specific underlayment or surface treatment—check the manufacturer’s compatibility notes.
Can rubber flooring be installed directly on plywood without sanding?
Only if the plywood is already smooth, sound, and meets the rubber manufacturer’s surface-prep requirements. If there are high spots, rough patches, old residue, or protruding fasteners, sanding/removal is typically required.
What if my plywood has minor dips or uneven spots?
You’ll typically need to level low areas before installing using a patch/feather finish compatible with plywood and your rubber system. Don’t rely on rubber to “smooth out” structural unevenness.
How do I handle seams when installing rubber tiles?
Follow the tile instructions for seam layout (including whether to stagger seams) and use the recommended seam method/material. Proper alignment and pressing help reduce future edge lifting.
Is expansion space required with rubber flooring on plywood?
Many rubber flooring products require perimeter clearance to allow for dimensional movement with temperature/humidity changes. Use the exact guidance from the manufacturer for your specific product.
Sources
– [ADD: Rubber flooring manufacturer installation instructions/spec sheet for adhesive compatibility, required surface prep for plywood, and expansion/perimeter clearance guidance.]
– [ADD: Adhesive/primer manufacturer documentation for use over plywood and allowable substrates.]
– [ADD: RFCI/CRI resilient flooring installation guidance for flatness criteria and substrate prep expectations.]
If you share your exact rubber product (tiles vs rolls) and the manufacturer’s adhesive/underlayment requirements, I can tailor the steps (especially the compatibility, seam/edge method, and perimeter clearance) to match that system precisely.
Frequently Asked Questions
What’s the best underlayment to install rubber flooring over plywood?
The best underlayment depends on whether your rubber is roll or tile, but in most cases you want a moisture-resistant layer plus a stable surface. Use a smooth, flexible underlayment such as a thin rubber floor underlayment or a moisture barrier like 6 mil polyethylene when appropriate, then add a leveling/patch compound if the plywood has dips or seams. Avoid thick, squishy materials that can cause instability and lead to premature wear or separation.
How do I prepare plywood subfloor before installing rubber floors?
Start by inspecting the plywood for loose sheets, squeaks, and damaged areas, then secure any movement with screws and replace weak sections as needed. Thoroughly clean the surface and sand high spots so the plywood is flat, because rubber flooring will telegraph ridges and uneven seams. Finally, check moisture conditions and apply patching compound or leveling for any gaps, then allow it to fully cure before installation.
How do I deal with seams and subfloor movement when installing rubber over plywood?
Rubber flooring typically requires a solid, flat base, so seams and deflection are common causes of lifting or curling. Stagger plywood seams if possible, tighten the subfloor using proper spacing and screw patterns, and consider adding an approved underlayment designed for resilient flooring installations. If the plywood has any ongoing movement, address that first—using a floor leveling system or adding a thin subfloor underlayment—before installing the rubber.
Which installation method works best for rubber flooring on plywood—glue-down, click-lock, or loose lay?
The best method depends on the rubber type and your room conditions, but plywood generally works well with glue-down or interlocking click-lock systems when the subfloor is flat and stable. Glue-down rubber offers strong adhesion for maximum durability, but it requires the correct adhesive for rubber and proper surface readiness. Click-lock and loose-lay rubber can be easier to install, yet they still need careful subfloor prep and may shift if the plywood flexes or isn’t fully leveled.
Why is flatness and moisture control critical when installing rubber flooring over plywood?
Rubber flooring is durable, but it’s not forgiving over uneven plywood or moisture issues—unevenness can create stress points and cause buckling or seam separation. Moisture can also affect adhesion for glue-down rubber and can lead to odor, mold risk, or flooring delamination over time. Before installation, verify the plywood is dry, use a suitable moisture barrier when recommended, and ensure the floor is level to prevent early wear in high-traffic areas.
📅 Last Updated: October 11, 2026 | Topic: How to install over plywood rubber floors? | Content verified for accuracy and freshness.
References
- https://scholar.google.com/scholar?q=installing+rubber+flooring+over+plywood+subfloor+adhesive+underlayment Google Scholar
- Google Scholar Google Scholar
https://scholar.google.com/scholar?q=resilient+flooring+installation+over+wood+subfloor+recommended+work+practices - Google Scholar Google Scholar
https://scholar.google.com/scholar?q+sheet+rubber+flooring+installation+instructions+plywood+subfloor - https://en.wikipedia.org/wiki/Resilient_flooring
- https://rfcionline.org/
- https://rfcionline.org/resources/?sf_paged=1
- Home – Tarkett Commercial
https://www.tarkett.com/en_us/explore-and-learn/installation-guides - Resources and Literature
https://www.armstrongflooring.com/commercial/en-us/resources.html - Google Scholar Google Scholar
https://scholar.google.com/scholar?q=How+to+install+over+plywood+rubber+floors? - How to install over plywood rubber floors? – Search results
https://en.wikipedia.org/wiki/Special:Search?search=How+to+install+over+plywood+rubber+floors?



[…] so every plank locks into the herringbone cleanly. Follow it precisely and you’ll avoid the common failures—lifting boards, gapped seams, and crooked […]