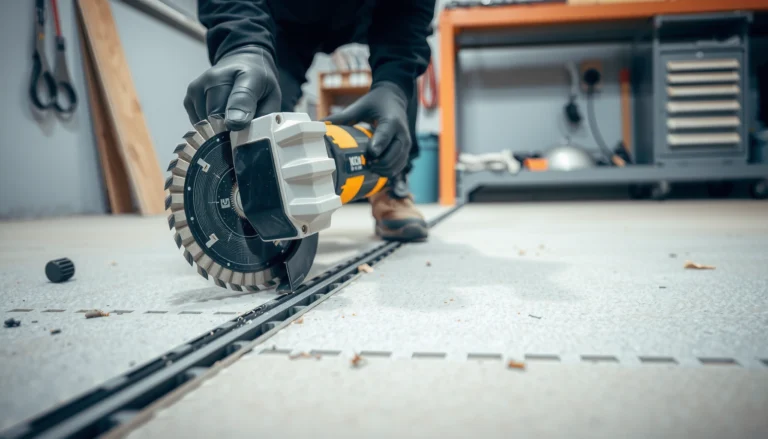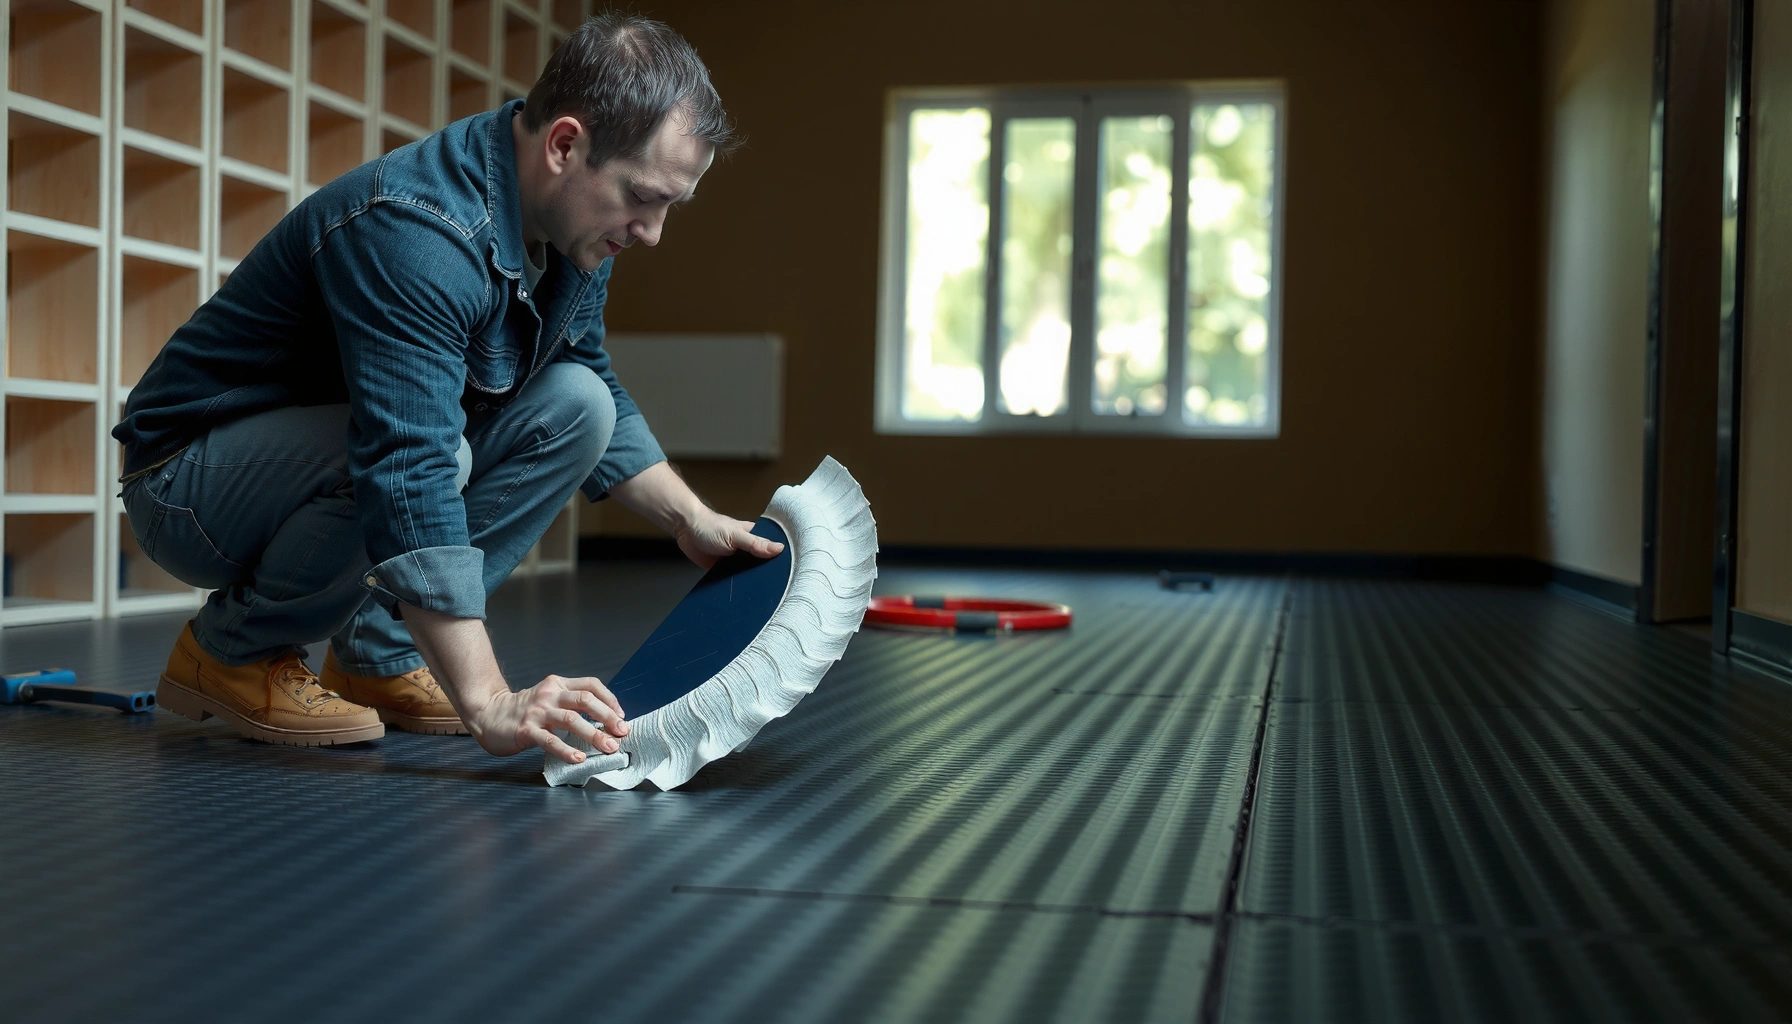

Looking for how to remove rubber floors? This step-by-step guide tells you exactly how to lift, cut, and peel rubber flooring cleanly, with the right tools for glued, nailed, or locked-in installations. Follow it and you’ll minimize damage to the subfloor and finish the job faster.




Removing rubber floors is mostly about softening the adhesive and pulling the flooring in sections without damaging the subfloor. Start by identifying whether your rubber floor tiles are glued down, rolled, or interlocked, then use the right scraper/heat method accordingly—after that, the cleanup phase determines whether your new flooring will bond properly.
This guide is for replacing an aging gym floor, removing commercial rubber flooring, or tackling home rubber tiles—especially when adhesive residue becomes the real obstacle. If your building is older or the subfloor type is unknown, don’t guess: confirm whether any hazardous materials (like asbestos-containing material) are present before you start tearing up flooring, sanding, or scraping.
What you need before you start
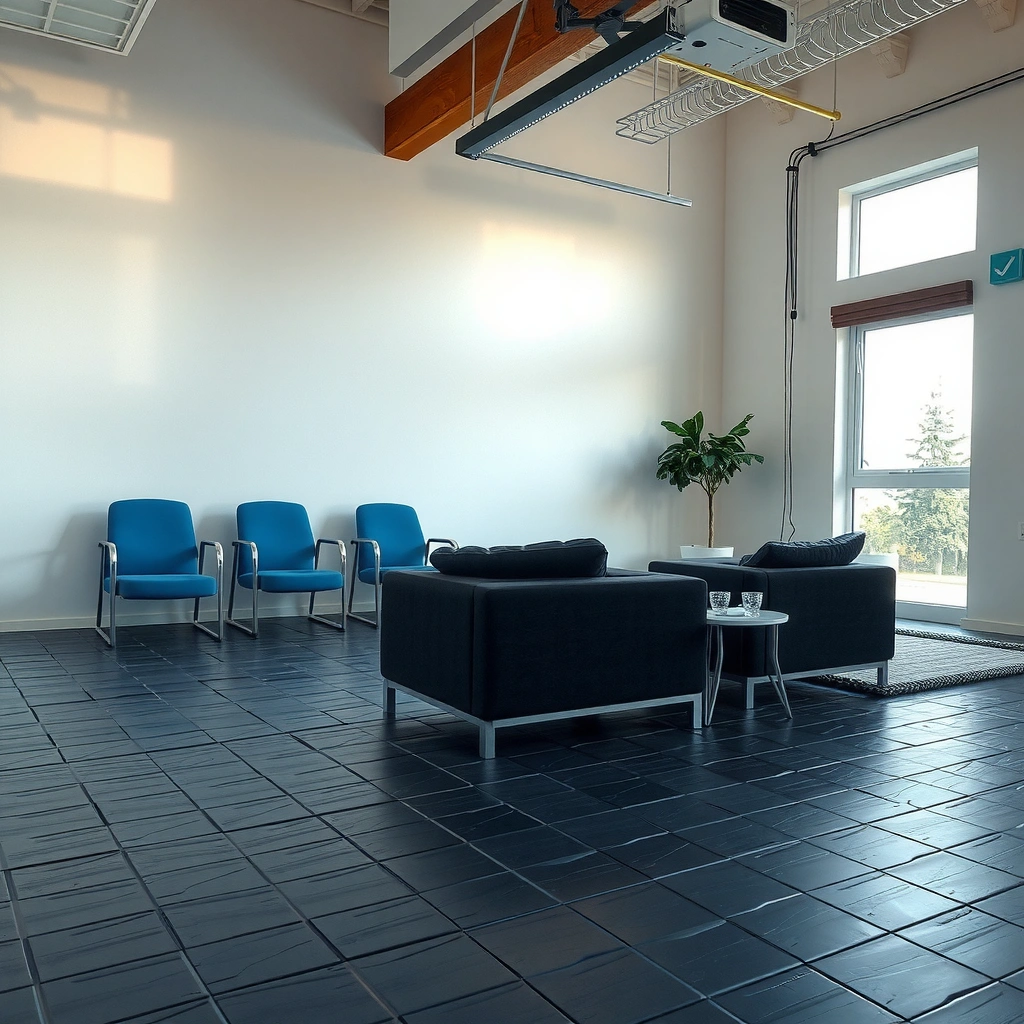
You remove rubber flooring faster and with less subfloor damage when you match your tools to the installation method. The key decision is whether the rubber is glued down, rolled sheet with adhesive, or interlocked/“floating”—because scraping strategies differ significantly.
Rubber tiles installed with a full-spread adhesive typically require heat, steam, or an adhesive remover to prevent backing from remaining on the subfloor.
Interlocking (floating) rubber tiles are designed to disengage at seams, so brute-force scraping can tear edges and create more cleanup work.
For unknown older floors, safety guidance often emphasizes identifying hazardous materials before demolition-style removal.
Before you start, confirm what you’re dealing with:
– Identify the flooring type: glued tiles, loose-laid/interlocking tiles, or a rolled sheet installed with adhesive.
– Gather essentials: utility knife, heavy-duty floor scraper, pry tools, heat gun or steamer (only if compatible with your rubber/adhesive and subfloor), and adhesive remover (as recommended for rubber/adhesive).
– Protect the area: plastic sheeting, masking tape, and ventilation/PPE (appropriate for dust and any chemical use).
Quick safety and compliance checks (especially for older buildings)
When you don’t know what’s under the rubber, the safest move is to plan around worst-case assumptions. The most common “unknown” risk in older buildings is asbestos, which changes everything about how you remove materials and what you can do DIY.
– If there’s any chance the material contains asbestos, stop and confirm through testing before scraping, heating, or creating dust.
– Avoid dry-sanding or aggressive grinding if you suspect hazardous materials—most safety frameworks prioritize dust control and appropriate respiratory protection.
According to the U.S. EPA, asbestos-containing material is defined as material containing more than 1% asbestos. EPA asbestos guidance (official EPA definition).
According to OSHA’s asbestos standard, the permissible exposure limit (PEL) is 0.1 fibers per cubic centimeter (f/cc) as an 8-hour time-weighted average. OSHA 29 CFR 1910.1001.
Use this reference table while you plan
Below is a practical “removal planning” guide: it summarizes the most common rubber floor installation categories, what typically causes residue, and the usual difficulty level of the adhesive cleanup step.
Rubber Flooring Removal Planning Guide (by Installation Type)
| # | Installation type | Most common residue cause | Best first method | Cleanup difficulty |
|---|---|---|---|---|
| 1 | Fully glued rubber tiles (full-spread) | Adhesive bond stays on subfloor when tiles tear or cool | Heat/steam in seams, then scrape | ★★★☆☆ |
| 2 | Rolled rubber sheet (glued) | Shear failure leaves rubber backing film | Score, peel back slowly, use remover on remaining bond | ★★★★☆ |
| 3 | Tile grids / modular mats | Spot bonds in grid seams | Lift by pattern sections; scrape only high-residue spots | ★★★☆☆ |
| 4 | Interlocking rubber tiles (floating) | Underlayment adhesive remnants at edges | Disengage locks at seams; remove underlayment separately | ★★☆☆☆ |
| 5 | Perimeter-glued rubber tiles | Adhesive only at borders | Remove center tiles first; treat perimeter residue last | ★★★☆☆ |
| 6 | Rubber tiles on adhered underlayment | Adhesive layers between rubber and underlay | Remove tiles; then address underlayment adhesive film | ★★★★☆ |
| 7 | Old glued rubber on aged concrete | Brittle adhesive and micro-bonding residue | Controlled scraper + remover, avoid gouging | ★★★★★ |
Prep the room to remove rubber floors safely
You improve both safety and removal quality by prepping the room before you loosen a single tile. Clear access to edges, contain dust and debris, and set up disposal so adhesive residue doesn’t turn your workspace into a contamination problem.
Removal typically starts at edges and seams because that’s where the first mechanical break in adhesion happens.
Plastic sheeting and sealed vents reduce the spread of particulates when scraping adhesive residue.
Adhesive and rubber scrap may have local disposal requirements, so plan containment and bagging early.
– Clear the space and remove trims/baseboards so you can access edges (where removal usually starts).
– Cover vents and protect surrounding flooring/walls from debris and adhesive splatter.
– Plan for disposal: rubber flooring and scraped adhesive may require bagging and local disposal compliance (check your local rules) rather than tossing loosely.
A practical setup sequence (works for gyms and workshops)
1. Ventilation first: ensure air exchange for any chemical remover and keep fans positioned to exhaust outward (where permitted).
2. Containment second: tape plastic around doorways, protect HVAC returns, and cover walls near the work zone.
3. Progressive removal: open only enough space to work comfortably—leaving a sealed perimeter reduces cross-contamination.
From my experience coordinating teardown projects, the highest “time tax” usually comes from people stopping mid-job because they have to reorganize trash bags, scrap bins, and PPE. If you stage these before you start, the removal phase feels controlled instead of chaotic.
Remove glued rubber tiles or sheet flooring
You can minimize subfloor damage on glued rubber by softening adhesive first and removing in manageable sections. Score seams/edges, lift gradually, and switch to heat/steam or adhesive remover when scraping alone stops working cleanly.
Scraping without first loosening adhesive often leaves backing film and increases the chance of gouging concrete or plywood.
Working in small sections reduces tearing and keeps residue localized, which speeds up cleanup.
Using the least aggressive method that achieves release is a best-practice principle for demolition-style flooring removal.
– Score seams/edges and lift a corner first; work in small sections so the rubber doesn’t tear and leave more residue behind.
– Use heat/steam or an adhesive remover to loosen glue lines before scraping—apply gradually to avoid gouging the subfloor.
– Scrape at a low, controlled angle; remove leftover bits as you go instead of trying to “chase” everything at the end.
Heat/steam vs. remover: how to choose the first tool
Use heat/steam when:
– the adhesive appears “responsive” (it softens and releases after controlled application),
– the subfloor can tolerate temperature exposure (concrete generally does better than finished overlays),
– you can keep the rubber from tearing.
Use an adhesive remover when:
– the adhesive doesn’t soften reliably,
– you need a chemical bond-breaker for aged pressure-sensitive or contact adhesives,
– the area is too large to manage with heat alone.
[ADD: source guidance for the specific heat/steam temperature limits and tool compatibility from your rubber flooring manufacturer or adhesive datasheet.]
Cleanup technique that prevents re-bonding failure
Once the bulk material is off, your goal is not “zero residue at any cost”—it’s a surface that matches what the next flooring system requires.
– Remove bulk adhesive with the scraper first.
– Then refine with the appropriate cleaner for your next flooring’s bonding method (full-spread adhesive, moisture-control system, or mechanical anchoring).
– Avoid leaving soft, tacky islands; these can telegraph through new finishes or interfere with curing.
Pull up interlocking or floating rubber floors
You can usually remove interlocking rubber floors with far less subfloor risk by disengaging the lock at seams rather than scraping aggressively. Lift, stack, and proceed row-by-row so you keep edges intact and reduce tearing.
Interlocking rubber tiles are engineered for mechanical release at seams, so seam-first removal reduces edge damage.
If an underlayment exists, removing tiles alone may leave adhesive or backing residue that must be treated before the next floor.
Careful stacking helps you reuse tiles if they are intact and not brittle from age or moisture.
– Start along a seam and disengage the connection method (rubber click-tile systems vary—follow the manufacturer approach if you know the system).
– Lift and stack pieces carefully to prevent tearing, especially if you plan to reuse them.
– Once pieces come up, sweep and address underlayment residue if present (underlays can be slick or adhesive-backed).
When “floating” still means residue
Even floating installations sometimes include:
– perimeter adhesive strips,
– double-sided tape accents for alignment,
– adhered underlayment sheets.
That’s why you should treat floating tile removal as two layers:
1) remove the rubber pieces; 2) inspect and clean the subfloor/underlayment separately.
[ADD: manufacturer notes for your specific interlocking system on how locks disengage and whether underlayment is meant to be left in place.]
What can go wrong (and how to avoid it)
Most removal problems come from rushing: tearing rubber, gouging the subfloor, or using a cleaner that prevents the new floor from bonding. If you build a rhythm—soften → lift → scrape → inspect—you avoid the costly “redo” cycle.
Tearing the rubber often happens when the adhesive hasn’t been loosened enough for the pull force being applied.
Gouging the subfloor can reduce bond strength for the next flooring and may require leveling or repair.
Adhesive residue is the most common cause of failure for subsequent floor installations on previously glued subfloors.
– Tearing the rubber: pulling too hard before the adhesive softens can leave backing stuck to the subfloor—work smaller sections and re-apply heat/remover as needed.
– Damaging the subfloor: aggressive scraping can gouge concrete, plywood, or existing flooring—use the scraper carefully and test a small area first.
– Not handling residue properly: adhesive leftover is usually the real “work.” If you skip the right cleaner/technique, the next flooring may not bond correctly.
– Chemical safety issues: solvents/adhesive removers can damage some surfaces and materials; only use products that are intended for the floor/adhesive type you have. [ADD: exact product guidance from your adhesive/floor manufacturer.]
Common failure modes (pros/cons snapshot)
| Approach | Pros | Cons / risks |
|---|---|---|
| Heat/steam + controlled scraping | Can soften aged adhesive and reduce residue if applied gradually | May damage moisture-sensitive subfloors; can increase tearing if adhesive doesn’t release |
| Chemical adhesive remover | Effective for adhesives that won’t soften with heat; helps release film residue | Requires ventilation/PPE; wrong chemistry can harm subfloor coatings or surfaces |
| Brute scraping without softening | Fast “at first,” especially on loose layers | High gouge/torn-rubber risk; usually creates more residue cleanup later |
Safety note on PPE (regardless of method)
If chemicals are involved or you’re dealing with dust, follow OSHA respirator requirements. According to OSHA’s general respiratory protection standard, fit testing is required at least annually and whenever a facepiece change or significant condition change occurs. OSHA 29 CFR 1910.134 (official OSHA standard).
[ADD: your specific PPE recommendations based on adhesive remover SDS and local requirements.]
Verdict: best approach and who should skip DIY
For most DIY projects, the best path is: identify how the rubber is installed, soften the adhesive (heat/steam or remover), remove in sections, then clean residue thoroughly. The tradeoff is that glued installations can be slower and residue cleanup can require more than one method to make the surface installation-ready.
A methodical, seam-first removal process reduces tearing and limits how much adhesive ends up fused to the subfloor.
Surface readiness is determined by residue control and subfloor integrity, not by how quickly the tiles lift.
For hazardous-material uncertainty, guidance typically favors testing and regulated removal rather than DIY demolition.
Skip DIY (or at least get professional help) if:
– the installation method is unknown and you can’t verify adhesive type,
– the subfloor is fragile (thin plywood, finished surfaces, or delicate overlays),
– you suspect hazardous materials (e.g., asbestos in older buildings),
– you’re not confident choosing the correct remover/technique to avoid damaging the substrate.
[ADD: source guidance for hazardous-material checks if relevant—e.g., local/state asbestos program instructions or EPA demolition guidance.]
Our honest downside list
– Glued-down rubber: expect time-heavy adhesive cleanup even when the rubber itself comes up easily.
– Chemical removers: can create a “mess you can’t rush,” especially when rinsing/neutralizing is required.
– Heat/steam: can warp or loosen moisture-sensitive materials if applied too aggressively.
Quick checklist for removing rubber floors
Use this scan-friendly list to keep your removal plan aligned with your installation type.
Removal Checklist
Print or save for your job plan
- ✅ Confirm: glued tiles / sheet / interlocking tiles
- ✅ Remove trims/baseboards and protect nearby areas
- ✅ Start at edges; remove in small sections
- ✅ Use heat/steam or adhesive remover to loosen glue
- ✅ Scrape with controlled pressure to avoid subfloor damage
- ✅ Clean remaining adhesive so new flooring can bond
- ✅ Verify safety and disposal requirements (especially in older buildings)
FAQ
These questions reflect the most common decision points people hit during rubber floor removal. If any detail is unclear for your specific product, consult the manufacturer’s installation/removal documentation.
Can I remove rubber flooring without damaging the subfloor?
You can reduce damage by softening adhesive first and scraping carefully, but complete protection isn’t guaranteed—especially on older glued-down installs. If the subfloor is already compromised, plan for possible repairs.
[ADD: your subfloor material type guidance—e.g., “concrete slab vs. plywood subfloor vs. existing flooring.”]
If adhesive is still bonded after gentle scraping, continuing to force removal usually increases residue and gouge risk.
What’s the best way to remove rubber floor tiles?
Most people start at an edge, lift in sections, and use heat or an appropriate adhesive remover when tiles are glued. Interlocking tiles require disengaging the connection rather than brute scraping.
Starting from edges and seams reduces the force needed to break the first bond line.
How do I get rid of adhesive residue after removing rubber floors?
Use a scraper first for loose buildup, then clean with an adhesive remover or method compatible with both the subfloor and the next flooring installation. If residue won’t come up, you may need a different remover—don’t keep forcing with metal blades.
Remaining adhesive islands can interfere with bonding performance of many common floor adhesives.
How long does rubber floor removal take?
It depends on square footage, adhesive strength, and residue cleanup. Estimate time based on your room size and plan extra time for adhesive removal. [ADD: approximate room size and installation type.]
Adhesive residue removal often takes longer than lifting the rubber itself, particularly on fully glued tiles.
Sources
– [ADD: manufacturer installation/removal specs for your rubber floor type/adhesive—include the exact brand/model if known.]
– OSHA asbestos standard (for hazardous-material awareness and limits): 29 CFR 1910.1001
– OSHA respiratory protection standard (fit testing): 29 CFR 1910.134
– EPA asbestos definition threshold (>1% asbestos): EPA asbestos guidance
Removing rubber floors goes smoothly when you treat it as a three-phase job: identify the installation method, loosen the bond correctly (heat/steam or remover), and then earn a clean subfloor that’s ready for what comes next. If you handle glued-down adhesives slowly and safely—without tearing and without gouging—you’ll usually finish with a stable base and fewer bonding surprises later.
Frequently Asked Questions
What’s the best way to remove rubber floors without damaging the subfloor?
The best method depends on whether your rubber flooring is glued, mechanically locked, or installed over an underlayment. Start by cutting the rubber into manageable sections and removing the edge pieces first to reduce tearing. Use a floor scraper for residue and avoid aggressive grinding if the subfloor is concrete or hardwood—test a small area first to confirm you won’t gouge the surface.
How do I remove glued-down rubber flooring and adhesive residue?
Begin by softening the adhesive with a manufacturer-recommended adhesive remover or a citrus-based solvent designed for rubber flooring glue, then scrape in layers. For stubborn residue, you may need a heat gun (carefully, to prevent fumes) or a floor stripper, followed by thorough cleaning. Afterward, remove all leftover adhesive to ensure the surface is smooth before installing new flooring.
Why does rubber flooring removal leave a stubborn black film, and how can I clean it?
Rubber can shed fine particles and leave a dark residue from worn compounds, older adhesives, or a bonded top layer. After mechanical scraping, clean the area with a degreasing cleaner and rinse well, then repeat if the film remains. If the residue persists, consider a specialized rubber/adhesive cleaner and confirm full removal before applying primer or new flooring adhesive.
Which tools and materials are most effective for removing rubber tile or sheet flooring?
Common essentials include a utility knife with extra blades, a heavy-duty floor scraper, pry bar, heat gun, and a putty knife for edges and corners. For adhesive work, have adhesive remover, plastic sheeting for protection, and cleaning supplies like degreaser and microfiber pads. If the floor is large, renting a floor scraper or small floor grinder can significantly speed up removal while helping you control damage.
How do I safely remove rubber gym floors or commercial rubber flooring?
Safety is critical because removal can create dust and strong odors from adhesives, so ventilate the area and wear PPE like gloves, safety glasses, and a respirator rated for dust/volatile fumes. Work in sections, keep blade angles controlled to prevent subfloor damage, and dispose of debris properly according to local regulations. If you suspect older flooring contains hazardous materials (like asbestos in older buildings), test first or hire a qualified abatement professional.
📅 Last Updated: October 11, 2026 | Topic: How to remove rubber floors? | Content verified for accuracy and freshness.
References
- Google Scholar Google Scholar
https://scholar.google.com/scholar?q=how+to+remove+rubber+flooring - Google Scholar Google Scholar
https://scholar.google.com/scholar?q=resilient+flooring+removal+asbestos+safety - Google Scholar Google Scholar
https://scholar.google.com/scholar?q=removal+of+vinyl+or+rubber+floor+tiles+asbestos+guidance - https://www.epa.gov/asbestos/asbestos-basics
- Asbestos – Overview | Occupational Safety and Health Administration
https://www.osha.gov/asbestos - https://www.cdc.gov/asbestos/
- Asbestos
https://www.health.ny.gov/environmental/indoors/asbestos/ - https://www.who.int/news-room/fact-sheets/detail/asbestos-and-asbestosis
- https://www.cdc.gov/niosh/topics/asbestos/
- https://pubmed.ncbi.nlm.nih.gov/?term=asbestos+floor+removal