
Polish rubber floors with a step-by-step method that delivers a clean, uniform shine without damaging the surface. If you follow the right sequence—pre-cleaning, correct cleaner choice, buffing technique, and protective finish—you’ll get the fastest, most consistent results. This guide answers how to polish rubber floors so they look better and stay easier to maintain.


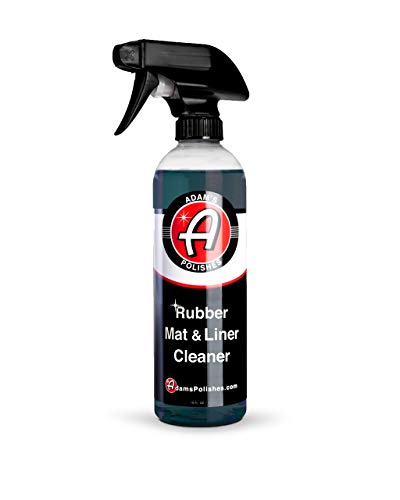

Polish rubber floors by cleaning thoroughly first, then using the correct cleaner and a rubber-safe polish/buffer routine to restore shine without damaging the surface. The safest approach is gentle, pH-balanced cleaning, zeroing out grit, and then burnishing/buffing in light passes—so you improve gloss while avoiding haze, tackiness, or finish breakdown.
If you’re dealing with a dull, scuffed, or lightly sticky rubber floor in a garage, gym, hallway, or commercial space, this is for you. It’s also relevant when you want a smoother finish but don’t want to strip the floor’s protective properties or leave a hazy surface.
Prep: Clean Rubber Floors Before Polishing
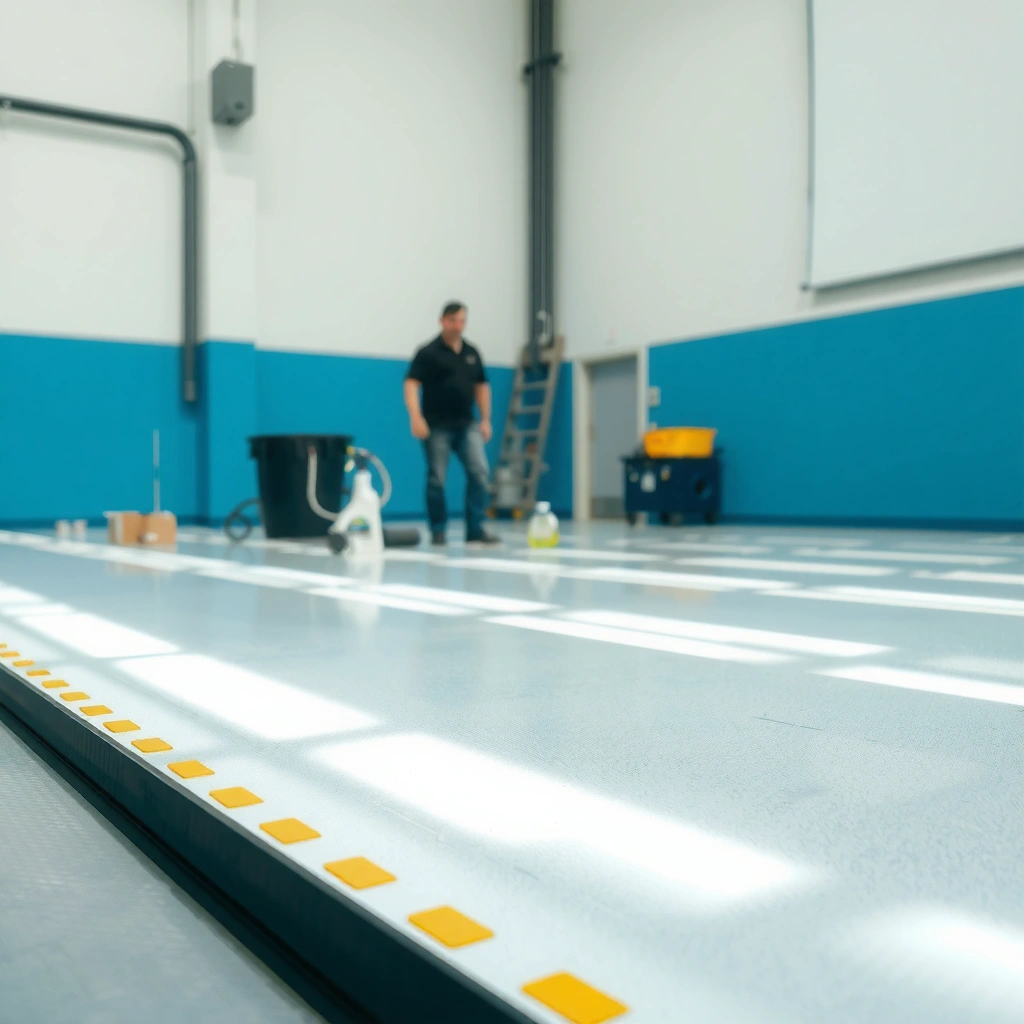
Polishing works only after the surface is clean, because grit and residue turn a shine job into a scratch-and-streak job. Start by removing loose dirt completely, then use a rubber-safe, pH-balanced cleaner and let the floor dry fully before any burnishing.
– Sweep/vacuum carefully to remove dust and grit that can scratch during buffing.
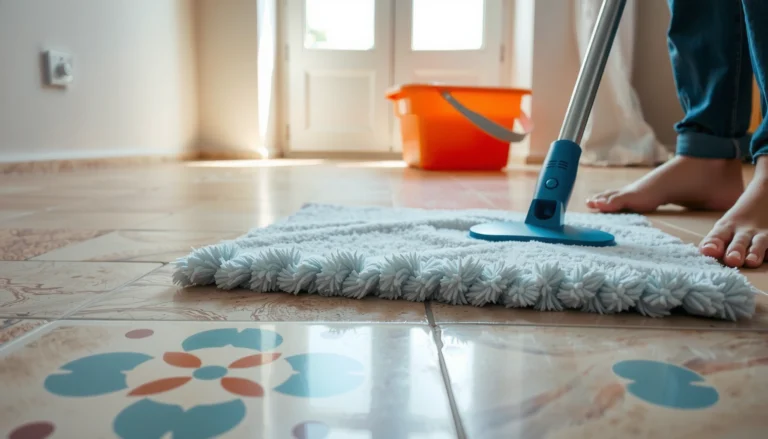
– Mop with a rubber-safe cleaner (follow label dilution/use instructions) and let the floor fully dry before polishing.
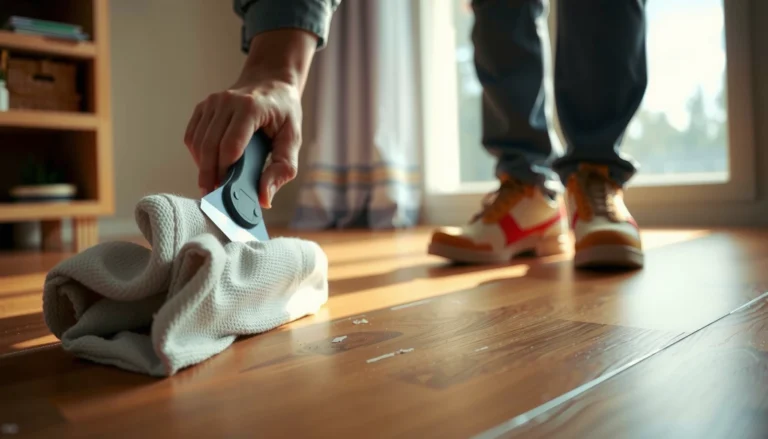
– Inspect for deep damage (tears, lifting edges, heavy cracking); polish won’t fix structural wear.
Dust and grit trapped under the buffer pad can create micro-scratches that make rubber look “hazy” even after polishing.
Most rubber flooring manufacturers require the floor to be clean and dry before burnishing/polishing to prevent streaking and tacky residue.
Polishing cannot correct structural failures like lifted edges, tears, or deep cracking; those require repair or replacement.
When we say “thoroughly,” we mean removing abrasive particles down to the smallest grains. In hallways and gyms, grit often rides in on shoe tread and can sit around floor edges, in corners, and at transitions (door thresholds, mats removal paths). Use a vacuum with a floor tool that won’t grind debris, and if you sweep first, do it in a direction that lets you collect debris rather than pushing it across the area you’ll later buff.
After sweeping, mop with a cleaner labeled compatible with rubber flooring. “Rubber-safe” is not the same as “mild” in a marketing sense—what matters is the chemical system and how it interacts with the floor’s finish or coating. Leave the floor to dry completely. Dry time depends on ventilation and temperature, but residue-related failures usually come from cleaning chemicals drying in place or from the buffing process warming wet solution trapped under the pad. For best results, plan on working only when the surface feels fully dry to the touch and shows no slickness.
What “dry” looks like before you polish
From practical maintenance experience, the easiest failure mode to spot is surface slipperiness after mopping. If the floor feels slick, tacky, or slightly draggy under your shoe, treat it as “not dry” and wait longer or re-mop with proper dilution and thorough rinsing (if the cleaner label calls for it). Also check transitions where water collects—under lockers, along baseboards, or around HVAC returns.
Choose the Right Products (Rubber-Safe Only)
The right products protect the rubber and the finish, which is what makes your shine last. Use a rubber-specific cleaner/polish and confirm whether your floor is designed for burnishing/polishing or instead for recoating/maintenance.
– Use a cleaner and polish specifically designed for rubber flooring—avoid harsh degreasers, strong solvents, or abrasive “scrub pads.”
– If your floor has a finish/coating, confirm whether the manufacturer calls for polishing, burnishing, or recoating instead.
– When in doubt, test the product in a hidden corner to check for discoloration, streaking, or tackiness. [ADD: author’s recommended test method/where they typically test, if available]
A cleaner/polish labeled for rubber flooring is typically formulated to be compatible with elastomer surfaces and common finish systems used on gyms and commercial roll goods.
If a rubber floor is coated, aggressive polishing/burnishing may wear through the top layer faster than the manufacturer intends.
Before applying a new product broadly, testing in an inconspicuous area helps detect discoloration, streaking, or tackiness caused by incompatibility with the floor finish.
Rubber flooring maintenance hinges on two distinctions: (1) the rubber compound and (2) the surface finish (or coating) applied over it. A neutral-pH cleaner might be fine on bare rubber, but a different system is often used when a floor is installed with a factory finish or a maintenance-applied coating.
To make this concrete, here’s a quick reference for how typical cleaner chemistry relates to compatibility and why you should avoid harsh chemicals. (Always follow your product label and your flooring manufacturer’s maintenance guidance first.)
Typical Cleaner pH Ranges and Why They Matter for Rubber Floors
| # | Cleaner category | Typical pH range (approx.) | Rubber-floor fit (general) | Maintenance outcome |
|---|---|---|---|---|
| 1 | Neutral, pH-balanced detergent | 6.5–7.5 | Best starting point | Low risk of surface dulling |
| 2 | Mild alkaline degreaser (diluted) | 8–10 | Use only if labeled compatible | May reduce gloss faster on some finishes |
| 3 | Mild acidic descaler | ~3–6.5 | Typically risky for routine polishing | Can dull or destabilize certain coatings |
| 4 | Solvent-based spot remover | Varies (often non-aqueous) | Generally avoid unless explicitly approved | May soften or haze finishes |
| 5 | Rubber-compatible polish/burnisher | Often neutral-to-mild (varies by formula) | Designed for gloss | Builds shine without stripping |
| 6 | Abrasive scrub pad cleaner system | Varies (but abrasive is the issue) | Avoid for polishing | Micro-scratches lead to haze |
| 7 | Finish-stripping chemical | Often strong alkaline/solvent | Not part of “polish to shine” | Can remove protective coatings |
Notes on sources: pH ranges for “neutral,” “mild alkali,” and “acidic” chemistry are general chemistry conventions, but rubber-floor compatibility still depends on the exact polymer and coating system. For manufacturer-specific guidance, use their maintenance/installation manual (see Sources at the end).
Use the Proper Polishing/Buffing Method
You get the best shine by burnishing/building gloss gently—rather than trying to “force” a high-gloss look in one aggressive step. Use low-to-medium speed, work in controlled sections, and reapply product only as the polish label instructs.
– Prefer a low-to-medium speed burnish/buff with a suitable pad to build gloss gradually (rather than aggressive passes).
– Work in sections, keeping pressure consistent and overlapping your strokes to avoid “hot spots.”
– Reapply as needed based on the polish’s instructions—many rubber floors look best with periodic maintenance rather than one heavy application.
Low-to-medium speed burnishing reduces the risk of overheating the finish system on rubber flooring compared with aggressive high-speed passes.
Consistent pad pressure and overlapping strokes help prevent uneven gloss (“hot spots”) that can appear as bands across the floor.
Many floor polishes are designed for periodic maintenance, not one-time “strip and shine,” which is why label-based reapplication matters.
Step-by-step polishing workflow (practical and repeatable)
1. Confirm the floor is dry (no slickness, no visible cleaner film).
2. Choose the correct pad: use the pad type recommended by the rubber-compatible polish and your flooring system. If the polish is labeled “burnisher,” a polishing pad made for gloss building is usually expected; if it’s a maintenance emulsion, the application method may differ.
3. Apply product lightly: over-application is a major cause of tackiness and hazing, especially on textured or slightly porous rubber.
4. Burnish in sections: typically 1 area at a time (work in lanes or grids). Keep your machine path overlapping by a modest margin so the gloss builds evenly.
5. Inspect under changing light: look for streaks, dull bands, and edge effects. If needed, do a second light pass once the floor has had time to equilibrate according to label instructions.
A note on machine settings (and why you should not guess)
Because buffer machines vary widely, machine rpm and pad pressure should come from manufacturer recommendations for your specific equipment and pad. If your polish label specifies a speed range or application amount, follow it. If it doesn’t, start conservatively at a low-to-medium burnish speed and increase only if the gloss response is clearly inadequate.
As of 2026, the most common “polish failure” patterns are chemical (wrong product, wrong dilution, tacky residue) and mechanical (abrasive pads, too much pressure, insufficient cleaning). The method above addresses both.
Protect the Finish and Maintain Shine
Protection is what turns “one-time gloss” into “durable shine.” Maintain a routine that prevents grit buildup, uses damp cleaning instead of harsh wetting, and addresses spills quickly.
– Put a simple maintenance routine in place: regular dust control, damp mopping only, and prompt spill cleanup.
– Use mats at entrances to reduce grit tracking and prevent scuffing that dulls the surface.
– Avoid over-wetting; standing water can interfere with adhesion and leave residue behind.
Entrance mats reduce abrasive particle transfer, which helps prevent the micro-scratches that make rubber look dull again faster.
Over-wetting can interfere with finish adhesion and can leave detergent residue that shows up as haze after burnishing.
A maintenance program based on damp mopping and periodic burnishing typically preserves rubber flooring longer than frequent stripping and reapplication.
A durable maintenance routine usually has three layers:
1. Dust control: sweep/vacuum regularly. Grit is the enemy of gloss and wear resistance.
2. Controlled cleaning: damp mop with the recommended cleaner; do not flood.
3. Top-up gloss: periodic light burnishing with rubber-compatible polish, rather than full “reset” procedures.
From a facilities perspective, this is also a safety issue: a polished surface may look great, but the wrong finish build-up can increase slip risk or create uneven traction. Use your site’s safety standards (and slip-test procedures where required) and keep maintenance consistent across the full floor area.
What Can Go Wrong (Common Mistakes)
Polishing rubber floors fails most often because the floor wasn’t truly clean/dry, the products aren’t compatible, or the process is too aggressive. If you prevent those three categories of errors, you avoid most haze, tackiness, and premature wear.
– Using the wrong pad/brush: abrasive pads can create micro-scratches and make rubber look hazy faster.
– Applying polish too soon: if the floor isn’t dry or still has cleaner residue, you can get streaks or a sticky film.
– Skipping spot checks: some polishes or cleaners can discolor certain rubber blends or finishes—always test first.
– Over-polishing: constant heavy buffing can wear through a protective layer if the floor is coated rather than uncoated.
– Floors with unknown coatings: if you don’t know what’s on the surface, follow manufacturer guidance or get it assessed before polishing. [ADD: source/manufacturer guidance reference for “coated vs uncoated rubber flooring” if available]
Abrasive pads can produce microscopic surface damage, which accelerates dullness and makes subsequent polishing look uneven.
Polish applied over residual cleaner is more likely to streak or turn tacky because the chemistry interferes with the polish’s film formation.
If a rubber floor has an unknown or coated surface, manufacturer guidance typically determines whether burnishing/polishing is allowed versus recoating.
Comparison: what usually causes the symptom
| Symptom | Most likely cause | Fast corrective action (safe direction) |
|---|---|---|
| Haze / dull sheen after buffing | Abrasive pad, trapped grit, or incompatible chemistry | Stop, re-clean with rubber-compatible neutral cleaner, switch to non-abrasive pad system |
| Sticky or tacky spots | Polish applied too thick, buffed before full dry, or wrong product | Allow time to cure per label; if still tacky, remove residue using label-approved method |
| Streaks/banding | Cleaner residue or uneven product distribution | Reapply with lighter passes and ensure full drying between steps |
| Gloss wears off too fast | Wrong polish for finish system or over-aggressive burnishing | Switch to the manufacturer’s maintenance polish and reduce pressure/speed |
If your floor’s coating status is unclear
If you inherited the space and don’t know whether the rubber is coated (factory finish or maintenance-applied coating), assume you must follow manufacturer guidance before polishing. “Coated vs uncoated” matters because burnishing can wear the top layer. If the finish is unknown, the safest path is to request the flooring spec from the installer or consult the flooring manufacturer’s maintenance document.
Verdict: When Polishing Works (and When It Doesn’t)
Polishing rubber floors is usually the right move when the surface is intact but looks dull, scuffed, or unevenly shiny. It is not the right fix for structural damage, lifting edges, or floors with unknown coating systems where manufacturer guidance prohibits burnishing.
If your rubber floor is intact but looks dull, polishing/burnishing is usually a good path—clean first, use rubber-safe products, then buff in light, controlled passes. Don’t polish your way out of damaged tiles or lifting edges; those need repair or replacement. Skip DIY polishing if the floor manufacturer explicitly requires a specific system (or prohibits burnishing), or if you can’t confirm the floor type/finish—follow the manufacturer instructions instead. [ADD: point to check in the label/manual—e.g., “polishing allowed/not allowed”—source needed]
When the rubber flooring is structurally sound, burnishing/polishing can restore gloss by smoothing the finish film and distributing it evenly.
Polishing is not a substitute for repair of tears, lifting edges, or widespread cracking because it does not restore mechanical integrity.
Manufacturer manuals often specify whether burnishing/polishing is allowed on a given finish system; those instructions should override general DIY practice.
Quick Checklist (Save This)
– [ ] Sweep/vacuum thoroughly (no grit left)
– [ ] Mop with rubber-safe cleaner; follow label dilution
– [ ] Let the floor dry completely
– [ ] Test polish in a hidden area first
– [ ] Buff/burnish in small sections, consistent pressure
– [ ] Use the correct pad type for your floor
– [ ] Maintain with routine cleaning + mats at entrances
FAQ
Can I polish rubber floors with regular floor wax?
Usually no—many “regular” waxes can leave residue, turn hazy, or react with coatings on rubber flooring. Use a polish/burnisher product labeled for rubber floors instead. [ADD: source for “wax compatibility” if you have a specific product/manufacturer note]
How often should I polish rubber floors?
It depends on traffic and the polish system you use. Follow the product’s label and your floor’s wear pattern—many spaces do periodic maintenance rather than frequent full polishing. [ADD: exact recommended frequency from a manufacturer spec, if available]
Will polishing remove scuffs and stains?
Light scuffs can improve with burnishing, but deep stains, embedded dirt, or damage may need targeted cleaning or surface restoration. Don’t assume polish will erase everything—start with the right cleaner first.
What’s the safest machine/pad approach for beginners?
Start with low-to-medium speed burnishing and a non-abrasive pad suitable for rubber. If you’re unsure, begin with the pad type recommended by the polish or your rubber flooring manufacturer.
Sources:
– [ADD: rubber flooring manufacturer maintenance/polishing guidance—manufacturer name + document title]
– [ADD: polish/burnisher product label or technical data sheet (TDS) for rubber-compatible use instructions]
– [ADD: cleaning chemical label/dilution and “surfaces compatible with rubber flooring” statements from the manufacturer]
Polishing rubber floors is less about “strong buffing” and more about correct sequence: clean (with a rubber-safe, pH-balanced product), remove grit, dry completely, then build gloss in light, controlled passes using the manufacturer-approved pad and polish system. If you follow that workflow and respect coated-vs-uncoated guidance, you can restore a smoother, shinier surface while protecting the floor’s long-term performance.
Frequently Asked Questions
What’s the best way to polish rubber floors without damaging them?
Start by dry or damp cleaning to remove grit, then use a pH-neutral cleaner so you don’t break down the rubber. Apply a rubber-safe floor polish (often acrylic or specifically formulated for rubber) in thin, even coats with a microfiber mop or low-speed buffer. Avoid harsh solvents, ammonia, and abrasive pads that can dull or scratch the surface and increase wear.
How do you polish rubber floors step-by-step?
First, sweep or vacuum thoroughly, then wash with a pH-neutral cleaner and let the floor fully dry. Next, spot-clean stains and scuffs with a rubber-safe cleaner, then apply the polish using a microfiber applicator or flat mop. For extra shine, use a floor buffer on a low speed and keep the pad clean; finish with a light, even burnish and allow proper curing time before foot traffic.
Which buffer pads and machines work best for polishing rubber flooring?
Use low-speed floor buffers with rubber-floor-appropriate pads—commonly soft finishing pads or microfiber pads designed for resilient flooring. Avoid steel wool and aggressive stripping pads, and don’t use high-speed machines that can overheat or haze the rubber surface. Always test a small inconspicuous area first to confirm the pad and polish combination produces the gloss you want.
Why does my rubber floor look dull or streaky after polishing, and how can I fix it?
Dullness often comes from residue, trapped dust, or using the wrong polish for rubber floors; streaks commonly occur when the polish is applied too heavily or allowed to dry too fast. Re-clean the area with a pH-neutral rubber floor cleaner, then buff lightly with a clean finishing pad. If the finish is already uneven, you may need to remove old residue with a rubber-safe cleaner before applying fresh polish in thinner coats.
How often should you polish rubber floors for the best results?
In most commercial and high-traffic areas, polishing rubber floors every 1–3 months helps maintain appearance and protective layering. For lighter-use spaces, you may only need periodic maintenance, such as every 3–6 months, depending on cleaning practices and foot traffic. Always follow the product label cure times and adjust based on wear, because over-polishing can build up residue and reduce shine.
📅 Last Updated: October 11, 2026 | Topic: How to polish rubber floors? | Content verified for accuracy and freshness.
References
- Google Scholar Google Scholar
https://scholar.google.com/scholar?q=polishing+rubber+flooring+maintenance - Google Scholar Google Scholar
https://scholar.google.com/scholar?q=care+and+maintenance+rubber+floor+polish+stripping+burnishing - Google Scholar Google Scholar
https://scholar.google.com/scholar?q=cleaning+methods+for+rubber+floor+surfaces+floor+burnishing - Google Scholar Google Scholar
https://scholar.google.com/scholar?q=resilient+flooring+care+polish+wax+rubber+guidelines - Google Scholar Google Scholar
https://scholar.google.com/scholar?q=interior+flooring+rubber+maintenance+buffer+machine+pad+selection - Google Scholar Google Scholar
https://scholar.google.com/scholar?q=polishing+resilient+floors+rubber+health+and+safety+guidelines - Google Scholar Google Scholar
https://scholar.google.com/scholar?q=training+guide+for+floor+polishing+resilient+rubber+floors - Google Scholar Google Scholar
https://scholar.google.com/scholar?q=chemical+compatibility+with+rubber+flooring+polish - Google Scholar Google Scholar
https://scholar.google.com/scholar?q=best+practices+burnishing+rubber+floor+care - Google Scholar Google Scholar
https://scholar.google.com/scholar?q=how+to+restore+shine+rubber+flooring+burnish+cleaner+review