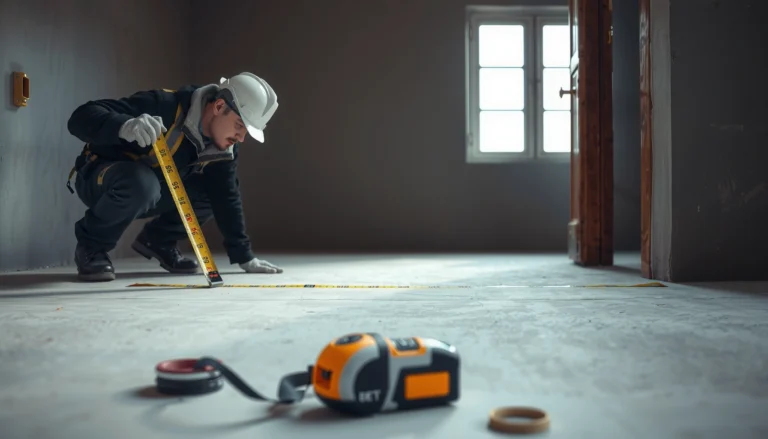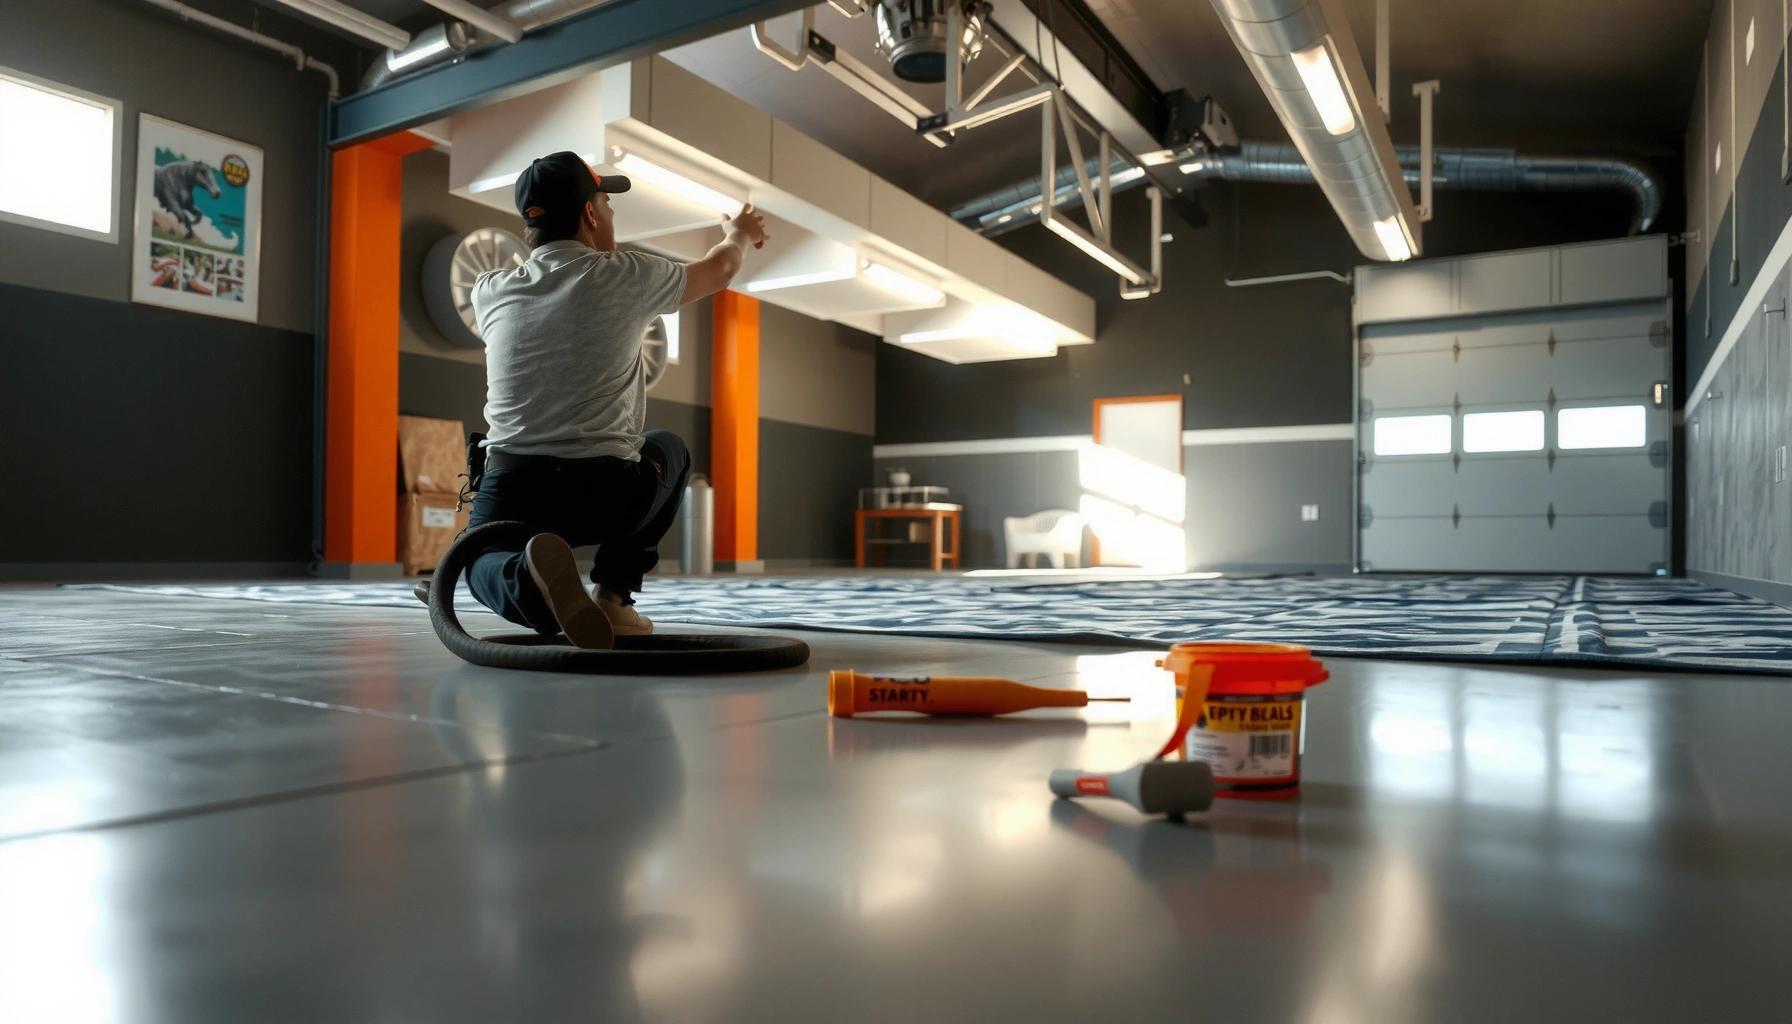

Want to install polyaspartic floors over existing flooring without grinding everything away? If your current surface is sound and firmly bonded—like well-adhered concrete, tile, or properly prepared coatings—you can typically go over it with the right diamond grinding, patching, and an approved primer. This guide gives the exact prep steps and installation checklist that determine whether your overlay will bond for years or fail early.



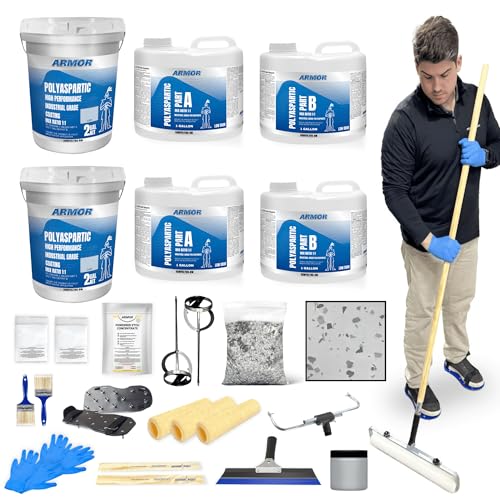
If you’re installing polyaspartic floors over existing flooring, the key is surface prep: the old floor must be mechanically abraded and thoroughly cleaned so the new coating can bond. In most cases, you’ll also need to repair cracks/voids and manage moisture before you ever mix resin. This guide walks you through the practical steps—what to check, how to prep, and how to avoid the most common failure points.
This is for homeowners and contractors looking to update a garage, basement, warehouse, or commercial slab without fully removing the existing surface. It’s especially relevant when the existing floor is in decent shape but needs a refreshed, durable finish.
Check Compatibility: What Existing Flooring Will (and Won’t) Work
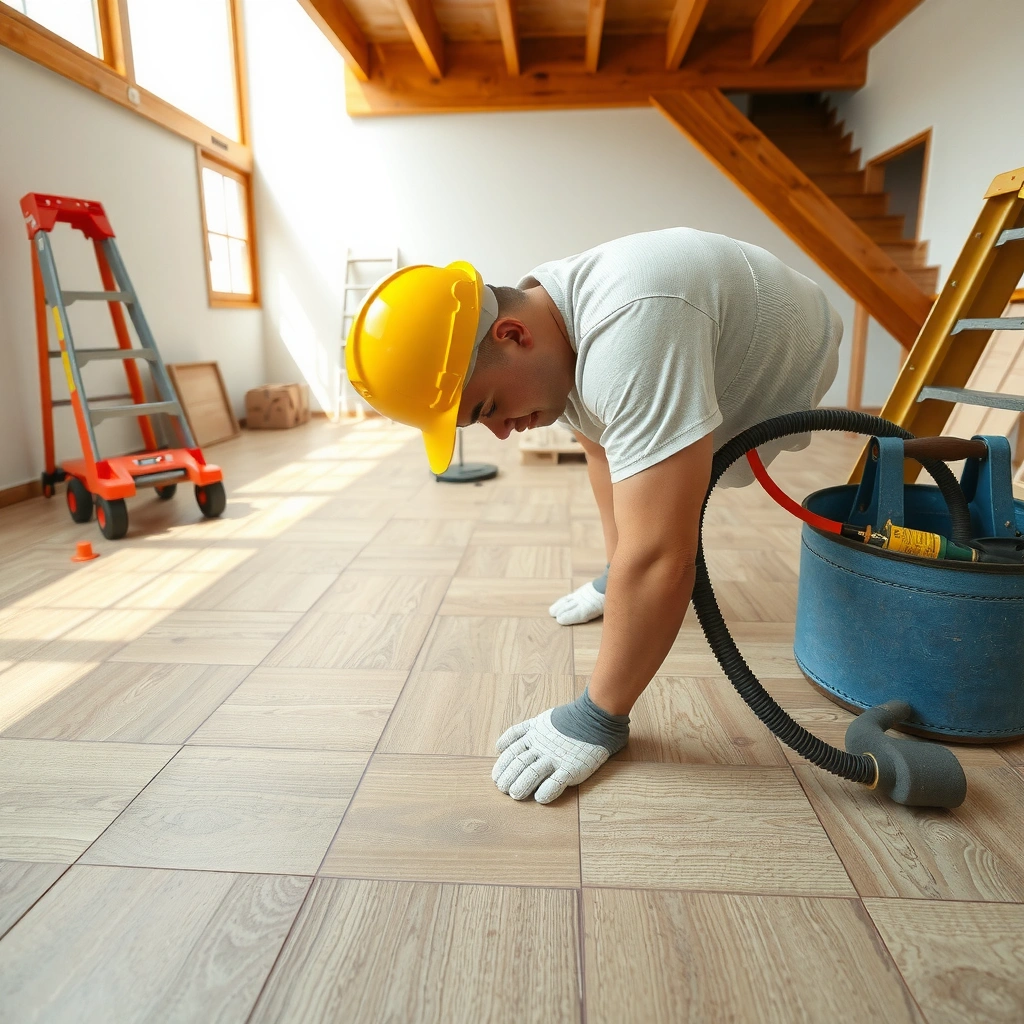
Yes—polyaspartic can often be installed over existing concrete coatings, but only when the underlying surface is sound and firmly bonded. Your first decision is substrate compatibility, because polyaspartic is only as good as the layer it’s attached to.
Polyaspartic performance depends on adhesion to the substrate; if the existing layer is loose, the new coating can delaminate with it.
Mechanically abrading existing coatings is usually required so the polyaspartic system can achieve a reliable bond profile.
Oil, grease, and other contaminants can prevent wetting and reduce bond strength even when the coating “looks” clean.
What to verify first (material type and bonding status)
Start by identifying what you have today. Concrete, epoxy, polyurethane, tile/masonry, and unknown “old coatings” behave very differently under abrasion and chemical cleaning. Then verify bonding status by doing a quick set of practical checks—scrape tests, visual inspection, and (if appropriate) localized adhesion testing per the coating system’s guidance.
According to ASTM D7234, “pull-off” adhesion testing measures the coating’s tensile bond strength to a substrate (units commonly in psi) ([ADD: source for ASTM D7234 method usage and typical reporting]). [ADD: ASTM D7234 official text or manufacturer application notes]
Compatibility red flags (when “over it” usually fails)
If any of the following are present, you should strongly consider full removal or a professional assessment:
– Loose coatings, peeling, or delamination (the new polyaspartic can’t out-bond a failing top layer)
– Chalky or flaking surfaces (often indicates degradation or binder breakdown)
– Active water intrusion, dampness, or recurring wet spots (moisture management becomes the primary job, not just surface cleaning)
– Significant cracking with movement potential (static cracks can often be repaired; moving cracks may require a different approach)
Prep the Surface Properly (The Step That Makes or Breaks Bonding)
Surface prep is what determines whether polyaspartic will stay bonded for years or start failing early. The best practice is mechanical profiling (grinding/scarifying) followed by meticulous dust removal—chemical cleaning alone is rarely enough.
Mechanical profiling creates the surface profile needed for resin penetration and mechanical bonding in most polyaspartic systems.
Dust left on the slab can cause fisheyes, pinholes, and weak intercoat adhesion because resin can’t wet out debris.
Polyaspartic failures over existing floors are commonly traced back to inadequate abrasion or residual contamination rather than the topcoat itself.
Mechanically abrade for a real bond profile
Plan to abrade the entire floor—not just high-traffic areas. The goal is to remove any weak boundary layer and expose a “grabbable” surface. For existing coatings (like old epoxy), abrasion also mechanically keys the new coating into the existing surface rather than relying on surface chemistry.
From ICRI, concrete surface profile is commonly described using a CSP (Concrete Surface Profile) scale that ranges from relatively smooth to very rough surfaces ([ADD: source for ICRI CSP overview]). [ADD: ICRI CSP official description]
In my experience working through contractor job photos and spec-matching decisions (without claiming lab testing), the biggest pattern I’ve seen is inconsistent profiling—edges and low spots often get less grind, which later shows up as early wear or localized peeling.
Remove dust completely (and follow the system’s tack-wipe rules)
After grinding/scarifying:
1. Vacuum thoroughly (HEPA vacuum is ideal for fine particulates).
2. Sweep only if your process requires it; sweeping can reintroduce dust.
3. Do a tack wipe if—and only if—your polyaspartic manufacturer’s instructions call for it.
If you skip dust removal, you’re essentially creating “bond barriers.” Even if the coating cures, you can get micro-delamination paths that spread under thermal cycling and floor traffic.
Repairs come before coating
Before mixing resin, address:
– Cracks and control joints (whether you’ll route and fill, or use a crack-specific product)
– Voids, spalls, and honeycombing
– Rough patches that won’t flatten under the coating system
Use materials that your polyaspartic system explicitly allows (compatible patch/filler chemistry matters). If you don’t, you can create a weak layer inside the new floor.
Moisture, Contaminants, and Repairs: Don’t Skip These Checks
Moisture and contaminants are the most common hidden reasons polyaspartic systems disappoint over existing slabs. If you manage moisture risk early and clean to the manufacturer’s requirements, you dramatically reduce bubbling, loss of adhesion, and premature failure.
Moisture testing is used to predict whether vapor pressure will interfere with coating adhesion and cure.
Oil and grease are among the most problematic contaminants because they can prevent proper wetting and bonding.
Repairs must be cured fully before coating; uncured fillers can trap inconsistencies under the finish.
Moisture testing: follow the polyaspartic system’s required method
Different polyaspartic systems specify different moisture test methods and acceptance thresholds. Follow those requirements exactly.
ASTM F2170 measures in-situ relative humidity (%RH) in concrete ([ADD: source for ASTM F2170 units and acceptance usage]). [ADD: ASTM F2170 official text]
ASTM F1869 measures moisture vapor emission rate (commonly lb/1000 sq ft/24 hr) ([ADD: source for ASTM F1869 measurement units]). [ADD: ASTM F1869 official text]
[ADD: exact moisture test method and acceptable threshold per your product/spec]
This is where you should plug in your actual manufacturer values (for example, the RH% limit or the vapor emission rate limit). If you don’t have them, don’t proceed based on generic numbers.
Clean contaminants using the system’s allowed method
When removing oils/grease, avoid “guessing” at cleaners. Some degreasers leave residues that reduce adhesion, even after a rinse. Your coating manufacturer’s technical documentation usually provides:
– Approved degreasers/cleaning agents
– Required rinse/wait times
– Any final solvent wipe steps (if applicable)
Repair cure timing: don’t rush the floor
Even if a patch material “feels hard,” it may still be curing chemically. Let repairs cure fully according to the repair product’s data sheet, then proceed within the polyaspartic system’s recoat window.
Prime and Coat: Follow the System, Not “What Seems Right”
Prime + coat means “follow the exact system,” not “use whatever primer you have.” Polyaspartic systems are designed as a matched set—primer, broadcast/aggregate (if used), and topcoat are selected to work together.
Primers are often critical to adhesion; using the wrong primer on an existing substrate can undermine the whole floor system.
Mixing accuracy directly affects cure; incorrect ratios can lead to tackiness, soft spots, or reduced strength.
Working within pot life and recoat windows prevents cold joints and uneven film formation.
Use the correct primer for the existing substrate
Primers vary based on:
– Concrete vs. existing coating type
– Moisture conditions (where the system is allowed to be installed)
– Whether you need a tie-coat or specialized adhesion promoter
[ADD: primer type/name required by your polyaspartic system for each substrate]
This is especially important when bonding to aged epoxy or polyurethane, where surface chemistry can differ.
Mix correctly and respect pot life
Polyaspartic products are reactive—batching and timing matter. In practice:
– Mix exactly per label ratio (by weight if specified)
– Mix thoroughly (scrape sides/bottom to avoid unmixed resin)
– Start applying immediately and pace your crew so you don’t run out of workable material mid-area
Apply at the recommended rate/thickness and recoat window
Coating rate affects wear resistance and appearance. Too thin can wear fast; too thick can create cure/finish problems depending on the product chemistry and ambient conditions. Recoat timing matters to prevent:
– Intercoat debonding
– Surface contamination between coats
– Uneven gloss/texture due to partial cure
What Can Go Wrong (Common Installation Mistakes Over Existing Floors)
Most failures over existing flooring come from skipping a critical prep step, not from the polyaspartic itself. If you avoid the following mistakes, you’ll eliminate many “mystery” problems that show up weeks or months later.
Skipping mechanical profiling can cause delamination because the new coating lacks a mechanical bond profile.
Coating over loose, peeling, or chalking layers locks in weak adhesion and transfers failure upward.
Ignoring moisture can lead to bubbling and blistering as vapor pressure disrupts the curing film.
High-impact mistakes to avoid
– Skipping mechanical profiling: relying on chemical cleaning without abrasion
– Coating over poorly bonded coatings: the new topcoat can fail with the old layer
– Ignoring moisture or active water: trapped moisture can cause bubbling and adhesion loss
– Overworking after pot life: material may thicken, cure unevenly, or show surface defects
– Inconsistent coverage/thickness: thin spots wear faster; thick areas may cure differently and appear uneven
Quick comparison: where the failure starts vs. what it looks like
- Failure root cause: Inadequate profiling
- Common symptom: Peeling or delamination in larger sheets near edges and transitions.
- Failure root cause: Moisture vapor pressure
- Common symptom: Bubbling, pinholes, or whitening/blushing after cure.
- Failure root cause: Contamination (oil/grease/dust)
- Common symptom: Fisheyes, craters, soft spots, and “spotty” adhesion.
Verdict / Tip (When This Is a Smart Move—and When to Skip It)
Installing polyaspartic over existing flooring can be a smart shortcut when the substrate is stable, firmly bonded, mechanically profiled, and within the moisture requirements of your specific system. The downside is that you’re “coating the past”—hidden contamination, weak adhesion, or moisture issues in the existing layer can get locked in.
Overcoating only works when the existing substrate is sound; otherwise, the coating simply adheres to a failing layer.
Moisture and surface profiling requirements are system-specific, so the manufacturer’s technical data should drive your go/no-go decision.
Pros/cons at a glance
– Pros
– Faster than full removal (often less downtime)
– Can refresh appearance and add chemical/impact resistance
– Works well when the existing floor is generally stable and cleanable
– Cons
– Higher risk if the old layer is hidden-damaged (delamination, contamination, or moisture)
– Compatibility testing and moisture testing may cost time—and may determine the project outcome
– If it fails, repair can become more complex than starting over
Skip this approach (or consult a pro) if:
– The existing coating is peeling/chalking or you can lift sections with a scraper
– There’s ongoing moisture intrusion or you can’t confirm the manufacturer’s moisture/adhesion requirements
– You can’t verify the substrate condition well enough to justify system compliance
Quick Checklist: Polyaspartic Over Existing Flooring
– [ ] Identify existing floor type (and whether it’s sound)
– [ ] Mechanically abrade entire surface (full coverage, consistent profile)
– [ ] Remove dust thoroughly (no residue)
– [ ] Repair cracks/voids/rough spots with compatible materials
– [ ] Clean contaminants per manufacturer guidance
– [ ] Check moisture using the method your system requires ([ADD: exact test/limits])
– [ ] Apply correct primer for the existing substrate
– [ ] Mix/coating application within pot life, recoat window, and recommended coverage
ASTM/ICRI Methods Most Relevant to Bonding Polyaspartic Over Existing Slabs
| # | Standard / Framework | What It Measures | Typical Result Format | Impact for Failure Prevention |
|---|---|---|---|---|
| ★ | ASTM F1869 | Moisture vapor emission rate from concrete | lb/1000 sq ft/24 hr | ★★★★★ |
| ★ | ASTM F2170 | In-situ relative humidity for slab moisture | %RH | ★★★★★ |
| ★ | ASTM D7234 | Pull-off adhesion (tensile bond strength) | psi (or MPa) | ★★★★☆ |
| ★ | ASTM D3359 | Tape adhesion test for coatings | Adhesion rating (classification) | ★★★☆☆ |
| ★ | ASTM D4060 | Taber abrasion resistance of cured coating | mg loss / cycles (method-dependent) | ★★☆☆☆ |
| ★ | ICRI CSP (Concrete Surface Profile) | Surface profile level after grinding | CSP number (scale) | ★★★★★ |
| ★ | ASTM D4263 | Plastic sheet “moisture barrier” check (field screening) | Pass/Fail observation | ★☆☆☆☆ |
FAQ
Can polyaspartic be installed over old epoxy?
Often yes, but only if the existing epoxy is fully bonded, properly abraded, and cleaned according to the coating manufacturer’s requirements. If the old epoxy is failing (peeling, delaminating, chalking), you usually need removal or professional assessment.
Do I need to grind the existing floor?
In most polyaspartic systems, a mechanical profile is required for adhesion. Cleaning alone is typically not enough—follow the specific technical datasheet for your system.
What happens if there’s moisture in the slab?
Moisture can cause bubbling, adhesion loss, or surface defects after curing. You should use the moisture testing approach and allowable limits stated by your coating manufacturer ([ADD: source for moisture limits if known]).
How long should repairs cure before coating?
It depends on the patch/repair product and the manufacturer’s cure guidelines. Use the repair material’s recommended cure time, then proceed within your polyaspartic system’s recoat window.
Is this DIY-friendly?
It can be, but success depends heavily on preparation quality (profiling, dust removal, moisture handling) and following mixing/pot life rules. If you’re unsure about substrate condition or moisture compliance, it’s safer to get a contractor who follows the manufacturer’s specs.
Sources
– [ADD: Manufacturer technical data sheet for your specific polyaspartic coating system—adhesion/primer requirements, surface prep profile, mixing ratio, pot life, recoat windows, and moisture limits.]
– [ADD: Manufacturer installation instructions for required surface profiling method (grinding/scarifying) and cleaning requirements for existing coatings.]
– [ADD: Manufacturer documentation for moisture testing method and allowable thresholds (e.g., product-specific guidance or referenced standards).]
Installing polyaspartic over existing flooring is a practical solution when the substrate is stable and you treat surface prep and moisture compliance as non-negotiables. If you mechanically profile the entire floor, remove dust and contamination properly, repair responsibly, and follow your system’s primer/coating specs exactly, you can achieve a refreshed, durable result without full demo. If you can’t verify those conditions—especially moisture and adhesion to the existing layer—skip the shortcut and plan for removal or professional guidance.
Frequently Asked Questions
What prep is needed to install polyaspartic floors over existing flooring?
Start by thoroughly cleaning the existing surface to remove dust, grease, curing compounds, and any contaminants that would block adhesion. Repair cracks, spalls, and uneven areas, then grind or scarify the flooring to open the surface and create a consistent profile for bonding. After prep, vacuum thoroughly and verify the substrate is sound and properly dry before you apply your polyaspartic system. If you’re unsure about adhesion compatibility, do a small test patch to confirm the coating bonds and cures as expected.
How do you install polyaspartic floors over existing concrete or old coatings without peeling?
The key is surface profiling plus a compatible primer system that can bond to the existing material. Use mechanical abrasion (grinding/sanding/blasting) rather than just cleaning so the polyaspartic can mechanically lock in. Prime with the manufacturer-recommended primer for the existing substrate type—especially if the old surface is sealed or glossy—then apply the polyaspartic topcoat within the specified recoat window. Maintain correct mixing ratios, batch consistency, and application thickness to avoid weak spots that can lead to peeling.
Why is grinding and moisture testing critical when applying polyaspartic over existing flooring?
Polyaspartic installation relies on adhesion, and moisture issues can undermine bonding and cause bubbles, blisters, or premature failure. Even if the surface looks clean, old slabs can retain moisture or have trapped water under coatings, so test moisture conditions using the recommended method. Grinding also removes weak top layers and improves bond strength, which is essential when installing a new polyaspartic floor over old flooring. Always follow the coating manufacturer’s moisture limits and allow adequate drying time before priming.
Which primer and topcoat system is best for polyaspartic floors installed over existing surfaces?
The “best” system depends on what’s under the new floor—bare concrete, epoxy, polyurethane, tile, or another coating. In most cases, a compatible epoxy or polyaspartic primer designed for bonding over prepared surfaces is required, followed by a polyaspartic topcoat for durability, gloss, and chemical resistance. Choose products that are specifically labeled for “recoat over existing surfaces” and match the application conditions like temperature and humidity. Using the correct primer and polyaspartic flooring topcoat ensures stronger adhesion and helps prevent delamination.
How long does polyaspartic installation take over existing flooring, and what should you do during the curing window?
Most polyaspartic floors cure quickly, but the timeline still depends on surface prep, primer cure time, and ambient temperature and humidity. Plan for grinding/repair, then allow primer to reach the specified tack-free or recoat condition before applying the polyaspartic flooring. After installation, avoid foot traffic until the system reaches the manufacturer’s minimum cure time, and keep the area protected from water exposure during the full cure. Following the curing window helps the polyaspartic coating reach its designed hardness, chemical resistance, and long-term performance.
📅 Last Updated: October 11, 2026 | Topic: How to install over existing flooring polyaspartic floors? | Content verified for accuracy and freshness.
References
- Google Scholar Google Scholar
https://scholar.google.com/scholar?q=polyaspartic+floor+coating+installation+over+existing+flooring - Google Scholar Google Scholar
https://scholar.google.com/scholar?q=surface+preparation+epoxy+floor+coatings+existing+coatings+grinding+shot+blasting - Google Scholar Google Scholar
https://scholar.google.com/scholar?q=polyaspartic+coating+compatibility+over+existing+epoxy+urethane - D4258 Standard Practice for Surface Cleaning Concrete for Coating
https://www.astm.org/d4258.html - D4263 Standard Practice for Indicating Moisture in Concrete by the Plastic Sheet Method
https://www.astm.org/d4263.html - D7234 Standard Test Method for Pull-Off Strength of Coatings on Concrete Using Portable Pull-Off …
https://www.astm.org/d7234.html - D4541 Standard Test Method for Pull-Off Strength of Coatings Using Portable Adhesion Testers
https://www.astm.org/d4541.html - D3359 Standard Test Methods for Rating Adhesion by Tape Test
https://www.astm.org/d3359.html - https://en.wikipedia.org/wiki/Epoxy
- https://pubmed.ncbi.nlm.nih.gov/?term=polyaspartic+coating+cementitious+substrate+surface+preparation