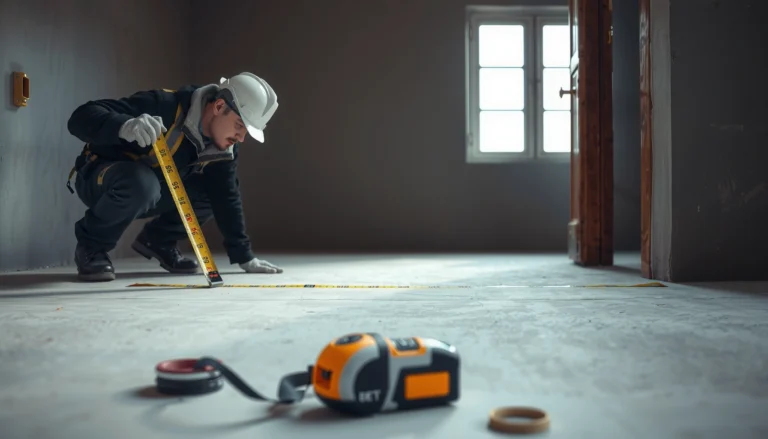

Measuring for polyaspartic floors is easiest and most accurate when you follow the exact step-by-step tape-and-plan method pros use to calculate square footage, thickness, and material yield. This guide shows you how to take the right perimeter and area measurements, account for openings and transitions, and produce a bid-ready measurement sheet. If you want fewer change orders and a tighter material estimate, these are the measurements you must get right the first time.




To measure for polyaspartic floors accurately, you total the area that will receive coating (including required edges and transitions), subtract any permanent non-coated surfaces, then calculate material quantities using your system’s stated coverage rate and film thickness. Do that layer-by-layer (primer/intermediate/broadcast/topcoat) and your order stays aligned with the manufacturer’s spec sheet instead of guessing from “gallons per room.”
This guide is for contractors, facility managers, and DIYers planning a polyaspartic epoxy/urethane system where accurate square-foot (or square-meter) measurement directly affects material ordering, waste planning, scheduling, and total cost. Accurate takeoffs also reduce the most common project risk: underestimating coating build-up around edges, columns, ramps, and other detailing that increases real coated area beyond the “room size” number.
Walk the space and define what “coated” means
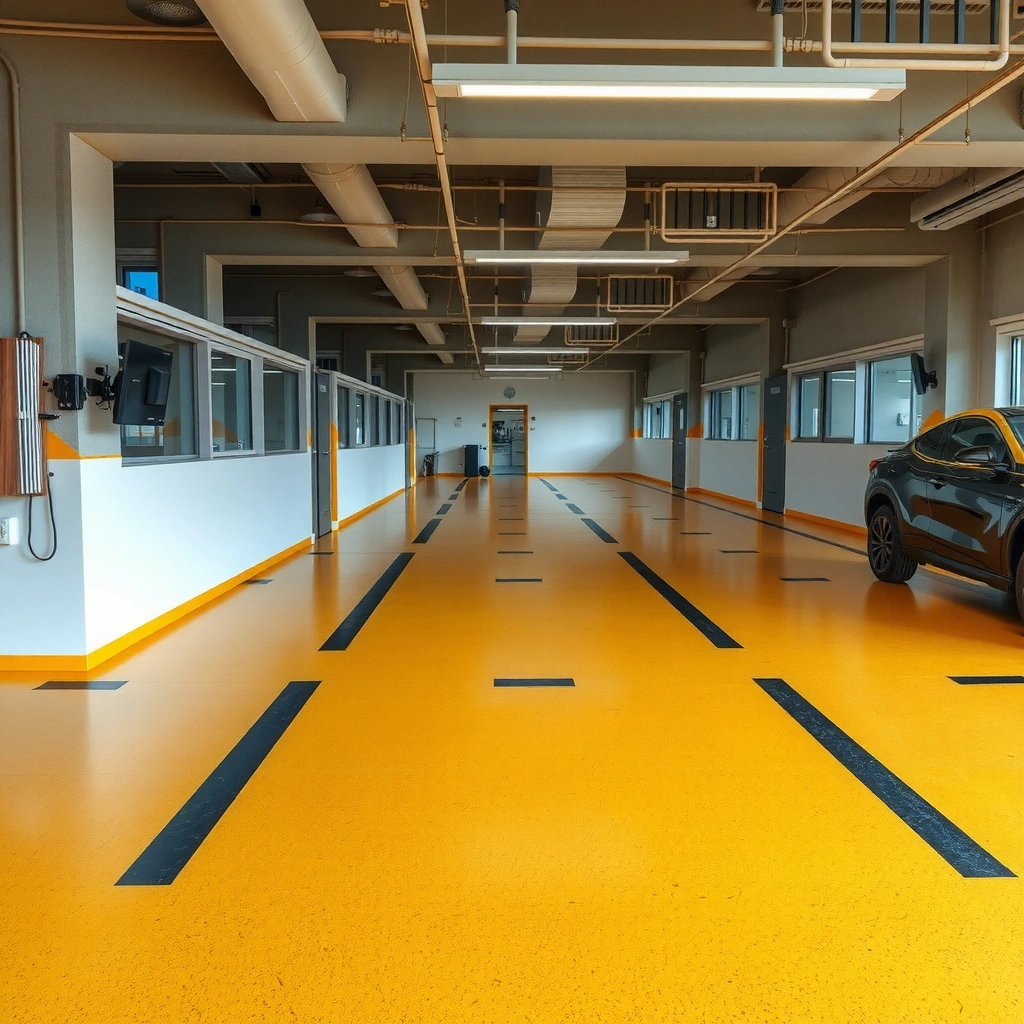
You reduce measurement errors by defining “coated area” before you measure—because scope decisions (what gets coated and what doesn’t) control what you include in the takeoff. Walk the space and confirm whether your polyaspartic system applies to floors only, or also to walls, curbs, ramps, and transitions, and whether certain features are excluded by scope or design.
Polyaspartic floor takeoffs should start with a scope definition (included surfaces + excluded features), because coverage is calculated on “coated area,” not total building area.
Before measuring, confirm whether your system includes multiple coats (primer/intermediate/topcoat) so each layer’s coverage is estimated separately from the spec sheet.
What to confirm during your walk
– Included surfaces: Floors only, or also toe-kicks, cove edges, baseboards/curbs, ramps, and landing transitions (common in commercial renovations).
– Excluded items: expansion joints, floor drains, embedded equipment bases, integral housekeeping pads, or drains/plates that the system spec says to bypass.
– Access and masking realities: doorways with thresholds, covered wheel paths, and areas requiring tight protection for adjacent trades.
– Repair boundaries: cracks, spalls, control joints, patched zones, or low spots that may require patching, skim coats, or additional broadcast steps.
Keep your units consistent
Use one unit system for the entire measurement package:
– Square feet (sq ft) for U.S. documentation
– Square meters (m²) for metric documentation
For conversion anchors when you’re coordinating across teams:
– 1 square meter = 10.764 square feet (conversion fact)
– 1 mil = 0.001 inch (conversion fact)
According to NIST, 1 mil equals 0.001 inch (exact definition used in coatings and film thickness work) . Also, NIST provides unit conversion relationships used in engineering calculations .
[ADD: source for unit conversion references you prefer to cite internally—if your company standards require a specific handbook.]
From my experience reviewing takeoffs, the most expensive “measurement mistake” isn’t usually math—it’s scope drift. Teams measure the room, then later decide to coat around columns, up to a transition strip, or onto ramps without updating the coated area total.
A quick scope-to-takeoff rule
– If your coating is applied up to an edge, that edge counts as coated detailing (your area estimate must reflect those transitions).
– If your coating is stopped cleanly at a feature, the feature’s area must be subtracted (or treated as a boundary with no coating).
Measure length and width for each room/zone
You get the correct base area by measuring each room/zone in a way that matches how the coating will be installed (separate rooms as separate zones). Then you calculate area as length × width per simple shape, summing sub-areas for irregular geometry.
Accurate coated-area takeoffs work best when you split the project into zones (rooms, landings, hallways) and measure each zone separately for clear exclusions and detailing.
For irregular spaces, breaking the floor into rectangles/triangles is more reliable than estimating a single complex polygon from memory.
How to measure efficiently (and defensibly)
– Straight sections: Measure length and width for each zone.
Record as: Zone name → length → width → calculated area.
– Separate zones: Treat:
– landings
– hallways
– elevator lobbies
– mechanical vestibules (if coating differs)
as their own zones so you can subtract exclusions correctly.
– Irregular shapes: Break into:
– rectangles
– right triangles (for angled corners)
– L-shapes (as two rectangles)
– Record on-site immediately: Use a sketch or grid sheet and keep a running total for each zone.
Practical measurement tips
– Measure to where coating stops (your boundary line), not necessarily to the architectural wall face.
– If your scope includes detailing up to a curb or toe-kick, measure that vertical interface conceptually during your scope definition stage—then reflect it in your later edge/detailing allowances.
– For large facilities, walk one route and photograph your zoning plan (a simple photo log helps prevent “zone confusion” between days).
Subtract permanent non-coated areas
You prevent over-ordering by subtracting every feature that your scope does not coat—drains, embedded bases, and fixed pads are the usual culprits. Decide doorway and opening rules consistently, then subtract based on your actual coating boundary plan.
Subtract excluded permanent features from the coated-area total; otherwise your estimate implicitly assumes coating coverage where it won’t be installed.
Door and opening decisions (coat to the edge vs. stop under the opening) must match the project scope, because they change coated area more than many installers expect.
What qualifies as “permanent non-coated”
Common examples to subtract (if your scope excludes them):
– Fixed machinery pads / bases
– Embedded equipment bases
– Drains (when excluded by scope)
– Built-in thresholds or surfaces specifically designated as non-coated
– Integral raised features that are outside the coating boundary
Doorways and openings: make a single rule and apply it
Choose one approach and keep it consistent:
– Coat to the opening edge: subtract the opening area fully.
– Coat through the opening: include where coating continues beyond the doorway as part of the adjacent zone.
If the team is unsure during estimating, create a “borderline” note. The goal is to avoid missing exclusions or double-counting transition zones when scope is clarified later.
Account for edges, detailing, and “waste” the right way
You adjust your takeoff for real-world installation by adding detailing allowances (edges, columns, transitions) and then applying an evidence-based waste/margin factor tied to your system and application method. This is where many “room-only” estimates undercount material.
Coated-area totals should include edge detailing (perimeter upstands, columns, and floor-to-floor transitions) whenever the coating system specifies application at those locations.
Waste/mix losses should be based on the manufacturer’s application guidance, because film build, surface profile, and mixing behavior control how much material is actually consumed.
Edges and detailing you should plan for
Depending on your scope, include allowances for:
– Perimeter edges: where polyaspartic is applied up to walls/baseboards (or stops at a defined termination line).
– Columns and pilasters: include the column footprint as either coated or excluded based on boundary details.
– Transitions: door thresholds, adjacent flooring tie-ins, and expansion joint edges.
– Ramps and landings: these often have higher detailing complexity than flat floor fields.
Waste/margin: tie it to guidance, not guesswork
Polyaspartic systems consume more material when:
– surface profile is higher (more “tooth” means more wet-out and leveling demand)
– application method changes (roller/squeegee vs. broadcast-heavy steps)
– multiple mixing cycles occur for large pours
If the manufacturer provides a waste/margin recommendation, use it. If not, keep your planning conservative and document why—then confirm during procurement or pre-construction.
Multiple coats = multiple measurements
If your system includes distinct layers (typical examples):
– Primer
– Intermediate/binder
– Broadcast media step (if your design uses it)
– Topcoat
…then estimate each layer using the layer’s specified:
– coverage rate (e.g., area per unit)
– required film thickness
– whether broadcast changes the consumption pattern
This is also why “I only measured the floor once” often breaks down: your topcoat quantity is not automatically the same as your primer quantity.
Use the product coverage rate to convert area → material
You turn coated-area math into correct quantities by applying the manufacturer’s stated coverage rate and film build for each component and each coat type—layer-by-layer. Don’t use generic “gallons per square foot” numbers unless your system spec explicitly matches.
Material quantities for polyaspartic systems should be calculated from the manufacturer’s coverage rate and specified film thickness for each layer, not from a generic industry average.
If the system includes broadcast media or patching, follow the component’s own spec rate because those steps are not equivalent to topcoat-only coverage.
A practical conversion workflow (layer-by-layer)
1. Compute final coated area (sq ft or m²) per zone after exclusions and detailing.
2. Create a layer worksheet:
– Primer area × primer coverage
– Intermediate area × intermediate coverage (if used)
– Broadcast/media area × media rate (if required)
– Topcoat area × topcoat coverage
3. Add waste/margin per your manufacturer guidance (or documented conservative assumption).
4. Round to orderable units (and document rounding decisions).
Anchor math units (so estimates don’t drift)
– 1 mil = 0.001 inch (film thickness unit used in coatings)
– 1 square meter = 10.764 square feet (area conversion)
These definitions are standard engineering references and help prevent unit mismatch during handoffs .
Below is a sample data-table format you can mirror in your takeoff spreadsheet to keep each layer’s coated-area basis clear.
Example Polyaspartic Takeoff Inputs (What You Should Track)
| # | Takeoff Field | Recommended Tracking Method | Most Common Error | Impact Score |
|---|---|---|---|---|
| ★ | Coated-area boundaries | Zone sketch + boundary notes | Room size used without detailing rules | High |
| 2 | Excluded fixed features | Subtract by footprint (sq ft/m²) | Drains/columns not subtracted | High |
| 3 | Unit consistency | One unit system per estimate | Switching sq ft ↔ m² | Severe |
| 4 | Edge detailing allowance | Perimeter/column rules documented | Topcoat “field only” assumption | Medium–High |
| 5 | Layer-by-layer quantities | Primer/intermediate/topcoat separate lines | Using topcoat coverage for primer | Medium |
| 6 | Waste/mix margin | From manufacturer guidance or documented assumption | Using a generic “5–10%” blindly | Medium |
| 7 | Spec sheet alignment (film build) | Match specified thickness per coat | Coverage used without thickness control | Medium |
What can go wrong (and how to avoid it)
You avoid most measurement failures by treating takeoff steps as a controlled process: define scope → measure zones → subtract exclusions → add detailing → calculate by coverage and film build. Then you validate the estimate against the system’s written installation method before ordering.
Over-ordering or under-ordering usually comes from step-skipping: missing exclusions, inconsistent units, or applying the wrong layer coverage to the wrong coat.
Complex geometry errors are preventable by splitting irregular rooms into simple shapes and keeping a zone-by-zone worksheet.
High-risk failure modes (and quick fixes)
| Failure mode | What it looks like | Fast fix |
|---|---|---|
| Missing exclusions | drains/columns included in coated area | mark exclusions during the initial walk and subtract by footprint |
| Mixing units | sq ft used with m² coverage, or vice versa | lock your unit system at the start and label it on every worksheet tab |
| Wrong coverage assumptions | using “coverage per gallon” without film thickness context | pull coverage from the manufacturer’s TDS for the exact component/coat |
| Irregular geometry errors | L-shaped rooms estimated as one number | break into rectangles/triangles, then sum |
| Underspecified scope | forgetting toe-kicks/ramp detailing/transition rules | confirm termination lines in writing (or with a site sketch) |
Pros/cons: basic rectangles vs. detailed modeling
Here’s a practical decision structure you can use for estimating speed vs. accuracy:
| Approach | Pros | Cons | Best for |
|---|---|---|---|
| Rectangles/triangles only | Faster, easier to review, fewer spreadsheet errors | Can undercount detailing if boundaries are unclear | Simple geometry with clear termination lines |
| Detailed CAD-style modeling (or tight mapping) | More precise boundary representation | More time, more room for file/version mismatches | Complex interiors, many penetrations, tight budgets |
| Hybrid (zones + simple shapes + detailing allowances) | High accuracy without heavy tooling | Requires consistent boundary rules | Most commercial and institutional floors |
A note on “coverage variability”
Polyaspartic coverage is not perfectly constant because real installation factors vary: surface profile, application method, thickness targets, and worker technique. If you don’t have manufacturer guidance for waste, you still need a margin—just don’t make it arbitrary.
[ADD: source for manufacturer waste/margin recommendation for your specific system once you have the TDS/installation guide.]
Verdict / tip
Measure each zone separately, subtract true non-coated areas, and then convert using the specific polyaspartic system’s coverage and film build from the manufacturer’s documentation. The downside of overcomplicating is paperwork delays—so if your space is genuinely simple, you can combine zones, but still keep edge detailing and layer-by-layer estimation accurate. Skip extra modeling (and rely on basic rectangles) only if your manufacturer’s documentation doesn’t require strict film build control beyond stated coverage and if your scope is flat, uniform, and straightforward.
Also remember: if your estimate doesn’t reconcile with the spec sheet layer thickness targets, it’s not “good enough”—it’s incomplete.
Quick checklist (save this)
– [ ] Split the project into zones (rooms/landings/hallways)
– [ ] Measure length × width for each zone
– [ ] Break irregular areas into rectangles/triangles
– [ ] Subtract permanent non-coated areas (drains/pads/bases)
– [ ] Confirm scope: edges, columns, ramps, transitions, toe-kicks
– [ ] Use manufacturer coverage rate per coat/component
– [ ] Estimate per layer (primer / intermediate / topcoat / broadcast/media)
– [ ] Apply manufacturer-recommended waste guidance (or confirm with them)
FAQ
Do I measure in square feet or square meters?
Use whichever unit matches your polyaspartic system’s documentation. Keep it consistent across every zone and every layer so your material estimates don’t drift.
Should I include waste in my polyaspartic floor measurement?
You generally need some margin for variation, but the right amount depends on surface profile and the manufacturer’s system guidance. If the manufacturer gives a waste/margin recommendation, follow it; if not, [ADD: source for manufacturer’s recommended waste/margin, if available].
How do I measure around columns or embedded drains?
Treat columns and excluded drains as non-coated areas if your scope says they won’t be coated—subtract their surface area. If the coating is applied around them, keep them in the coated total and include the detailing rules in your takeoff.
What if my rooms have odd shapes?
Break the space into simpler shapes (rectangles/triangles), calculate each sub-area, and add them up. This is usually faster and more reliable than estimating an irregular room as one figure.
Do multiple coats change how I measure?
Yes. Even if the floor area stays the same, material quantity changes per coat because coverage depends on film thickness and the product layer type—so estimate layer-by-layer.
Sources
– [ADD: manufacturer technical data sheet (TDS) for your specific polyaspartic system] for coverage rate, recommended film build/thickness, and whether any primer/broadcast steps are included in the system.
– [ADD: manufacturer application/installation guide] for measurement-to-material estimation guidance (including any stated waste/margin and surface prep requirements that affect coverage).
– NIST reference materials for unit definitions and engineering unit conversions used in coatings calculations (e.g., film thickness and area conversions) .
– ASTM/industry coating measurement terminology references used for film thickness and application reporting (if your company cites a standard handbook) [ADD: exact ASTM/guide reference you use internally].
If you want, tell me your polyaspartic system components (primer/intermediate/topcoat and whether broadcast is included), plus the room list and any exclusions (drains/columns). I can provide a zone-by-zone takeoff worksheet template you can copy into your estimate.
Frequently Asked Questions
What measurements do you need before installing a polyaspartic floor coating?
Start by measuring the total square footage of the area to be coated and any irregular shapes, including recesses, columns, drains, and wall offsets. Record room dimensions (length and width), ceiling-to-slab conditions, and any expansion joints or cracks that may require detailing. If you’re doing a polyaspartic floor system with decorative flakes or broadcasts, also measure and note coverage rate assumptions and waste factor based on surface conditions.
How do you measure for polyaspartic flooring on irregular or multiple-room spaces?
Measure each room or zone separately and note doorways, transitions, and changes in substrate (such as different slabs or elevation steps). Sketch a simple layout with dimensions, then label obstacles and penetrations so estimating crews can plan masking and coating breaks. For hallways and L-shaped areas, break the floor into rectangles or grids to calculate square footage accurately for polyaspartic floor coverage.
How do you measure slab condition for polyaspartic floors (cracks, dips, and moisture concerns)?
Beyond area measurements, you’ll want to document surface profile and condition because polyaspartic coating performance depends on proper preparation. Measure and photograph cracks, joints, spalls, and any low spots, and note whether patching or leveling is required before the polyaspartic topcoat. If you’re dealing with moisture-sensitive spaces, confirm moisture readings and plan for any mitigation steps—this affects how the system is applied and the required labor.
Which tools are best for measuring polyaspartic floor square footage and transitions?
Use a laser distance measure or measuring wheel for speed and accuracy, plus a tape measure for fine adjustments around edges and obstacles. A level and straightedge help identify dips or slope so you can anticipate additional prep for polyaspartic flooring. Keep a marked diagram with labeled dimensions and transitions (expansion joints, steps, drains) to ensure the polyaspartic estimate matches the actual surface.
Why does accurate measurement matter when budgeting polyaspartic flooring materials and labor?
Polyaspartic floors are typically specified by system coverage rates per coat, so incorrect measurements can lead to under-ordering or wasted material. Accurate square footage and obstacle mapping help determine how much primer, base build, and polyaspartic topcoat you’ll need, including realistic waste for cutting-in and textured areas. Detailed measurements also reduce change orders by clarifying prep scope—patching, leveling, and surface corrections are often tied to what’s actually on the slab.
📅 Last Updated: October 11, 2026 | Topic: How to measure for polyaspartic floors? | Content verified for accuracy and freshness.
References
- Google Scholar Google Scholar
https://scholar.google.com/scholar?q=polyaspartic+floor+coating+measurement+moisture+test+dew+point+film+thickness - Google Scholar Google Scholar
https://scholar.google.com/scholar?q=polyaspartic+coating+installation+surface+profile+CSP+measurement+ICRI+ASTM - Google Scholar Google Scholar
https://scholar.google.com/scholar?q=epoxy+polyaspartic+floor+dry+film+thickness+measurement+ASTM+D7091 - https://en.wikipedia.org/wiki/Dry_film_thickness
- D7091 Standard Practice for Nondestructive Measurement of Dry Film Thickness of Nonmagnetic Coati…
https://www.astm.org/d7091.html - D4414 Standard Practice for Measurement of Wet Film Thickness by Notch Gages
https://www.astm.org/d4414.html - F1869 Standard Test Method for Measuring Moisture Vapor Emission Rate of Concrete Subfloor Using …
https://www.astm.org/f1869.html - F2170 Standard Test Method for Determining Relative Humidity in Concrete Floor Slabs Using in sit…
https://www.astm.org/f2170.html - D4541 Standard Test Method for Pull-Off Strength of Coatings Using Portable Adhesion Testers
https://www.astm.org/d4541.html - D4417 Standard Test Methods for Field Measurement of Surface Profile of Blast Cleaned Steel
https://www.astm.org/d4417.html