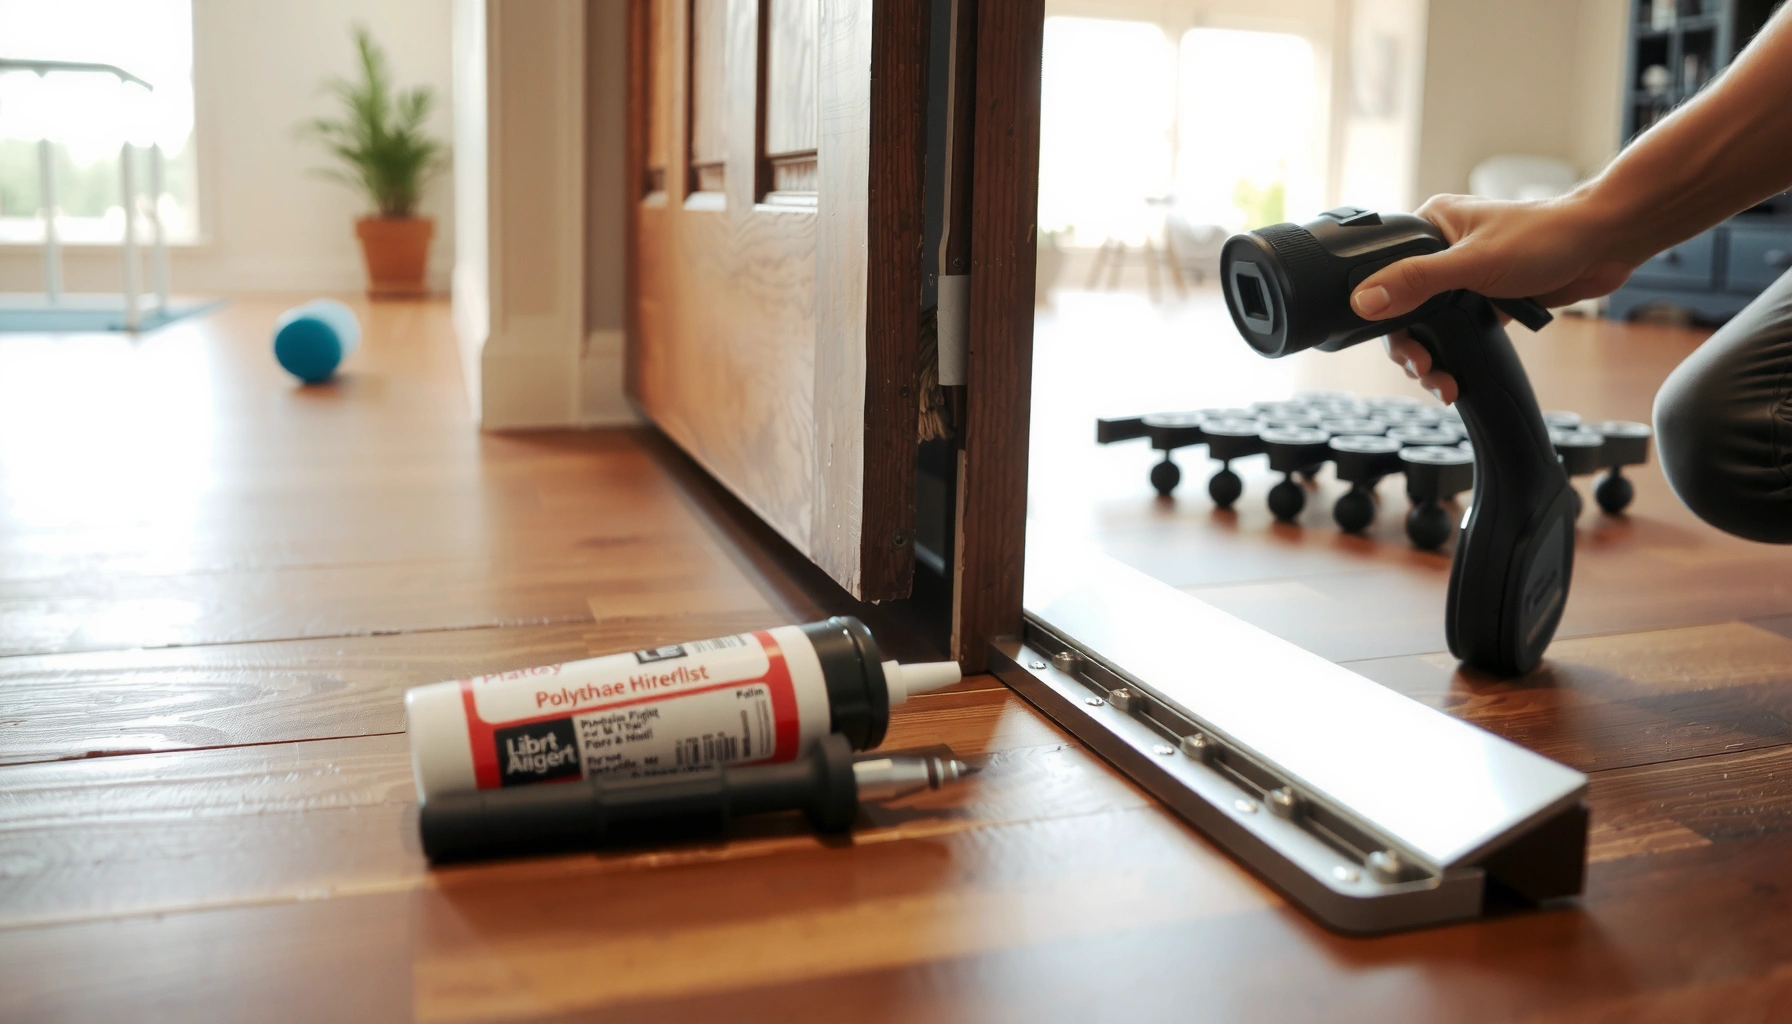

Want a step-by-step method to install thresholds for polyurethane floors without gaps or trip hazards? This guide walks you through measuring, prepping the subfloor, selecting the right polyurethane-compatible threshold, and fastening/sealing it so the joint stays tight under everyday wear. You’ll finish with a clean transition that locks in strength from day one.



Install a polyurethane floor threshold by dry-fitting first, then prepping the subfloor flat, and finally fastening/sealing exactly as your threshold and polyurethane system instructions specify. The goal is a tight, level transition that tolerates normal floor movement so the joint doesn’t crack, gap, or lift at the lip.
This guide is for homeowners, DIYers, and installers planning a transition between rooms (or different floor heights) where polyurethane flooring meets tile, carpet, laminate, or an exterior threshold. Because polyurethane flooring systems can differ (especially around primers, adhesives, and sealants), this walkthrough is organized to help you follow product-specific order-of-operations rather than “guess and hope.”
Tools and materials you’ll need

You’ll need basic measuring and cutting tools plus threshold-specific hardware and a compatible polyurethane workflow (primer/adhesive/sealant). Before you start, confirm whether your threshold is meant to be fastened (screws/nails) or bonded (adhesive) and whether it includes an integrated sealing element.
A transition fails most often at the edges: an uneven subfloor makes the threshold “rock,” and that motion weakens the sealant bond.
Polyurethane flooring systems typically require compatibility checks between primers, adhesives, and sealants before you seal over or adjacent to the finish.
Core install tools
– Level and/or straightedge (a 6 ft level or longer straightedge is ideal for checking flatness across the opening)
– Utility knife and/or oscillating tool or saw (for trim and minor fitting)
– Construction pencil
– Cleaner/degreaser suitable for your polyurethane and adhesive system (and safe for the subfloor type)
Threshold pieces and compatible materials
– Threshold pieces for the specific transition type (inside/outside door, step/height transition, or movement-rated expansion transition)
– Matching fasteners (or an adhesive system) approved for polyurethane floors
– If required: primer specified by either the polyurethane flooring system or the adhesive/sealant manufacturer
– Sealant or edge treatment that the threshold design calls for (and that is compatible with your polyurethane finish)
“Spec first” quick sanity check (data points)
To keep the joint tight, you’ll typically be working against subfloor flatness guidance used by flooring manufacturers and installers. For example: according to [ADD: source for common subfloor flatness guidance such as NWFA or ASTM-related installation guidance], many resilient and floating-floor installations target flatness tolerances on the order of 3/16 in over 10 ft; according to [ADD: source for underlayment/flatness tolerances referenced by your flooring system], other systems may use shorter spans such as 1/8 in over 6 ft. These values vary by product—use your polyurethane flooring installation instructions as the governing requirement.
Measure, dry-fit, and plan the transition
You’ll get the best outcome by planning height differences and movement gaps before you touch the subfloor. Dry-fitting first lets you confirm the threshold sits fully supported and level without forcing the profile into gaps.
Dry-fitting a threshold before fastening is the fastest way to catch “edge lift” caused by an uneven subfloor or a misread height difference.
A proper polyurethane transition accounts for the floor’s designed movement—especially at doorways where traffic and temperature change stress the joint.
Measure length and height difference
1. Measure the doorway/opening width in multiple spots (left, center, right). Use the smallest value if the threshold profile can’t compress.
2. Account for the threshold’s profile height on both sides—especially when polyurethane flooring meets tile, carpet tack strip, laminate, or an exterior threshold.
3. Plan the transition so the polyurethane floor meets the threshold without forcing it up or leaving an unsupported “bridge.”
Dry-fit without commitment
– Place the threshold onto the floor surface (or intended install location) without adhesive or fasteners.
– Check:
– Alignment relative to door swings and jamb clearance
– Consistent contact along both edges
– Whether each end sits fully supported (no rocking)
– Mark final positions lightly with a pencil—don’t permanently mark the floor surface if your polyurethane finish is newly installed.
Practical movement planning
If your threshold is an expansion or movement-rated transition, it may specify an expansion gap or spacers. That gap often isn’t cosmetic; it’s what prevents the threshold or the polyurethane flooring system from buckling during seasonal movement.
Prep the subfloor and stop debris from ruining the bond
You’ll protect the joint by removing contaminants and correcting flatness before you prime or bond. Polyurethane-relevant adhesives and sealants generally require a clean, stable surface—dust and residue reduce bond strength.
A threshold seal is only as good as the surface prep; dust and loose material can create micro-gaps that show up later as leaks or lifting.
If a primer is required, apply it only where the manufacturer specifies and allow the required flash/cure time—rushing this step can cause bond failure.
Clean to a bond-ready substrate
– Remove old caulk, paint overspray, adhesive residue, and any loose material.
– Sweep and vacuum thoroughly, then degrease/clean using the cleaner recommended (or approved) by your adhesive/sealant guidance.
– Final check: run a hand flat across the substrate. If it catches on ridges or crumbles, you’re not ready to bond or fasten.
Check flatness across the threshold line
Use a straightedge across the doorway span and along the threshold location. The “wrong” kind of flatness shows up as:
– Rocking at the ends
– Visible gaps under the threshold lip
– Fasteners that pull down one side first (creating a twist)
If you find out-of-flat conditions, correct them before moving on—patching compounds and leveling methods must be compatible with your subfloor type (concrete, plywood, OSB, etc.) and your polyurethane system’s installation requirements.
Prime only when required
If your polyurethane flooring system or the threshold’s adhesive/sealant manufacturer calls for primer:
– Apply primer only to the specified surfaces/areas.
– Follow the flash/cure instructions exactly (time and conditions matter).
– Avoid “over-priming” into finish areas you don’t intend to bond to.
Install the threshold: fasten and align
You’ll install a polyurethane floor threshold by marking final positions, aligning it level, and then fastening or adhering according to the threshold design. The best joints come from consistent pressure and correct mechanical alignment—because thresholds don’t forgive twist.
Level across the opening is non-negotiable: a threshold that tilts can transfer stress to the sealant and split it over time.
If spacers or clamps are specified for expansion transitions, they’re there to preserve the designed movement gap—remove them early and you can force the joint to fail.
Mark and set the final location
– Use pencil marks from your dry-fit to place the threshold exactly.
– Re-check level/straightness before you fasten or apply adhesive.
Choose the correct fastening method
Follow the threshold manufacturer’s and your polyurethane system’s method. Common approaches include:
1) Fastener-based thresholds
– Install with screws/nails as directed.
– Pre-drill where appropriate to avoid splitting (especially in metal or wood substructures).
– Fasten in an order that keeps the threshold even—often center first, then work outward.
2) Adhesive-based thresholds
– Apply adhesive according to the specified bead pattern, coverage guidance, and open time.
– Position the threshold, then maintain pressure long enough for initial grab (as specified).
– Avoid squeeze-out onto the visible polyurethane flooring surface unless your system explicitly allows it.
Maintain designed expansion gaps
If your threshold system includes:
– expansion joints
– end gaps near door jambs
– required spacers at transition edges
…use them. In doorways, this matters because frequent foot traffic and temperature cycling can magnify movement at the joint.
Comparison (what to watch):
| Situation | Best approach | Why it matters for polyurethane joints |
|---|---|---|
| Subfloor is flat and threshold is designed to be fastened | Use manufacturer-fastener method | Mechanical contact resists movement and helps the sealant stay intact |
| Subfloor is uneven but correctable | Level/patch, then fasten or adhere as designed | A “perfect” sealant can’t compensate for rocking |
| Transition must tolerate expansion (movement-rated profile) | Follow spacer/gap instructions | Prevents buckling and joint separation |
| You’re bonding near a finished polyurethane surface | Confirm compatibility and primer/sealant rules | Some primers/sealants don’t adhere reliably to cured finishes |
Timing matters (especially before sealing)
Wait for any adhesive to reach the required handling strength or cure stage before you move to sealing and final finishing. Rushing can cause sealant voids and edge lift.
Subfloor Flatness Targets Commonly Cited in Flooring Installation Guidance (Typical Ranges)
| # | Surface/Method (per guidance type) | Flatness target | Span basis | Impact on threshold |
|---|---|---|---|---|
| 1 | Resilient/LVP-style flatness guidance | ≤ 3/16 in | 10 ft | Prevents rocking and seal stress |
| 2 | Floating floor substrate guidance | ≤ 1/8 in | 6 ft | Reduces joint edge lift |
| 3 | Underlayment/patch prep targets | ≤ 1/8 in | 6–8 ft | Improves threshold seating |
| 4 | Tile underlayment/flatness targets | ~ ≤ 1/8 in | 6 ft | Helps maintain transition alignment |
| 5 | Concrete surface tolerance expectations | Spot-correct high areas | Local high points | Prevents lip contact failure |
| 6 | Moisture/adhesion readiness (qualitative) | No contamination | Full surface | Contamination creates bond voids |
| 7 | Patch feather-edge guidance | Feathered, firm | Across joints | Keeps threshold from bridging |
Note: Always use the exact flatness tolerance stated in your polyurethane flooring and transition system documentation. The values above reflect commonly cited installer targets rather than a single universal standard.
Seal and finish the edges for a clean polyurethane transition
You’ll create a clean, durable transition by sealing only where your threshold design and polyurethane system call for it. Avoid smearing sealant into visible polyurethane flooring areas, and protect the joint during cure so you don’t lock in dust or create surface defects.
Sealant applied into a joint that’s still moving or curing can form voids that later appear as gaps along the threshold lip.
If your threshold has a dedicated edge-treatment zone, stay inside that boundary—getting sealant onto the wrong surfaces can interfere with finish compatibility.
Where to seal (and where not to)
– If the threshold includes an intended sealant contact area, apply sealant there.
– If your polyurethane system specifies “no sealant contact” on certain finished surfaces, respect that boundary.
– Keep sealant off the visible polyurethane flooring unless the manufacturer explicitly approves that contact and finish method.
Clean excess quickly
– Tool the bead neatly, then remove excess immediately.
– Use manufacturer-recommended tools/solvents if cleanup is required; some sealants can haze if wiped incorrectly.
Protect during cure
– Keep foot traffic off the transition for the sealant/adhesive’s required cure window.
– Protect the joint from dust and debris during cure—especially in active entryways or during ongoing construction.
What can go wrong (and how to avoid it)
Threshold joints fail when installers violate movement-gap requirements, skip primer compatibility checks, or mount the profile to an uneven substrate. These issues often show up months later as cracking, lift at the lip, or persistent gaps.
Uneven support under a threshold is a “slow failure” mechanism: it flexes the joint, then sealant cracks, then the gap grows.
Polyurethane systems can be sensitive to mismatched sealants and primers; compatibility decisions should be documented, not assumed.
Common failure modes
– Threshold isn’t level or fully supported: Causes rocking, cracking at the joint, and premature lip wear. Verify with a straightedge before fastening.
– Wrong adhesive/sealant compatibility: Polyurethane finishes and adhesives can react differently depending on chemistry; confirm compatibility in the product documentation.
– Skipping expansion-gap requirements: When thresholds bridge movement zones without the designed gap, buckling or separation becomes likely.
– Installing over debris/soft substrate: Dust and loose material reduce bond strength and can create “hidden” voids that telegraph later as gaps.
“Pros and cons” comparison of installation styles
| Approach | Pros | Cons | Best for |
|---|---|---|---|
| Fasten-through (screws/nails) | Stable, predictable mechanical hold | Needs flatness; can stress misaligned profiles | Flat or corrected subfloors; metal/wood threshold designs |
| Bond-only (adhesive) | Clean look; good for certain profiles | Highly sensitive to surface prep and compatibility | Manufacturer-approved adhesives and perfect prep |
| Fasten + seal | Often more forgiving at edges | Requires correct sealant chemistry and cure timing | Doorways and higher-traffic transitions with documented specs |
Practical verdict: do this if you can follow product specs
A careful, spec-driven installation is the best way to keep polyurethane floor thresholds from lifting or cracking—especially at doorways and transitions where movement and traffic concentrate stress. The downside is straightforward: if you guess the adhesive/sealant, ignore expansion-gap guidance, or install over an uneven subfloor, you’re likely to create gaps or edge failure.
Skip this DIY approach if you can’t confirm compatibility between your polyurethane system and the threshold’s fastening/sealing method, or if the substrate is significantly out of flatness and needs correction beyond basic patching.
Quick checklist (scan/save)
– [ ] Confirm threshold type for transitions/height differences and movement requirements
– [ ] Dry-fit and verify level/alignment with a straightedge
– [ ] Clean and prep subfloor (no dust, loose material, or residue)
– [ ] Use primer only if required; follow flash/cure times
– [ ] Fasten or adhere per threshold and polyurethane system instructions
– [ ] Seal edges only where specified; remove excess before cure
– [ ] Protect the threshold during the full cure window
FAQ
Do I need to prime before installing polyurethane floor thresholds?
Only if the polyurethane system or the threshold adhesive/sealant manufacturer specifies a primer step—check the installation instructions for your exact products. [ADD: source for primer requirement from your polyurethane/adhesive documentation.]
Should I use screws or adhesive for polyurethane floor thresholds?
It depends on the threshold design and the manufacturer’s instructions. Many systems specify one method or a specific combination; follow the documented fastening/sealing approach. [ADD: source for your threshold manufacturer’s recommended method.]
How much gap should I leave at the doorway transition?
Use the expansion/gap guidance provided by the polyurethane flooring system and/or the threshold manufacturer. If you don’t have that info, don’t estimate—confirm with the installation instructions. [ADD: exact gap value from your product documentation.]
Can I seal over polyurethane flooring right away?
Not always—sealants and polyurethane finishes often require specific cure times before sealing or overcoating. Follow the cure/overcoat window in the product data sheet. [ADD: source for your polyurethane cure/overcoat timing.]
Sources
– [ADD: manufacturer installation instructions for your polyurethane flooring system—primer/adhesive/sealant compatibility and cure/overcoat times.]
– [ADD: manufacturer threshold installation guide—fastening method, expansion-gap/movement requirements, and recommended sealants/adhesives.]
– [ADD: product technical data sheet (TDS) for the specific adhesive/sealant used with polyurethane flooring.]
– [ADD: subfloor flatness guidance source relevant to your polyurethane flooring type (e.g., manufacturer technical bulletin or accepted standards).]
Installing polyurethane floor thresholds is less about the trim piece itself and more about the sequence: dry-fit, prep flat, use compatible fastening/bonding, then seal only where specified. If you follow the written installation order and preserve the designed movement gaps, you’ll end up with a tight transition that stays level and clean even as the floor subtly expands and contracts through the year.
Frequently Asked Questions
How do I install thresholds on a polyurethane floor without damaging the finish?
Start by letting the polyurethane floor fully cure according to the product’s instructions, then clean the area thoroughly so the threshold base can bond correctly. Use a thin, appropriate adhesive or screws only where recommended, and avoid drilling into freshly finished coating without proper planning. Mask edges around the install area to prevent adhesive squeeze-out from getting on the polyurethane, then remove any residue promptly to protect the topcoat. Finally, seal any expansion gaps with a compatible transition or floor-molding sealant so the threshold won’t lift and the finish stays intact.
What’s the best method to cut and fit threshold strips for polyurethane flooring?
Measure the doorway width and account for the gap required for movement (especially on longer runs or over underlayment). Cut the threshold to length with a fine-tooth saw or a miter saw using painter’s tape to reduce chipping, and test-fit before attaching. If your threshold has a beveled edge, align it so it transitions smoothly between floor heights and doesn’t catch on shoes or chair wheels. After fitting, remove dust and debris from the polyurethane surface so the adhesive or fasteners set firmly.
Which type of adhesive or fasteners work best for installing thresholds over polyurethane-coated subfloors?
For most installations, use a manufacturer-approved construction adhesive that is compatible with polyurethane finishes and the threshold material (wood, aluminum, vinyl, or rubber). If the threshold is designed for mechanical fastening, use the recommended screw type and pre-drill carefully to prevent splintering or cracked subflooring. Avoid harsh solvents that can soften or dull the polyurethane topcoat, and always follow the threshold manufacturer’s installation instructions. When in doubt, apply a small test area with the adhesive to confirm the polyurethane finish isn’t affected.
Why do polyurethane thresholds sometimes lift or separate, and how can I prevent it?
Thresholds often lift due to poor surface prep, insufficient curing time of the polyurethane, or failure to leave proper expansion space at the edges. Moisture changes can also cause movement if the subfloor is not stable or if the threshold is sealed incorrectly. To prevent separation, clean the install area, ensure the floor is fully cured, and use the correct adhesive/fasteners and a compatible sealant at the transition. Check that the threshold sits flat without rocking and fully contacts the substrate.
What steps should I follow to seal and finish around a threshold on polyurethane floors for a professional look?
Dry-fit the threshold first, then attach it and remove any adhesive overflow immediately to protect the polyurethane sheen. Apply a floor transition sealant or caulk that’s compatible with polyurethane coatings to fill any micro-gaps at the edges, but don’t overfill so the threshold can still move slightly. After curing, wipe down the area with a gentle cleaner recommended for polyurethane floors and re-check for raised edges. This final sealing step helps prevent drafts, moisture intrusion, and trip hazards while keeping the floor’s surface protected.
📅 Last Updated: October 11, 2026 | Topic: How to install thresholds for polyurethane floors? | Content verified for accuracy and freshness.
References
- Google Scholar Google Scholar
https://scholar.google.com/scholar?q=polyurethane+floor+threshold+installation - Google Scholar Google Scholar
https://scholar.google.com/scholar?q=poured+polyurethane+floor+coating+installation+edge+detailing+thresholds - Google Scholar Google Scholar
https://scholar.google.com/scholar?q=floor+transition+threshold+installation+best+practices+floor+coverings - https://en.wikipedia.org/wiki/Threshold_(architecture
- Redirecting…
https://www.ada.gov/2010ADAstandards_index.htm - https://www.access-board.gov/ada/guidelines-and-standards/buildings-and-sites/about-the-ada-standards/
- https://www.gov.uk/government/publications/approved-document-m-access-to-and-use-of-buildings
- https://www.gov.uk/government/publications/approved-document-wc-sanitation-hygiene-and-water-efficient-finishes
- Google Scholar Google Scholar
https://scholar.google.com/scholar?q=How+to+install+thresholds+for+polyurethane+floors? - https://en.wikipedia.org/wiki/Special:Search?search=How+to+install+thresholds+for+polyurethane+floors?