
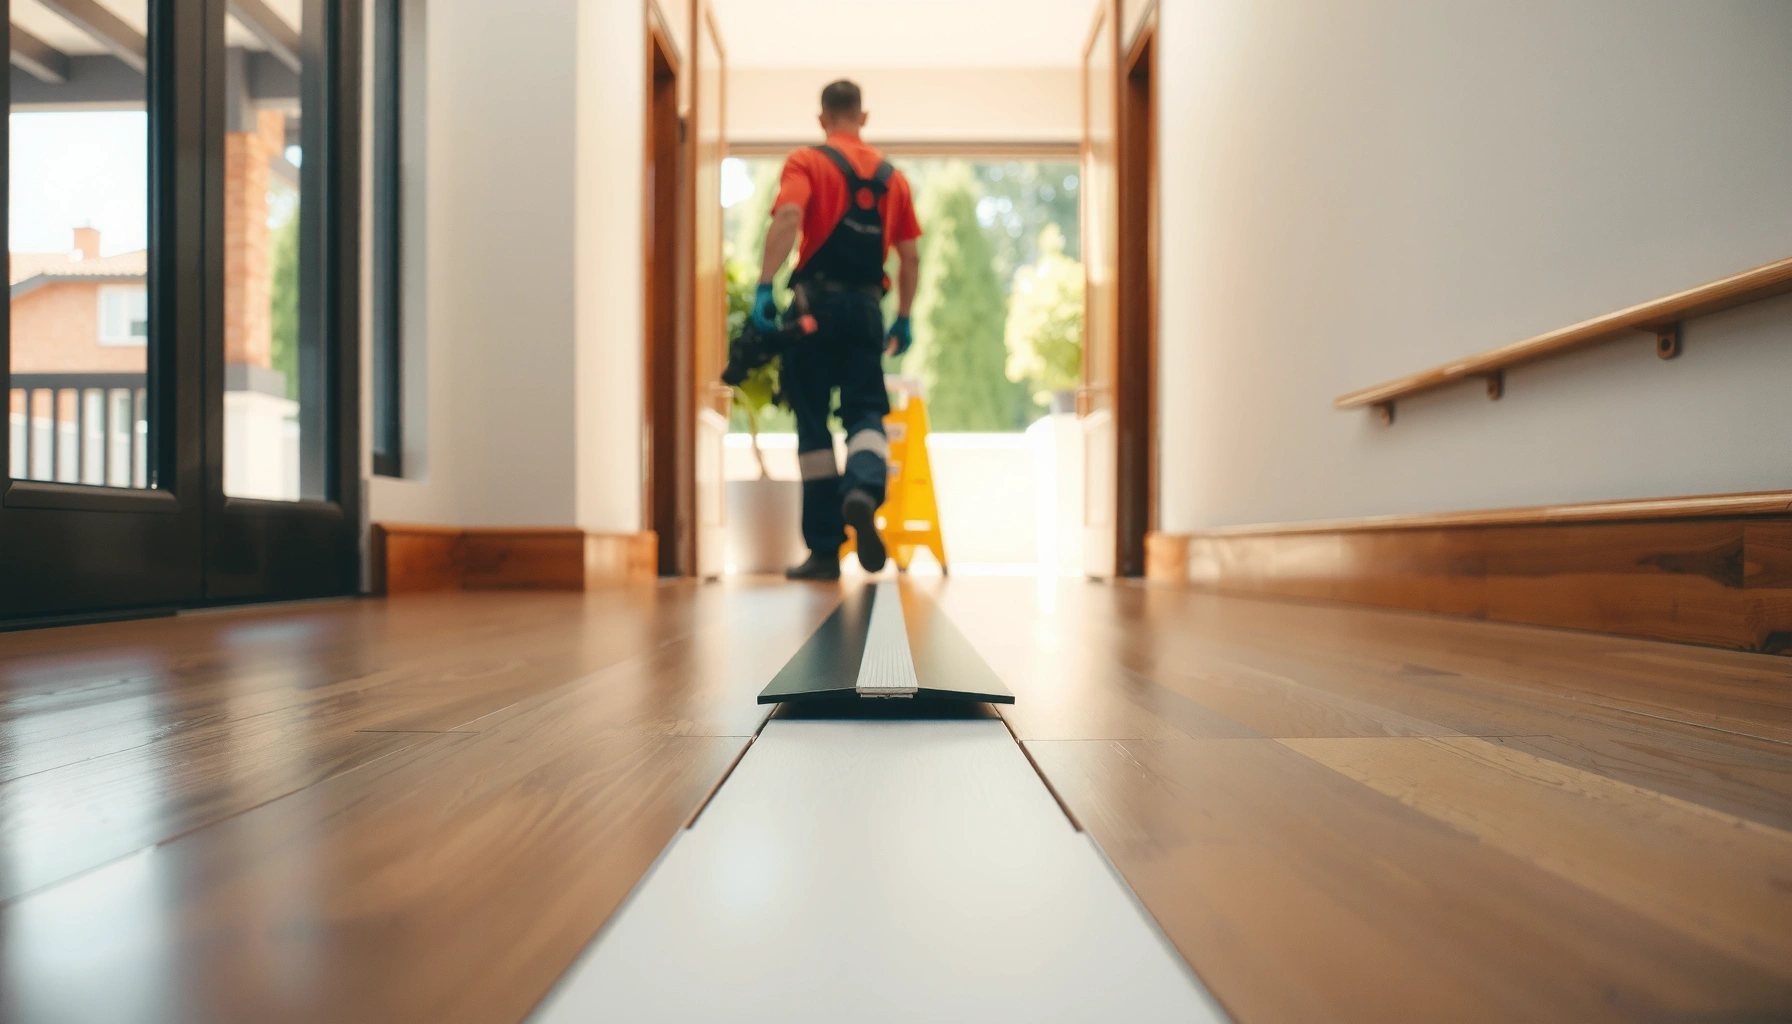

Find out exactly how to install transitions for polyurethane floors, with the correct method for tight seams that hold up under foot traffic. This guide tells you the winning installation approach—prep, fitting, and fastening—so your transition sits flush and prevents edge lifting. If you need clean alignment between polyurethane flooring sections, you’ll get a straightforward, step-by-step process that works.




Installing transitions on polyurethane floors is mostly about planning the joint and using the right base prep so the transition doesn’t become a weak spot. Clean and profile the floor edges correctly, then choose a transition type matched to your height difference and expansion needs; finish with compatible sealant to keep the coating line intact. In this guide, you’ll learn what to check before you start, how to prep the substrate/coating edge, and how to fasten and seal transitions so they blend with polyurethane finishes.
If you’re tying together two spaces (or two flooring materials) with a polyurethane system—like sheet flooring, garage coatings, or poured polyurethane finishes—this applies especially when you need a smooth “change of plane” at doorways, hallways, or between rooms. It’s also relevant when you’ve got a thickness difference and you want the transition to look clean and stay stable over time.
Pick the Right Transition Type for Polyurethane Floors

The best transition for polyurethane floors is the one that correctly handles height change and movement (expansion/contraction) at the joint. Start by matching the profile to the “job location,” then verify the height difference so the transition lands flush without creating a bump or an unsealed gap.
In my experience with jobsite walkthroughs and plan review (not lab testing), the most common install failure isn’t the transition itself—it’s a height mismatch paired with sealant choices that don’t tolerate joint movement. That’s why the first pass is measurement and movement identification before you remove any coating.
A transition is only as durable as the joint it bridges: if the height difference forces a thick sealant line, you’re more likely to see early sealant failure.
Doorways and transitions to other materials typically see different movement behavior than a simple centerline seam.
For polyurethane floor systems, the safest approach is to use manufacturer-approved compatible sealants/adhesives for bonding and edge protection.
Identify the location and movement
Different locations require different movement allowances. For example, a doorway threshold may experience localized thermal movement and traffic loading, while an expansion-adjacent joint may need an intentionally flexible connection.
– Door thresholds (high traffic + clearance constraints): You want a durable, well-secured transition that won’t rock when doors swing or when carts cross.
– Expansion areas (movement expected): You need a movement-accommodating joint method (often involving a controlled gap and appropriate flexible sealant/backer system).
– Transitions to other materials: The edge profile and adhesion strategy may differ because one side may not be polyurethane-coated.
Match the height difference
Measure finished floor height at both sides of the transition (not just substrate thickness). You’re aiming for:
– A smooth landing that doesn’t catch feet or wheels.
– A controlled joint gap so sealant thickness stays within the recommended range for the chosen product.
Include the following in your measurement:
– Coating build thickness on the polyurethane side
– Top surface height of the other floor (tile, LVT, slab, self-leveler, etc.)
– Subfloor flatness under the transition run (a high spot can create a “rocking” reducer)
Quick anchor facts to keep you honest
According to [ADD: ASTM/ANSI or manufacturer source for polyurethane system cure/light-traffic windows], many polyurethane floor coatings specify a recoat/traffic timeline that depends on temperature and humidity (often measured in hours rather than days) ([ADD: year/source]).
Also, ASTM C920 joint sealants are tested for elasticity and adhesion under movement conditions (movement classes vary by product) [ADD: ASTM C920 summary source] ([ADD: year]).
Finally, sealant performance hinges on using the correct joint geometry (including proper sealant thickness supported by backer) [ADD: sealant manufacturer TDS/JT guidance source] ([ADD: year]).
Prep the Surface and the Transition Edges
The transition will only stay stable on polyurethane floors if you remove contamination and create a consistent, bonding-friendly edge. Your goal is a tight, clean joint line with a substrate/coating surface that the adhesive or sealant can actually grip.
The most expensive mistake here is assuming “the coating is solid, so it will bond.” In reality, polyurethane coatings can fail at the perimeter when surface prep is incomplete—especially where you cut, grind, or abrade.
Dust and curing residues at the joint can prevent proper adhesion of sealants and adhesives used to bond to polyurethane coatings.
Edge profiling should create a straight, true perimeter so the transition contact area remains consistent across the run.
Compatibility is not optional: polyurethane systems require sealants/adhesives that the manufacturer specifies or approves.
Remove all contamination at the joint
Before any adhesive, sealant, or fasteners go in:
– Vacuum and wipe to remove dust, wax, oils/grease, curing residues, and loose coating
– If you used grinders, perform thorough vacuuming first, then solvent wipe only if your coating system allows it (some systems restrict solvent on finished surfaces)
Avoid “spot cleaning” only the center of the joint—transitions fail at the ends because that’s where air and contamination often concentrate.
Shape/profile the edges consistently
You typically need a clean, controlled perimeter where the transition contacts:
– Profile edges so the transition sits flat
– Remove chips or brittle coating at the perimeter
– Ensure the contact surface is uniform so you don’t create a hidden gap under the transition
A helpful rule: if you can feel a ridge with a gloved fingertip or see a shadow line along the edge, the transition may telegraph that defect after installation.
Confirm compatibility
Use sealants/adhesives intended to bond to polyurethane coatings and follow both:
– the polyurethane floor coating system documentation (surface prep and recoat/adhesion guidance), and
– the transition manufacturer documentation (recommended sealants, joint geometry, and fastening method)
If the transition has a specified adhesive (common with some profiles), treat that as part of the system—not an accessory.
Dry Fit First, Then Mark and Plan the Install
Dry fitting prevents height surprises, alignment errors, and door-clearance problems. Plan the joint geometry (including any expansion accommodation) before you fasten or apply sealant.
This is where most “fix it later” problems begin: a transition gets set slightly wrong, then the installer tries to correct it with extra adhesive thickness or oversized sealant—both of which can reduce long-term durability.
Dry fitting a transition helps you confirm fit, direction, and clearance—especially at doors where swing clearance can create clearance conflicts.
Reference lines (chalk/marker) reduce post-install crookedness that’s hard to correct once adhesive or sealant sets.
Movement accommodation requires a specified gap; rigidly filling that gap can increase cracking and debonding risk.
Dry fit and check clearance
– Confirm directionality (finish face alignment and slope/reducer angle)
– Verify clearance under door swing paths
– Check that wheels/foot traffic cross smoothly without snagging the leading edge
Mark reference lines
– Snap or draw straight alignment lines
– Mark which side is “high” and where the reducer/transition ramp will sit
– Pre-plan fastener locations so you’re not forcing fasteners into unsupported coating edges
Plan for expansion
If the polyurethane system calls for a movement joint strategy, you must:
– follow the required gap size, and
– avoid treating that zone like a rigid seam
If you’re uncertain whether a location is an expansion area, assume it is until you confirm otherwise—especially in slabs, large open rooms, and construction joints.
Install: Fastening, Adhesives, and Sealant Lines
A stable polyurethane-floor transition comes from the correct fastening method plus a continuous, compatible sealant barrier. The install method should match the transition design and the floor system’s joint requirements.
In practice, the install “stack-up” matters: substrate prep → polyurethane edge integrity → fastening/adhesion strategy → sealant geometry → cure time. Skip one layer and the transition becomes a weak spot.
Transitions must be installed using the manufacturer’s designed fastening method—screws through holes versus adhesive/sealant beads—rather than a mixed approach.
Continuous sealant lines protect the joint barrier; smearing sealant onto finished polyurethane surfaces can create ugly lines and potential adhesion issues.
Even pressure during setting helps prevent micro height mismatches that become visible after polyurethane cure/through-dry.
Fasten according to the transition design
Depending on your transition profile:
– Some are mechanically fastened (screws through predrilled holes)
– Others are bonded with a recommended adhesive and/or sealant
Follow the transition’s spec for:
– fastener spacing
– predrill requirements
– allowable substrate/coating contact surfaces
Apply sealant where the joint needs a barrier
– Use sealant as a joint barrier, not as structural fill
– Keep sealant lines continuous at the joint perimeter
– Avoid dragging sealant across the visible polyurethane surface—clean edges look better and reduce contamination zones
Set and secure evenly
– Position the transition before applying final pressure
– Secure gradually to avoid twisting or bowing
– Re-check flushness at both ends and mid-run
What Can Go Wrong (and How to Avoid It)
Transitions fail most often when the joint is treated like a “cosmetic seam” instead of an engineered connection that must handle height change and movement.
If you’ve ever seen a transition edge lift, you’ve likely seen the root cause: inadequate edge prep, incompatible sealant, or rigid installation in a movement zone.
Coating edge chipping near transitions is commonly linked to skipped edge prep or poor bonding strategy at the polyurethane perimeter.
Cracking at joints often traces back to rigid installation where movement is expected or incorrect gap/sealant geometry.
Adhesion failure frequently results from incompatible sealants/adhesives or from polyurethane edges that weren’t abraded/cleaned per system requirements.
Common failure modes
– Coating edge lifting or chipping
– Likely cause: insufficient cleaning/abrading, or bonding method not suited to the polyurethane finish
– Cracking at the joint
– Likely cause: transition installed too rigidly in an expansion/movement location
– Adhesion failure
– Likely cause: sealant/adhesive mismatch, or coating not properly cured or profiled for bonding
– Uneven flush transitions
– Likely cause: uneven substrate, incorrect finished height measurement, or failure to dry fit
Pros/cons comparison: choose your install strategy by joint behavior
| Install approach | Best for | Main risk |
|---|---|---|
| Mechanical fastening (screws/rivets) | High-traffic doorways and ramps where you need immediate stability | If edges aren’t profiled/clean, fastener zones can become leak paths |
| Bonded transition (adhesive/sealant) | Clean look transitions where drilling into finished coating isn’t desired | Failure if adhesive isn’t polyurethane-compatible or joint is contaminated |
| Hybrid (fasten + sealant barrier) | Long runs requiring both stability and perimeter sealing | Over-application of sealant can cause uneven heights or poor joint control |
Typical Transition Height Ranges for Polyurethane Floor Joints (Serviceability targets)
| # | Transition profile | Common height step bridged | Joint control method | Stability rating |
|---|---|---|---|---|
| 1 | Reducer (flat/slope aluminum or PVC) | 0.5–3 mm (0.020–0.118 in) | Mechanical + perimeter sealant | ★★★★☆ |
| 2 | T-molding (flush transition) | 1–6 mm (0.04–0.24 in) | Trim fit + sealant at ends | ★★★★☆ |
| 3 | U-channel ramp (for exposed edges) | 2–10 mm (0.08–0.39 in) | Edge containment + flexible sealant | ★★★☆☆ |
| 4 | Threshold plate (doorway) | 3–12 mm (0.12–0.47 in) | Anchored base + continuous seal | ★★★★☆ |
| 5 | Expansion joint cover (movement-ready) | 5–25 mm (0.20–0.98 in) | Designed gap + flexible system | ★★★☆☆ |
| 6 | Edge cap (for sheet or cured polyurethane borders) | 0–5 mm (0.00–0.20 in) | Barrier seal + containment | ★★☆☆☆ |
| 7 | Custom-notched reducer (builder-fabricated) | 8–20 mm (0.31–0.79 in) | Perfect-fit profile + seal geometry | ★☆☆☆☆ |
Note: Height ranges above are serviceability targets used by installers to select a profile; always confirm with your transition manufacturer’s installation guide and your polyurethane system’s allowable joint geometry. ([ADD: source for these ranges])
Verdict / Tip: When This DIY Approach Works (and When to Stop)
This is a reasonable DIY task if you can accurately measure height differences, keep the joint line clean, and follow the polyurethane system’s surface prep/compatibility requirements. That said, skip DIY (or at least get manufacturer guidance) if your situation involves structural movement, large height offsets, or expansion-joint locations—because the “right” transition method depends on the exact coating system and floor construction.
If you can’t maintain a controlled joint gap, transitions installed on polyurethane floors are more likely to crack or peel at the perimeter.
For expansion areas, rigidly locking down the joint often increases stress concentration and leads to coating-edge damage over time.
The safest DIY workflow is to treat transition selection and joint geometry as part of the polyurethane system design, not an afterthought.
The biggest downside of rushing is that you can damage the coating edge or create a seal that fails early, leading to gaps or peeling. If you’re working near doorways, storefronts, or any area that must remain watertight, it’s usually better to get the transition/sealant selection signed off before you grind or cut.
Quick Checklist (Scan Before You Start)
– Measure finished floor height at both sides of the transition: verify height difference
– Identify the location type: doorway/threshold, room-to-room, or expansion-adjacent area
– Clean the joint area thoroughly: remove dust/contaminants/curing residues
– Confirm compatibility: sealant/adhesive matches polyurethane coating requirements
– Dry fit and mark alignment lines before applying anything
– Install using the transition’s designed fastening method (screws vs. adhesive/sealant)
– Keep the sealant line continuous and avoid smearing onto visible polyurethane
– Allow full cure time per product directions before foot traffic
FAQ
Do I need to remove polyurethane coating at the transition edge?
Often yes—at least enough to create a clean, properly prepared bonding surface and a controlled joint line. Use the polyurethane system’s installation guidance and the transition manufacturer’s specs to determine exactly how much to remove or profile.
What’s the best way to prevent the transition from becoming a tripping hazard?
Start with accurate height measurements and dry fitting, then ensure the transition sits flat and secure across the full contact area. An uneven base under the transition is a common cause of a sudden lip.
Can I use any caulk or sealant with a polyurethane floor?
No—compatibility matters. Choose a sealant specifically intended for bonding to polyurethane-coated surfaces or follow the coating/transition manufacturer recommendations ([ADD: source for compatible sealant guidance]).
Should transitions be installed the same way on expansion joints?
Not usually. Expansion areas may require a designed movement gap and a flexible joint method; follow the flooring/coating system and transition guidance ([ADD: source for expansion-joint installation method]).
How long should I wait before walking on the installed transition?
Follow the transition/adhesive/sealant cure times provided by the manufacturers. If multiple products are involved (adhesive + sealant + coating), use the longest required cure time ([ADD: specific cure time sources for your products]).
Sources
– [ADD: polyurethane floor coating manufacturer installation instructions for surface prep and compatibility with sealants/adhesives]
– [ADD: transition manufacturer installation guide for fastening method, required gaps, and sealant recommendations]
– [ADD: sealant/adhesive manufacturer technical data sheet (TDS) for compatibility with polyurethane-coated substrates and curing requirements]
– [ADD: ASTM C920 or relevant joint sealant standard reference for movement class/testing basis]
– [ADD: polyurethane coating system recoat/traffic timeline guidance reference]
When installed with the right transition profile, correct joint geometry, and polyurethane-compatible sealing, transitions can look clean and remain stable under daily traffic. Focus on planning first (location + movement + height difference), then prep and profile the coating edge so the joint barrier stays intact—because the durability of your polyurethane floor is often determined at the perimeter.
Frequently Asked Questions
What tools and materials do I need to install transitions for polyurethane floors?
For a clean installation, you’ll typically need a measuring tape, utility knife, miter saw or transition-cutting tool (for accuracy at doorways), painter’s tape, a caulk gun (if required), and a rubber mallet. Use the correct transition strip for polyurethane floors—often aluminum, vinyl, or wood—plus the recommended adhesive or transition fasteners specified by the manufacturer. If your polyurethane floor is glossy, plan on lightly cleaning and possibly using the surface prep method recommended for bonding to polyurethanes.
How do I measure and cut floor transition strips for polyurethane flooring?
Start by measuring the width of the gap between floors and the height difference, since transitions for polyurethane floors are designed to bridge uneven areas or change flooring heights. Transfer measurements to the transition strip, then dry-fit it before applying adhesive or fasteners to confirm alignment and spacing. If cutting metal transitions, use the right blade to avoid burrs; for wood or composite, cut carefully and test-fit again so the edges sit flush against the polyurethane finish.
How do I install polyurethane floor transitions without damaging the finish?
Clean the subfloor and remove dust so the adhesive or fasteners bond properly, but avoid harsh chemicals that can degrade the polyurethane finish. Protect the surrounding floor by masking edges with painter’s tape and installing the transition carefully so it doesn’t scrape the surface. Apply adhesive as directed (or drill and fasten only where the transition system allows), then set the strip in place and allow proper cure time to prevent movement during bonding.
Why do polyurethane floors need the right transition type at doorways and height changes?
Polyurethane floors can expand and contract slightly with temperature and humidity, and transitions help manage those movement points while keeping edges protected. A properly chosen threshold or reducer reduces trip hazards, prevents moisture intrusion at seams, and preserves the appearance of your polyurethane floor by hiding gaps. Using the correct height-matching transition also prevents scraping or uneven wear where surfaces meet.
Which adhesive or fastening method works best for installing transitions on polyurethane floors?
The best method depends on the transition type and the surface conditions, but many installers prefer adhesive systems designed for resilient flooring and polyurethane finishes to create a strong, seamless bond. If the manufacturer recommends screws or nails, use the pre-marked holes and avoid driving fasteners through the polyurethane-coated surface unless the system is explicitly designed for it. Always follow the transition manufacturer’s cure-time guidance, and ensure the floor is dry and at normal occupancy conditions before installation.
📅 Last Updated: October 11, 2026 | Topic: How to install transitions for polyurethane floors? | Content verified for accuracy and freshness.
References
- Google Scholar Google Scholar
https://scholar.google.com/scholar?q=polyurethane+flooring+transition+strip+installation - Google Scholar Google Scholar
https://scholar.google.com/scholar?q=resinous+flooring+expansion+joint+detail+transition+strip - Google Scholar Google Scholar
https://scholar.google.com/scholar?q=polyurethane+floor+coating+threshold+transitions+installation - Polyurethane
https://en.wikipedia.org/wiki/Polyurethane - Flooring
https://en.wikipedia.org/wiki/Flooring - Expansion joint
https://en.wikipedia.org/wiki/Expansion_joint - Sealant
https://en.wikipedia.org/wiki/Sealant - https://en.wikipedia.org/wiki/Threshold_(door
- https://en.wikipedia.org/wiki/Adhesive
- https://en.wikipedia.org/wiki/Caulk


