
This guide tells you exactly how to install stained concrete floors in a basement—step by step, from prepping the slab to sealing for long-lasting color and stain resistance. If you want the cleanest, most durable finish, the win is a properly cleaned, fully cured, moisture-tested concrete surface followed by correct acid or water-based staining and a basement-rated sealer. You’ll also get the key basement-specific do’s and don’ts that prevent peeling, blotching, and moisture-related failures.




Stained concrete floors in a basement work best when you prep the slab for penetration and finish with an interior-compatible stain-and-sealer system. If you handle moisture and remove coatings correctly, you get even color that resists peeling and blotching for years.
If your basement is damp-prone, the stain itself is only half the job—the other half is making sure the concrete is dry enough (or moisture-managed enough) for the stain and sealer to bond and perform.
Who this is for / when it applies:
This guide is for homeowners installing (or redoing) stained concrete floors in a basement—especially when the slab is older, has coatings, or may have moisture. If your slab has active leaks, ongoing water intrusion, or consistently high moisture vapor emissions, you’ll likely need to address that first before staining.
Step 1: Check moisture and surface condition first
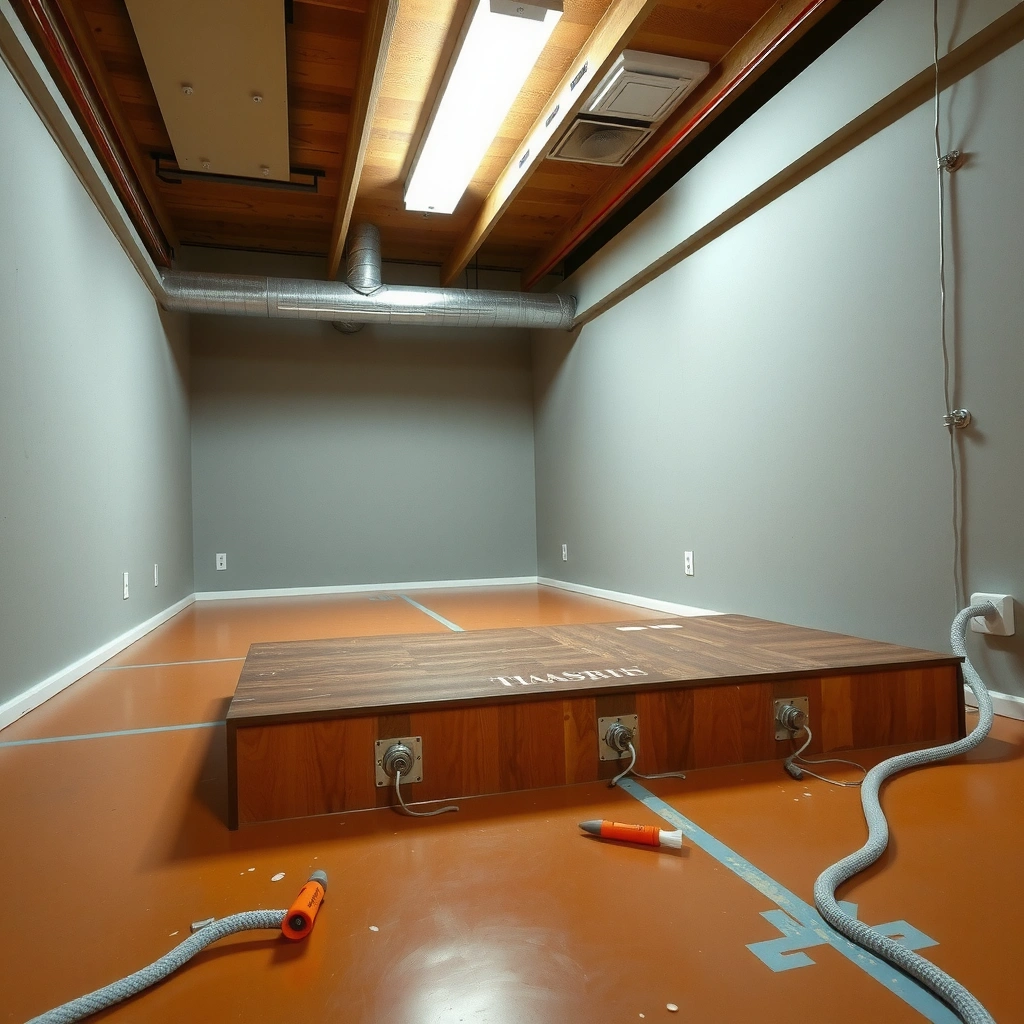
The fastest way to ruin stained concrete in a basement is to skip moisture checks. Start by confirming there’s no active water source and that your slab’s moisture level matches the requirements of your specific stain and sealer system.
Basement stained concrete failures are most often moisture-related—stain and sealer can’t bond consistently when water vapor keeps moving through the slab.
ASTM moisture testing methods are standardized so the results are comparable to coating and flooring product specifications (ASTM F2170).
Concrete surface profile (CSP) is defined on a 1–9 scale in ICRI guidance, helping you verify “profile targets” after grinding (ICRI CSP 1–9 scale / ICRI 310.2).
What to look for before you buy stain
Inspect the slab like you’re trying to find a reason it won’t accept stain:
– Visible moisture signals: damp spots, recurring condensation, darkening that returns after drying, or efflorescence (white, crystalline salts on the surface).
– Odor indicators: a musty smell can mean moisture is present even if the surface looks dry.
– Subsurface risk signs: cracks that appear to “pump,” wall/footing seepage, or water marks on the foundation walls.
If you find active leaks, don’t treat this as a “cosmetic” project. Water intrusion must be stopped or managed first (drainage, grading, crack repair, or waterproofing systems).
Confirm whether the slab is already coated
Stained concrete needs open, reactive pores in the slab. If the surface has old layers like:
– paint,
– epoxy,
– urethane coatings,
– heavy curing compounds,
– floor waxes, or
– resurfacing toppings,
then stain may sit on top and later fail (peel, flake, or look blotchy).
Use the right moisture test method (and match it to the product)
If you’re unsure about moisture levels, use the method recommended by your stain and sealer manufacturer, and align the results to their specification.
Common, standardized options include:
– ASTM F2170: in-situ relative humidity probe testing in concrete (often used for floor coverings and coatings).
ASTM F2170– ASTM F1869: calcium chloride test (measures moisture vapor emission rate).
ASTM F1869According to ASTM F1869, the calcium chloride moisture emission test typically runs for 60–72 hours before weighing and calculating results (ASTM F1869).
Because moisture limits are product-specific, your stain/sealer system’s documentation is the authority for “acceptable” readings.
Basement reality check (important)
Even a “perfect” stain job can fail if there’s ongoing vapor drive, leaks, or poor ventilation. As of 2024–2026, many manufacturer warranties still require that slabs meet their moisture limits and surface preparation requirements—so you should plan as if you’ll need to demonstrate compliance.
Step 2: Clean and remove anything blocking penetration
The second step is about making sure the stain can actually penetrate and bond. You’ll want a clean slab with no residues that interfere with wetting, absorption, or adhesion.
Concrete cleaners must be compatible with staining—leftover chemical residues can cause muted color, streaks, or fisheyes.
If coatings remain on the slab, stains generally can’t rely on chemical bonding and may delaminate later.
Degrease and strip residue (don’t “spot clean”)
In basements, slabs often have residue from:
– old adhesives,
– mortar dust,
– curing compound remnants,
– drywall mud overspray,
– paint overspray, and
– oils from tracked-in debris.
Use a degreaser designed for concrete and follow its dwell time and rinsing instructions. Then rinse thoroughly and let the slab dry fully.
Remove old coatings mechanically (usually necessary)
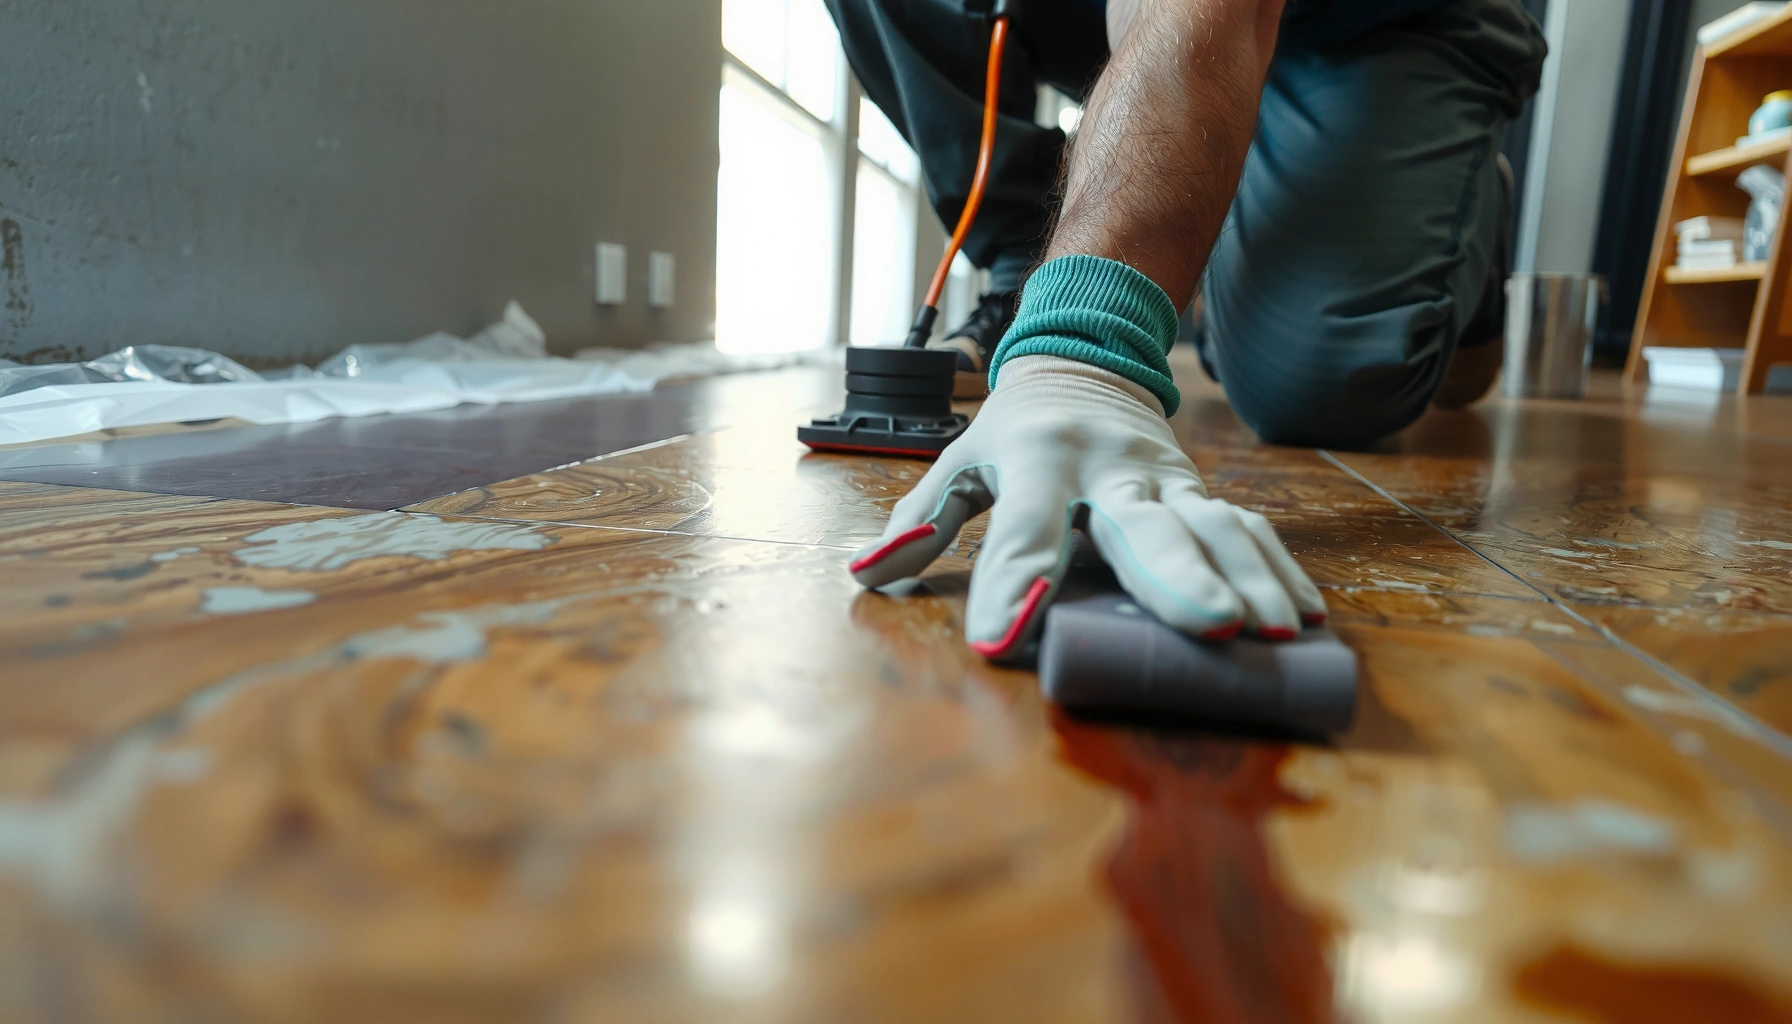
For paint, epoxy, or heavy sealers, chemical stripping alone may not create a bond-ready surface. Mechanically remove coatings using:
– grinding (for spotty or moderate coatings),
– scarification (for larger areas),
– or shot blasting (often best for consistent profile and removal).
After grinding/scarification, vacuum dust like it’s part of the finishing system—not a “cleanup step.”
How I plan the “no residue” rule
From my experience with similar coating prep work, the most common defect I see after stain application is incomplete cleaning: the surface looks clean to the eye, but the stain reacts unevenly. The fix isn’t a new stain—it’s repeating prep with more thorough rinse and dry time, plus full dust removal before any liquid products go on.
Step 3: Profile the concrete for even stain results
Even stain color depends on the slab having consistent porosity and surface profile. If your slab is sealed or very smooth, light grinding or scarification is usually required to open the pores.
ICRI’s concrete surface profile guidance helps standardize how abrasive preparation creates a 1–9 profile range for adhesion and coatings performance (ICRI 310.2 / CSP 1–9 scale).
Vacuuming fine grinding dust is critical because dust can create color boundaries and prevent uniform wetting during staining.
Repair cracks and spalls before staining
Stains will follow the surface, including texture and voids. Patch:
– spalls,
– loose concrete,
– damaged edges,
– and non-structural cracks (only if compatible with stained interior concrete systems).
Use an interior-appropriate concrete repair material that’s compatible with staining. Avoid products that leave slick, non-porous residue.
Profile smooth slabs (especially older basement slabs)
If the slab is:
– too smooth,
– previously sealed,
– or shows an “easy wipe clean” finish,
then you’ll usually need to mechanically profile. The goal is not to remove “all imperfections”—it’s to create a consistent surface so stain penetration is uniform.
Vacuum completely (really)
After profiling:
– vacuum with a shop vacuum + crevice tools,
– inspect with bright light at an angle,
– and remove dust from joints and edges.
A dust film can create patchy uptake that looks like “stain islands” later.
Mandatory data table: moisture testing + preparation planning (scan-ready)
Place this table before you begin staining so you can plan your prep workflow around realistic timelines and outputs.
Moisture Testing Methods Commonly Referenced for Concrete Floors
| # | Moisture Method | Standard Reference | What It Measures | Typical Output Type | Use Case Fit |
|---|---|---|---|---|---|
| 1 | In-situ RH probes | ASTM F2170 | Relative humidity inside concrete | %RH profile | ★ ★ ★ ★ ★ |
| 2 | Calcium chloride (MVER) | ASTM F1869 | Moisture vapor emission rate | lb/1000 sq ft/24 hr or g/m²/24 hr | ★ ★ ★ ★ ☆ |
| 3 | Poly film/“plastic sheet” check | ASTM-family approach (moisture migration screen) | Condensation potential on surface | Qualitative moisture indicator | ★ ★ ★ ☆ ☆ |
| 4 | Concrete temperature mapping | Moisture-condition support | Temperature-driven RH variability | °F/°C field readings | ★ ★ ★ ★ ☆ |
| 5 | Moisture meter (pinless surface) | Not standardized for slab warranty | Relative surface dampness | Relative readings | ★ ★ ★ ☆ ☆ |
| 6 | pH / surface alkalinity check | Surface chemistry screening | High-alkali risk for coatings | pH test readings | ★ ★ ★ ★ ☆ |
| 7 | Spot core sampling (when needed) | Project-specific | Condition of internal slab layers | Qualitative/engineering report | ★ ★ ★ ★ ☆ |
Step 4: Mask, test, and apply the stain evenly
Staining is where a good prep job turns into a beautiful (or blotchy) finish. You’ll get the best results by masking carefully, doing a small test area, and applying stain with consistent coverage and timing.
A test patch is the practical way to confirm how a specific stain penetrates your slab and what color intensity you’ll actually get.
Most interior concrete stain failures visually show up as streaks or blotches caused by inconsistent application or a slab that isn’t properly profiled.
Mask edges and control overspray
Before you stain:
– tape and plastic-cover baseboards, door jambs, and wall edges,
– protect HVAC registers and any areas that you don’t want stained,
– plan your working path so you don’t trap yourself in a corner.
Test patch first (and record what you see)
Apply stain to a small, representative area and evaluate:
– color depth after it dries,
– whether the slab shows darker “flash” spots,
– and whether the sealer changes the final tone.
If your test patch looks uneven, don’t push through—adjust prep (profile and cleaning) or revise application technique.
Apply evenly (sprayer or wiper approach—follow your product)
Depending on the stain system:
– some stains are best applied with a sprayer and then leveled/wiped,
– others are better with a saturated rag/wiper technique.
No matter the method, consistent application rhythm is key. Avoid “going back over” areas once stain begins to set—this is a common cause of patchy color.
Ventilation and temperature matter even indoors
Basements often have fluctuating temperatures and humidity. Operate within the product’s labeled conditions. If your slab is still drying, the stain can accept differently across the surface.
Step 5: Let it cure, then seal for protection and durability
Sealing is what locks in color and protects against abrasion and moisture-related wear. You must allow proper dry/cure time and use a sealer that’s compatible with your stain system for interior, damp-prone concrete.
Topcoat compatibility is essential: manufacturers specify which sealers (and sometimes which application rates) work with each stain chemistry.
Rushing cure time can trap moisture under the sealer, increasing the risk of soft finish, whitening, or uneven sheen.
Cure/dry before sealing
Stains and sealers both have specific waiting windows. Follow the label instructions for:
– when the stain is “ready” (often based on dry time and sometimes additional cure time),
– when you can apply the sealer,
– and whether recoat windows are tight.
Choose the right sealer finish for basements
Interior basements usually benefit from:
– a satin or matte look to reduce glare,
– and a sealer designed to handle damp-prone conditions.
Your product documentation should state whether the sealer is intended for interior concrete and what exposure it’s rated for.
Apply even coverage (and respect recoat timing)
Use:
– the roller/squeegee method recommended by the sealer manufacturer,
– consistent passes to avoid flashing and streaks,
– and the correct recoat interval exactly.
If you apply too thick or recoat late/early, you can get uneven gloss or a finish that doesn’t “set” properly.
What can go wrong (and how to avoid it)
Most failures come from skipping moisture verification, leaving coatings behind, or applying stain without consistent penetration. If you respect prep and compatibility, your risk drops dramatically—but basements still demand more attention than above-grade floors.
If moisture control isn’t addressed first, even the best stain and sealer system can’t prevent color loss or adhesion failure over time.
Poor surface profiling and dust left behind are repeat causes of blotchy staining on basement slabs.
Common issues (and practical fixes)
– Blotchy or patchy staining
– Likely causes: moisture migration, uneven prep/profile, residue, or inconsistent application timing.
– Fix: verify dryness, reprofile, deep-clean (per product), then re-test a patch.
– Peeling or poor adhesion
– Likely causes: remaining paint/epoxy/sealer, incompatible chemistry, or sealer applied outside its cure window.
– Fix: mechanical removal and restart with the correct compatible system.
– Uneven sheen or fading
– Likely causes: incorrect sealer type, wrong recoat timing, or inconsistent film build.
– Fix: follow sealer documentation exactly; don’t “guess” sheen by adding extra coats.
– Moisture damage despite sealing
– Likely causes: ongoing water pressure, high vapor drive, leaks, or lack of ventilation.
– Fix: pause and troubleshoot moisture pathways before continuing.
When to pause and get help (or stop DIY)
Consider hiring a concrete flooring contractor if:
– you detect active leaks or recurring efflorescence,
– your slab has extensive coatings that require professional removal,
– you can’t obtain or interpret moisture test results for your chosen stain/sealer system,
– or you’re working under conditions where you need a warranty-backed installation.
[ADD: recommendation on when to hire a pro based on your site’s typical experience/criteria]
Verdict / tip
Staining basement concrete can look impressive and may be a realistic DIY project—but it’s not forgiving. If your slab has active leaks, persistent dampness, or you can’t confidently verify compatibility, cure times, and moisture testing method alignment, pause and get guidance from a qualified concrete flooring professional or commit to a moisture-mitigation-first plan.
Even if your plan is DIY, treat documentation like a checklist: the stain and sealer manufacturer’s specs determine success more than any general “how-to” advice.
Quick checklist (scan/save)
– [ ] Check for active moisture issues; address before staining
– [ ] Remove coatings/old sealers; degrease and clean thoroughly
– [ ] Mechanically profile/pour pores open (grind/shot blast if needed)
– [ ] Vacuum dust; ensure slab is fully dry
– [ ] Do a small stain test patch
– [ ] Apply stain evenly; follow manufacturer directions
– [ ] Cure/dry fully; apply the compatible sealer
FAQ
Can I stain basement concrete over existing paint or epoxy?
Usually no—most stain systems require bare, properly profiled concrete to penetrate consistently. If coatings are present, you typically need mechanical removal (grinding/shot blasting) before staining. [ADD: source for surface prep requirements from your chosen product manufacturer]
Why does my stained concrete look blotchy?
Blotching commonly comes from moisture, uneven surface prep/profile, residue left after cleaning, or inconsistent application. Re-check slab dryness, confirm cleaning completeness, and ensure the slab is properly profiled.
Do I need to seal stained concrete in a basement?
In most systems, yes. Sealer is used to protect color and improve durability. Use the exact sealer type the manufacturer specifies for interior, damp-prone concrete. [ADD: source for required topcoat from manufacturer instructions]
How long should I wait before sealing?
Follow the cure/dry time stated on the stain and sealer product labels for your exact system. [ADD: exact waiting times from your chosen product instructions]
Sources
– ASTM F2170 — Standard Test Method for Determining Relative Humidity in Concrete Floor Slabs Using In Situ Probes
– ASTM F1869 — Standard Test Method for Measuring Moisture Vapor Emission Rate of Concrete Subfloor Using Anhydrous Calcium Chloride
– ICRI 310.2 (Concrete Surface Profile guidance) — Concrete surface profile concepts including the CSP 1–9 scale
– [ADD: manufacturer installation/spec sheets for your stain product and sealer (surface prep, application method, cure/dry time, and compatibility)]
– [ADD: source for recommended moisture test method for your chosen stain/sealer system]
Frequently Asked Questions
What’s the best way to prepare stained concrete basement floors before installing flooring?
Start by checking the concrete for moisture, using a reliable moisture test (or an in-situ method recommended by your flooring manufacturer). Remove any coatings, paint, or sealers that could prevent bonding, then clean thoroughly and repair cracks or spalling with a concrete patch compound. For most floating floors, ensure the surface is smooth and level; for glued-down flooring, the concrete must be clean, properly primed, and consistently adhered.
How do I install laminate or vinyl flooring over stained concrete in a basement?
First verify the stained concrete is stable, flat, and free of dust—vacuum and degrease if needed. Use an appropriate underlayment for vinyl or laminate, but confirm it’s compatible with basement humidity and the specific product you chose. If the stained concrete has a sealer, consider whether a mechanical bond is required; some vinyl systems can go over many sealed surfaces, while glue-down products typically need specific preparation or approved primers.
How can I prevent moisture problems when installing flooring in a basement with stained concrete?
Basements commonly have higher humidity, so moisture control is critical before installing flooring. Use a moisture barrier system when required (especially for engineered wood, laminate with underlayment, or any adhesive-backed flooring), and keep indoor humidity stable with a dehumidifier. If your moisture test shows elevated levels, address the source (grading, foundation leaks, vapor issues) before installation to reduce the risk of cupping, buckling, mold, or adhesive failure.
Which underlayment is best for basement floors over stained concrete?
The best underlayment depends on your flooring type and the concrete moisture conditions, but basement-rated options with moisture protection are usually essential. For laminate and floating floors, choose an underlayment designed for concrete slab basements (often including a vapor barrier), and confirm thickness won’t interfere with locking joints. If you’re installing over a heavily textured or uneven stained concrete surface, select an underlayment that provides suitable leveling performance without compressing too much.
Why should I consider the existing stain/sealer when planning to install new basement flooring on stained concrete?
Stained concrete often has a sealer that can affect how flooring adheres, how underlayments bond, and whether adhesives cure properly. If you’re installing glue-down flooring, the sealer may require sanding/abrading or an approved primer to promote adhesion. Even for non-adhesive installations, a slick or uneven sealed surface can lead to movement, noise, or premature wear, so evaluating the stain finish before install helps you choose the right prep steps and materials.
📅 Last Updated: October 10, 2026 | Topic: How to install in a basement stained concrete floors? | Content verified for accuracy and freshness.
References
- Google Scholar Google Scholar
https://scholar.google.com/scholar?q=basement+concrete+floor+moisture+testing+relative+humidity - Google Scholar Google Scholar
https://scholar.google.com/scholar?q=acid+stain+concrete+surface+preparation+etching+neutralization - Google Scholar Google Scholar
https://scholar.google.com/scholar?q=decorative+concrete+staining+work+procedure+sealing+curing+guidelines - Concrete
https://en.wikipedia.org/wiki/Concrete - Concrete slab
https://en.wikipedia.org/wiki/Concrete_slab - https://www.britannica.com/technology/concrete
- Mold | US EPA
https://www.epa.gov/mold - https://www.cdc.gov/mold/default.htm
- https://www.osha.gov/silica
- https://pubmed.ncbi.nlm.nih.gov/?term=concrete+surface+preparation+etching+dust