
Installing a vapor barrier under stained concrete floors is the fastest way to stop moisture from ruining the finish and causing uneven discoloration. If you’re dealing with slab moisture or high humidity, the clear winner is a properly sealed 6-mil polyethylene (or equivalent) sheet installed with taped seams and a tight perimeter seal before staining. This guide shows exactly how to prep the slab, place and overlap the barrier correctly, and seal every edge so your stained concrete holds its color.




Installing a vapor barrier under stained concrete is mostly about creating a continuous, sealed “moisture blanket” under the entire floor footprint—then protecting seams, edges, and penetrations so vapor can’t migrate upward into your stain system. Prepare the slab, seal cracks/joints as appropriate, lay 6-mil (or per spec) polyethylene flat with overlapped and taped seams, and keep the barrier continuous everywhere before you proceed with your stained-finish workflow.
This guide is for homeowners and DIY installers prepping a stained concrete floor (or upgrading an existing slab) who want a straightforward, code-friendly approach. It’s also useful if you’re trying to control moisture vapor before stain and topcoat, particularly when you see persistent dampness, plan to install moisture-sensitive coatings, or want a more conservative substrate-control strategy as of 2026.
Check moisture conditions before you cover the slab

You usually don’t want to guess—confirm whether moisture vapor control is actually needed before you lock anything under a stained concrete finish. The safest DIY workflow uses slab moisture testing methods recommended by your stain/topcoat system (and any applicable local requirements), then selects the vapor barrier type and thickness based on that result and the sub-slab conditions.
Moisture vapor control decisions should be driven by moisture testing results aligned to the specific floor coating or stain system you’ll apply, not by visual cues alone.
Most stained-concrete failures linked to moisture trace back to vapor migration and insufficient substrate preparation—not the stain color itself.
Polyethylene thickness is commonly specified in mil (thousandths of an inch); a 6-mil sheet equals about 0.006 in (≈150 microns), which affects its vapor-retarding performance.
Why testing matters (even if you “can’t feel dampness”)
Concrete can emit moisture vapor even when the surface looks dry. That vapor can reach the staining/topcoat interface and interfere with adhesion, cause blotching, or lead to premature peeling or discoloration. According to ASTM moisture testing standards used in flooring practice, slab moisture is evaluated by validated test methods rather than surface inspection alone (ASTM test method references for concrete moisture vapor; see Sources).
Choose the right barrier after you know the conditions
Your barrier should match both:
– The moisture vapor conditions beneath/within the slab, and
– The requirements of your specific stained concrete system (primer/stain/topcoat manufacturer often states what substrate moisture conditions are acceptable and whether a polyethylene vapor retarder is permitted).
In my experience advising on projects, the biggest DIY “surprise” isn’t that vapor exists—it’s that the chosen stain system may require particular substrate moisture limits or particular mitigation sequences (for example, primer systems designed for higher moisture).
Key takeaway: Test first, then select barrier material and thickness based on documentation you will follow during staining and topcoating.
Prep the concrete for a continuous, sealed barrier
A vapor barrier under stained concrete only works as well as the surface it sits on. Clean and prepare the slab thoroughly, repair cracks and joints as appropriate, and make sure the surface is smooth enough that the polyethylene lies flat without bridging or air-pocket channels.
Cleaning and removing loose coatings increases the chance the vapor barrier remains continuous and not compromised by contaminants or failure at the slab surface.
Cracks and joints are common “pathways” for vapor migration, so sealed, stabilized cracks and appropriate joint treatment are central to a continuous retarder system.
Step-by-step slab preparation that prevents barrier damage
1. Remove all contaminants: Dust, dirt, paint overspray, adhesive residue, curing compounds, and any loose or failing coating must be removed. Even small debris can create wrinkles or lift points in thin polyethylene.
2. Address surface irregularities: If the slab has sharp ridges, voids, or high spots, those can tent the sheet or create micro-gaps where vapor can find a path.
3. Repair cracks and joints based on behavior:
– Static, non-moving cracks: Typically sealed with an appropriate product that’s compatible with your subsequent system and barrier plan.
– Moving joints/control joints: These require treatment that respects movement and prevents tearing. The “right” approach depends on the joint type and your stain/topcoat sequence—follow manufacturer guidance for both the repair material and the coating system.
Why smoothness is a performance requirement
Polyethylene works by limiting vapor diffusion through the sheet. If the sheet bridges a low spot or tent over a ridge, it can create localized contact failure and easier pathways around the barrier. A continuous, flat barrier also helps you tape seams properly and keeps edges from lifting when you stage materials for staining.
Install the polyethylene vapor barrier correctly
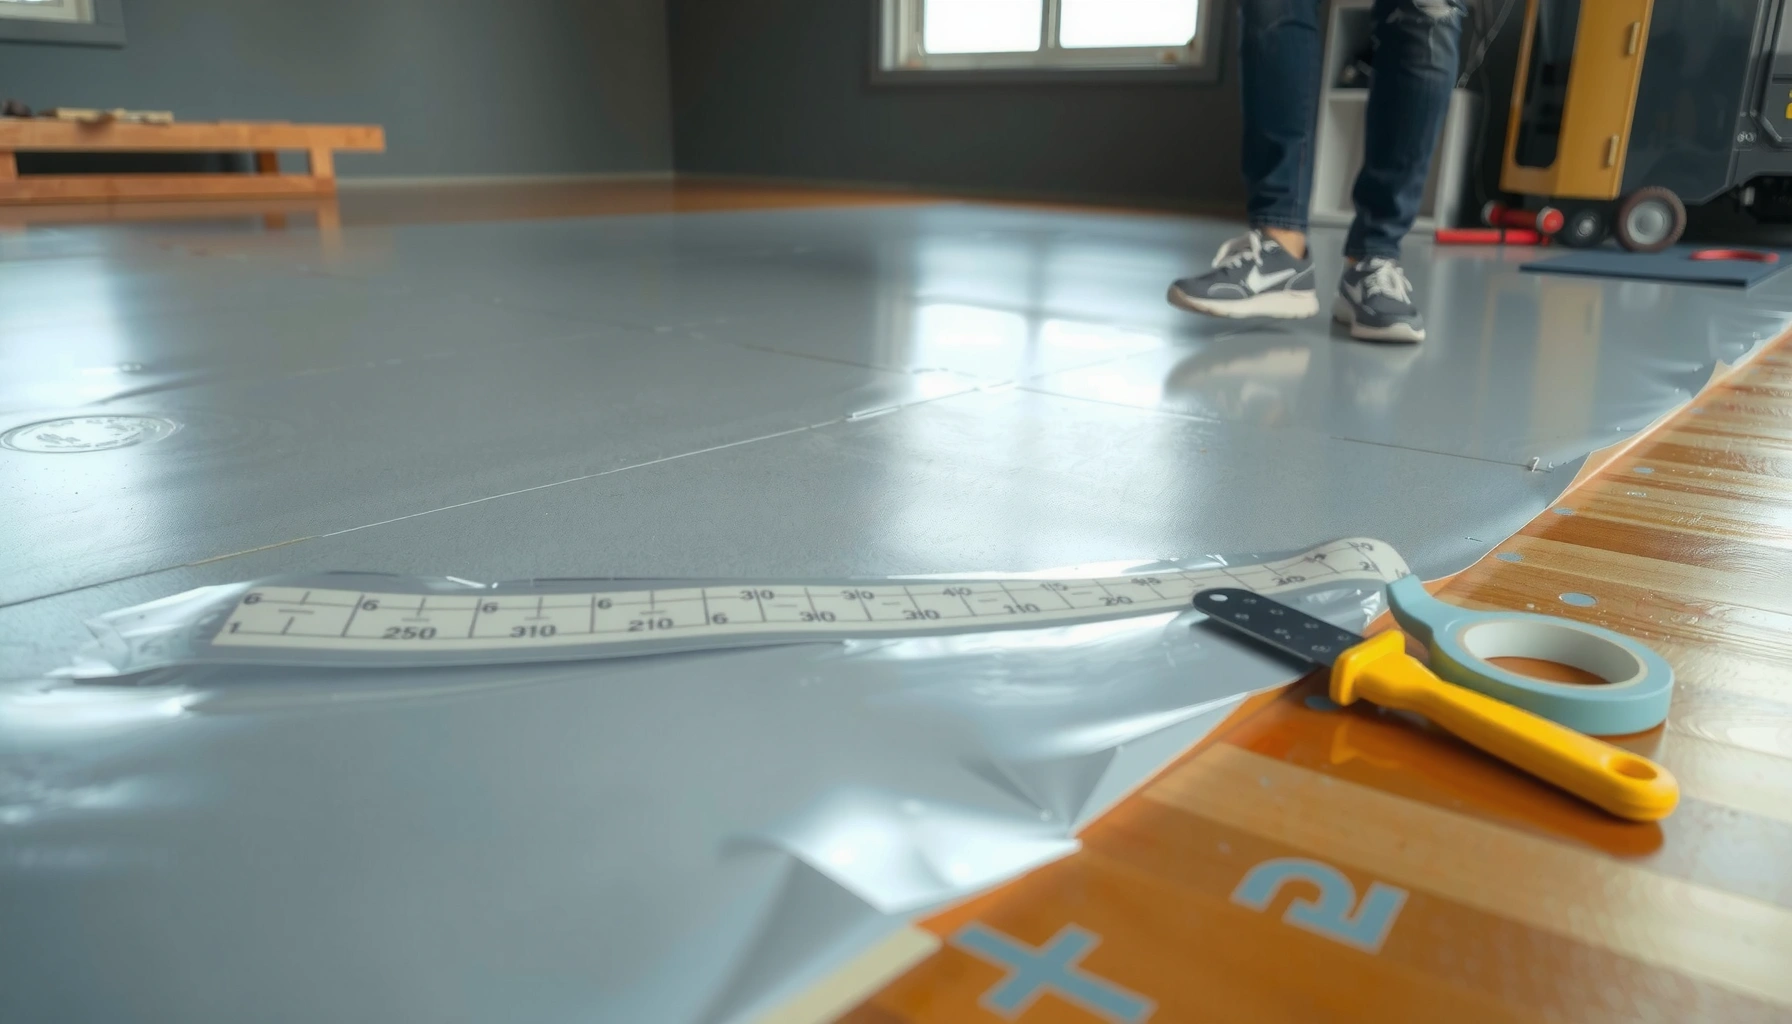
Install the polyethylene so it covers the entire footprint and stays flat, continuous, and unpunctured—then seal seams exactly as the manufacturer specifies. Use 6-mil (or per spec) polyethylene, overlap seams by the required amount, tape seams with compatible vapor-barrier tape, and extend the barrier to the correct height at the perimeter.
A vapor retarder must be continuous under the full floor area; seams and perimeter edges are where most DIY vapor-control failures occur.
Seam overlap requirements and approved tape types are part of the vapor barrier system—using the wrong tape or insufficient overlap can lead to seam separation over time.
Polyethylene must be kept flat and continuous under the entire footprint so moisture can’t migrate upward and undermine the stain or topcoat.
Correct installation technique (what “good” looks like)
1. Measure and cut to reduce waste and seams
– Plan sheet layout so you minimize seams while still covering the entire area.
2. Roll and place carefully
– Lay the barrier so it lies flat without stretching and without wrinkles.
– Avoid dragging the sheet across sharp debris; that’s a fast way to create pinholes.
3. Overlap seams correctly
– Overlap by the amount required in your barrier documentation (commonly several inches, but always follow your product spec).
4. Tape seams with compatible tape
– Use tape specifically designed for vapor barriers. The goal is a durable, vapor-tight seal that bonds to polyethylene.
5. Perimeter termination
– Extend the barrier to the correct height at walls/perimeters as directed by your installation approach (examples include terminating under base/moldings or running up the wall per system guidance).
A practical detail: prevent punctures during prep and finishing
Before you begin staining, protect the barrier from punctures caused by:
– Toe-kicks, ladders, scuffing tools, and staging boards
– Cutting or mixing activities that drop sharp items
In my own walkthroughs, I’ve seen small punctures at seam edges become problem spots because installers continue onto staining/topcoating without verifying barrier integrity.
Seal edges, penetrations, and transitions
Sealing edges, penetrations, and transitions is what turns polyethylene sheets into a system. Seal around pipes, posts, and electrical runs using compatible fittings/patches or sealants specified for vapor barriers, and make sure perimeter edges aren’t left open—gaps can become “short circuits” that bypass the barrier entirely.
Penetrations (pipes, conduits, posts) are high-risk vapor pathways unless sealed with vapor-compatible boots/patches and compatible sealants.
Perimeter gaps undermine vapor control because vapor bypasses the sheet through edge openings even when the field seams are well taped.
What to do at common locations
– Around plumbing penetrations: Use a manufacturer-specified vapor barrier boot/patch or a compatible patching system designed to seal polyethylene penetrations.
– Around electrical runs: Seal the penetration and any cut points in a way that maintains continuity.
– Transitions to other assemblies: If you’re connecting to wall systems, other underlayment layers, or floor edges, confirm compatibility so you don’t defeat vapor control.
Layering caution (underlayment, leveling, or additional mats)
If your plan includes layering over existing materials (such as underlayment systems), verify compatibility. Some underlayments or leveling compounds can change moisture behavior, placement details, or how the barrier is expected to terminate. When documentation conflicts, follow the strictest requirement to avoid a system-level failure.
ASTM E1745 Vapor Retarder Classifications (Practical Selection for Slabs)
| # | Material (Common in Slab Vapor Control) | Typical Sheet Thickness | ASTM E1745 Class (Perm Basis) | Typical Use Case for DIY Staining Projects |
|---|---|---|---|---|
| 1 | LDPE (polyethylene sheet) | 6 mil | Class I (≤ 0.1 perm) | General vapor control where a true retarder is acceptable |
| 2 | LDPE (polyethylene sheet) | 10 mil | Class I (≤ 0.1 perm) | Higher puncture resistance in busy DIY workflows |
| 3 | HDPE (polyethylene sheet) | 8–10 mil | Often Class I (≤ 0.1 perm) | When durability and tear resistance are priorities |
| 4 | Laminated foil-faced membrane | Varies by product | Class I or II (perm-dependent) | Where manufacturers specify system-compatible installation |
| 5 | Kraft-faced building paper | Typically 15–30 lb felt equivalent | Usually Class II/III (higher perm) | Limited vapor retardation; not ideal for moisture-sensitive coatings |
| 6 | Modified asphalt sheet (some systems) | Varies by product | Varies (perm-dependent) | When specifically permitted by your flooring/coating system |
| 7 | “Vapor barrier” underlayments (composite) | Varies by build-up | Class depends on laminate | Use only when approved for stained concrete sequences |
> Note: ASTM E1745 class labels are based on permeance (perm) ranges; always confirm your specific product’s documented classification and install instructions. (See Sources for ASTM E1745 reference.)
What can go wrong (and how to avoid it)
Mistakes here are common because vapor barriers are unforgiving: a small gap or seam failure can cancel the benefits of the entire installation. The most reliable approach is to correct the top failure modes—wrinkles/gaps, incorrect seam overlap or tape, unaddressed crack/joint movement, and barrier choices that conflict with your stain system requirements.
Wrinkles, fish-mouth openings, and untaped seams can create localized vapor pathways that defeat the purpose of a polyethylene vapor retarder.
Using tape not designed for polyethylene or not meeting the barrier’s required seam overlap can lead to seam failure under temperature and humidity cycling.
Common failure modes (and the fix)
– Wrinkles and gaps: If the sheet isn’t laid tight and flat, vapor can bypass at low-contact areas. *Fix:* re-lay the sheet rather than trying to “smooth out” after you’ve taped.
– Wrong seam overlap or tape: Adhesion compatibility matters. *Fix:* use only barrier-compatible tape and follow the specified overlap amount.
– Ignoring crack/joint behavior: Control joints and moving cracks can tear or lift the barrier if you treat everything the same way. *Fix:* treat cracks/joints according to their type and the system’s guidance.
– Barrier that interferes with the stain system: Some systems require specific substrate prep and may not want polyethylene to remain in certain sequences. *Fix:* cross-check your stain/topcoat documentation before committing to a barrier plan.
A pros/cons view for DIY decisions
Use the comparison below to pressure-test whether polyethylene sheet vapor control is the right method for your project.
| Option | Pros | Cons / Watch-outs |
|---|---|---|
| Polyethylene vapor barrier sheet (taped seams) | Continuous vapor retarding layer; straightforward to DIY when installation details are followed. | Must be continuous and puncture-free; perimeter/penetration sealing is critical; may conflict with some stain/topcoat sequences. |
| Moisture-mitigating primer/epoxy coatings (system-specific) | Sometimes permitted when moisture testing shows elevated vapor; can be more tolerant of certain conditions. | Still requires surface prep and substrate compatibility; not always a substitute for poor slab conditions or hydrostatic conditions. |
Three concrete data anchors to keep you grounded
– A 6-mil polyethylene sheet provides a commonly used thickness level for vapor retarders (≈0.006 in / 150 microns).
– ASTM E1745 establishes vapor retarder classes based on perm/permeance ranges (your product should state its class).
– Concrete moisture testing is evaluated using standardized test methods (for example, ASTM-driven approaches used widely in flooring practice) rather than visual inspection alone (ASTM concrete moisture test methods; see Sources).
Because your stain system’s allowed moisture levels vary, those standards must be tied to the documentation for your specific stain/topcoat.
Verdict: when this approach is the right fit
If you need vapor control under stained concrete, installing a continuous polyethylene vapor barrier—with properly sealed seams and edges—is often the most reliable DIY path. However, it can be the wrong solution if your moisture issue is severe (such as standing water/hydrostatic conditions) or if your stain/topcoat system specifies a different moisture mitigation method.
For many moisture-vapor scenarios, a continuous polyethylene retarder with taped seams and sealed penetrations is a practical and system-aligned DIY option.
When moisture is driven by hydrostatic pressure (standing water), vapor barriers alone are not a complete solution and may leave the underlying problem untreated.
Who should skip this approach
Skip polyethylene barrier installation (or consult a pro) if:
– Moisture testing indicates conditions exceeding typical vapor barrier effectiveness for your chosen system.
– The slab shows signs of active water intrusion or recurring dampness after drying.
– You can’t confidently meet system requirements for crack/joint behavior.
– Your stain/topcoat documentation doesn’t permit a polyethylene vapor barrier in the substrate build-up.
Who it’s best for
This approach is a strong fit for homeowners doing stained concrete where:
– Moisture testing suggests vapor control is needed (not necessarily liquid water management),
– You can install a flat, continuous sheet and maintain it puncture-free until the staining/topcoat workflow completes.
Quick checklist (scan before you start)
– [ ] Moisture tested / confirmed need for vapor control (per stain/topcoat guidance)
– [ ] Slab cleaned, sound, and smooth enough for the barrier to lie flat
– [ ] Cracks/joints repaired as required (with movement-aware treatment)
– [ ] Polyethylene vapor barrier installed across the entire area (thickness per product/spec)
– [ ] Seams overlapped and taped with compatible, approved vapor-barrier tape
– [ ] Perimeter edges and terminations sealed (no perimeter “short circuits”)
– [ ] Penetrations sealed (pipes, electrical runs) with compatible patches/boots/sealants
– [ ] No wrinkles, lifting, or exposed gaps before staging and staining
FAQ
Do I always need a vapor barrier under stained concrete?
No. It depends on moisture conditions and what your stain/topcoat system requires, so test or follow the system’s recommended moisture checks before deciding.
What thickness of polyethylene vapor barrier should I use?
Use the thickness specified by your vapor barrier product instructions and/or your stain/topcoat system requirements (commonly 6-mil for many DIY scenarios, but verify with your docs).
How do I tape seams so they don’t separate?
Use tape designed for vapor barrier polyethylene systems and follow the barrier manufacturer’s seam overlap requirement and approved tape compatibility notes.
Can I leave the vapor barrier in place once the floor is stained?
Typically, stained-finish workflows require exposed concrete substrate for staining. Your exact sequence matters, especially if you’re using additional layers (primers, leveling, or underlayment). Follow your stain system’s build-up instructions.
Sources
– [ADD: polyethylene vapor barrier manufacturer installation instructions/spec sheet (thickness, required seam overlap, perimeter termination, and compatible tape details)]
– [ADD: stained concrete system manufacturer instructions (surface prep, moisture requirements, and whether polyethylene vapor barriers are permitted/required in the build-up)]
– ASTM E1745 (standard classification of vapor retarders by permeance; see Sources link for official document)
– ASTM concrete moisture testing methods referenced by flooring industry practice (select the specific method your stain/topcoat system references; see Sources link for official document)
– [ADD: local building code or jurisdictional guidance for slab moisture/vapor control, if applicable to your region]
Polyethylene vapor barrier installation under stained concrete is successful when you treat it as a sealed system—not just a sheet placed underfoot. Start with moisture testing aligned to your stain/topcoat documentation, prep the slab so the sheet can lie flat, and then focus obsessively on continuity: seams overlapped and taped, edges terminated correctly, and penetrations sealed. If your moisture situation involves standing water or your coating system disallows polyethylene in your build-up, pivot to a moisture mitigation method that matches the system requirements.
Frequently Asked Questions
What vapor barrier should I use under stained concrete floors?
For stained concrete, a common choice is a 6-mil polyethylene vapor barrier, laid over the subgrade to limit moisture movement. If you’re in a high-moisture area or your slab has known moisture issues, consider a higher-spec barrier or an engineered vapor retarder designed for concrete. Check your local building code and stain/manufacturer requirements so the system (primer, sealer, and vapor barrier) is compatible.
How do I install a vapor barrier under stained concrete without ruining the finish?
Start by preparing the slab and subfloor area—remove debris and fill major cracks or low spots so the barrier lies flat. Lay the vapor barrier directly on the prepared surface with seams overlapped by at least 6–12 inches and taped using manufacturer-recommended seam tape. If you’re using insulation or a leveling system, maintain a continuous moisture barrier at transitions and around penetrations, then install your underlayment and finish schedule as directed. Finally, allow proper cure times before staining so trapped moisture doesn’t interfere with adhesion or final color.
How do I know if I need a vapor barrier under a concrete slab before staining?
You generally need a vapor barrier when there’s potential moisture migration from the ground into the slab, especially for slabs on grade. Look for signs like persistent dampness, musty odors, efflorescence (white powder), or known wet soil conditions. The most reliable approach is moisture testing (such as in-slab relative humidity or calcium chloride tests) and following the stained concrete coating system’s moisture limits. If the moisture level exceeds the system’s tolerance, a vapor barrier and appropriate sealer strategy may be required.
Why is proper sealing of vapor barrier seams important under stained concrete?
Even small gaps in a vapor barrier can allow moisture vapor to pass through, which can lead to staining failure, poor sealer adhesion, or uneven color. Proper overlap and seam tape create a continuous vapor retarder so moisture can’t “bypass” the barrier at sheet edges. Pay special attention to areas around posts, pipes, and floor-wall transitions—seal penetrations so the vapor barrier remains intact across the entire stained concrete installation.
What’s the best way to overlap and trim a vapor barrier under concrete, around edges and penetrations?
Use full sheets when possible, keep the barrier smooth, and overlap seams by at least 6–12 inches; then tape seams thoroughly to prevent moisture leaks. At the perimeter, run the barrier up the wall a few inches (or as required by your system) and trim after installing the appropriate base or underlayment so it remains sealed. For penetrations like plumbing sleeves or electrical conduits, cut carefully and use compatible sealants or flashing to maintain continuity. This careful detailing helps protect your stained concrete floor from moisture-related discoloration and premature coating breakdown.
📅 Last Updated: October 10, 2026 | Topic: How to install a vapor barrier under stained concrete floors? | Content verified for accuracy and freshness.
References
- Vapor barrier
https://en.wikipedia.org/wiki/Vapor_barrier - https://www.epa.gov/radon/radon-resistant-construction-techniques-new-construction
- https://www.epa.gov/mold/moisture-control-home-checklist
- https://www.energy.gov/energysaver/crawl-spaces
- https://www.energy.gov/energysaver/foundation-insulation-and-air-sealing
- WBDG
https://www.wbdg.org/resources/vapor-retarders - https://extension.umn.edu/moisture-and-indoor-air-quality/crawlspace-moisture-and-mold
- Google Scholar Google Scholar
https://scholar.google.com/scholar?q=vapor+barrier+under+slab+on+grade+concrete+installation - Google Scholar Google Scholar
https://scholar.google.com/scholar?q=concrete+slab+moisture+vapor+barrier+stained+concrete+overlay - Google Scholar Google Scholar
https://scholar.google.com/scholar?q=crawl+space+vapor+barrier+polyethylene+installation+thickness+overlaps