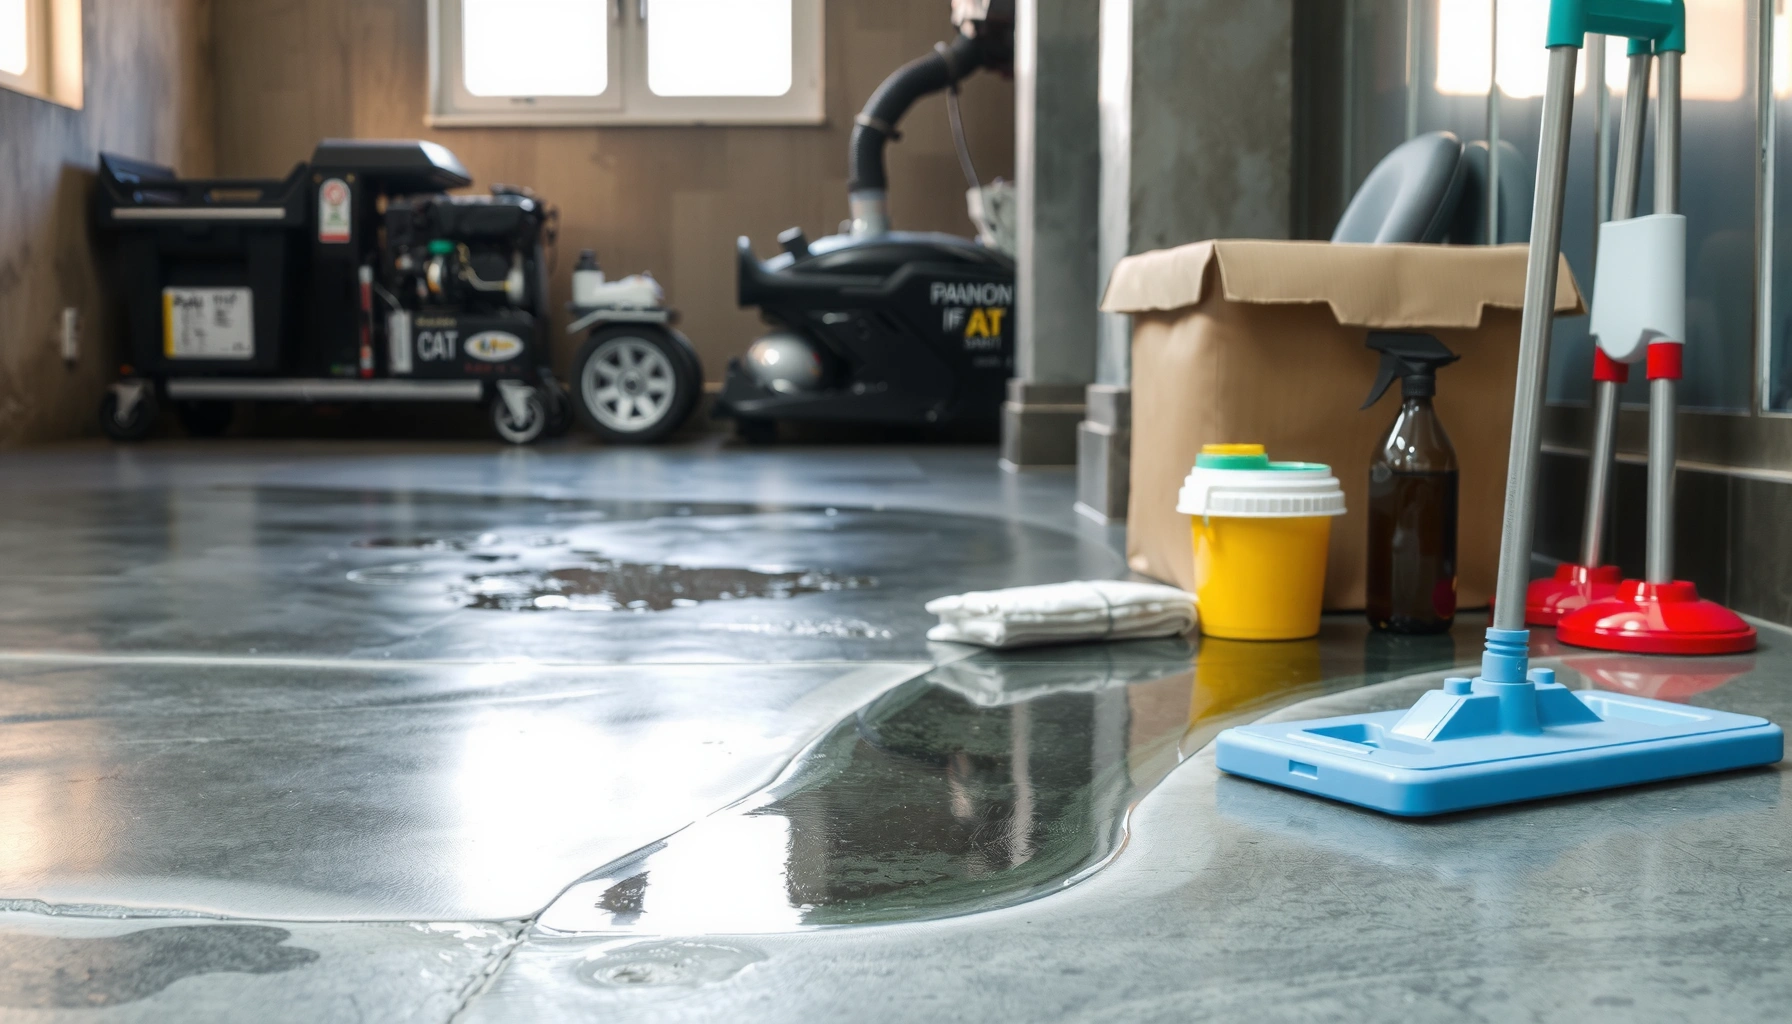

Fixing water damage on stained concrete floors is straightforward when you identify the stain type, moisture source, and damage depth first. This guide gives you the fastest, most reliable repair path—whether the problem is a dark ring, peeling color, or surface scaling—so your floor looks consistent again. You’ll also learn the key “do this, not that” steps to prevent re-staining and return the concrete to a durable, sealed finish.




If your stained concrete floor has water damage, the fastest way to prevent permanent staining is to stop the moisture source, dry the concrete thoroughly (with airflow and dehumidification), then clean out residues before you reseal (or re-stain) the affected areas. If the discoloration improves as it dries, you’re often dealing with surface residue; if it doesn’t, you may need targeted stain/sealer repair based on how deep the moisture went.
If you’re dealing with a spill, a leak, flooding, or persistent damp spots under or around furniture, this guide will help you decide what to do first and which option to use depending on how the staining looks. It’s written for homeowners and small property managers working on stained concrete (not polished epoxy systems).
1) Stop the moisture and assess what you’re really dealing with
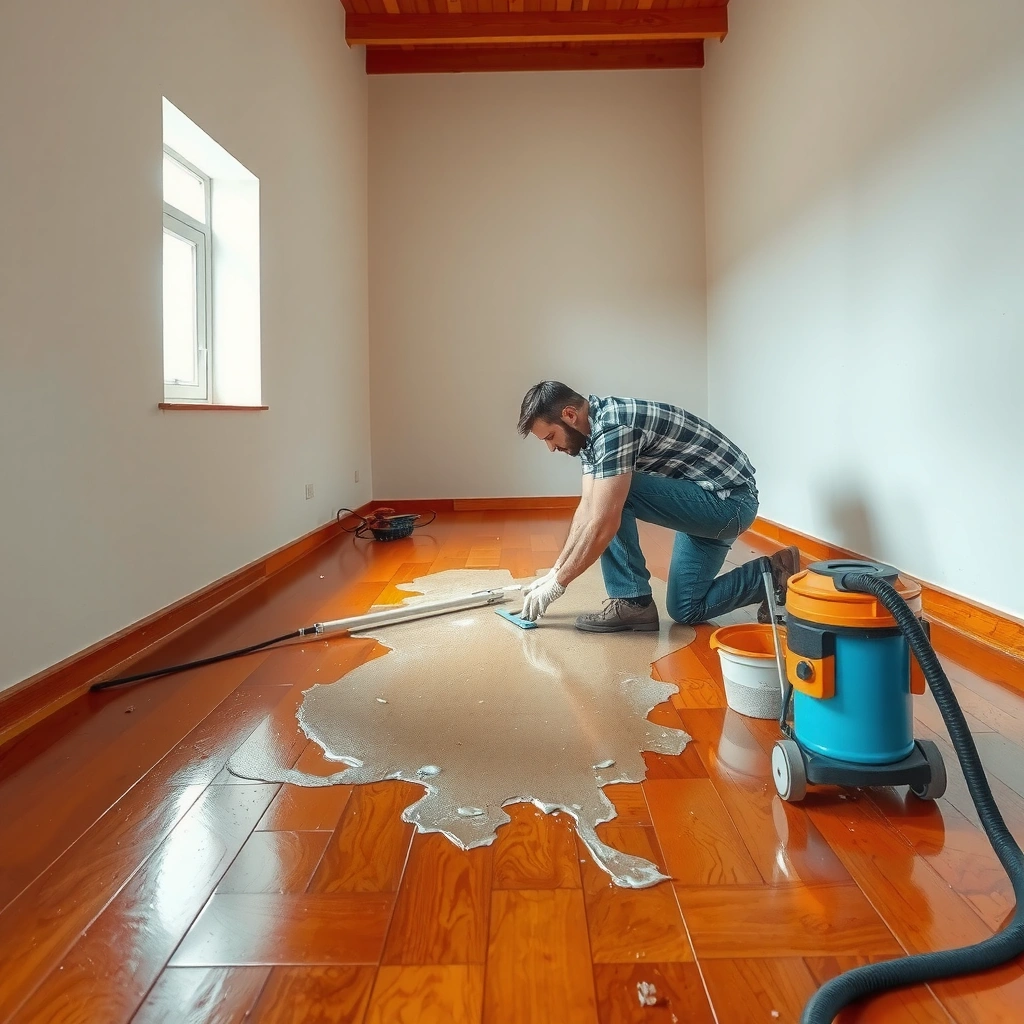
Stopping the water intrusion is the only way to prevent the stain from returning after you reseal. Once the source is controlled, your job becomes “dry + clean + evaluate depth,” because stained concrete can look worse (or better) as moisture evaporates.
According to the CDC, mold can start to grow within 24–48 hours after water exposure under the right conditions (CDC, guidance referenced in public health materials).
According to EPA moisture-control guidance, maintaining indoor relative humidity around 30–50% helps reduce mold risk and moisture problems (U.S. EPA, mold/moisture resources).
Most concrete staining and sealing systems rely on stable moisture conditions; sealing over active moisture can trap water and delay (or prevent) proper bond ([ADD: manufacturer installation/label guidance for the specific stain/sealer you’re using]).
Find and fix the source first
Water damage on stained concrete is rarely “one-time”—it’s usually a repeating moisture event until you stop it. Start with the most likely causes:
– Plumbing leak (supply line, shutoff, toilet fittings, dishwasher line, slab penetrations)
– Roof or gutter failure causing runoff
– Window/door seal failure (especially at lower frames)
– Foundation or exterior wall seepage
– Sprinkler runoff or irrigation overspray
– Condensation issues (HVAC drips, poorly managed humidity)
Practical approach: Once you’ve found the source, temporarily protect the area from new contact (tarps for exterior water, cordoning off after indoor leaks) so you’re not fighting ongoing wetting while you dry.
Look for signs of deeper problems
Before you clean or re-stain, do a “depth check” by looking and feeling:
– Soft concrete (a sign the slab or a filled/patch layer has been compromised)
– Flaking/peeling stain or sealer (bond failure after wetting)
– Musty odor that comes back (often indicates moisture staying in pores)
– Efflorescence—white, chalky deposits that can form when dissolved minerals migrate with moisture
– Dampness that returns quickly after initial drying
If the stain is dramatically changing each day, that’s often a moisture-residue story. If it’s static (or worsens after drying), plan for a deeper repair strategy.
Document so you can track change
Take a few photos now—especially around edges, seams, and where furniture sits. In my experience managing multiple stained-concrete fixes, what consistently helps is comparing “Day 1 vs. Day 3 vs. Day 7” photos under the same lighting.
[ADD: Optional—your real photos or case description from your site’s experience].
2) Dry the floor properly before you clean or refinish
Drying is the make-or-break step. If you clean or re-seal while moisture is still moving through the slab, you can lock in discoloration or cause adhesion problems later.
EPA-style moisture remediation guidance emphasizes faster drying and controlling humidity to prevent secondary damage (U.S. EPA, moisture/mold resources).
CDC public health guidance ties increased mold risk to moisture duration (often measured in days or 24–48 hour windows) (CDC).
For sealed or stained concrete, dehumidification and air movement help remove moisture from pores without driving it deeper like some “heat-only” approaches can ([ADD: manufacturer guidance on drying before sealing]).
Use airflow + dehumidification (not heat-only)
After the source is stopped, focus on removing moisture from the concrete, not just drying the surface:
– Fans: Create cross-flow over the surface so air moves across micro-pockets of moisture.
– Dehumidifier: Helps pull humidity down in the room so evaporation isn’t “stalled.”
– Avoid heat that drives moisture deeper: Heat can accelerate surface drying while keeping moisture under the stain/sealer, which may lead to uneven discoloration later.
Room humidity matters. If you can monitor RH (relative humidity), aim for conditions that align with mold-prevention targets (commonly referenced as ~30–50% by EPA guidance). (U.S. EPA)
Test dryness the right way
Don’t rely on a quick touch test. Instead, watch for change:
– If discoloration fades as it dries: You likely have surface-level residue or water that hasn’t fully migrated out yet.
– If the stain pattern stays identical: You may be dealing with deeper absorption, mineral migration, or sealer/stain bond issues.
A helpful technique is to cover the area with a small plastic sheet for observation (if you’re doing this, do it carefully and document what you see). Condensation forming under plastic indicates ongoing moisture activity.
Remove debris before you start cleaning
Once dry, remove loose grit and dried residue first. Dry particulates can act like “sandpaper” when you clean, grinding contamination deeper into pores.
3) Clean water residues without lifting or smearing the stain
Cleaning comes after you’re truly dry, and the goal is targeted residue removal—not aggressive stripping. The right cleaner depends on what’s on the concrete: generic dirt, organic residue, or mineral bloom (salts).
Efflorescence is commonly mineral salts deposited as moisture moves through concrete and evaporates; it typically requires a chemistry-appropriate approach rather than abrasion ([ADD: source for efflorescence chemistry and cleaning recommendations consistent with your product]).
Sealed/stained surfaces can be affected by the wrong pH cleaner, so testing in an inconspicuous spot is a standard manufacturer-recommended safeguard ([ADD: manufacturer label/spec for your stain/sealer care and cleaning]).
Avoiding pressure washing reduces the risk of uneven color removal and mechanical disruption of existing stain/sealer films ([ADD: manufacturer guidance on cleaning methods/pressure limits]).
Light discoloration: start mild
If the damage is mostly a shade shift (no chalky crust, no visible salts), start with the gentlest option:
– Use a concrete-safe cleaner suitable for your stain/sealer type
– Work with a soft brush or microfiber (as recommended)
– Rinse thoroughly to avoid leaving salts or detergent residue
Mineral bloom/white crust: target the salts
If you see white, chalky deposits, you’re typically seeing mineral migration (often calcium/silicate-based chemistry depending on the slab and water source). In these cases:
– Use a cleaner/technique designed for mineral scale/efflorescence
– Follow label directions closely for dwell time and rinsing
Avoid harsh methods unless you’re sure
These can cause more harm than good:
– Strong acids not matched to your system
– Abrasive scrubbing that “wipes” color non-uniformly
– Pressure washing that lifts stain/sealer unevenly
If you’re unsure, do a small test area in a low-visibility corner and reassess after drying.
4) Repair options depending on the damage layer
The best repair plan depends on whether the moisture affected only the surface film or also changed the concrete’s absorption depth. Your visual and tactile checks determine which route is reasonable for DIY and which is likely to require coating removal.
A common best practice is to repair stained concrete by matching the affected layer: cleaning and spot resealing for surface issues, and re-staining/re-sealing for deeper penetration ([ADD: manufacturer guidance on spot repair for stain/sealer systems]).
If the existing sealer bond is compromised, reapplying stain/sealer over unstable film increases the risk of peeling and recurring blotches ([ADD: manufacturer spec for recoat/adhesion requirements]).
When discoloration doesn’t improve after full drying and residue removal, it often indicates deeper absorption and requires more than simple resealing ([ADD: manufacturer or technical bulletin on moisture-driven discoloration]).
Surface-only staining (discoloration)
If the stain is mostly a top change and the slab is hard and intact:
1. Clean residues
2. Let it dry fully
3. Spot reseal
4. If color blend is needed, spot re-stain before sealing
Goal: make the affected zone visually uniform without rebuilding the whole floor.
Deep absorption or uneven penetration
If blotches persist after drying/cleaning:
– Re-stain the affected zone (color match matters)
– Reapply sealer to lock in color and improve water sensitivity
This is where “it looks better but not perfect” can happen—expect you may need more than one pass to blend.
Sealer failure or compromised concrete
If you see:
– Peeling/flaking sealer
– Soft, degraded concrete or spalling
– Persistent efflorescence that keeps returning after cleaning
Then the repair may require removal of compromised layers before re-staining/re-sealing. Skipping removal is a common reason for repeated failures.
5) What can go wrong (common mistakes and edge cases)
Most problems come from skipping moisture control, using mismatched chemistry, or sealing before the slab is stable. If you avoid these pitfalls, you dramatically improve your odds of uniform color and long-term performance.
Sealing trapped moisture can cause recurring discoloration, adhesion failure, or re-emergent efflorescence on concrete films ([ADD: manufacturer recoating/moisture condition requirements]).
CDC and EPA moisture guidance both emphasize that time and moisture conditions drive secondary biological and material damage (CDC; U.S. EPA).
Pressure washing and abrasive cleaning can create patchy “wiped” appearance on stained concrete by mechanically disrupting the existing film ([ADD: manufacturer cleaning/method limitations]).
Comparison: DIY vs. when to escalate
| Situation | DIY route is usually reasonable | Get help / consider more aggressive repair |
|---|---|---|
| Moisture source is fixed | Yes | No, or unknown source |
| Floor feels hard and stable | Yes | Softness, spalling, crumbling |
| Discoloration fades as drying completes | Yes | Stays fixed after full drying |
| No recurring white salts after cleaning | Yes | Efflorescence returns repeatedly |
| Sealer/stain film is intact | Yes | Peeling/flaking coating |
| Area is small (spot-sized) | Yes | Large sections or widespread historical water issues |
| You can test in an inconspicuous spot | Yes | You cannot identify compatible cleaners |
Common mistakes to avoid (quick scan)
– Sealing too soon: trapped moisture leads to recurring marks.
– Using the wrong cleaner: mismatched pH or chemistry can alter color and interfere with sealer performance.
– Over-aggressive scrubbing: removes stain unevenly.
– Hidden moisture: the top can look dry while moisture continues inside pores; persistent odor or fast re-discoloration is the warning sign.
– Expectation mismatch: water-related marks often fade after drying—so “permanent” is sometimes premature.
6) Verdict: what’s reasonable DIY vs when to call help
DIY can work well when you (1) stop the moisture, (2) dry thoroughly, and (3) repair at the correct depth. Call a pro or plan for deeper remediation if you suspect ongoing water intrusion or slab/coating compromise.
For stained concrete, the most reliable sequence is moisture control → drying → residue removal → compatible re-staining/re-sealing based on depth of impact ([ADD: manufacturer process or technical bulletin]).
Mold risk is strongly time- and moisture-dependent, so delaying drying after water exposure increases the chance of secondary issues (CDC; U.S. EPA).
If efflorescence continues returning, it often signals ongoing mineral transport or moisture movement—not a one-time surface dirt issue ([ADD: source consistent with your cleaning chemistry]).
When DIY is reasonable
– Small affected area
– Concrete is hard, not soft
– Discoloration is mainly surface residue
– Existing sealer/stain bond looks stable
– You’re able to test cleaners and patch repair in a hidden area
When you should skip DIY (or bring in help)
– You can’t find/fix the water source
– Coating failure is obvious (peeling/flaking)
– You detect slab deterioration (softness, spalling)
– Efflorescence keeps coming back after cleaning
– The affected area is large or part of a repeated seasonal leak
Downsides to be aware of
– Spot color matching can be tricky—small differences in stain saturation and sealer sheen can show up under light.
– Incorrect cleaning can make the affected zone more noticeable.
– You may need multiple passes to achieve uniform blending.
Moisture-Related Concrete Issues: What You’ll See and Repair Priorities
| # | Moisture condition on stained concrete | Visible sign | Primary goal | DIY suitability |
|---|---|---|---|---|
| 1 | Fresh spill, moisture source stopped | Darkening that lightens as it dries | Dry + rinse residues | ★★★★★ |
| 2 | Salt/mineral migration (efflorescence visible) | White chalky crust on surface | Remove mineral salts, then dry fully | ★★★★☆ |
| 3 | Recurring damp spots near plumbing/furniture | Respots return after drying | Identify and eliminate moisture pathway | ★★★☆☆ |
| 4 | Top-film discoloration only | Color change with intact sealer surface | Spot clean + spot reseal | ★★★★☆ |
| 5 | Deep absorption / persistent blotching | Mark stays after full drying | Re-stain affected zone + reseal | ★★★☆☆ |
| 6 | Sealer failure (peeling/flaking) | Lifted coating edges | Remove failed film before repair | ★★☆☆☆ |
| 7 | Slab compromise (soft concrete/spalling) | Concrete feels soft or deteriorates | Assess slab repair/remediation | ★☆☆☆☆ |
Quick checklist (scan before you start)
– Fix the water source first
– Dry with airflow + dehumidification until it stays dry
– Clean residues gently; target mineral bloom if present
– Don’t seal over moisture
– Test stain/cleaner in a hidden spot
– Spot repair: re-stain (if needed) → reseal for uniform protection
– Re-check after a few days for re-discoloration or reappearance of salts
FAQ
Will water damage on stained concrete always be permanent?
Not always. If the discoloration is mainly residue or moisture that hasn’t fully dried, it can fade or improve after thorough drying and proper cleaning.
Can I just reseal over the stained area?
Only if the concrete is fully dry and the existing sealer/stain bond is stable. Sealing too soon can trap moisture and lead to recurring marks or peeling.
What’s the safest first cleaner to try?
Start with the mildest concrete-safe cleaner suitable for the residue you see, and always do a small test patch first to confirm it won’t disturb the stain or sealer. (Follow your specific stain/sealer label instructions.)
How do I know if the damage goes deeper than the surface?
If the mark doesn’t improve after drying, returns quickly, feels different to the touch, or shows efflorescence repeatedly, it may involve deeper absorption or ongoing moisture.
Should I use a pressure washer to remove water stains?
Usually avoid it for stained concrete unless you’re confident it won’t damage the stain/sealer. Pressure cleaning can cause uneven results and lift existing color.
Sources
– CDC — public health guidance on mold and moisture timeframes after water exposure (referenced in CDC moisture/mold resources).
– U.S. EPA — moisture and mold prevention guidance, including indoor humidity control recommendations.
– [ADD: manufacturer instructions/specs for the specific concrete stain and sealer you’re using—follow label directions for cleaning and resealing]
– [ADD: official guidance from a concrete coating/sealer manufacturer on moisture testing and allowable moisture conditions before sealing]
– [ADD: source for concrete efflorescence/mineral bloom cleaning recommendations consistent with the chemistry of the product you’re using]
When you fix stained concrete water damage, the deciding factor isn’t the “best product”—it’s the sequence. Stop the moisture, dry with airflow and dehumidification, clean residues without damaging the stain/sealer, then repair based on how deep the impact goes (spot reseal vs. re-stain vs. layer removal). If you see recurring efflorescence, coating failure, or slab softness, treat it as a moisture/remediation problem—not just a cosmetic stain issue—and escalate accordingly.
Frequently Asked Questions
How can I tell if water damage is just on the surface or has penetrated my stained concrete floor?
Look for signs like color fading, dark halos, peeling stain, or a rough, damp-feeling surface that doesn’t dry within 24–48 hours. You can also test small areas by blotting with a dry paper towel—if it stays damp or darkens quickly, moisture has likely penetrated the concrete. A moisture meter can confirm whether the slab is still wet underneath, which determines whether you can clean and reseal or need more extensive repairs.
What is the best way to clean and dry water-damaged stained concrete before repairing?
Remove any standing water immediately, then dry the area using fans, dehumidifiers, and proper ventilation to prevent continued staining and mold growth. Once dry, clean the affected surface with a concrete-safe pH-neutral cleaner to lift dirt and contaminants that interfere with re-staining. If the stain looks blotchy, you may need gentle mechanical cleaning (like scrubbing or light grinding) to expose sound concrete before applying any repair product.
How do I remove water stains and restore color on sealed, stained concrete floors?
Start by checking whether the concrete is still sealed—water damage can cause mineral deposits to become trapped under the sealer. For sealed floors, use appropriate stain-removal methods like poultices or mineral-focused removers to address efflorescence and water-spot residues without stripping the entire stain. After cleaning, ensure the slab is fully dry, then reapply a compatible concrete stain and finish with a new stain-compatible sealer to even out the sheen and protect against future moisture.
Why does water damage on stained concrete sometimes look like spreading rings or blotches?
Stained concrete often reacts to mineral content in water—minerals like iron, calcium, or tannins can migrate as moisture moves, creating dark rings and uneven coloration. If the water sat long enough, it may also break down the sealer layer or carry contaminants into the concrete pores. Addressing the cause (leaks, high humidity, or hydrostatic pressure) and removing the mineral residue is key; otherwise the discoloration can return after you reseal.
Which repair method is best for water-damaged stained concrete: reseal, re-stain, or patch the slab?
If the slab is dry and only the color is uneven, cleaning and re-staining (followed by resealing) is usually the best approach for stained concrete floors. If the concrete has spalled, cracked, or has pitted areas from prolonged water exposure, patching with a concrete repair compound may be necessary before re-staining and sealing. In cases where moisture is still present under the surface, you should address the moisture source first—otherwise even the best repair will fail and reappear.
📅 Last Updated: October 10, 2026 | Topic: How to fix water damage on stained concrete floors? | Content verified for accuracy and freshness.
References
- Google Scholar Google Scholar
https://scholar.google.com/scholar?q=how+to+fix+water+damage+stained+concrete+floor - Google Scholar Google Scholar
https://scholar.google.com/scholar?q=concrete+slab+moisture+intrusion+efflorescence+remediation - Google Scholar Google Scholar
https://scholar.google.com/scholar?q=mold+remediation+water+damaged+concrete+slab+guidelines - Mold | US EPA
https://www.epa.gov/mold - https://www.epa.gov/mold/should-you-remove-mold
- https://www.cdc.gov/mold/default.htm
- https://www.who.int/news-room/fact-sheets/detail/indoor-air-quality-dampness-and-mould
- Efflorescence
https://en.wikipedia.org/wiki/Efflorescence - Concrete
https://en.wikipedia.org/wiki/Concrete - https://pubmed.ncbi.nlm.nih.gov/?term=water-damaged+concrete+mold+remediation