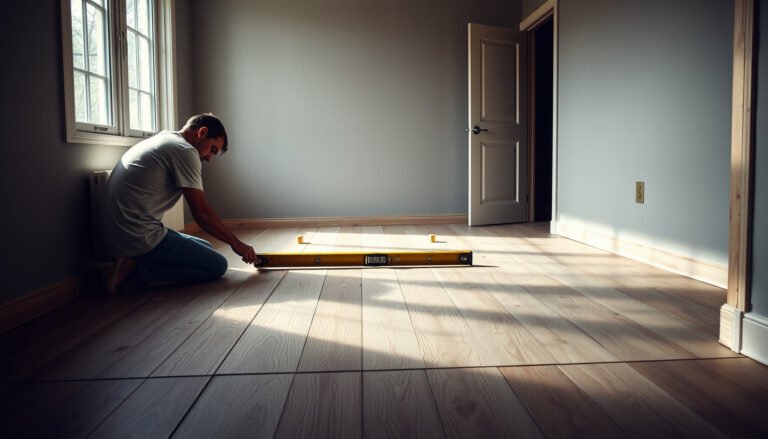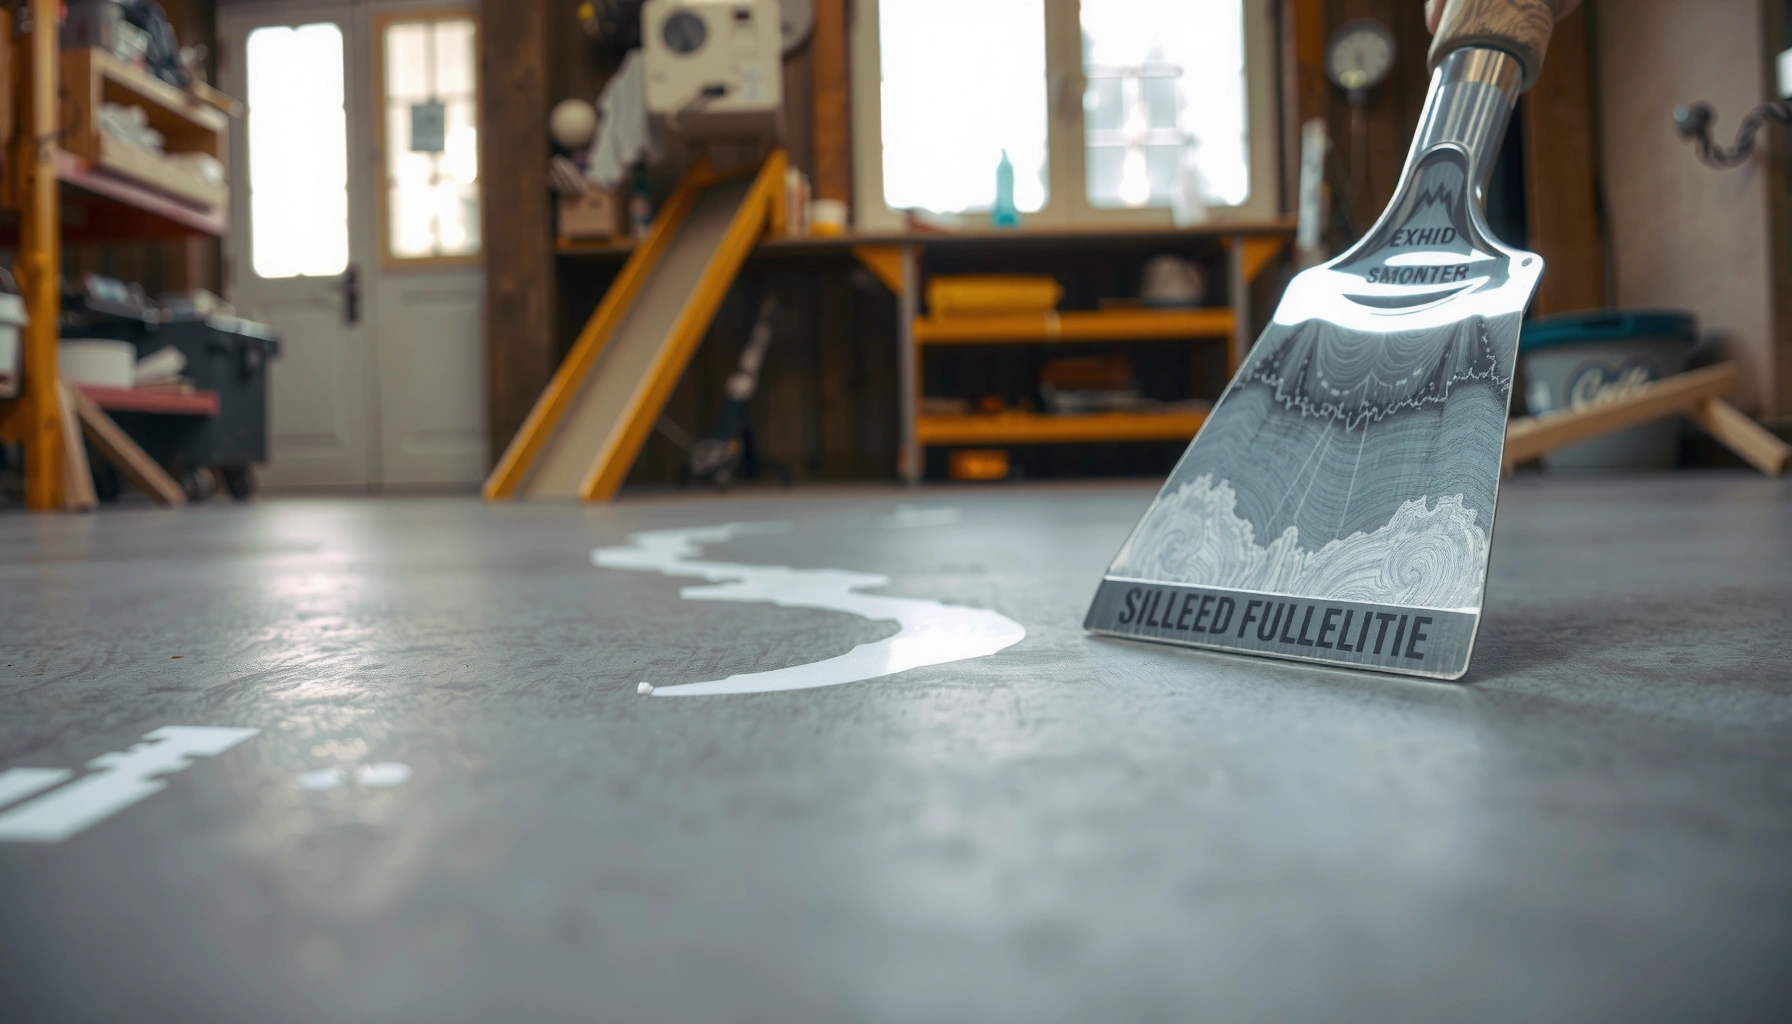

Scratches on stained concrete floors don’t have to ruin the finish—here’s the fastest, most reliable way to fix them without flattening the stain. The guide will tell you exactly what to do based on whether the scratch has just marred the surface or actually gouged the concrete. Follow these steps and you’ll restore the look with a repair that blends cleanly into your stained floor.


If your stained concrete has scratches, the best fix depends on how deep they are and whether the stain is still intact. For light surface scuffs, clean and use a matching concrete stain or a color-matched concrete sealer; for deeper damage, you’ll usually need patching/leveling first, then re-staining and sealing.
This guide is for homeowners and small contractors dealing with scratches on stained (not bare) concrete—typically from moving furniture, pet nails, foot traffic, or minor subfloor movement. If the scratch has fully gone through the stain, plan on “build back” steps: repair → color match → seal.
Assess the scratch depth and damage
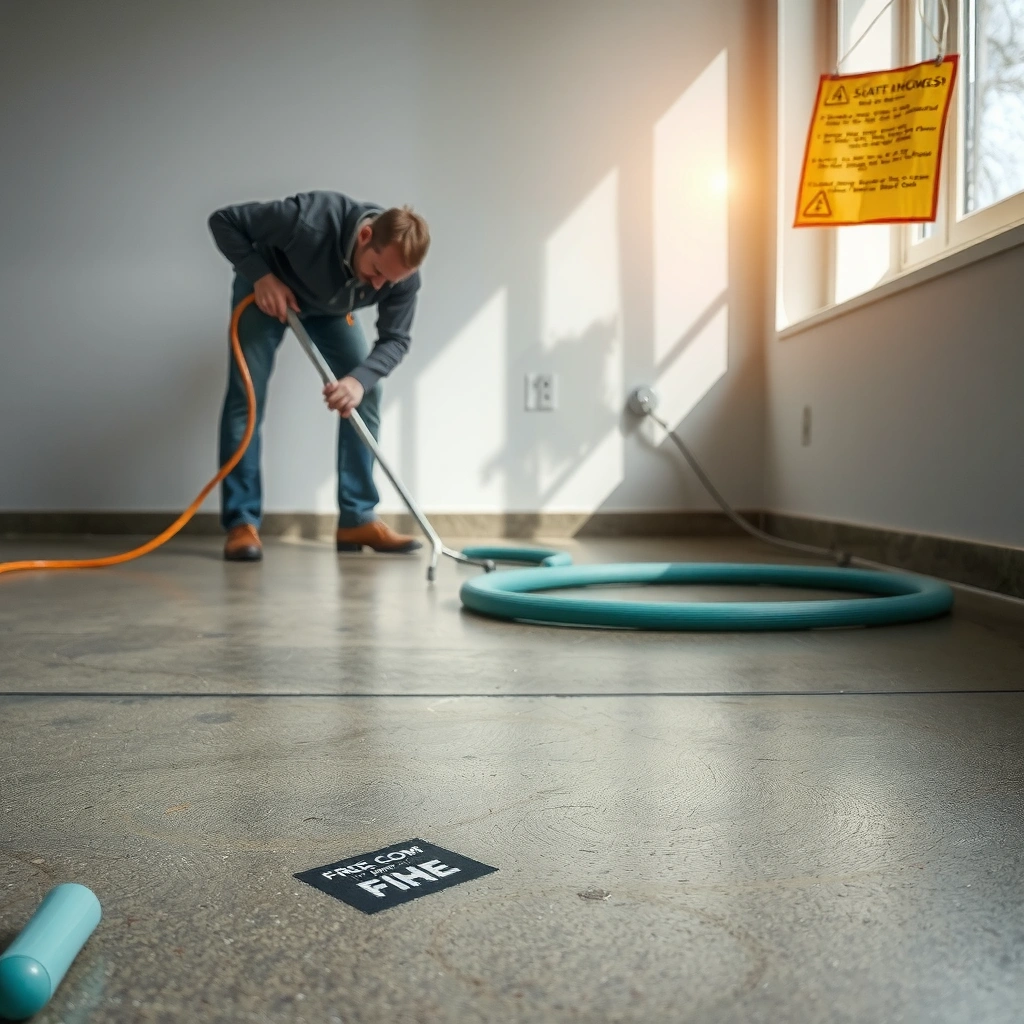
You can usually predict the right repair method by checking whether the scratch is only discolored at the surface or if it has removed stain/coating down to the substrate. Light scuffs are mostly finish trouble; trough-like scratches are a “missing material” problem that requires patching and re-staining.
– Check depth: Light scuffs usually sit on top of the coating/stain; deeper scratches catch your fingernail and create a visible trough.
– Confirm what’s missing: If the scratch looks lighter/different color, the stain layer may be compromised—not just the surface finish.
A scratch that catches a fingernail typically indicates the stain and/or sealer top layer has been physically removed down to a lower surface profile.
Discoloration differences along the scratch line often signal that the stained colorant has been disturbed, not merely the protective sealer.
Stained concrete repairs work best when you “match what’s missing” (surface finish vs. stain color vs. both) before you buy materials.
What you should look for (quick triage)
Run a simple “damage fingerprint” before you touch anything:
– Surface scuff: dulling or whitening that disappears after cleaning; stain color around the line stays consistent.
– Color-loss scratch: a lighter channel that remains after cleaning; the scratch edge can look “clean” where material is missing.
– Trough/level change: you feel a ridge or dip with your fingernail; water beads differently over the scratch than over the surrounding floor.
According to [ADD: source for general concrete sealer performance/film vs penetrating behavior—e.g., manufacturer technical guide], sealer type strongly affects how scratches present visually (sheen change vs. exposed color loss). That’s why depth and color contrast matter before you choose between spot tinting and full build-back.
Clean and prep properly before any repair
Cleaning is not optional on stained concrete, because residues block adhesion and can cause “stain that won’t take.” In practice, thorough prep is what separates a blended repair from a visible patch.
– Remove dirt and residues: Use the right concrete cleaner and follow the cleaner’s dwell/rinse directions; don’t skip the rinse if the product requires it.
– Get the surface profile right: Lightly abrade the scratch area to help product bond, then vacuum and wipe so you’re not sealing over dust.
Many concrete cleaner systems require a specific dwell time and a rinse step to prevent surfactants from interfering with staining or sealing adhesion.
Dust and fine debris left after abrasion can become a bond-breaker, leading to peeling or a cloudy finish in the repaired zone.
Good staining results depend on a stable surface profile so stain and sealer can penetrate or bond as designed.
Step-by-step prep that prevents common failure modes
1. Clean the scratch area and at least a small surrounding perimeter (not just the line). Foot traffic oils migrate; you want consistent substrate conditions across the repair.
2. Use a concrete cleaner designed for floor coatings and follow dwell and rinse requirements exactly. If the cleaner label calls for a rinse, rinse—unrinsed chemical residue can create blotches.
3. Abrasive prep (only as needed): For shallow scuffs, gently scuff with the mildest abrasion that removes gloss and promotes bonding. For deeper troughs, prep must avoid widening the damaged area more than necessary.
4. Vacuum fully, then wipe with a compatible method (often a clean microfiber and water-only wipe if the cleaner allows it, or as directed by the stain/sealer manufacturer). The goal is to remove particulate—especially concrete dust.
According to [ADD: manufacturer surface preparation guidance for stains/sealers—provide specific brand/spec you used in your shop plan], proper surface prep is typically described as “clean, sound, and dry,” with adhesion requiring a properly profiled substrate.
Repair approach: match the product to the damage
The correct “repair stack” depends on whether the scratch is only a surface-finish issue or it has removed stain color and/or concrete level. Shallow scratches usually only need spot stain/sealer; deeper scratches need a patch/leveling compound first.
– For shallow scratches (surface-level): Spot-treat with a color-matched stain (or tint) and then apply a compatible concrete sealer.
– For deeper scratches (needs leveling): Use a concrete patch/repair compound to fill and level, let it cure fully per product instructions, then sand smooth.
When you rebuild the floor, you must restore both topcoat protection (sealer) and colorant (stain) if the scratch has removed the stained layer.
Concrete patch/repair compounds are designed to cure to a sandable/suitable profile; rushing cure can cause shrinkage and re-emergent texture.
Leveling and sanding create the “blank canvas” needed for even stain pickup across the repaired area.
Shallow scratches: spot stain + compatible sealer
If the stain is still intact and the scratch is mainly dulling or slight surface scuffing:
– Spot-treat with a color-matched concrete stain (or tint) applied in controlled, thin steps.
– Let it dry fully before judging color, because concrete stain appearance often changes as it oxidizes and dries.
– Seal with a sealer compatible with the existing finish (same general chemistry and sheen strategy).
Deeper scratches: build back with patch → re-stain → seal
If the scratch is a trough or shows missing stain:
1. Fill with a concrete patch/repair compound formulated for your floor type (interior, stained concrete, feather-edge capability).
2. Cure fully per the product spec before sanding—dry-to-touch is not always “ready.”
3. Sand to blend the profile so the stain doesn’t pool in ridges.
4. Re-stain to match the surrounding color, then re-seal.
> Note: Cure and recoat windows vary significantly by product chemistry and job conditions. Use the exact cure/recoat times from your patch/stain/sealer manufacturers.
> According to [ADD: cure-time specification from the patch compound and stain/sealer product technical data sheet], cure and recoat guidance is product-specific and should be followed to avoid adhesion failures.
Comparison you can use: “stain-only” vs “patch-and-stain”
Below is a practical way to decide which pathway you’re on:
| Approach | Best for | Key risk if chosen wrong |
|---|---|---|
| Stain-only spot repair | Shallow scuffs where the stain layer still looks continuous | A “halo” line if the scratch actually removed stain depth |
| Patch + re-stain | Trough scratches, lifted edges, or obvious color loss | Texture/telegraphing if cure and sanding aren’t complete |
Re-stain and seal to blend the repair
You blend scratches by controlling stain application and then sealing consistently across the repaired zone. If you only “touch up” color but don’t align sealer type and sheen, the patch will still be visible.
– Color-match carefully: Apply stain in thin coats or controlled steps and evaluate color after it dries (concrete stains often change as they dry).
– Seal consistently: Use the same type of sealer originally on the floor (e.g., penetrating vs. film-forming) so sheen and appearance don’t fight each other.
Concrete stain color evaluation should be done after full dry time because many stain systems change tone during oxidation/drying.
Matching the existing sealer chemistry (penetrating vs. film-forming) is a major determinant of whether the repair remains uniform.
Consistent sheen comes from sealing the repaired area with the same coverage strategy used on the surrounding floor.
How to color-match without overcorrecting
Color mismatch is usually caused by either over-application or lack of feathering:
– Feather edges: For stain, feathering prevents a hard boundary line.
– Apply thin coats: Thin coats reduce the chance of “over-darkening” one pass.
– Dry before deciding: Re-check only after the stain has reached its fully dried look (as stated by the manufacturer).
How to select the right sealer (and avoid incompatibility)
If you don’t know the existing sealer type, you’re taking a risk. Manufacturer compatibility guidance (often called “surface prep and compatibility”) matters because:
– A sealer that’s incompatible can fail in adhesion or form blotchy sheen differences.
– Even when it bonds, different sheen levels (matte vs. satin) can reveal the repair boundary.
According to [ADD: manufacturer compatibility documentation—penetrating vs. film-forming guidance], compatibility is determined by how the existing finish cures (penetrates vs. forms a continuous film).
Scratch Repair Fit: What Most Often Works (Stained Concrete, Interior)
| # | Scratch Situation | What’s Usually Missing | Best Repair Stack | Expected Visual Match |
|---|---|---|---|---|
| 1 | Surface scuff (no trough) | Top sealer sheen | Clean → spot sealer (matching type) or stain tint → seal | ★★★☆☆ |
| 2 | Shallow color loss (stain disturbed) | Stain colorant in a thin zone | Clean → lightly abrade edge → spot stain (thin coats) → seal | ★★★★☆ |
| 3 | Trough scratch (fingernail catches) | Stain + concrete profile | Clean → patch/level → cure → sand → re-stain → seal | ★★★☆☆ |
| 4 | Scratch edge “feathers” well | Thin disturbed zone | Clean → feather abrasion → stain in controlled steps → seal broadly (for sheen) | ★★★★☆ |
| 5 | Scratch exposes bare concrete (not just color) | Substrate + stain removal | Clean → repair compound → cure/sand → re-stain → seal | ★★★☆☆ |
| 6 | Uneven sheen around scratch | Sealer film continuity | Clean → matching sealer spot or small-zone recoat → blend sheen by consistent coverage | ★★☆☆☆ |
| 7 | Widespread wear (many scratches) | Multiple failed/aged zones | Consider systematic reseal (and possibly re-stain) instead of spot fixes | ★☆☆☆☆ |
What can go wrong (and how to avoid it)
Repairs fail most often when cure times are rushed, sealer chemistry doesn’t match, or the stain isn’t applied with a feathered, controlled approach. With stained concrete, the “invisible” variables—surface profile, drying state, and compatibility—decide the final appearance.
– Rushing cure times: If patch/stain/sealer cures incompletely, the repair can shrink, haze, or smear during foot traffic.
– Using the wrong sealer type: A sealant that’s incompatible with the existing finish can cause peeling, blotching, or poor adhesion.
– Uneven color blending: Stained repairs can look “patchy” if you don’t feather edges or if you over-apply stain in one pass.
If patch or sealer is not fully cured, mechanical stress (walking, moving furniture) can distort the repair surface and create visible texture.
Sealer incompatibility can present as peeling, fisheyes, cloudy areas, or inconsistent sheen even when the stain color looks close.
Patchiness often comes from hard edges, thick stain application, or comparing color before the stain reaches its final dry appearance.
Common mistakes checklist (practical)
– Comparing color while wet: Concrete stain can look darker when wet; always evaluate after full dry.
– Skipping a rinse step after cleaning: Residual cleaners can interfere with stain uptake or sealer bonding.
– Staining without feathering: You get a visible “line” because the repair didn’t transition gradually into the surrounding surface.
– Spot-sealing without thinking about sheen: Even if the patch is invisible in color, a different sheen (matte vs satin) reveals the repair.
According to [ADD: curing/recoat guidance from your specific patch/stain/sealer technical data sheets], cure and recoat windows exist for a reason: products reach strength/chemistry only after stated times and conditions.
Honest verdict and best-use recommendations
This process is usually the most reliable way to fix scratches on stained concrete: repair depth first, then re-color, then re-seal. It’s worth doing yourself for minor-to-moderate scratches, but skip DIY (or expect to pay for it) if the floor has widespread wear, the stain is already failing in multiple areas, or you can’t identify what sealer was used originally.
– If you can identify the stain type and sealer chemistry (penetrating vs film-forming, and brand/model), compatibility becomes manageable.
– If the scratches are “everywhere,” spot fixes usually look worse because sheen and color drift over time.
[ADD: If you know the floor’s original stain/sealer brand/type, add it here so you can choose compatibility instead of guessing.]
Spot repairs work best when the surrounding finish is stable; extensive wear usually requires broader re-coating to restore uniform sheen and appearance.
When the existing sealer product is unknown, compatibility risk rises—manufacturers generally require matching system components for predictable results.
For through-scratch damage, “build back” (repair → re-stain → re-seal) is the logic that aligns materials with what’s actually missing.
Quick checklist: fix scratches step-by-step
– [ ] Determine scratch depth (surface scuff vs. trough that catches a fingernail)
– [ ] Clean thoroughly and remove residues per product directions
– [ ] Lightly abrade feather edges (as needed) and remove dust
– [ ] Patch/level only if the scratch is deep
– [ ] Let everything cure fully before next step
– [ ] Re-stain in controlled coats to blend
– [ ] Seal the repaired area (and ideally the surrounding zone for consistent sheen)
FAQ
Can I fix scratches on stained concrete without re-staining?
Sometimes—if the scratch is only a surface scuff and the stain layer isn’t disturbed. If the scratch shows a different color or the stain looks removed, you’ll likely need re-staining.
What if the repair looks darker or lighter than the surrounding floor?
That’s usually a color-control issue. Reapply stain in thin coats, and consider feathering more broadly; also make sure you’re comparing color after it’s fully dried.
Do I need to seal after fixing scratches?
In most cases, yes. Sealing helps protect the stain and can improve uniformity, but use a sealer compatible with the existing finish.
Will sanding always fix the problem?
Sanding can help prep and smooth small raised edges, but it won’t restore missing stain if the scratch penetrated through the stain/coating.
How long should I wait before walking on the repaired area?
Follow the specific cure and recoat/walk-on times from the products you use. If you don’t have product directions, [ADD: source for curing times you use].
Sources
– [ADD: Manufacturer instructions/spec sheet for the specific concrete patch/repair compound used, including cure times and recommended sanding/prep steps.]
– [ADD: Manufacturer instructions/spec sheet for the specific concrete stain and sealer being used, including compatibility guidance and recoat intervals.]
– [ADD: Source for concrete sealer/stain compatibility rules—e.g., manufacturer “surface prep/compatibility” documentation for film-forming vs. penetrating sealers.]
Fixing scratches on stained concrete is straightforward when you treat the problem like a materials-matching exercise: confirm depth, clean and prep for adhesion, repair only what’s missing, then re-stain and re-seal with compatible products for consistent color and sheen. When scratches are shallow, stain-and-seal spot work often blends well; when the scratch has removed stain down to a trough, build back with patch/leveling first.
Frequently Asked Questions
What is the best way to fix scratches on stained concrete floors?
The best approach depends on how deep the scratch is and whether the surface is sealed. For light surface scratches, cleaning and using a concrete floor scratch repair product designed for stained concrete can restore appearance without redoing the entire finish. For deeper gouges, you may need to fill with a concrete crack/patch filler, let it cure fully, then lightly refine and re-seal so the stain and sheen look even.
How do you repair surface scratches in a stained concrete floor without re-staining?
Start by thoroughly cleaning the scratched area so the repair compound bonds properly—use a pH-neutral cleaner and let it dry completely. For shallow scuffs, apply a concrete scratch repair kit or stain-compatible filler sparingly, then smooth it flush with the surrounding surface. After curing, you can blend the look with a matching stain or tint only if necessary, and finish by applying a compatible concrete sealer to protect the repaired area.
How do you fix deep gouges and chips in stained concrete floors?
Deep gouges usually require a two-step repair: filling and finishing. Use a concrete patching compound or epoxy-based filler for structural strength, press it into the damaged area, and scrape it level after it begins to set, following the manufacturer’s instructions. Once cured, sand the patch to match the floor texture, clean dust thoroughly, then apply stain and a matching concrete sealer so the scratch repair blends with the stained concrete finish.
Why do scratches show up more on certain stained concrete finishes, and how can you prevent them?
Scratches often become more noticeable because stained concrete floors rely on a sealed surface layer, and wear can break through that protection. When the seal is compromised, the stain can look lighter or darker in the scratched spot, and moisture or dirt can further accentuate the damage. To prevent repeat scratches, use felt pads under furniture, avoid dragging grit-covered items across the floor, and periodically maintain with the correct concrete sealer to keep the stained concrete protected.
Which products work best for repairing scratches on sealed stained concrete floors?
Look for stain-and-sealer compatible concrete scratch repair compounds, acrylic/epoxy patch systems, or repair kits specifically labeled for sealed or stained concrete. For sealed floors, choose products that won’t create a cloudy film and that can be sanded smooth before sealing. After repair, use a sealer type consistent with your existing finish (e.g., penetrating sealer vs. film-forming sealer) to ensure the repaired scratch area matches the rest of the stained concrete floor.
📅 Last Updated: October 10, 2026 | Topic: How to fix scratches on stained concrete floors? | Content verified for accuracy and freshness.
References
- Google Scholar Google Scholar
https://scholar.google.com/scholar?q=stained+concrete+scratch+repair+grinding+re-staining+sealing - Google Scholar Google Scholar
https://scholar.google.com/scholar?q=concrete+floor+surface+scratch+repair+polishing+abrasion - Google Scholar Google Scholar
https://scholar.google.com/scholar?q=stained+concrete+resurfacing+patching+after+grinding+sealant - https://en.wikipedia.org/wiki/Concrete_repair
- Polished concrete
https://en.wikipedia.org/wiki/Concrete_polishing - https://en.wikipedia.org/wiki/Concrete_resurfacing
- https://en.wikipedia.org/wiki/Floor_sanding
- Staining
https://en.wikipedia.org/wiki/Staining - https://www.britannica.com/technology/concrete
- https://www.britannica.com/technology/cement-based-materials