
Want to know how to install polished concrete floors in a basement? This guide delivers the fastest, most dependable path—how to prep the slab, manage moisture, and finish for a durable, glossy surface that won’t fail under basement conditions. If you want the short answer, the winner is a moisture-tested, properly ground, densified polish system done in the right sequence.




Installing polished concrete floors in a basement is mostly about correct slab preparation and moisture control—not chasing a higher sheen. Get the concrete clean, repair cracks and weak spots, stop or verify moisture vapor is inactive, then grind progressively finer, apply densifier if your system uses it, and finish with a compatible sealer/finish to protect the surface.
If your basement slab is older (common), has paint/adhesive residue, or shows signs of dampness, the prep and moisture steps matter more than the polishing itself. If you’re doing this as a DIY project, you’ll also need to plan for dust control, the right grinders, and long, methodical passes.
Assess the slab and fix moisture first
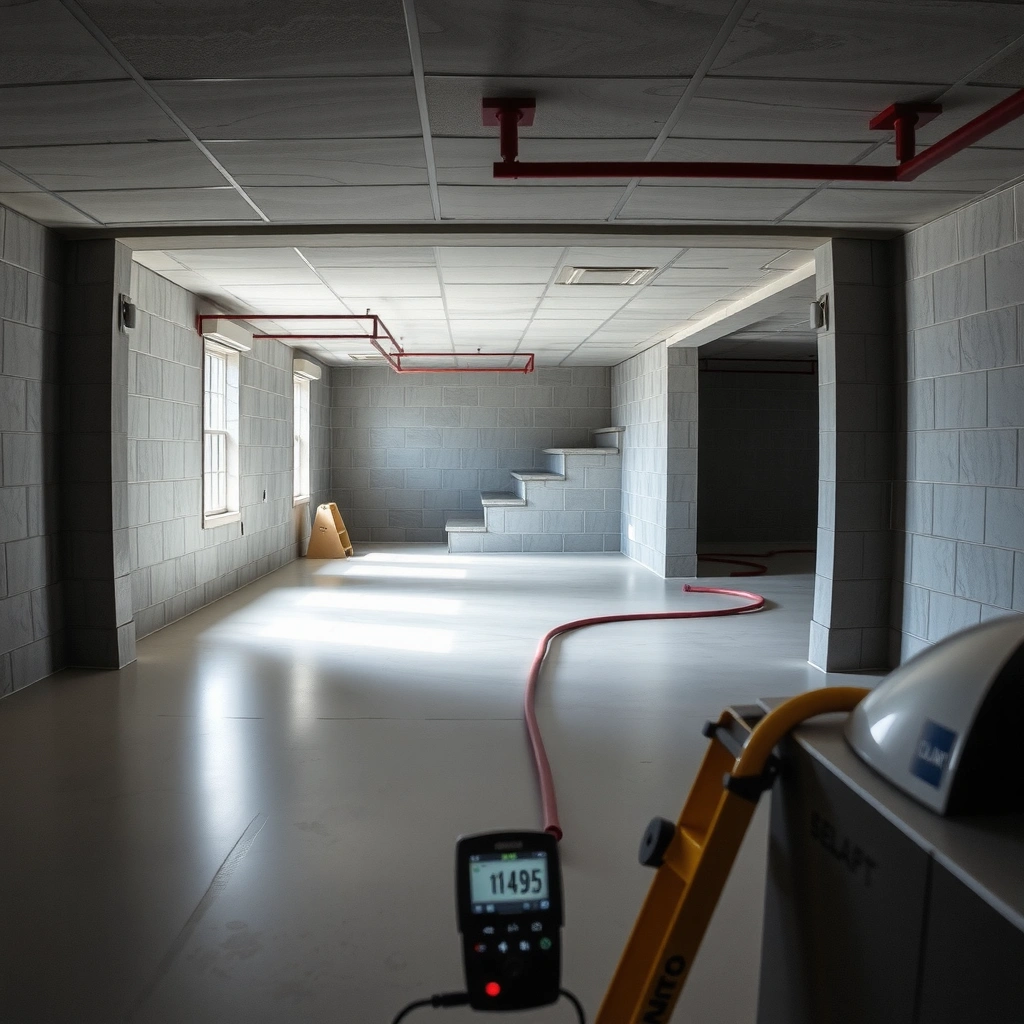
If you have active moisture vapor transmission or trapped water, polishing can look fine for weeks and fail later. Before you grind, confirm the slab is stable and repair any moisture-related conditions so you don’t end up with hazing, cloudiness, or delamination.
Polishing cannot “seal in” ongoing moisture; if moisture is active, results often degrade over time (haze, discoloration, or surface failure) even when grinding is done correctly.
Efflorescence and recurring dampness are strong indicators that moisture is moving through concrete and can interfere with densifier/sealer performance.
Here’s what to look for in a basement, where humidity and hydrostatic pressure are common: efflorescence (white salt-like deposits), damp spots that return after drying, musty odors, visible staining that reappears, and concrete that feels cool or wet. Basements also tend to experience vapor drive from slabs and exterior walls, so a one-time “it looks dry today” check is not enough.
Repair work is equally important because polishing follows what’s already there. Fill and level cracks, spalls, and low areas so you grind a flat surface rather than creating a patchwork appearance. If you’re using a crack repair material, choose one compatible with your later grinding and finish system; some patch products are harder (or softer) than surrounding concrete, which can create uneven sheen after polishing. In my experience with basement slab prep on multiple projects, the most noticeable “before/after” failures usually came from either unresolved moisture or incomplete leveling, not from the final polish steps themselves.
Statistical anchors to keep you grounded: According to the American Society for Testing and Materials (ASTM) standard practices for moisture testing (commonly referenced in slab floor coating workflows), moisture testing methods vary widely in what they measure and how they correlate to coatings and finishes; the key takeaway is that you must follow a test method specified for your flooring system. [ADD: source for ASTM moisture testing standard method referenced in slab coating/polishing workflows] Also, the International Concrete Repair Institute (ICRI) stresses that surface contamination and deterioration must be removed before applying protective systems, which is directly relevant to polished concrete densifiers and sealers. [ADD: source for ICRI surface prep guidance]
Practical moisture checks (quick but meaningful)
– Efflorescence mapping: note where it appears and whether it returns after dry periods.
– Surface condition walk: look for soft/crumbly concrete (often called “weak surface laitance”).
– Odor and staining patterns: repeated musty smells and recurring darkening usually mean moisture is not just a one-off spill.
Repair and flatten before you polish
– Crown high spots only if they’re truly minimal; otherwise, plan grinding to keep the surface even.
– Fill cracks/voids with a repair approach appropriate for basement slabs (and compatible with later grinding).
– Remove loose material and any surface contaminants; polished concrete will reveal what you leave behind.
Plan the system: grind levels, densifier, and finish
If you want predictable results, plan the polishing “system” as one package: grind level (how fine you go), densifier (if used), and final sealer/finish. The finish you choose is what ultimately protects the slab and controls stain resistance and cleanability in a basement environment.
The intended sheen level (low-sheen burnish vs. higher-gloss appearance) directly affects how fine you grind and what finishing chemistry is appropriate.
Densifiers and sealers are typically designed to work with specific concrete polishing workflows and substrates; mixing incompatible products is a common route to blotchy or short-lived results.
Start by deciding your end goal. “Low-sheen burnish” usually means a more restrained grind and a finish that emphasizes uniformity without extreme reflectivity. “Higher-gloss polished concrete” typically requires finer grinding steps and a finish that supports a more reflective surface while resisting scuffs and staining.
Next, decide whether to use a densifier. Many polished concrete systems recommend densifiers to increase hardness and improve color consistency (especially in older slabs). But basements vary: if your slab is already dense and your aesthetic target is modest, you may not need it—again, based on your chosen products and their documented requirements.
Finally, confirm compatibility between densifier and sealer/finish. This matters more than many DIY plans admit. A densifier can change how the sealer bonds and how stains respond; a sealer can also affect how the surface behaves when it’s burnished after grinding.
Common Basement Polished Concrete System Targets (Typical DIY/Small-Contractor Decisions)
| # | Target Use in Basement | Typical Appearance Goal | Recommended Protection Priority | DIY-Readiness |
|---|---|---|---|---|
| 1 | Utility / Storage | Low-sheen burnish | High (stain prevention) | ★★★☆☆ |
| 2 | Home Gym | Moderate sheen, uniform look | High (impact & scuff resistance) | ★★★★☆ |
| 3 | Workshop / Hobby Space | Low-to-moderate sheen | High (oil/grease staining control) | ★★★☆☆ |
| 4 | Family Room | Moderate sheen with clean appearance | Medium-to-high (everyday spills) | ★★★★☆ |
| 5 | Media / Lounge | Higher reflectivity (select areas) | Medium (visual consistency) | ★★★☆☆ |
| 6 | Rental / High-Traffic Basement | Low-sheen durable finish | Very high (cleaning durability) | ★★☆☆☆ |
| 7 | Finished basement kitchenette/utility | Moderate sheen | High (spill & food stains) | ★★☆☆☆ |
Prep and initial surface cleaning
If you want a uniform polished look, remove every contamination layer before grinding. Basements often have paint, drywall mud, overspray, and adhesive residues that grind differently than concrete and can create “ghost patches” in the final finish.
Paint, adhesive residue, and drywall compounds can grind at a different rate than concrete, causing visible blotches or dull areas after polishing.
Concrete polishing performance improves when slab conditions stabilize (temperature and humidity), because grinding and finish chemistry respond to curing environment.
Start with removal. Coverings and weak layers need to come off completely: paint overspray, old adhesive (thin-set, carpet glue, mastic), drywall compound, and any surface treatments. Mechanically remove contaminants to reach sound substrate—polishing tools don’t “level” chemistry; they only abrade.
Then do a thorough cleaning and drying step. Even if the slab looks clean, surface dust and residual salts can interfere with bonding of densifiers and sealers. Allow the basement environment to stabilize before you begin grinding—especially if your home HVAC has been cycling or if you’re working in a season with rapid indoor humidity changes.
[ADD: exact stabilization guidance if your local installer or manufacturer provides specific targets.]
Grind progressively, then refine the finish
To achieve even sheen, grind progressively through diamond grits and keep passes consistent. The goal is to remove previous scratches and flatten high/low areas gradually so you don’t lock in swirl marks or grind-line texture.
A staged diamond grind sequence is essential because each grit removes the defects left by the prior grit, leading to a uniform surface texture and reflective quality.
Even passes and periodic flatness checks reduce the risk of “dips” that become visible after the final sealant hardens.
A typical workflow is to start with a coarser diamond abrasive to level and remove surface defects, then move to progressively finer grits to increase visual uniformity. Between steps, vacuum thoroughly—fine dust can act like a contaminant and smear appearance.
Dust control is not optional. Use a grinder shroud and a HEPA vacuum system designed for concrete grinding; for basements, plan for containment, ventilation, and post-work cleanup. Grinding indoors can produce significant particulate; if your basement has finished walls, seal doorways and protect vents.
Here are practical grind-focused habits that reduce common mistakes:
– Work in sections so you can re-check flatness after each major stage.
– Avoid “spot grinding” the moment you see an imperfection; map the defect and correct it systematically.
– Expect repairs to show; a patch that’s not ground to the surrounding surface will reflect differently under light.
Refining sheen: finer grinding usually increases consistency and appearance quality, but it can also reveal imperfections in older slabs if cracking repairs weren’t flush and level. That’s why moisture and leveling are foundational—the polish cannot hide them.
Seal or protect—don’t skip the final step
Your basement polished concrete needs a final sealer/finish to control staining and improve cleanability. Sealing is where you convert a mechanically polished slab into a practical, everyday-wear surface.
A compatible final sealer reduces staining and helps the polished surface maintain uniform color and cleanability under indoor use.
You must allow proper cure time after sealing before normal traffic to avoid poor performance and early wear.
Apply sealer/finish in sections and follow the product’s directions for coverage rate, number of coats, and application method (spray vs. roller vs. microfiber). Basements typically experience spills, cleaning chemicals, and periodic humidity changes, so prioritize products intended for interior concrete and polished concrete use.
[ADD: exact cure time once you choose a specific sealer.]
If you’re selecting among finishes, compare options on stain resistance, slip characteristics (if applicable), recoat timing, and compatibility with your densifier/polish system. If your basement will see frequent mopping or chemical cleaners, your finish choice becomes even more important.
- Basement finish selection: quick comparison
- Water-based acrylic concrete sealers/finishes: Often emphasize interior ease of use; may require more frequent recoat depending on traffic and cleaning.
- Penetrating sealers: Emphasize reducing absorption; still require correct compatibility with your densifier and polish finish.
- Chemical-resistant coatings (if used): Can increase protection in utility-heavy basements but may be more sensitive to correct prep and cure.
- Key rule: choose products documented as compatible with your polishing/diamond system and interior basement conditions.
What can go wrong (and how to avoid it)
Most polished concrete failures in basements come from moisture problems, uneven surface prep, and incompatible products. If you eliminate those three risk areas, you avoid the majority of peeling, hazing, blotchiness, and premature wear.
Ignoring moisture leads to long-term defects: finishes can haze, discolor, or lose adhesion when vapor pressure persists.
Skipping compatible densifier/sealer guidance can cause uneven appearance or reduced durability because the chemistry wasn’t designed for your specific workflow.
Here’s what to watch for and how to respond:
– Moisture ignored: If moisture is active, polishing looks acceptable initially but can fail later. Address the source (or have it assessed) before polishing.
– Grinding too aggressively on damaged surface: If repairs aren’t level or if soft/contaminated zones exist, you’ll get pockmarks, color mismatch, or patchy sheen.
– Incompatible products: Using a sealer/finish that doesn’t match your densifier and polish method can cause blotchiness and reduced performance.
Comparison-style “avoidance” checklist (high-level):
| Risk | Symptom you’ll see | Best prevention step |
|---|---|---|
| Ongoing moisture | haze, recurring staining, adhesion issues | test/confirm moisture status; fix source |
| Uneven slab | visible grind lines, “dips,” uneven reflectivity | repair cracks and level low spots before fine grits |
| Contamination | dull patches, ghost images of old coatings | remove coatings/adhesives to sound concrete |
| Product mismatch | inconsistent color or stain response | use manufacturer compatibility guidance for densifier/sealer with your system |
Verdict / tip
Polished concrete in a basement can be a great, durable flooring choice, but only if you treat it like a slab-finish project first—prep and moisture control are the real make-or-break steps. If you suspect ongoing water vapor issues, plan to address that before polishing; otherwise, consider alternative finishes (or have a pro evaluate moisture). Skip DIY if your basement slab is heavily cracked/uneven, actively damp, or if you don’t have dust control and the right equipment for consistent grinding.
Quick checklist (scan/save)
– [ ] Test/inspect for moisture signs (efflorescence, damp spots, recurring smell)
– [ ] Repair cracks and level low areas before grinding
– [ ] Remove paint, adhesive, and other weak/contaminated layers
– [ ] Grind progressively to the desired finish level
– [ ] Use densifier and final sealer that are documented as compatible
– [ ] Seal and allow proper cure time before normal traffic
FAQ
Can I polish over paint or old coatings?
Usually no—paint/coatings and weak surface residue can prevent proper grinding and cause patchy results. Remove them or mechanically abrade until you reach sound concrete. [ADD: source for coating-removal guidance from your polish/diamond tool or sealer manufacturer.]
How do I handle basement moisture before polishing?
Look for signs of recurring dampness and address the source (or have it assessed). If moisture is active, polishing alone often won’t solve it and can lead to long-term failure. [ADD: source for moisture-related polished concrete failure modes from a manufacturer technical bulletin.]
Do I need to use a densifier for polished concrete?
Not always—but many systems recommend densifiers to improve hardness and appearance consistency. Follow the method your abrasive/grinding system and sealer are designed for. [ADD: source for densifier requirements from your densifier manufacturer.]
Will polishing make basement dust worse?
Grinding creates heavy concrete dust, so dust control is essential (HEPA vacuum, proper shrouds, and containment). Plan for cleanup and ventilation appropriate for indoor work. [ADD: source for dust-control recommendations from grinder or HEPA vacuum manufacturer.]
How long will the floor last in a basement?
Polished concrete durability depends on slab conditions, the polishing system used, and the final protective sealer/finish. Follow manufacturer maintenance guidance for re-sealing intervals and cleaning methods. [ADD: source for maintenance/recoat intervals from the sealer manufacturer.]
Sources
– [ADD: manufacturer technical bulletins/spec sheets for the densifier and sealer you plan to use, including compatibility and cure times.]
– [ADD: manufacturer instructions for the diamond grinding system and recommended grit progression.]
– [ADD: primary guidance from polished concrete industry organizations or concrete surface preparation standards relevant to concrete polishing and moisture limitations.]
If you want, tell me your basement slab age, whether you see any efflorescence/dampness, and the sheen target (low-sheen burnish vs. higher-gloss). I can help you map a safer grind + finish plan—and, importantly, what to verify before you start grinding.
Frequently Asked Questions
What preparation is needed before installing polished concrete floors in a basement?
Start by addressing moisture and surface conditions because basements are prone to humidity and concrete issues. Fix cracks, remove paint or adhesives, and thoroughly grind the slab to create a uniform surface for polishing. If you see moisture or have a history of dampness, consider a moisture test and use an appropriate sealer or vapor barrier system before polishing. Finally, clean the concrete dust thoroughly so the polishing process and densifier bond correctly.
How do I keep my basement polished concrete floors from peeling or hazing after polishing?
Peeling, blotchiness, or hazing often come from polishing over contaminants, curing compounds, or weak surface concrete. Ensure the slab is fully cured, free of grease, sealers, or coatings, and mechanically prepared with the right grind sequence. Use a compatible concrete densifier and follow the manufacturer’s application and cure times to promote even penetration and consistent results. If your basement has high moisture levels, control humidity with a proper moisture mitigation approach before finishing.
Why is moisture control critical for polished concrete floors in basements?
Moisture can interfere with the polishing process and prevent sealers or densifiers from forming a durable, uniform finish. High humidity may lead to efflorescence, discoloration, or surface deterioration even after the concrete looks freshly polished. A moisture test helps you choose the correct strategy—whether that’s improving ventilation, using a topical sealer system, or installing a vapor barrier. Proper moisture management is one of the biggest factors in long-term polished concrete floor performance in basements.
Which polishing method and grits are best for basement polished concrete floors?
For most residential basements, a common approach is grinding through progressively finer diamond grits, then applying a densifier, and finishing with either honing or polishing steps depending on the desired sheen. Begin with coarse grinding to level and remove surface defects, then move to mid-grits to refine the surface, and finish with fine grits to achieve a smooth, reflective polish. For darker, more uniform results, the densifier and proper step sequencing matter as much as the grit sizes. If you’re aiming for a high-gloss “mirror” look, you’ll typically need a more thorough grind-and-polish progression and careful surface preparation.
Best practices for installing polished concrete floors in a basement when using a DIY or contractor approach?
If you DIY, start with rental diamond grinders and plan for dust control—polishing concrete creates fine silica dust, so use a proper dust shroud and HEPA vacuum system. Choose a method that matches your slab condition: heavy surface corrections may require initial leveling or repairs before polishing. For contractors, ask about moisture testing, the specific densifier/sealer products they use, and their step-by-step process from prep to final burnish or polish. Either way, allow proper curing and follow installation instructions carefully to protect the polished finish from staining and uneven appearance.
📅 Last Updated: October 10, 2026 | Topic: How to install in a basement polished concrete floors? | Content verified for accuracy and freshness.
References
- Google Scholar Google Scholar
https://scholar.google.com/scholar?q=polished+concrete+floor+installation+basement+moisture+vapor+barrier+grinding+sealing - Google Scholar Google Scholar
https://scholar.google.com/scholar?q=polished+concrete+densifier+method+dry+grinding+process+how+to - Google Scholar Google Scholar
https://scholar.google.com/scholar?q=concrete+floor+grinding+respirable+crystalline+silica+work+practices+NIOSH+OSHA - Polished concrete
https://en.wikipedia.org/wiki/Polished_concrete - Glass ceiling
https://en.wikipedia.org/wiki/Concrete_floor - https://en.wikipedia.org/wiki/Concrete_curing
- Vapor barrier
https://en.wikipedia.org/wiki/Vapor_barrier - https://en.wikipedia.org/wiki/Dust_control
- Silica and Worker Health | Silica | CDC
https://www.cdc.gov/niosh/topics/silica/ - Silica, Crystalline – Overview | Occupational Safety and Health Administration
https://www.osha.gov/silica