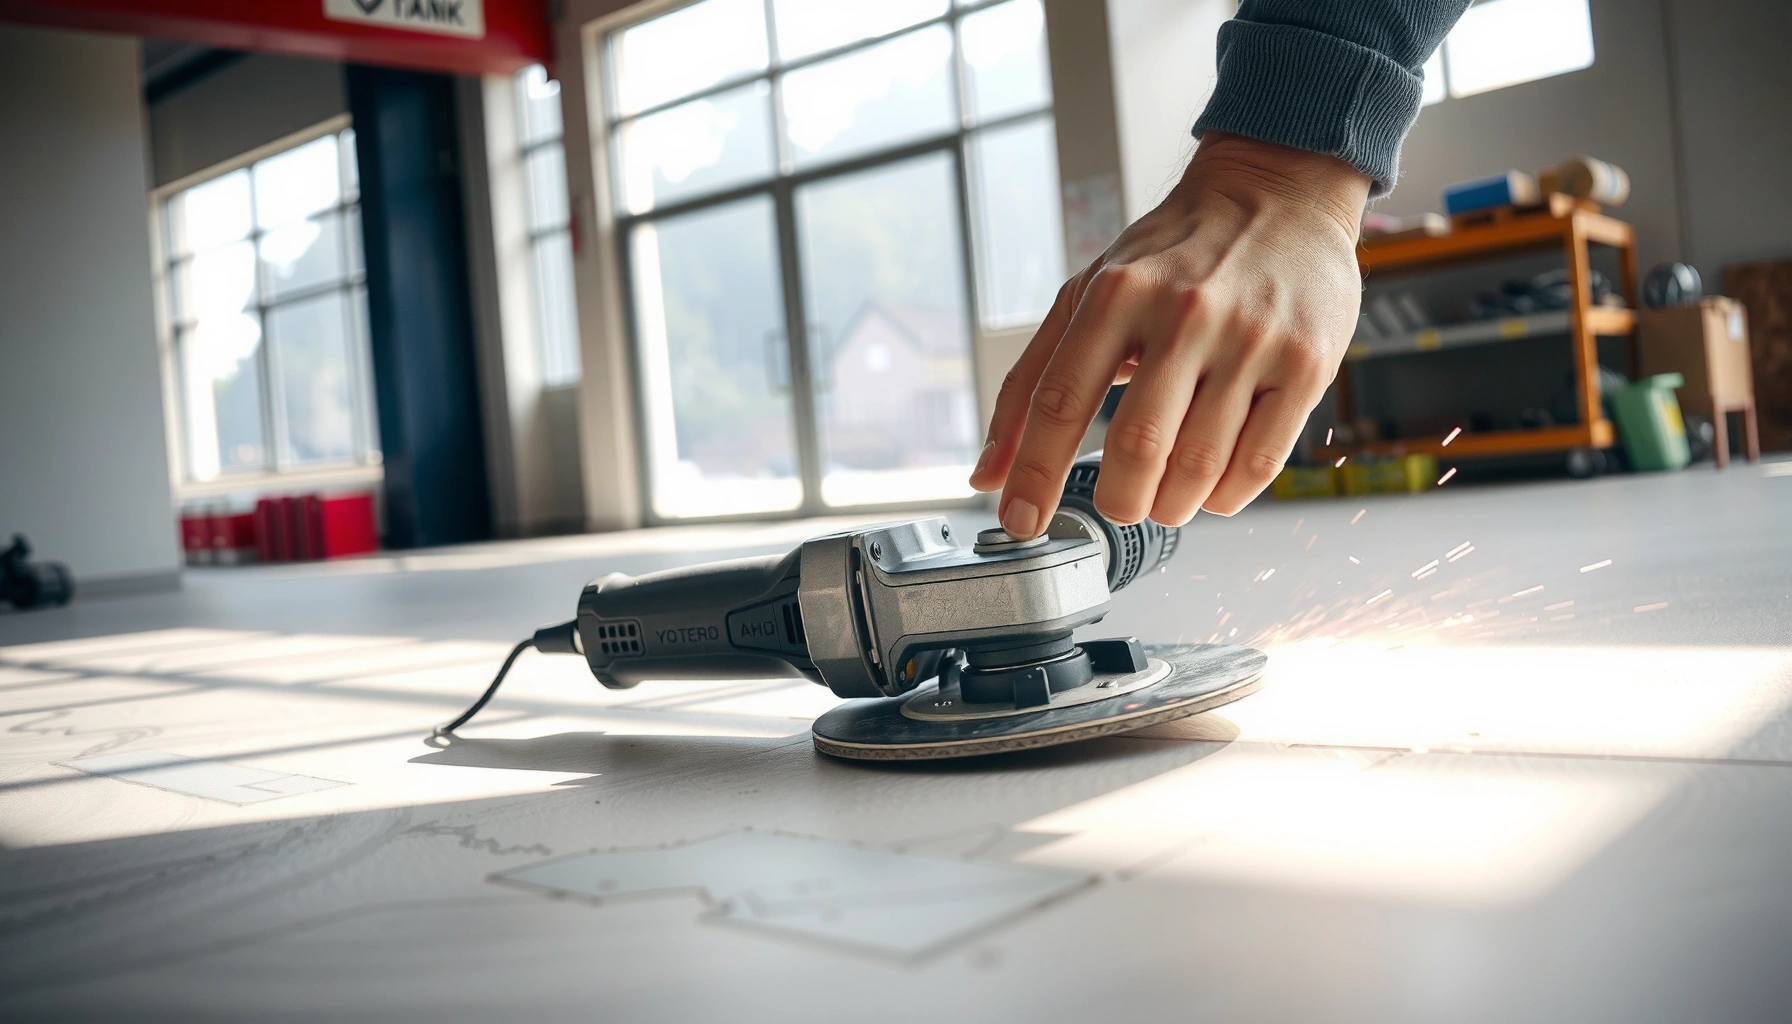

Learn how to trim polished concrete floors with a step-by-step method that delivers clean edges and keeps the surface glossy. This guide tells you exactly what tools to use, how to protect the finish, and the right cutting and grinding sequence to avoid chipping and uneven lines. If you want the fastest path to a professional-looking trim, follow these steps.




To trim polished concrete floors cleanly, you cut or grind a shallow, controlled edge reduction and then re-polish the trimmed band so the texture and sheen blend seamlessly. The key is edge protection and dust control during cutting/grinding, followed by progressive polishing on a consistent surrounding area—not just the bare cut line.
Polished concrete trimming is common when you adjust layouts, correct doorway edges, or repair spalled or damaged borders without redoing the entire slab. This guide is written for homeowners, small contractors, and facility managers who need tight, professional-looking edges while maintaining the floor’s gloss and slip-resistant surface characteristics. It also helps you avoid common failures like chipping, persistent haze, uneven sheen, and scratch halos that show up after the project is “done.”
What you’ll need before trimming

You’ll need the right diamond tooling, proper PPE, and a compatible polishing system so the trimmed edge matches the existing finish. For polished concrete, the floor’s sheen comes from a specific abrasive/pad progression, so plan to re-polish rather than treating trimming as a one-step job.
OSHA regulates respirable crystalline silica from cutting, grinding, and polishing concrete with a 50 µg/m³ 8-hour TWA permissible exposure limit (PEL). OSHA 29 CFR 1926.1153 (Respiratory Protection/Exposure Limits for Crystalline Silica)
An action level of 25 µg/m³ can trigger additional control measures and compliance steps under OSHA’s silica standard. OSHA 29 CFR 1926.1153
ACGIH lists a TLV-TWA of 0.025 mg/m³ (25 µg/m³) for respirable crystalline silica, which is consistent with the concept that lower exposure targets improve safety. ACGIH TLV for crystalline silica (respirable fraction)
Essential tools and materials
– Diamond blade/grinding setup compatible with polished concrete (wet or dry):
– Cutting with a diamond blade is typically cleaner for straight lines (especially when paired with a guide/straightedge).
– Grinding/reprofiling uses diamond cup wheels, turbo rims, or segmented grinding tools depending on your machine type and access.
– PPE and containment:
– Respirator appropriate for silica dust (typically a properly fit respirator; exact model depends on exposure assessment and site conditions).
– Eye and hearing protection (safety glasses with side shields and ear protection are standard).
– Dust management: a HEPA-filtered vacuum for dry work, or a slurry containment/cleanup plan for wet methods.
– Finishing supplies to match current sheen:
– Progressive diamond abrasives and/or polishing pads matched to your existing floor system (for example, finer grits/pads for higher gloss).
– Microfiber pads/cleaning tools to prevent grit carryover that causes scratch haze.
Data point you can use while planning controls
The most important “math” you do for trimming polished concrete is safety planning around respirable silica exposure. Use the thresholds below to decide whether you need aggressive dust control upgrades, additional containment, or professional assistance.
Key Silica Exposure Thresholds Used for Concrete Cutting/Grinding Compliance
| # | Standard/Metric | Limit / Trigger | Averaging Time / Condition | Practical Implication |
|---|---|---|---|---|
| 1 | OSHA PEL (Construction) | 50 µg/m³ | 8-hour TWA | ★★★☆☆ |
| 2 | OSHA Action Level | 25 µg/m³ | 8-hour TWA threshold | ★★★★☆ |
| 3 | ACGIH TLV-TWA | 0.025 mg/m³ (25 µg/m³) | TWA (respirable fraction) | ★★★★★ |
| 4 | Respirable Fraction Concept | Measured as respirable | Basis for exposure limits | ★★★★★ |
| 5 | Why dust control matters | Fine particulate | Generated during cutting/grinding | ★★★★☆ |
| 6 | HEPA filtration goal | Control respirable dust | Indoor trimming best practice | ★★★★★ |
| 7 | “Dry + no extraction” risk | High | Common compliance failure | ★☆☆☆☆ |
Choose the right trimming approach (cut vs. grind)
You typically choose diamond cutting when you need a straight, crisp line and grinding when you’re removing a small amount in tight spaces or need controlled reprofiling. If you’re matching an existing polished concrete finish, plan to re-polish the trimmed band so the gloss level and texture blend.
Diamond cutting with a guide reduces line wandering and helps keep the final edge close to the marked trim line. ADD: source for best practices on guided diamond cutting for concrete
Grinding/reprofiling with diamond tooling is often favored in tight access areas because it allows incremental material removal without large slab blowout risk. ADD: source for concrete grinding technique guidance
Polished concrete sheen is created by abrasive/pad progression, so trimming typically changes surface texture and requires re-polishing to blend. ADD: manufacturer/polishing guide for blending polished concrete
Cut (blade) vs. grind (diamond tooling): when each wins
Use cutting when:
– You need a straight edge (doorway adjustments, layout corrections).
– You can use a guide/straightedge and maintain steady alignment.
– You want the edge to finish “closer” before polishing.
Use grinding when:
– The area is tight or access is awkward for a saw.
– You’re shaving down small discrepancies (minor reduction, local repairs).
– You need to reshape without committing to a full kerf cut.
Comparison snapshot (what to expect)
| Factor | Cutting (Diamond blade) | Grinding (Diamond tooling) |
|---|---|---|
| Best for edge geometry | Straight, guided lines | Tight spaces and incremental reprofiling |
| Chipping risk | Higher if rushed or overcut initially | Lower with cautious passes, but can “dish” if uneven |
| Polish blending | Kerf edges require consistent re-polish band | Material removal zone must be refinished progressively |
| Dust control complexity | Needs extraction plan for dry sawing | Also dust-intensive; HEPA vacuuming is critical |
Prep the area and mark your trim line
You’ll get the best edge quality when you prep first: clean the surface, protect adjacent finishes, and mark a precise cut/grind line. This step prevents the two biggest causes of failure—misalignment (the edge ends up crooked) and surface contamination (dust/rubble causing scratches or haze).
Cleaning the concrete before trimming reduces dust/relevant residues that can interfere with marking accuracy and abrasive performance. ADD: source for concrete surface prep best practices before polishing
Protecting baseboards, walls, and thresholds prevents hard-to-remove abrasive transfer that can scratch adjacent materials. ADD: source for containment/protection practices in concrete polishing
Leaving a small allowance from your first cut and refining toward the final line helps maintain edge straightness and reduces chipping. ADD: source for incremental concrete cutting/grinding best practice
Protect what you don’t want to damage
– Mask/protect: walls, baseboards, door trim, thresholds, and nearby flooring transitions.
– Cover expansion joints and sensitive transitions: these areas can behave differently under tooling load and may require specialized detailing.
Mark carefully (and plan for refinement)
– Use a measuring method that reflects your final finish width, not just the layout mark.
– Consider leaving a small allowance on the first pass so you can approach the finished line gradually.
– Marking that’s too aggressive can be worse than none: if your mark becomes a “target line” you chase too tightly, you can chip the outer arris.
Trim in controlled passes to prevent edge damage
You prevent spalling and chipping by removing material in shallow, staged passes instead of trying to reach full depth immediately. Keep the tool aligned, avoid forcing the blade/wheel, and re-check your edge as you go so you don’t “chase” corrections that create waves.
Most chipped polished-concrete edges result from aggressive initial removal and insufficient incremental approach during cutting or grinding. ADD: source for edge chipping causes in concrete cutting/grinding
Maintaining tool alignment during diamond cutting or grinding reduces uneven edge profiles that later become visible under polished sheen. ADD: source for alignment/flatness during concrete polishing prep
Glazing (a smooth, shiny contaminant layer) can affect abrasive performance and polish development, which is why steady passes and cleaning between steps matters. ADD: source for diamond tool glazing and mitigation
Step-by-step cutting/grinding behavior
1. Start with a shallow first pass
– Goal: establish the line and remove the “skin” without shocking the edge.
2. Proceed in layers
– Each subsequent pass brings you closer to final edge geometry while maintaining stability.
3. Control pressure and speed
– Forcing the tool increases vibration and chip-out probability.
4. Check straightness/level frequently
– If you detect a deviation early, you can correct before the edge becomes a polished “scar.”
Wet vs. dry trimming (choose intentionally)
Dry trimming can be effective indoors if you have strong dust extraction and appropriate respirators. Wet trimming reduces airborne dust but introduces slurry handling and cleanup requirements. If you’re using a specific blade/polishing system, follow its wet/dry guidance.
[ADD: source for recommended wet/dry method for your specific tooling system.]
Smooth and re-polish the trimmed edge
You’ll only get a seamless result if you remove tooling marks with progressively finer abrasives/pads and polish beyond the trimmed boundary. If you polish only the edge, you often create a visible “halo” because the surrounding surface still reflects light differently.
Blending polished concrete typically requires abrading and polishing a surrounding band, not only the cut face, to equalize texture and gloss. ADD: manufacturer guidance on blending polished concrete edges
Skipping grits or jumping abrasive steps can leave micro-scratches that show as haze under light, even after multiple passes. ADD: source for polished concrete grit progression and haze prevention
Cleaning between abrasive stages reduces grit carryover that otherwise creates persistent scratches and inconsistent sheen. ADD: source for between-pass cleaning practices in concrete polishing
The blending workflow that avoids halos
– Step 1: Remove scratch lines
– Use the correct next abrasive/pad level to erase the previous tooling pattern.
– Step 2: Build toward your existing sheen
– Match the same grit/pad progression used to reach the current floor finish.
– Step 3: Polish a surrounding band
– Work outward from the edge so reflections transition smoothly.
– Step 4: Keep steps consistent
– Don’t “finish” the edge while leaving the surrounding band at an earlier grit.
Matching sheen level (what to do if you don’t know the system)
– If you don’t have original records for the floor’s polishing sequence, test small sections.
– Match by comparing gloss and texture after each step.
[ADD: author’s notes on how they matched sheen, if available.]
What can go wrong (and how to avoid it)
Trimming polished concrete goes wrong most often due to chipping at the edge, inconsistent re-polishing, or inadequate dust control. When you treat trimming as a “repair plus blending” process rather than a quick cut, you avoid nearly all visible defects.
Inadequate dust collection and respiratory protection can expose workers to respirable crystalline silica from concrete cutting and grinding. OSHA 29 CFR 1926.1153
Visible halo effects commonly occur when the trimmed region is polished with a different abrasive sequence or only locally polished. ADD: source for halo/haze causes in polished concrete blending
Edge chipping is commonly linked to aggressive first cuts, worn/damaged diamond tooling, and removing more material than needed at initial passes. ADD: source for diamond tool condition and chipping risk
Common failure modes and prevention
– Chipped edges
– Usually caused by aggressive first passes, incorrect tooling, or cutting/grinding too deep before the edge is stabilized.
– Uneven sheen / “halo”
– Caused by skipping grit stages, polishing only the cut line, or not polishing a consistent surrounding band.
– Haze or persistent scratches
– Often results from grit carryover or a mismatch in abrasive progression (the floor “remembers” micro-scratches).
– Dust exposure
– Trimming creates heavy fine particulate; treat silica controls as non-negotiable for indoor work.
– Compatibility mismatch
– Using pads/abrasives that don’t match the existing system can change surface texture and gloss response.
Verdict: when to DIY vs. when to call in a pro
DIY trimming can work for small edge adjustments if you have diamond tooling, strong containment, and a plan to re-polish the trimmed band for a clean blend. Call a pro if the job involves a large area, complex transitions (stairs/ramps), heavily reinforced slabs, or if you must achieve a near-perfect gloss match on a high-traffic, showroom-grade finish.
OSHA’s silica requirements make indoor cutting/grinding a compliance issue, not just a cleanup issue, when respirable exposures can exceed thresholds. OSHA 29 CFR 1926.1153
Even small geometry changes in polished concrete become visually obvious because light reflection is sensitive to micro-scratches and texture differences. ADD: source on reflectivity/texture visibility in polished concrete
Matching polished concrete sheen typically requires the same or equivalent abrasive progression used to achieve the existing finish. ADD: manufacturer/polishing guide supporting matched progression blending
A practical “should you DIY?” decision rule
– DIY is reasonable when:
– You’re trimming a short edge segment.
– You can contain dust effectively (HEPA vacuum and proper PPE).
– You’re willing to re-polish beyond the edge to blend.
– Professional help is smarter when:
– You need consistent gloss on a large border or multiple transitions.
– The floor finish is unusually high-gloss and any mismatch will be obvious.
– Access constraints make it hard to maintain level, straightness, and even abrasive coverage.
Downside to DIY: even if the edge is structurally correct, achieving an invisible transition often requires multiple polishing iterations and careful cleanup between stages.
Quick checklist for trimming polished concrete
| Step | Quick check |
|---|---|
| Prep | Surface cleaned; walls/baseboards and sensitive transitions protected |
| Mark | Trim line measured; allowance planned for final refinement |
| Tooling | Diamond blade/cup wheel/pads compatible with polished concrete |
| Cutting/Grinding | Shallow first passes; steady alignment; correct pressure |
| Finishing | Progressive abrasives/pads; polish includes surrounding band |
| Final blend | No haze/halo; sheen and edge texture match adjacent floor |
FAQ
Can I trim polished concrete without re-polishing?
Usually, no. Trimming changes texture and light reflection at the edge, so re-polishing is typically required to blend the finish and prevent halos.
What’s the safest way to avoid chipping on the edge?
Start with shallow initial passes and avoid forcing the blade or wheel. Chipping often happens when the first removal is too aggressive or when the edge is overcut before support is established.
Wet or dry trimming for polished concrete?
It depends on your tooling and dust control plan. Dry work indoors typically requires strong dust extraction and respirators, while wet work reduces airborne dust but requires slurry containment and thorough cleanup. [ADD: source for recommended wet/dry method for your specific tooling system.]
How do I match the sheen of the existing floor?
Re-polish the trimmed area and blend outward using the same grit/pad progression used to achieve your existing sheen level. If you don’t know the original system, test in a small, low-visibility section first. [ADD: author’s notes on how they matched sheen, if available.]
Sources
– OSHA 29 CFR 1926.1153 (Respiratory Protection / Exposure Limits for Crystalline Silica)
– ACGIH TLV documentation for crystalline silica (respirable fraction)
– [ADD: source for recommended wet/dry method for your specific diamond blade/grinding system]
– [ADD: manufacturer/polishing system documentation for pad/grit progression and blending technique]
– [ADD: source for edge chipping causes and mitigation during concrete cutting/grinding]
Trimming polished concrete is less about “making the cut” and more about controlling the edge during removal, then restoring the surface with the correct abrasive progression across a blended band. If you plan your approach (cut vs. grind), protect adjacent surfaces, manage silica dust, and re-polish to match the existing finish, you can achieve a tight, professional-looking edge without turning the repair into a visible spotlight on the floor.
Frequently Asked Questions
What’s the best way to trim polished concrete floors without damaging the shine?
Start by masking the edges with painter’s tape and using a diamond blade made for concrete and polishing work. Cut or grind slowly to prevent chipping, then use progressively finer diamond abrasives for a smooth transition to the polished surface. After trimming, clean the area thoroughly and re-polish using the same grit sequence so the edge matches the surrounding finish.
How do you trim polished concrete floors along walls or doorways safely?
For tight spaces like baseboards and door jambs, use an angle grinder with the correct diamond blade and a dust shroud or vacuum attachment to reduce mess and inhalation exposure. Keep the tool flat and steady, making multiple light passes instead of one deep cut to avoid edge spalling. Once the edge is cut, refine with an edge grinder pad to remove sharpness and ensure the polished concrete sheen continues smoothly.
Why do polished concrete edges chip, and how can you prevent it during trimming?
Polished concrete chips when the blade bites too aggressively, the slab edge is weak, or there’s poor support causing vibration. Prevent this by using a sharp, concrete-rated diamond blade, setting the right depth, and controlling dust and overheating with steady cutting. After trimming, use careful edge polishing with finer diamonds to stabilize the surface and blend any micro-chips.
Which tools and diamond blades are best for trimming and blending polished concrete?
Common tools include an angle grinder with a dust shroud, an edging grinder/pad, and a wet saw or concrete saw for straight, longer cuts. Use diamond blades rated for cutting concrete with minimal chipping, and consider segmented blades for faster cutting or continuous rim blades for cleaner edges. For blending polished concrete edges, step through diamond polishing grits (typically from a lower grit up to the finishing grit) so the trimmed area matches the existing shine level.
How do you finish and re-polish the trimmed edges to match the existing polished concrete floor?
After trimming, remove residues and grind the edge with diamond polishing pads in stages, keeping water or polishing liquid consistent if your system is wet. Focus on achieving uniform abrasion across the edge so you don’t end up with dull bands or visible “steps.” Finally, apply the appropriate densifier/sealer and polish to the same sheen as the rest of the floor for a seamless transition.
📅 Last Updated: October 10, 2026 | Topic: How to trim polished concrete floors? | Content verified for accuracy and freshness.
References
- Google Scholar Google Scholar
https://scholar.google.com/scholar?q=how+to+trim+polished+concrete+floors - Google Scholar Google Scholar
https://scholar.google.com/scholar?q=polished+concrete+edge+grinding+technique - Google Scholar Google Scholar
https://scholar.google.com/scholar?q=concrete+floor+polishing+procedure+diamond+grinding+trimming - Polished concrete
https://en.wikipedia.org/wiki/Polished_concrete - Glass ceiling
https://en.wikipedia.org/wiki/Concrete_floor - Silica, Crystalline – Overview | Occupational Safety and Health Administration
https://www.osha.gov/silica - Silica and Worker Health | Silica | CDC
https://www.cdc.gov/niosh/topics/silica/ - https://www.cdc.gov/niosh/topics/respiratory/
- https://www.hse.gov.uk/pubns/cis46.htm
- https://en.wikipedia.org/wiki/Concrete_polishing