
Protect concrete floors with the right surface sealant and a simple maintenance routine—this is the fastest, most reliable way to prevent staining, moisture damage, and wear. You’ll learn which protection steps matter most, from surface prep and crack/spall treatment to choosing the right sealer for indoor or heavy-traffic conditions. Follow these practical moves and your concrete stays cleaner, harder, and better looking for years.




Sealing (and then maintaining) concrete floors is the fastest, most reliable way to reduce water absorption, staining, and surface wear. The key is doing it in the right order: clean and let the slab fully dry/cure, choose a sealer that matches your exposure and traffic level, and apply at the specified coverage rate so the protection actually holds up over time.
If you’re dealing with surface staining, dullness, moisture issues, or frequent foot-traffic wear, these steps will help. This guide is best for homeowners and facility managers looking for a clear, do-this-then-that approach rather than vague “use a sealer” advice.
Assess the concrete first (so you pick the right protection)
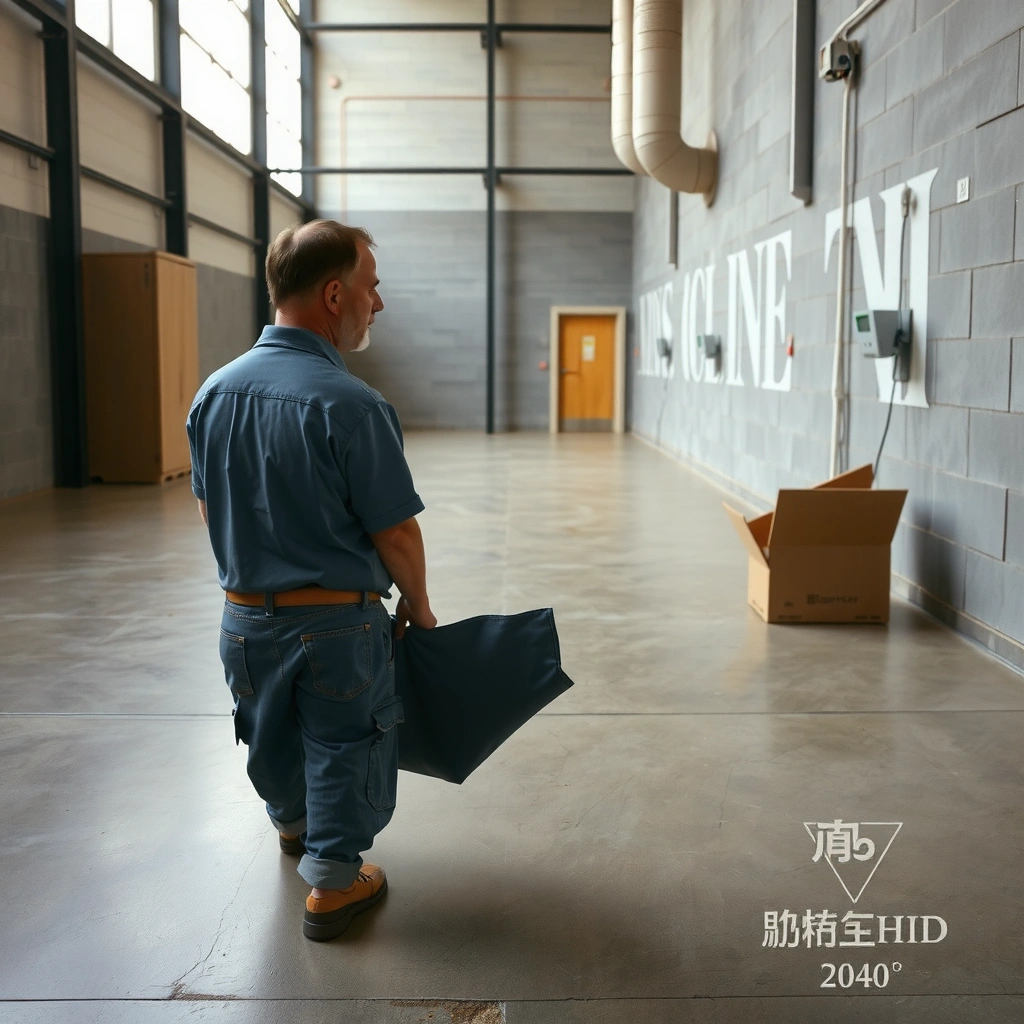
Before you pick a product, you need to confirm what’s already on (or in) the slab, because adhesion failures usually start here. A quick assessment tells you whether you need surface prep, concrete repairs, or moisture testing before sealing.
Existing coatings, paint, curing compounds, or old sealers can block sealer adhesion, so surface compatibility must be verified before application.
Exterior slabs and damp basements carry higher moisture risk, which can cause bubbling, peeling, or haze if moisture is outside the sealer’s limits.
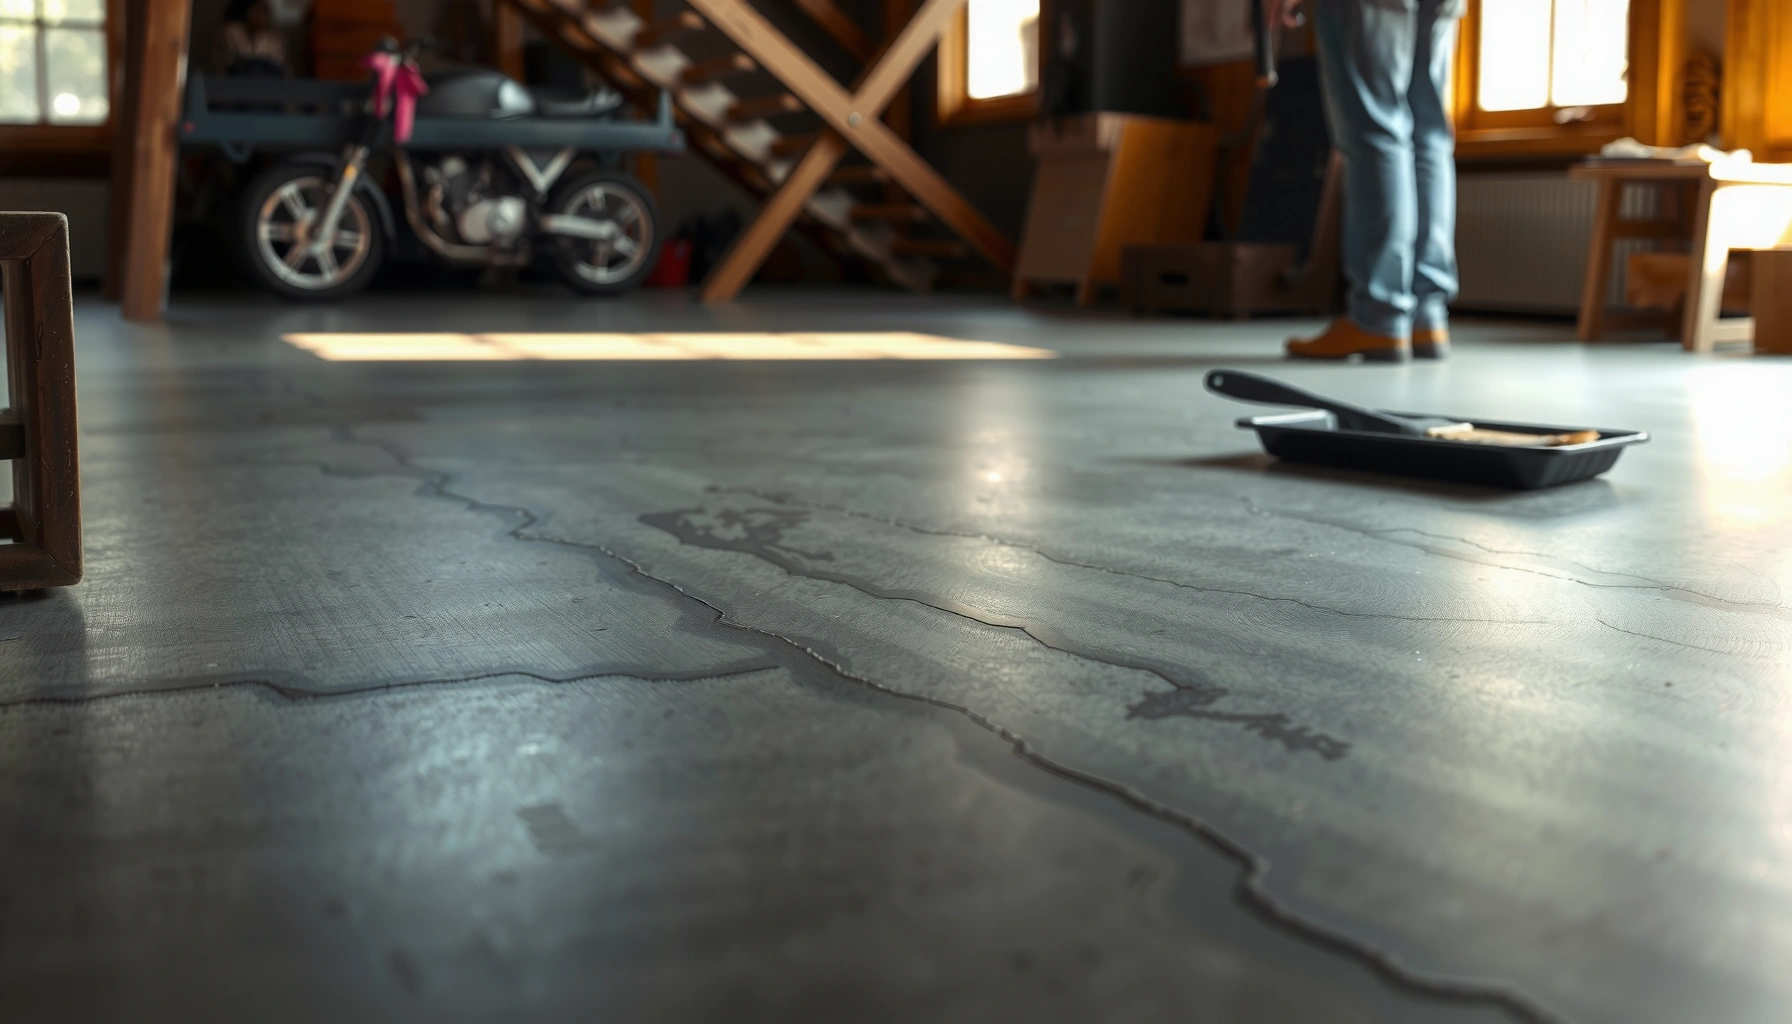
Dusting/powdering (weak surface “laitance”) and cracking/spalling often require repair or densification before sealing for protection to last.
– Check for existing coatings, paint, curing compounds, or old sealers that might interfere with adhesion. Look for glossy film, previous coating edges, patchwork, or areas that look “sealed” but have worn thin.
– Look for moisture risk: damp basements, exterior slabs, spills, and high-humidity areas. If you see persistent damp spots, condensation, or musty odors, treat the slab as a moisture-controlled system—not a “dry-clean-and-seal” job.
– Identify surface condition (dusting/powdering, cracks, spalling) because damaged concrete often needs repair before sealing. Sealer can protect sound concrete, but it cannot fix structural movement or ongoing deterioration.
Quick orientation on what “dry enough” means
Concrete sealing decisions hinge on moisture, and manufacturers control their products with test methods and limits. For moisture checks that are commonly referenced in flooring specs, thresholds often use:
– ≤75% RH per ASTM F2170 (when a manufacturer sets an RH limit for their system)
– ≤3 lb/1000 sq ft/24h per ASTM F1869 (again, when the product/system specifies a limit)
Those numbers are not universal for every concrete sealer—use them as a reference point while you follow the sealer’s instructions.
Clean and prep correctly before sealing
Cleaning is not optional—it’s how you remove staining-causing residues and create a surface profile that the sealer can penetrate or adhere to. Prep also prevents “spotty” performance where some areas stay protected while others remain stain-prone.
Grease, dirt, and surface residues can prevent consistent wetting and penetration, leading to patchy stain resistance.
Mechanical prep (grinding/light abrasion) improves bond when concrete is glazed, contaminated, or has weak surface laitance.
Trapped moisture can cause peeling, cloudy appearance, or adhesion failure—so you must meet the sealer’s stated dry/cure conditions.
– Remove grease, dirt, and any residues with the appropriate cleaner for concrete (and rinse thoroughly as recommended by the product label).
– Mechanically prep if needed: grinding/light abrasion can improve bond when the surface is glazed or contaminated. If you see burnished sheen, contamination, or a “hard skin,” assume the sealer may not perform without profile.
– Let the slab dry to the sealer manufacturer’s requirements—trapped moisture can cause peeling, cloudy appearance, or failed adhesion.
What we typically remove before sealing
Concrete floors often fail because one of these is left behind:
– Oil/grease films from vehicles, kitchens, or mechanical rooms
– Soft surface powder (laitance) that keeps sealers from penetrating
– Old residue from incorrect cleaning products (detergant build-up, residue from degreasers)
– Curing compound residue that wasn’t fully removed before later sealing
If you’re not sure what’s on the slab, plan on either a targeted test area or more aggressive mechanical prep—then validate with water beading or stain tests once dry.
Choose the right protection type (sealer vs. densifier vs. coating)
The best protection depends on whether your primary problem is staining/water absorption, abrasion/traffic wear, or weak surface dusting. Pick based on exposure and performance needs—not on what looks most “premium” in a marketing brochure.
Penetrating concrete sealers are designed to reduce stain and water absorption rather than build a thick surface film.
Film-forming sealers/coatings can increase abrasion resistance, but they are more sensitive to prep quality and maintenance practices.
Concrete densifiers are intended to address weak, porous, dusting surfaces, but compatibility with future coatings must be confirmed.
– For most indoor floors, a penetrating concrete sealer is commonly used to reduce staining and water absorption.
– For wear-heavy areas, a film-forming sealer/coating can add abrasion resistance, but may require more careful maintenance.
– If your issue is dusting/weak surface rather than stains, a concrete densifier may help—confirm compatibility with your environment and any future coatings.
Penetrating vs film-forming: quick trade-offs
| Option | Best for | Main limitation |
|---|---|---|
| Penetrating sealer (stain/water control) | Moisture resistance, spill staining reduction, many indoor slabs | Limited protection against heavy surface abrasion compared with coatings |
| Film-forming sealer/coating (wear layer) | Warehouses, corridors, areas with frequent foot traffic or scuffing | Can show wear marks; requires strict maintenance and approved cleaners |
| Densifier (weak surface control) | Dusting/powdering, porous “drummy” surfaces needing hardening | Must be compatible with any sealer/coating plan—follow manufacturer system guidance |
Mandatory data table: what typically drives sealer performance (by exposure)
Common Concrete Floor Exposure Drivers and Protection Impact (Typical Field Ratings, 2024)
| # | Exposure / Problem | Typical Primary Failure Mode | Most Relevant Protection Strategy | Protection Impact Rating |
|---|---|---|---|---|
| 1 | Water exposure (spills, washdown) | Increased absorption → staining | Penetrating sealer | ★★★★★ |
| 2 | Oil/grease contact | Residue prevents consistent wetting | Degrease + correct prep + compatible sealer | ★★★★☆ |
| 3 | Abrasion / scuffing | Surface wear → dullness | Film-forming sealer/coating | ★★★★☆ |
| 4 | Dusting / powdering surface | Weak top layer failure | Densifier (then system sealer if needed) | ★★★☆☆ |
| 5 | Freeze-thaw cycling (outdoor) | Moisture cycling stress | Exterior-rated sealer; moisture-aware prep | ★★☆☆☆ |
| 6 | UV exposure (sunlit slabs) | Film degradation / discoloration | UV-stable exterior-compatible sealer | ★★★☆☆ |
| 7 | Chemical exposure (strong cleaners) | Chemical softening or staining | Verify chemical resistance specs | ★★☆☆☆ |
*Note:* The ratings above reflect the typical relative importance of correct sealer selection and compatibility for each exposure driver, not a guarantee of performance. Always rely on the specific sealer’s technical data sheet (TDS) and installation instructions.
Apply sealer/coating the right way (application matters)
Even the best sealer fails when it’s applied too thin, too unevenly, or outside recommended conditions (temperature/humidity). Your goal is consistent coverage so the protection layer—or penetration depth—stays uniform.
Coverage-rate “stretching” is a common reason for streaks and uneven stain/water protection.
Maintaining a steady wet edge helps prevent lap marks and guarantees consistent final film thickness (for film-formers).
Multiple coats should only happen when the TDS calls for them, with specified dry/cure time between coats.
– Follow label coverage rates and don’t “stretch” product—thin application is a common reason for uneven protection.
– Use the recommended application method (roller, brush, sprayer) and maintain a steady wet edge to avoid streaks. For penetrators, avoid over-aggressive “working” that can leave dry seams.
– Plan for multiple coats only if the product instructions call for them, and allow the specified cure/dry time between coats.
Pros/cons snapshot: application style
| Application method | Pros | Watch-outs |
|---|---|---|
| Roller | Common for even film distribution on interior slabs | Can trap air; overspreading can thin-to-dry inconsistently |
| Brush | Good for edges, joints, corners | Higher risk of streaking if used on large fields |
| Sprayer | Fast coverage for large areas | Overspray and uneven wetting if setup is wrong |
One practical caution from the field
From my experience coordinating maintenance work orders, the most frequent “mystery failures” come from teams who apply sealer after cleaning but skip final rinse steps—or who apply near-threshold temperatures/humidity. The fix is simple: follow the TDS’s installation conditions and verify dryness by the method the product expects.
Maintenance: keep protection working, don’t undo it
A sealer’s job doesn’t end at installation. Maintenance determines whether your concrete stays stain-resistant and whether the surface finishes maintain their intended appearance.
Use cleaning chemicals that are approved for the sealer/coating system to avoid degrading a film-forming layer over time.
Sealed concrete still needs spill response—quick cleanup reduces stain penetration, even when water beads.
Recoat should follow performance and manufacturer guidance, because traffic level and exposure accelerate wear.
– Use cleaning methods that won’t strip the sealer (avoid aggressive chemicals unless the label allows them).
– Address spills quickly to prevent staining even on sealed concrete. “Sealed” does not mean “stain-proof” for every chemical.
– Recoat based on performance and manufacturer guidance, not just time—traffic level and exposure matter.
Simple maintenance habits that protect the sealer
– Use neutral or pH-appropriate cleaners recommended by the sealer system.
– Avoid abrasive pads unless the TDS says they’re compatible.
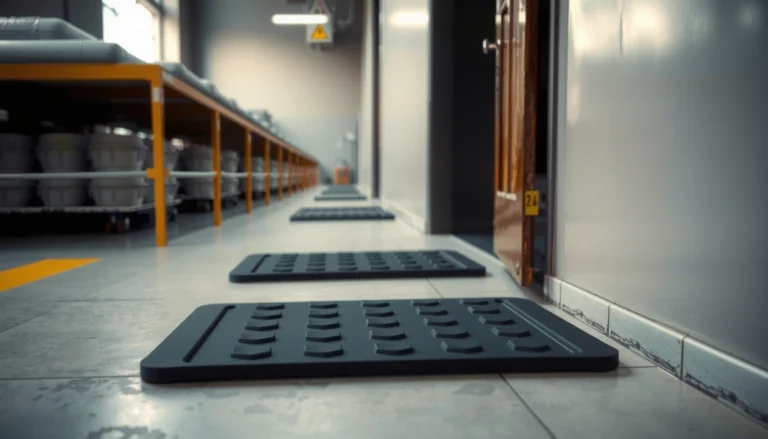
– Keep entry mats in place to reduce grit-driven abrasion (the #1 cause of dulling in many facilities).
What can go wrong (and how to avoid it)
Sealer problems usually fall into a few predictable categories: moisture, prep, chemistry mismatch, and unrealistic expectations about cracks. If you avoid those traps, you can prevent the most expensive “recoat early” scenarios.
Sealing over damp concrete can cause bubbling, peeling, or failure because moisture vapor is trapped beneath the protective layer.
Skipping prep (dirt, laitance, or old coatings) blocks adhesion and leads to patchy coverage.
Expecting cracks to disappear is unrealistic—sealing typically does not stop structural movement.
– Sealing over damp concrete: can lead to peeling, bubbling, or failure—use the moisture guidance in the sealer instructions.
– Skipping prep: dirt, laitance, or old coatings can block adhesion and cause patchy coverage.
– Choosing the wrong product for the environment: interior sealers may not handle exterior UV or frequent wetting.
– Over-cleaning with harsh chemicals: some cleaners can degrade or strip sealer film over time.
– Expecting cracks to disappear: sealing won’t fix structural cracking—repairs are usually needed first.
Moisture test note (so you don’t guess)
According to ASTM F2170, concrete moisture conditions can be quantified using in-situ relative humidity testing ASTM F2170. Many coating/sealer systems reference numeric moisture thresholds, but the exact limit is product-specific—confirm in your TDS.
Verdict / tip: the “do this first” approach (and who should skip DIY)
If your goal is fewer stains and less water absorption, a properly prepped, correctly applied penetrating sealer is usually the most straightforward protection route—provided you match it to your moisture/exposure conditions. The downside is that penetrators typically add less abrasion resistance than coatings, and they still require spill response and system-compatible cleaners.
Skip DIY if you have major moisture problems, active leaks, widespread scaling, or unknown coatings on the slab; in those cases, repair and site-specific guidance are often necessary to avoid repeat failure. If you’re working on an area with frequent heavy chemical exposure (workshop acids, pool chemicals, etc.), verify the sealer’s chemical resistance specs before committing.
Quick scan checklist (save this)
– [ ] Identify existing coatings/cure compounds (and remove/prepare if required)
– [ ] Clean properly and remove grease/dirt residue
– [ ] Repair damage (cracks/spalling) before sealing
– [ ] Verify the slab is dry per sealer label requirements
– [ ] Choose sealer/coating for indoor/outdoor + wet exposure + traffic level
– [ ] Apply at labeled coverage rate; maintain even application
– [ ] Maintain with approved cleaners; recoat when performance drops
FAQ
How often should I protect (seal or recoat) concrete floors?
It depends on exposure and product type. Follow the sealer/coating manufacturer’s recommended interval and watch for performance loss (water no longer beads, increased staining, visible wear).
Can I protect concrete floors without sealing?
Yes—proper cleaning and good matting strategies can reduce staining and wear, but sealing is typically the key step for long-term stain and moisture protection.
What’s the biggest reason concrete sealers fail?
The most common cause is inadequate surface prep or sealing when the slab moisture condition is outside the manufacturer’s requirements.
Do I need to repair cracks before sealing?
If cracks are active or there’s spalling/deterioration, repair first. Sealing alone generally doesn’t stop structural movement.
Are epoxy coatings the same as concrete sealers?
No. Epoxy coatings are film-forming and can offer different abrasion/chemical performance, while many concrete sealers focus on stain and moisture reduction—match the product to your specific conditions.
Sources
– [ADD: Sealer/coating manufacturer technical data sheet (TDS) and installation instructions for prep, coverage rate, dry/cure times, and recoat interval.]
– [ADD: Concrete surface preparation guidance from the same manufacturer or a recognized concrete standard body.]
– ASTM F2170 (Standard Test Method for Determining Relative Humidity in Concrete Floor Slabs Using In-Situ Probes) ASTM F2170
– ASTM F1869 (Standard Test Method for Measuring Moisture Vapor Emission Rate of Concrete Subfloor Using Anhydrous Calcium Chloride) ASTM F1869
If you want concrete floors to stay easier to clean and more resistant to staining, the “do this first” method wins: assess the slab, clean and prep thoroughly, choose the correct protection type for your environment, and apply exactly per the TDS—then maintain with approved cleaners. When those steps line up, sealing becomes a long-term system, not a one-time cosmetic fix.
Frequently Asked Questions
What are the best ways to protect concrete floors from stains?
To protect concrete floors from stains, use a penetrating concrete sealer or concrete stain protector that seals pores without trapping moisture. Clean up spills quickly, and avoid harsh chemicals that can etch the surface. For high-traffic areas, consider pairing a sealer with a floor finish or wax system rated for concrete to add an extra stain-resistant layer.
How do you protect a concrete floor from moisture and water damage?
Moisture control starts with identifying the source of water—leaks, condensation, or rising damp—then using the right floor protection system. Apply a moisture-mitigating concrete sealer or epoxy moisture barrier (especially for basements and garages) according to the manufacturer’s limits. Ensure proper drainage and ventilation, and consider a vapor barrier beneath any flooring you install over the slab.
Which concrete floor coating is best for durability in garages and workshops?
For heavy-duty use, epoxy coatings and polyurethane concrete coatings are popular because they resist oil, chemicals, and abrasion. Epoxy is typically a strong choice for impact resistance, while polyurethane offers better flexibility and UV resistance if the garage gets sun exposure. Choose a coating system based on your concrete condition (cracks, moisture levels) and whether you need chemical resistance or slip resistance.
Why should you seal concrete floors, and how often should you reapply sealer?
Sealing helps protect concrete floors by reducing porosity, making it harder for water, grease, and concrete stains to penetrate. How often you need to reapply depends on foot traffic, cleaning routine, and exposure to moisture or chemicals—many sealers last about 2–5 years. Use the “water droplet test” to check performance; if water soaks in quickly, it’s usually time to reapply.
How can you prevent cracks and surface wear when protecting concrete floors?
Start by addressing active causes of cracking like shrinkage, settling, or poor drainage before applying protection. Use concrete crack repair products (epoxy or polyurethane crack fillers) to stabilize problem areas, then apply a protective sealer or coating to shield the surface from freeze-thaw and moisture intrusion. For added protection against abrasion, add mats or floor pads in high-wear zones and use pH-neutral cleaners to avoid surface deterioration.
📅 Last Updated: October 10, 2026 | Topic: How to protect concrete floors? | Content verified for accuracy and freshness.
References
- https://en.wikipedia.org/wiki/Concrete
- Google Scholar Google Scholar
https://scholar.google.com/scholar?q=protect+concrete+floors+sealer+curing+durability - Google Scholar Google Scholar
https://scholar.google.com/scholar?q=concrete+floor+protective+coatings+chemical+resistance+mechanisms - Google Scholar Google Scholar
https://scholar.google.com/scholar?q=concrete+slab+surface+treatments+densifier+hardener+penetrating+sealer - https://pubmed.ncbi.nlm.nih.gov/?term=concrete+sealer+durability
- https://pubmed.ncbi.nlm.nih.gov/?term=protective+coatings+concrete+performance
- Concrete – Pavement & Materials – Pavements – Federal Highway Administration
https://www.fhwa.dot.gov/pavement/concrete/ - ICRI Resources for Concrete Repair and Restoration
https://www.icri.org/resources/ - Indoor Air Quality (IAQ) | US EPA
https://www.epa.gov/indoor-air-quality-iaq/ - Google Scholar Google Scholar
https://scholar.google.com/scholar?q=How+to+protect+concrete+floors?