
Estimating the cost of mosaic tile floors is straightforward once you know the exact inputs that drive the final price: tile material, layout complexity, thinset/backer requirements, labor, grout/sealing, and waste. This guide delivers a clear cost model you can apply to your project so you can price mosaic tile floors accurately before demolition begins. You’ll leave with practical ranges and the key questions to ask so you don’t get surprised by add-ons.

- ENTER DIMENSIONS JUST LIKE YOU SAY THEM: Input measurements directly in feet, inches, building fractions, decimals, yards and meters, including square areas and cubic volumes; one key instantly converts your measurements into all standard Imperial or metric math dimensions that work best for you and the project you are working on
- DEDICATED BUILDING FUNCTION KEYS: Make determining your project needs easy; just input project measurements, select material type like wallpaper, paint or tile; then calculate the quantity needed and total costs to avoid surprises at the homecenter checkout
- ACCURATE MATERIAL ESTIMATION: Helps you estimate material quantities and costs for your projects, ensuring you never buy too much or too little material; simplifies your home improvement and decorating jobs and cuts down on the number of trips to the hardware store

Estimating the cost of mosaic tile floors is mostly about calculating the tile area (including pattern-related waste) and then budgeting separately for setting materials, grout, underlayment/waterproofing (when needed), trim details, and labor. If you build your estimate as a line-item spreadsheet—tile + waste, then materials, then labor based on layout complexity—you can compare contractor bids without getting surprised.
If you’re planning a mosaic tile floor for a kitchen, bath, entryway, or shower-adjacent space, this is for you—especially if you’ve never priced tile installations before. It’s also useful when you’re trying to verify whether a contractor’s bid matches your scope.
Measure the floor area (and plan for waste)

Start by measuring the usable tiling area in square feet and then immediately translating your layout into an “effective square footage” that includes extra tile for cuts, breakage, and alignment. Mosaic floors usually consume more tile than large-format tile because small pieces require more edge cutting, more frequent adjustments, and tighter pattern continuity.
The core math is straightforward: measure length and width, multiply for area, then subtract anything you won’t tile (built-ins, closets, or portions covered by appliances). What changes with mosaics is the waste multiplier—especially when you’re working around walls that aren’t perfectly square or you’re matching a detailed border.
To keep estimates consistent across quotes, treat borders, transitions, and medallions as separate line items because contractors often price those differently.
Mosaic installation typically requires planning for additional tile beyond the floor’s measured square footage due to frequent cut lines and pattern alignment needs.
Breaking down borders and transitions as separate areas helps ensure labor and materials are priced accurately rather than averaged into the main field tile.
Subtracting excluded zones (built-ins, appliance pads, thresholds) prevents overestimating both tile quantity and setting-material consumption.
Practical measurement approach (the way I’d price it)
1. Measure the room in feet (not inches) for a clean square-foot total.
2. Identify exclusion zones (built-ins, posts, curbs, base cabinets that won’t be tiled).
3. Add separate measurements for “detail zones”:
– Border strips
– Curved/feature areas
– Any pattern shifts or inlays
Waste allowance: what you should do (and why)
For mosaics, waste depends on:
– Pattern type (straight grid vs. diagonal runs)
– Edge conditions (lots of narrow edge strips force more trimming)
– Complexity (medallions and herringbone-style direction changes)
– Substrate reality (slightly out-of-square walls create incremental adjustments)
As of current industry practice, estimating waste is not “optional” for mosaics—it’s part of how you make a bid comparable. If you want a defensible starting point, use a waste allowance based on your pattern complexity and then confirm it during tile ordering (your retailer’s cutting guidance and the installer’s experience can refine it).
Price the mosaic tile per square foot
Once you have effective square footage, you can price tile accurately by confirming the unit the tile is sold in (sheet, case, or individual tiles) and converting everything to a consistent $/sq ft basis. The goal is to price the tile you’ll actually install, including border and detail zones, before you add grout and setting materials.
Mosaic tile cost varies widely because mosaics come in multiple materials—glass, ceramic/porcelain, and natural stone—and those materials behave differently in installation. That difference can affect not just price, but also prep and installation difficulty (for example, some stone mosaics require sealing after installation).
Tile must be priced on a consistent basis (sheet/case to square feet) so that bids are comparable even when vendors quote different packaging units.
Specialty edge details—such as trim strips, bullnose pieces, and transition profiles—often aren’t included in the “tile per square foot” number and should be budgeted separately.
Convert packaging to $/sq ft (so quotes don’t mislead you)
Do this once, then reuse it across the estimate:
– Check whether the mosaic is sold as tile sheets (common for mesh-backed mosaics), by the case, or individually.
– Determine how many square feet are in a sheet/case (from the product data sheet or packaging).
– Compute:
Tile $/sq ft = (sheet or case price) ÷ (sheet or case coverage in sq ft)
If your tile includes multiple finishes (e.g., different sheen levels in a decorative accent), price those as separate lines.
Don’t forget trim, transitions, and edges
A surprisingly common bid mismatch is when one proposal includes:
– Tile edge transitions (to adjacent flooring)
– Schluter-style profiles or equivalent metal/plastic transition trims
– Bullnose or finished edges
– Stair nosings (if applicable)
If those items aren’t explicitly listed, you can end up paying extra later.
Estimate installation materials (often overlooked)
The most accurate mosaic floor budgets separate “tile cost” from “installation system cost.” After the tile price, the next big cost drivers are thinset/mortar, underlayment and/or waterproofing membranes (for wet areas), grout, and any required consumables like sealers, spacers, and cleaning aids.
This is also where contractors’ bids can diverge. A low bid might assume a perfectly flat subfloor and a standard dry-area installation, while your project may require patching, leveling, or a waterproofing system.
Industry standards emphasize substrate flatness and proper mortar coverage; mosaic tile magnifies unevenness, making leveling/patching more likely than with larger-format tile.
For wet areas, waterproofing is not interchangeable with standard underlayment—installation assemblies must match the specified system.
Setting materials: thinset/mortar and flatness correction
You’re budgeting for two buckets:
1. Setting mortar (often thinset)
2. Subfloor correction (patch/leveling compound and related materials)
Two key standards to keep in mind:
– According to ANSI A108.01, acceptable floor flatness is commonly defined as no more than 1/8 in. over 10 ft (for the finished surface to receive tile). ANSI A108.01 (installation requirements/flatness guidance)
– According to ANSI A108 guidance on coverage practices, installers must achieve the required bonding coverage for the application (actual performance depends on trowel size, substrate condition, and technique). ANSI A108.5 (mortar coverage/installation practices)
(If your subfloor is uneven—especially for mosaic—your setting material use and labor time can change fast.)
Underlayment and waterproofing (when your floor is “wet”)
For kitchens and dry entryways, you may only need a standard underlayment approach depending on your substrate. For bathrooms, showers, and shower-adjacent floors, you may need waterproofing per your assembly and local code expectations.
– Waterproofing systems and membranes should be installed as a system (membrane + thinset/mortar + sealants + detailing at corners/penetrations), not mixed randomly.
– If your plan includes a wet-area waterproofing layer, ask the contractor to name:
– The membrane brand/model
– The approved mortar/thinset
– How transitions and edges are detailed
Grout and sealing
Mosaic floors typically use more grout joints than large-format tiles, so grout quantity often increases when your design has many small pieces.
Also consider sealing:
– Many stone mosaics and grout require sealing.
– Some grout systems don’t require sealing, but many project specs still include it for stain protection.
Always check the product technical sheet for your specific grout and tile type.
Calculate labor cost based on complexity
Labor is where mosaic bids can differ the most, because mosaics demand more time for careful layout, cutting, and consistent alignment across many small pieces. The more intricate the pattern, the more your labor should reflect:
– Layout time
– Trial fitting and adjustments
– Cutting and edge finishing
– Grout and cleanup time
Also, confirm whether the labor line item includes demo, floor prep, hauling, and removal/disposal. A “labor” number that excludes demo can look cheaper until you add it back in.
Mosaic installations generally take longer than larger-format tile because small-format pieces require more alignment checks and more cutting at edges and obstacles.
Diagonal layouts, medallions, and direction-changing patterns increase labor time because installers must manage more frequent pattern transitions and cut lines.
What drives labor in real estimates
Use these complexity multipliers to sanity-check quotes:
– Pattern type: straight grid < diagonal < medallions/inlays (rough ranking)
– Number of edges: rooms with many perimeter transitions usually cost more
– Detail zones: borders and transitions add separate work cycles
– Subfloor condition: flattening and patching may add labor days, not just materials
A quick comparison of how contractors might price “similar” jobs
Below is a simple comparison structure you can use during bid review:
- Pros of a detailed bid
- Clear itemization for tile, setting materials, grout, waterproofing, trim, and floor prep makes costs traceable.
- Cons of a vague bid
- “All-in tile install” numbers often hide missing scope (like waterproofing, leveling, or transition profiles).
- Pros of a system-based waterproofing bid
- Named membrane + specified mortar + correct detailing reduce risk of failure in wet areas.
- Cons of mixed-brand assumptions
- Using non-approved combinations can violate manufacturer warranty requirements for the tile assembly.
What can go wrong (and blow up your budget)
Even a strong estimate can shift if conditions on-site differ from what the bid assumes. The good news: most budget blow-ups come from a predictable set of errors—waste assumptions, substrate flatness, wet-area requirements, and coverage-rate confusion.
Mosaic tile highlights substrate irregularities, so ignoring flatness and patching needs is one of the most common causes of both cost growth and installation rework.
Underestimating waste on complex mosaic patterns leads to delayed schedules and expensive “rush” reorders.
Common budget-killers to watch for
1) Underestimating waste
– Intricate patterns + narrow perimeter cuts increase tile usage.
– Uneven walls can force re-layouts and more trimming.
2) Ignoring substrate flatness
– Mosaics are visually unforgiving when the substrate isn’t flat enough.
– You may need leveling/patching to achieve acceptable results.
3) Missing waterproofing scope in wet areas
– Bathroom floors and shower-adjacent installations often require an approved waterproofing system and correct edge detailing.
– Skipping or downgrading that scope can turn the project into a redo.
4) Confusing coverage rates
– Thinset and grout coverage depends on trowel size, substrate condition, and product formulation.
– If a bid uses blanket assumptions, it can be off by enough to cause material shortages or excess cost.
For flatness and installation requirements, lean on:
– ANSI A108 installation standards (flatness and mortar installation practices). ANSI A108 series
– TCNA methods for tile installations (select the method that matches your tile type and substrate). TCNA Handbook for Ceramic, Glass, and Stone Tile Installation
Verdict: how to get a realistic total (without overpaying)
A realistic mosaic floor estimate comes from building your budget in layers: tile + waste, setting materials, grout/sealer, edge details, then labor based on layout complexity. If your floor has significant flatness issues, tricky cuts, or a high-detail pattern, plan for higher-than-average labor and prep materials—and consider getting at least two bids to pressure-test scope and assumptions.
This advice has downsides: it takes more effort up front than asking for a single “ballpark,” and you’ll need to be willing to ask bidders clarifying questions (especially around waterproofing and floor prep). If your project includes wet-area waterproofing requirements or you’re uncertain about your substrate condition, it’s usually smarter to get a professional site assessment before locking a budget.
Bid comparison improves dramatically when you isolate tile square footage (with waste) from the setting/grout system and from labor and floor-prep scope.
If waterproofing scope is ambiguous, total project cost can rise after the fact because membranes and detailing are not “optional upgrades” in wet areas.
Example mosaic floor budget model (per 100 sq ft of finished tile area)
| # | Estimate line item | What you budget | Typical planning factor | Why it matters |
|---|---|---|---|---|
| 1 | Tile coverage base | 100.0 sq ft | Measured finished area | Anchor for your estimate |
| 2 | Mosaic waste allowance | 110–125 sq ft | 10–25% (layout-dependent) | Covers cuts, breakage, reflow |
| 3 | Thinset / mortar (by coverage) | Coverage varies | Use trowel + substrate plan | Prevents shortages or overbuy |
| 4 | Grout quantity | Varies with joint width | Confirm grout coverage chart | Mosaics often need more joints |
| 5 | Underlayment / waterproofing (wet areas) | System-dependent | Membrane + detailing | Required for many bath/shower installs |
| 6 | Edge trims / transitions | Separate quantities | Depends on perimeter design | Frequently excluded from “tile only” pricing |
| 7 | Labor + floor prep | Pattern + prep dependent | Ask what’s included | Most common bid mismatch |
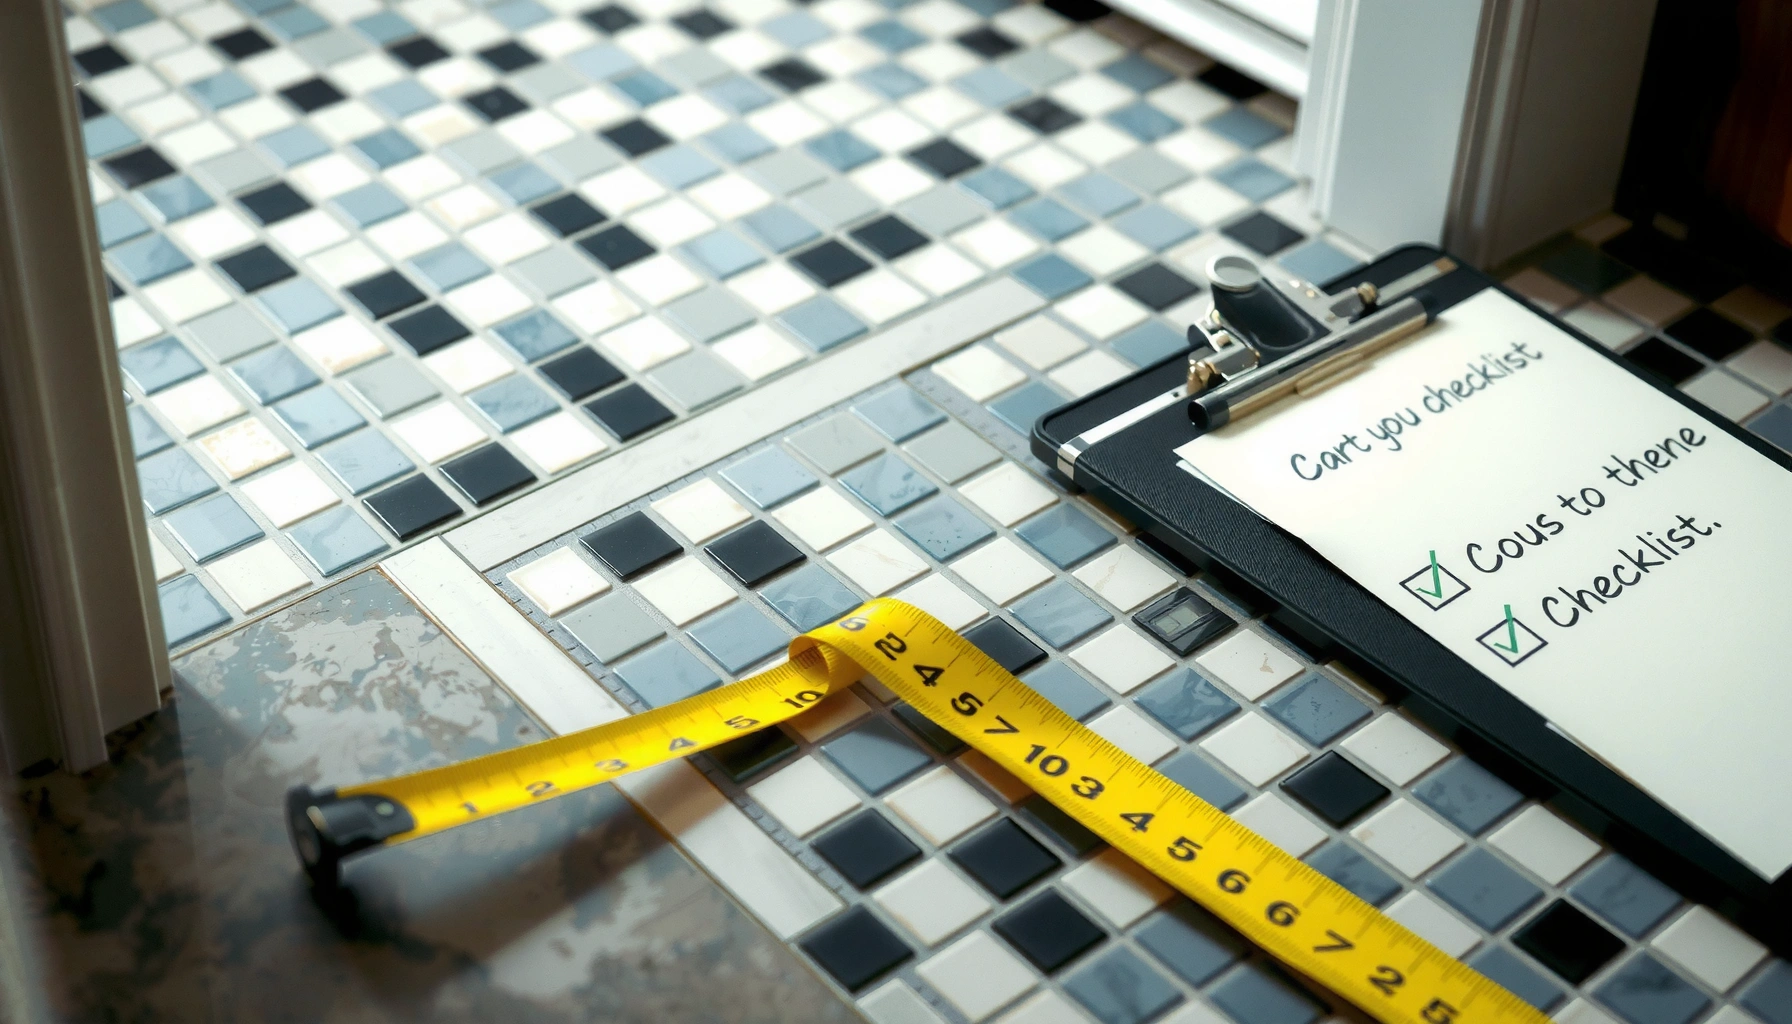
Quick cost checklist (scan/save)
– [ ] Total floor area (sq ft) calculated from length × width
– [ ] Areas to exclude marked out (built-ins, thresholds, etc.)
– [ ] Waste allowance added for mosaic cuts/pattern complexity
– [ ] Tile cost converted to $/sq ft and confirmed per order unit
– [ ] Thinset/mortar + recommended trowel coverage planned
– [ ] Grout cost + any color/style upgrades included
– [ ] Waterproofing/underlayment + leveling/patching included if needed
– [ ] Trim/edge transitions priced separately (not assumed in tile cost)
– [ ] Labor allowance adjusted for cutting/pattern difficulty + demo/prep scope
If you can’t map each bid line item to one of these checklist categories, you’re likely comparing different scopes rather than comparable prices.
For mosaic floors, the fastest way to reduce surprises is to confirm waste, trowel/coverage assumptions, and waterproofing details in writing before work starts.
FAQ
How much waste should I add for mosaic tile floors?
Mosaic installations often need more waste than large-format tile due to small cuts and pattern alignment. A common budgeting approach is to add 10–25% waste, depending on pattern complexity, perimeter conditions, and obstacles; for best accuracy, align your waste allowance with your tile supplier’s guidance and the installer’s typical practice. [ADD: manufacturer guidance or typical contractor rule-of-thumb you follow] as your baseline.
Do mosaic floors cost more in labor than regular tile?
Usually, yes. Because mosaics involve more small pieces and more careful alignment, labor commonly increases compared to larger tiles—especially for diagonal layouts, medallions, or herringbone-style runs. The exact delta depends heavily on prep requirements and how much cutting the pattern requires.
Should I estimate thinset and grout by square feet only?
Not always. Coverage rates depend on the trowel size, substrate condition, and tile backing, so the most accurate approach is to use the manufacturer’s coverage guidance for your thinset/mortar and grout system. [ADD: exact thinset/grout coverage info source if you want to reference a specific product line.]
What’s the biggest hidden cost?
Often it’s floor prep and leveling (subfloor repair, self-leveler/patching, or waterproofing/underlayment requirements). Tile itself is easier to price; budgets usually shift most when the existing substrate doesn’t meet the installation requirements.
Sources
– [ADD: manufacturer specs for thinset/mortar coverage rates and approved installation methods]
– [ADD: manufacturer documentation for grout coverage and mixing/application requirements]
– [ADD: waterproofing/underlayment manufacturer installation guides if this is a moisture-prone area]
– [ADD: industry standards or guidance for tile installation flatness/prep, using a named official source]
A realistic mosaic tile floor estimate is achievable if you separate the job into measurable parts—tile area (with waste), setting system materials, grout/sealer, trim/transitions, and labor driven by pattern and prep. Use the checklist to validate every bid line item and don’t sign off on “assumed scope,” especially for waterproofing and floor prep. If you do this, you’ll compare contractors on the same basis and keep both your tile quantity and total cost under control.
Frequently Asked Questions
What factors affect the total cost of mosaic tile floors?
The biggest cost drivers are tile material and size (glass, ceramic, stone, marble), the complexity of the mosaic design, and whether you’re installing floor tiles as sheets or individually. Labor typically increases with intricate layouts, custom cuts around edges and fixtures, and the amount of waterproofing or substrate preparation required. Costs also rise if you need additional materials like thinset mortar, grout (and grout color matching), leveling compounds, sealers, and transitions. Finally, location and contractor rates can significantly influence the installed mosaic tile floor cost.
How do I estimate material and labor costs for a mosaic tile floor?
Start by measuring the square footage of the floor and adding 10–20% waste for cuts, breakage, and pattern alignment (more for complex designs). For materials, estimate mosaic tile coverage per box and add costs for underlayment/adhesion, thinset, grout, spacers, edge trim, and any sealer or waterproofing system. For labor, get a per-square-foot quote that specifies what’s included—demolition, subfloor leveling, layout planning, tile setting, grout, and cleanup—then compare rates across contractors. This approach lets you estimate both your tile budget and your expected installed mosaic floor pricing.
Why do mosaic tile floors cost more per square foot than standard tile?
Mosaic tile floors usually require more precise layout work, smaller pieces, and more time spent setting tiles or aligning mesh sheets to create a consistent pattern. Intricate designs increase cutting and detail work at borders, corners, and irregular areas, which adds labor cost. Additionally, smaller grout lines can mean more grout material and more careful finishing to avoid haze or uneven lines. If the subfloor isn’t already flat and stable, extra preparation time further raises the final mosaic tile installation cost.
Which tile type is best for balancing cost and durability in mosaic floors?
For cost-effective yet durable mosaic tile floors, many homeowners choose ceramic or porcelain mosaics, which generally offer good scratch resistance and strong performance. Glass mosaics can look premium but may cost more and require careful handling and precise installation to avoid uneven reflections and lippage. Natural stone mosaics (like marble or travertine) can be beautiful but often cost more and may require sealing and ongoing maintenance depending on the finish. If you’re installing in a wet area, prioritizing water-resistant options and proper waterproofing can reduce long-term repair costs.
Best way to budget for extra expenses when installing a mosaic tile floor?
Plan for the “hidden” costs that commonly appear during installation: subfloor repairs, leveling/flatness corrections, waterproofing membranes for showers, and additional trim or threshold pieces. Include a realistic allowance for tile waste (especially for patterns) and for replacement tiles if your chosen design requires matching runs. Ask your contractor to break out pricing for prep work, layout, cutting, grout removal/cleanup, and sealing so you don’t miss line items in your mosaic floor estimate. A well-scoped quote reduces surprises and helps you land closer to your projected tile installation cost.
📅 Last Updated: October 10, 2026 | Topic: How to estimate the cost of mosaic tile floors? | Content verified for accuracy and freshness.
References
- Google Scholar Google Scholar
https://scholar.google.com/scholar?q=mosaic+tile+floor+installation+cost+estimation - Google Scholar Google Scholar
https://scholar.google.com/scholar?q=how+to+estimate+tile+flooring+cost+labor+materials - Google Scholar Google Scholar
https://scholar.google.com/scholar?q=construction+cost+estimating+material+takeoff+labor+unit+costs - https://en.wikipedia.org/wiki/Cost_estimation
- https://en.wikipedia.org/wiki/Construction_estimation
- Tile
https://en.wikipedia.org/wiki/Tile_floor - https://www.britannica.com/technology/tile
- https://www.britannica.com/art/mosaic
- https://www.usace.army.mil/Missions/Engineering-and-Construction/Cost-Engineering/
- https://www.gsa.gov/real-estate/economic-valuation/cost-approach