
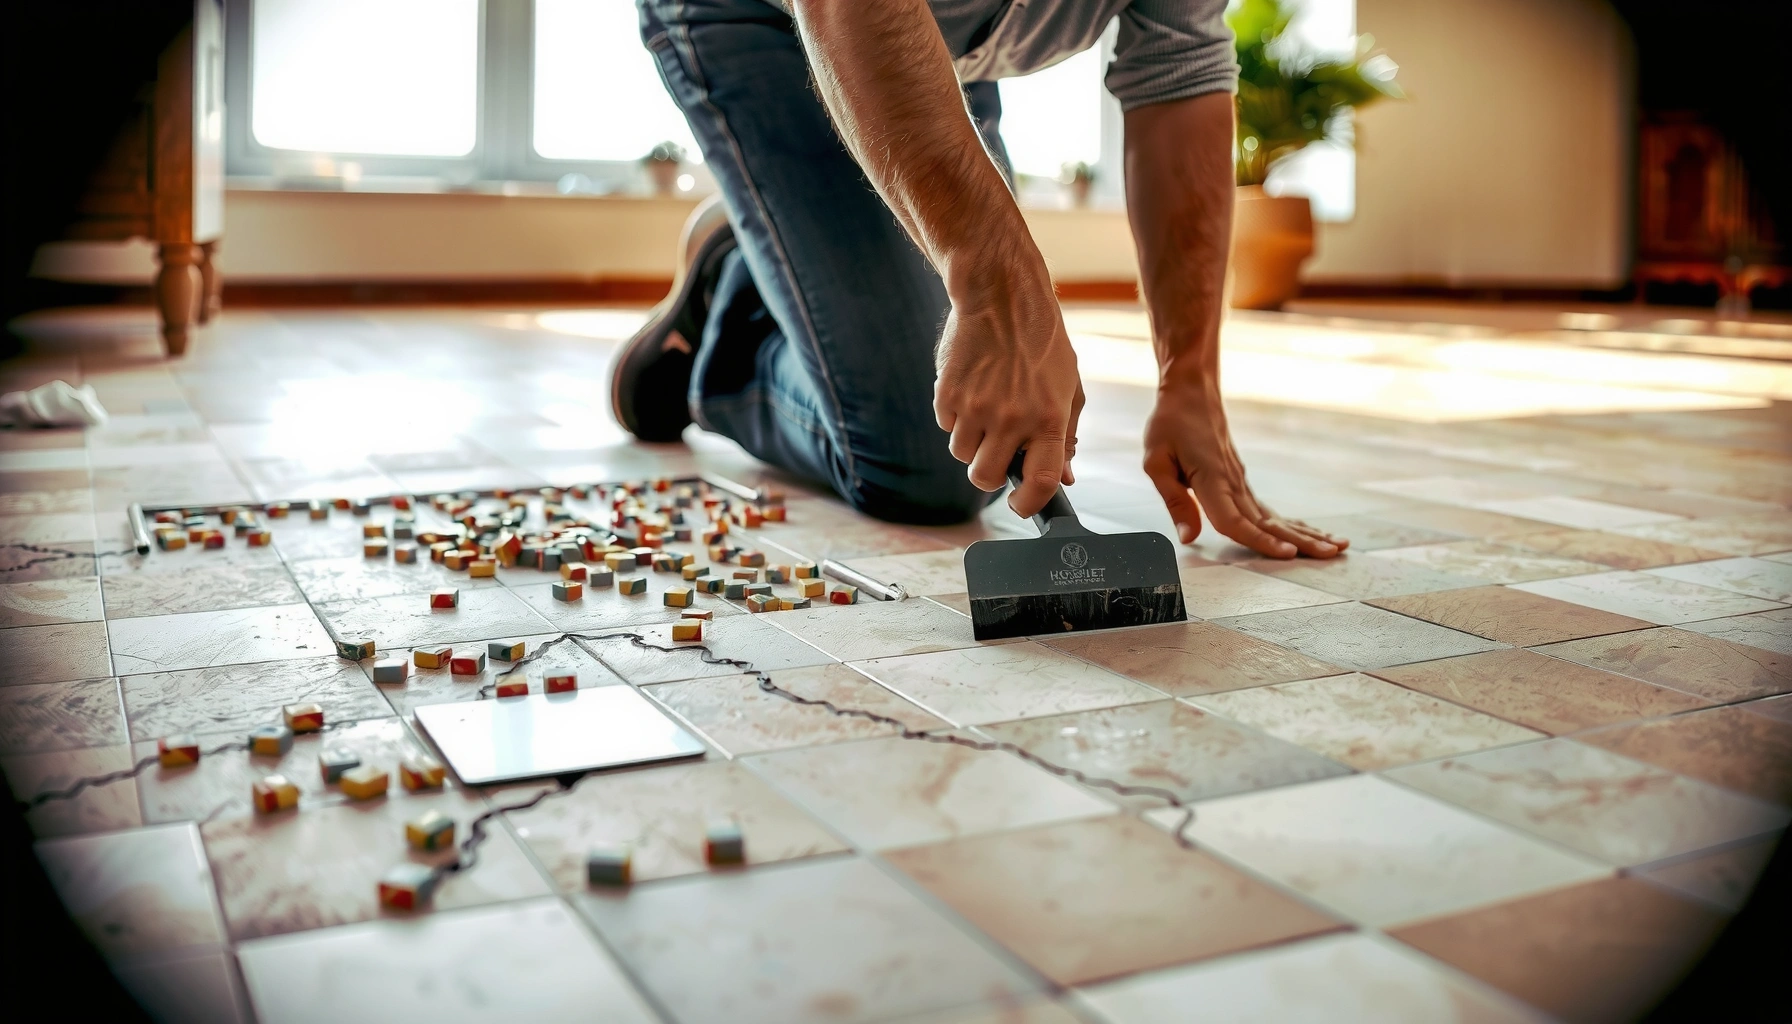

Want to remove mosaic tile floors without damaging the subfloor or losing days to guesswork? This step-by-step guide walks you through the fastest, safest way to break the tile, remove thinset, and clear grout residue so the surface is ready for what comes next. Follow it and you’ll know exactly what tools to use and what to avoid at every stage.



If you want to remove mosaic tile floors, the fastest safe approach is to protect the area, remove the grout first, then lift tiles from the edges with the least damage to the subfloor. In most cases, you’ll use a grout saw/oscillating tool for the grout lines and a flat pry bar (or floor scraper) to break tiles loose—then you’ll spend most of your time on thinset/mortar cleanup afterward.
Mosaic tile removal is a common step before installing new flooring, but the “real work” usually starts once tiles come up: flattening the substrate, managing dust, and identifying what’s underneath (slab, backer board, or old mortar beds). This is for homeowners, DIY renovators, and anyone planning a flooring replacement who wants a clear plan before starting—especially in 2024–2026 when many manufacturers are strict about surface-flatness requirements.
Prep the room (and protect the subfloor)
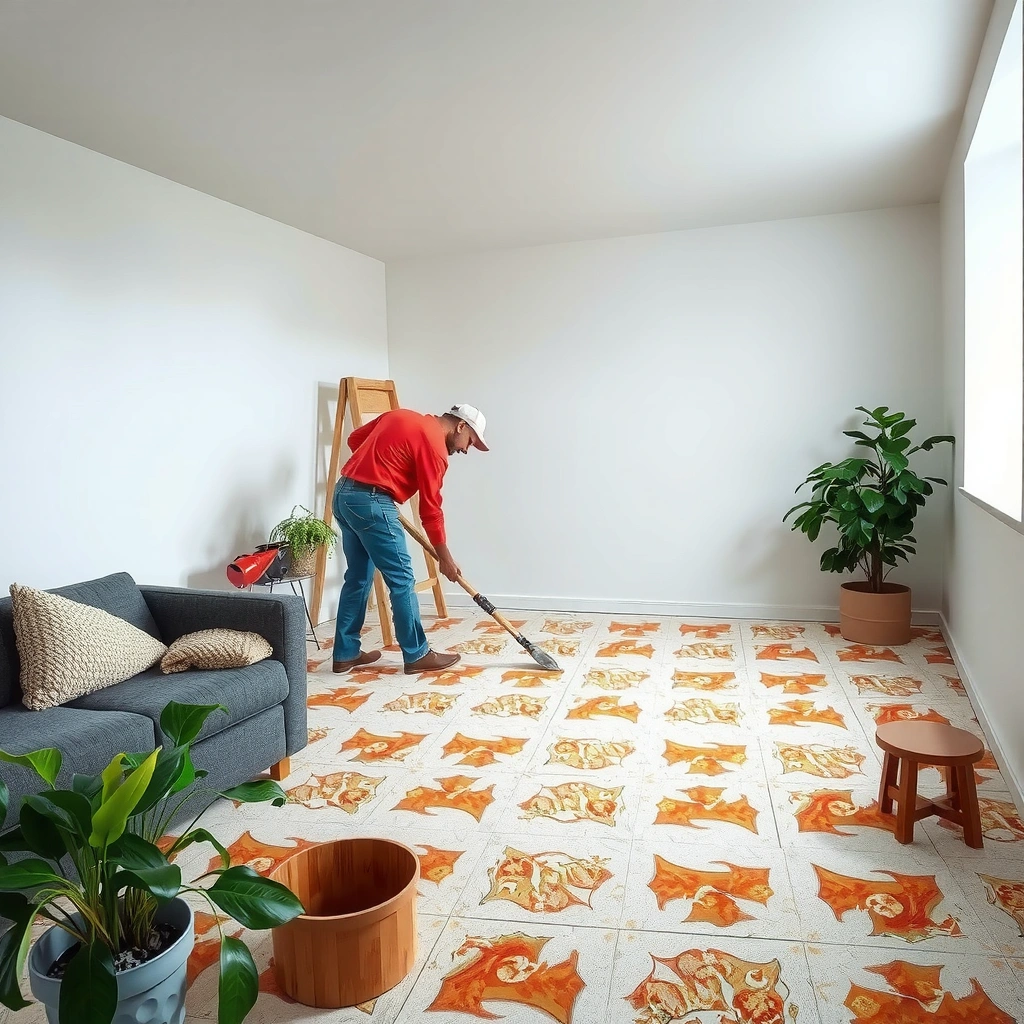
Start by sealing off the work area and protecting outlets and the subfloor because mosaic tile demolition quickly becomes a dust-control problem. The faster you move without containment, the more time you’ll spend cleaning later—and the more risk you create from respirable dust.
Turn off power to outlets in the work area, remove outlet covers, and cover anything you can’t remove. Then set up a dust barrier using plastic sheeting taped to the floor and walls; pay close attention to HVAC vents and return air pathways because they can spread fine particles throughout the home.
According to OSHA (U.S. Department of Labor), OSHA’s silica standard for construction uses a respirable crystalline silica PEL of 50 µg/m³ as an 8-hour TWA and an action level of 25 µg/m³.
According to the U.S. Department of Energy (DOE) HEPA performance standard, HEPA filters are rated to capture 99.97% of particles at 0.3 microns.
According to NIOSH, N95 respirators are designed to filter at least 95% of 0.3-micron particles under test conditions.
Containment setup that actually holds
Use a containment layout that matches your room geometry. For example, for rooms with a central return vent, I recommend plastic + tape around vents and then taping seams along the ceiling perimeter so dust can’t “leak” upward and re-enter through airflow. Where possible, run a shop vac with a HEPA filter at the point of cutting/grinding/grout removal.
Practical containment details (customize):
– Plastic barriers: 6-mil or thicker plastic sheeting, taped with painter’s tape or film tape.
– Path control: Put the vacuum hose and power cord so they don’t snag while you’re prying.
– Vent/outlet coverage: Mask outlets with removed covers and plastic; do not rely on a cover plate left in place.
– Sealed debris staging: Have contractor bags ready at the boundary of the containment zone.
PPE and “how to breathe safely” during grout removal
Tile and mortar removal can create fine dust. Use eye protection (sealed safety goggles), gloves, and respiratory protection per local guidance. If your home is older, assume there could be unknown hazards and follow professional testing guidance—especially for asbestos risk.
[ADD: your preferred containment setup details, e.g., “plastic + tape around vents”]
[ADD: PPE you use, e.g., “N95/respirator + goggles”]
[ADD: local guidance link/source for demolition dust/PPE]
Remove grout lines first (so tiles release cleanly)
Remove grout first because intact grout locks mosaic tiles together and forces you to pry through bonded materials—leading to broken tiles and more subfloor damage. Clean joints also make it easier to trace where tile ends and mortar begins.
Cut grout out along tile joints using a grout saw or oscillating tool, getting deep into the joint (not just scraping the surface). Work methodically in sections so you don’t overbreak surrounding tiles and mortar beds.
According to manufacturer guidance for tile demolition (e.g., tool OEMs like oscillating tool/best-practice pages), the safest removal sequence is typically “grout removal first” to reduce tile tearing and substrate gouging.
Grout is typically bonded to tile edges and helps distribute load; removing it before prying reduces lateral stress that causes mosaic tile cracking and mortar delamination.
Section-by-section approach prevents cascading damage
Mosaic tiles are small, but they’re often set in mortar/adhesive that grabs the entire mesh or slab. If you remove grout across the whole floor at once, you can loosen patterns unpredictably and cause more tile/mortar to fail together.
Recommended pattern: one grid row, or one “lane” at a time (for example, from an edge toward the center). Between passes, vacuum out grout dust so you can see tile edges clearly.
Tool choice: grout saw vs oscillating tool
– Grout saw: good control for narrow joints; slower but precise.
– Oscillating tool: faster for larger rooms, but you still need depth discipline to avoid gouging substrate.
[ADD: note about tool setup you use, e.g., “oscillating tool with grout blade + slow blade speed”]
Lift tiles starting from the edges
Lift from edges because tile failures usually start at boundaries where grout is already cut and adhesive bond is easiest to break. This method reduces the chance of tearing up the substrate layers you want to keep.
Find a seam or the weakest point—commonly at corners, along walls, or around fixtures—then pry carefully with controlled downward pressure. Use a wide putty knife or flat pry bar to lift while minimizing leverage that can gouge subfloor surfaces.
When prying, controlling leverage matters: excessive upward force can lift mortar and pull up additional substrate layers, even if grout lines are fully cut.
If tiles resist removal, switching from “force” to “undercut” (scraping/milling mortar thinly under edges) reduces damage compared with hammering or twisting.
What “controlled” prying looks like in practice
You’re trying to separate the tile bed at the interface where thinset/adhesive bond breaks. That means:
– Start with light pry pressure and increase gradually.
– Keep the pry bar flatter to avoid digging.
– Stop if you see the substrate surface deform—then switch to scraping/undercut.
If tiles won’t budge
When mosaics are set in a thick or heavily-bonded mortar (common with “heavy-set” installs), you may need to remove more mortar around the tile perimeter first. In that situation, floor scrapers and thin undercutting beats aggressive prying.
[ADD: note about the adhesive/mortar you found during demo]
Handle mortar/backer material removal
After tiles come up, you’ll usually need to scrape remaining thinset/mortar to achieve the flatness required for the next flooring system. If you don’t hit that target, new flooring can fail early—through lippage, weak adhesion, or uneven wear.
Scrape mortar thinly and keep checking the surface. If you discover cement backer board (cement board), remove it only as the next flooring system requires—some installs can be built over properly prepared surfaces, but others demand full removal.
New floor systems typically require a flat, sound substrate; uneven surfaces can cause adhesive bond failure, squeaks, or visible height transitions.
Concrete-like thinset remnants usually require mechanical removal; chemical “mold” removers do not replace scraping when flatness and bond lines are required.
Flatness target: confirm it before you “chase dips”
Most flooring manufacturers specify a maximum allowable variation over a certain length (often measured with a straightedge/level). Don’t guess—check the next product’s surface-prep specs.
[ADD: target flatness requirement from your next flooring manufacturer]
Substrate types under mosaic tiles (and what changes)
– Slab-on-grade (concrete): scraping is the core task; you may also need patching/leveling compound.
– Wood subfloor: be careful—aggressive scraping can damage fasteners, create gouges, or expose soft spots.
– Backer board: removal may be necessary if seams/edges aren’t suitable for the next build-up, especially if boards are loose or cracked.
Quick decision rule: if the backer board is loose, water-damaged, or delaminating, you usually can’t “prep over it” without correcting the cause first.
Crystalline Silica Exposure Thresholds & Dust-Control Specs (US)
| # | Standard / Spec | Value | Meaning (for tile demo) | Direction |
|---|---|---|---|---|
| 1 | OSHA action level (respirable crystalline silica, 8-hr TWA) | 25 µg/m³ | Triggers exposure control planning/monitoring | Lower = better |
| 2 | OSHA PEL (respirable crystalline silica, 8-hr TWA) | 50 µg/m³ | Regulatory limit for long shifts | Do not exceed |
| 3 | OSHA excursion limit (respirable crystalline silica) | 250 µg/m³ (30-min avg) | Limit for short-term peaks | Do not exceed |
| 4 | HEPA filter capture rating | 99.97% @ 0.3 µm | High-efficiency dust filtration | Higher = better |
| 5 | N95 minimum filtration efficiency | ≥95% @ 0.3 µm | Reduces inhalable fine particles | Higher = better |
| 6 | “Respirable” particle size range | Typically <10 µm | More likely to reach deep lung regions | Lower exposure = safer |
| 7 | Key exposure-control priority (hierarchy) | Engineering & containment first | Vacuum/containment reduces dust at the source | Use controls first |
These values are regulatory/specification thresholds intended to support dust-control decisions during demolition and scraping. Always check current local rules and product-specific requirements.
[ADD: cite specific OSHA table/section and the exact authority documents you follow]
What can go wrong (and how to avoid it)
The most common failure mode is rushing the sequence—skipping grout removal, prying too aggressively, or failing to plan for flatness—because it creates avoidable repairs later. If you want predictable results, control dust, remove joints cleanly, and treat mortar cleanup and surface prep as part of the job.
According to OSHA’s construction guidance on silica, dust controls are most effective when implemented early and at the source (tools with extraction, containment, and wet methods where feasible).
In tile removals, substrate flatness is not cosmetic; manufacturers typically require within-spec flatness for proper bonding and performance of the replacement flooring system.
Common mistakes that turn demolition into a long repair
– Skipping grout removal: If you pry through intact grout, mosaic tiles can fracture chaotically and you’ll tear more mortar than needed.
– Not controlling dust: Mosaic removal generates fine particulate; without containment and HEPA filtration, you spread dust into HVAC pathways and soft furnishings.
– Accidentally removing too much: Aggressive prying can lift thinset and pull up layers you intended to keep—especially over wood subfloors.
– Subfloor surprises: Adhesive type and mortar thickness vary widely; older installers sometimes used heavy-set mortars or thick beds that require additional scraping time.
[ADD: note about the adhesive/mortar you found during demo]
Pros/cons comparison: what changes based on substrate
| Approach | Pros | Cons / Watch-outs |
|---|---|---|
| Grout-first + edge pry | Usually least substrate damage; cleaner tile release. | Slower at first; still requires careful scraping afterward. |
| Undercut perimeter before lifting | Better when mortar is thick or strongly bonded. | Can increase time spent at edges and around obstacles. |
| Chip/hack removal (not recommended) | May feel fast initially. | Higher risk of gouging and removing the wrong substrate layers. |
Verdict: when DIY is worth it (and when to stop)
Removing mosaic tile floors is usually a manageable DIY when you can contain dust and you’re ready for the flatness and scraping work afterward. Stop and consider professional help if you suspect hazardous materials (especially asbestos in older builds), if the substrate is delicate, or if you need guaranteed compliance with strict surface-prep specs.
From a practical standpoint, DIY is often worth it when:
– You can seal the room and run HEPA extraction during grout and mortar removal.
– You have time for scraping and leveling/patching.
– You can verify what’s underneath (slab vs backer board vs mortar bed).
Pause and don’t “guess” substrate handling if your next flooring depends on exact preparation. Many failures happen because the demo seemed finished, but the replacement flooring can’t bond over remaining ridges, voids, or loose underlayment.
OSHA’s silica standard emphasizes engineering controls and protective work practices because respirable crystalline silica is a known hazard in construction activities involving cutting or grinding mineral materials.
If the replacement product requires a specific flatness tolerance, exceeding that tolerance can lead to poor adhesion or premature failure even if the old tiles are fully removed.
[ADD: exact requirement for your next flooring type]
[ADD: exact setup you use]
Quick checklist (scan before you start)
– [ ] Protect room: plastic, tape, vent/outlet coverage
– [ ] PPE ready: eye protection + respiratory protection (see local guidance)
– [ ] Tools: grout saw/oscillating tool + flat pry bar + floor scraper
– [ ] Remove grout thoroughly along all joints
– [ ] Start prying from edges/corners to reduce damage
– [ ] Scrape remaining mortar thinly; check flatness before installing new flooring
– [ ] Dispose of debris safely (sealed bags/cardboard as appropriate)
FAQ
Do I need to remove all the grout before prying tiles up?
In most cases, yes—removing grout from the tile joints reduces bonding and prevents widespread tile breakage and subfloor damage.
What if the tiles break and I can’t lift them in whole pieces?
That’s common with older installs. Focus on clearing grout lines, then remove remaining pieces by prying smaller sections and scraping mortar afterward.
How do I know whether there’s cement board or thinset-only under the tiles?
Look for seams, thickness changes, or exposed layers as tiles come up. If you can’t tell, stop and identify the system before continuing to avoid damaging the substrate.
Can I install new flooring directly after removing mosaic tiles?
Usually you’ll still need scraping and leveling/patching. Always follow the next flooring manufacturer’s surface-prep requirements. [ADD: exact requirement for your next flooring type]
Is there a safer way to reduce dust?
Containment (plastic barriers) plus a HEPA-filter shop vac helps a lot, and using an oscillating tool/grout saw rather than aggressive chipping can reduce airborne dust. [ADD: exact setup you use]
Sources
– OSHA (U.S. Department of Labor) — Respirable crystalline silica standard for construction/demolition work (action level, PEL, and excursion limit).
– NIOSH — Respirator guidance and N95 filtration performance information.
– U.S. Department of Energy (DOE) — HEPA filter efficiency rating (99.97% @ 0.3 microns).
– [ADD: manufacturer instructions/specs for the next flooring system you plan to install—surface prep and flatness requirements]
– [ADD: manufacturer documentation for your specific tile removal tools (oscillating tool/grout saw guidance, dust extraction recommendations)]
When you remove mosaic tile floors with a grout-first sequence, careful edge lifting, and disciplined dust control, the job becomes predictable: tiles release with less substrate damage, and mortar cleanup is easier to manage. Plan for the flatness prep that comes after demo, because that’s what determines whether your replacement floor performs well. If you run into unknown substrates, heavy-set beds, or possible hazardous materials, stop and confirm—saving a few hours at demo can cost days in rework.
Frequently Asked Questions
What is the safest way to remove mosaic tile floors without damaging the subfloor?
Start by identifying the tile type and how it’s installed (thinset mortar, mastic, or grout-set tile). Test a small inconspicuous area: if the tile breaks easily and mortar stays intact, you can often remove it with controlled prying. Use a floor scraper and a heat gun if mastics are present, but avoid aggressive chiseling that can gouge plywood or concrete. Always wear eye protection, gloves, and a respirator because tile dust and silica can be hazardous.
How do you remove mosaic tile floors step-by-step?
Begin by protecting the room with plastic sheeting and removing trim, baseboards, and any transitions. Score and remove grout lines first using a grout saw or oscillating tool, then work to lift individual tiles with a floor scraper or putty knife. For stubborn tiles, drill out a few center points and use a chisel to break the tile free, then scrape off remaining thinset carefully. Finish by vacuuming dust thoroughly and flattening the surface so the new flooring or underlayment can bond properly.
Why is removing mosaic tile floors harder than removing larger tile, and how can you prevent mistakes?
Mosaic tile often has multiple small pieces embedded in mesh sheets or set with mortar that spreads into grout joints, which makes pulling up entire sheets inconsistent. The grout can act like a “binder,” so skipping grout removal usually leads to cracked subfloor and excessive thinset left behind. Keep your tool angles low, remove grout thoroughly, and expect to do some thinset scraping after the tiles lift. Planning for dust control and having the right blades (oscillating/grout blades) reduces the risk of damage and accelerates the process.
Which tools and blades work best for removing mosaic tile floors?
A combination of an oscillating multi-tool (with a grout-removal blade), a floor scraper, and a heavy-duty chisel is typically the most effective for mosaic tile removal. For grout, choose carbide grout blades or a grout saw for tight lines, and for tile lift use flat blades designed for floor tile removal. If you’re dealing with tile on concrete, a rotary hammer on light settings can help with stubborn sections, but it should be used carefully to avoid harming the slab. A shop vacuum with a HEPA filter is strongly recommended to manage tile dust while you work.
Best practices: how do you handle thinset or mortar removal after the mosaic tile is gone?
After lifting mosaic tile, scrape the remaining thinset using a floor scraper first, then switch to a grinder or leveling system if needed to reach a flat, clean surface. Use a dust-containment setup (plastic barriers and HEPA vacuum) because thinset grinding produces fine silica dust. If the mortar is thick or bonded strongly, mechanical removal is usually more reliable than chemical strippers, especially on concrete. Once the surface is clean and level, wipe again, allow it to dry, and then follow the correct primer or underlayment steps for your new flooring.
📅 Last Updated: October 10, 2026 | Topic: How to remove mosaic tile floors? | Content verified for accuracy and freshness.
References
- Google Scholar Google Scholar
https://scholar.google.com/scholar?q=how+to+remove+ceramic+tile+floor+thinset - Google Scholar Google Scholar
https://scholar.google.com/scholar?q=mosaic+tile+floor+removal+methods+backerboard - Google Scholar Google Scholar
https://scholar.google.com/scholar?q=tile+floor+demolition+dust+control+HEPA+lead+asbestos - Tile
https://en.wikipedia.org/wiki/Ceramic_tile - Asbestos – Overview | Occupational Safety and Health Administration
https://www.osha.gov/asbestos - https://www.cdc.gov/niosh/topics/asbestos/
- https://www.epa.gov/asbestos/asbestos-and-your-home
- Lead Renovation, Repair and Painting Program | US EPA
https://www.epa.gov/lead/renovation-repair-and-painting-program - Lead in the Workplace | Lead | CDC
https://www.cdc.gov/niosh/topics/lead/ - Lead | US EPA
https://www.epa.gov/lead


