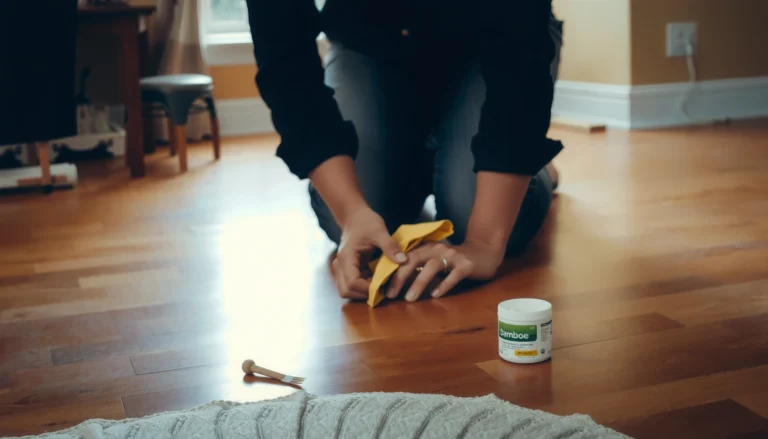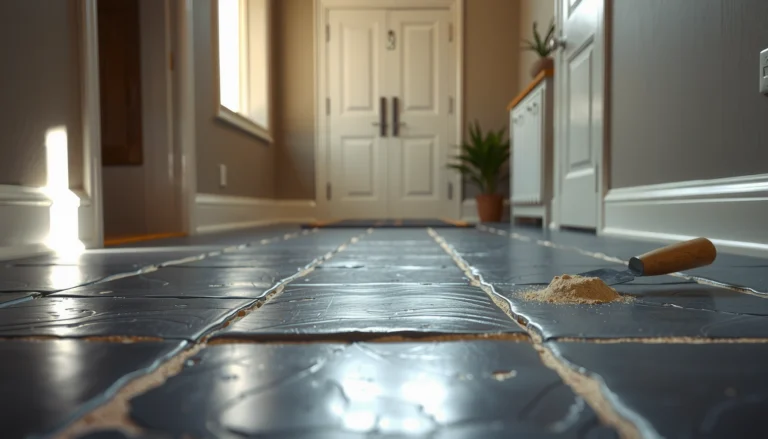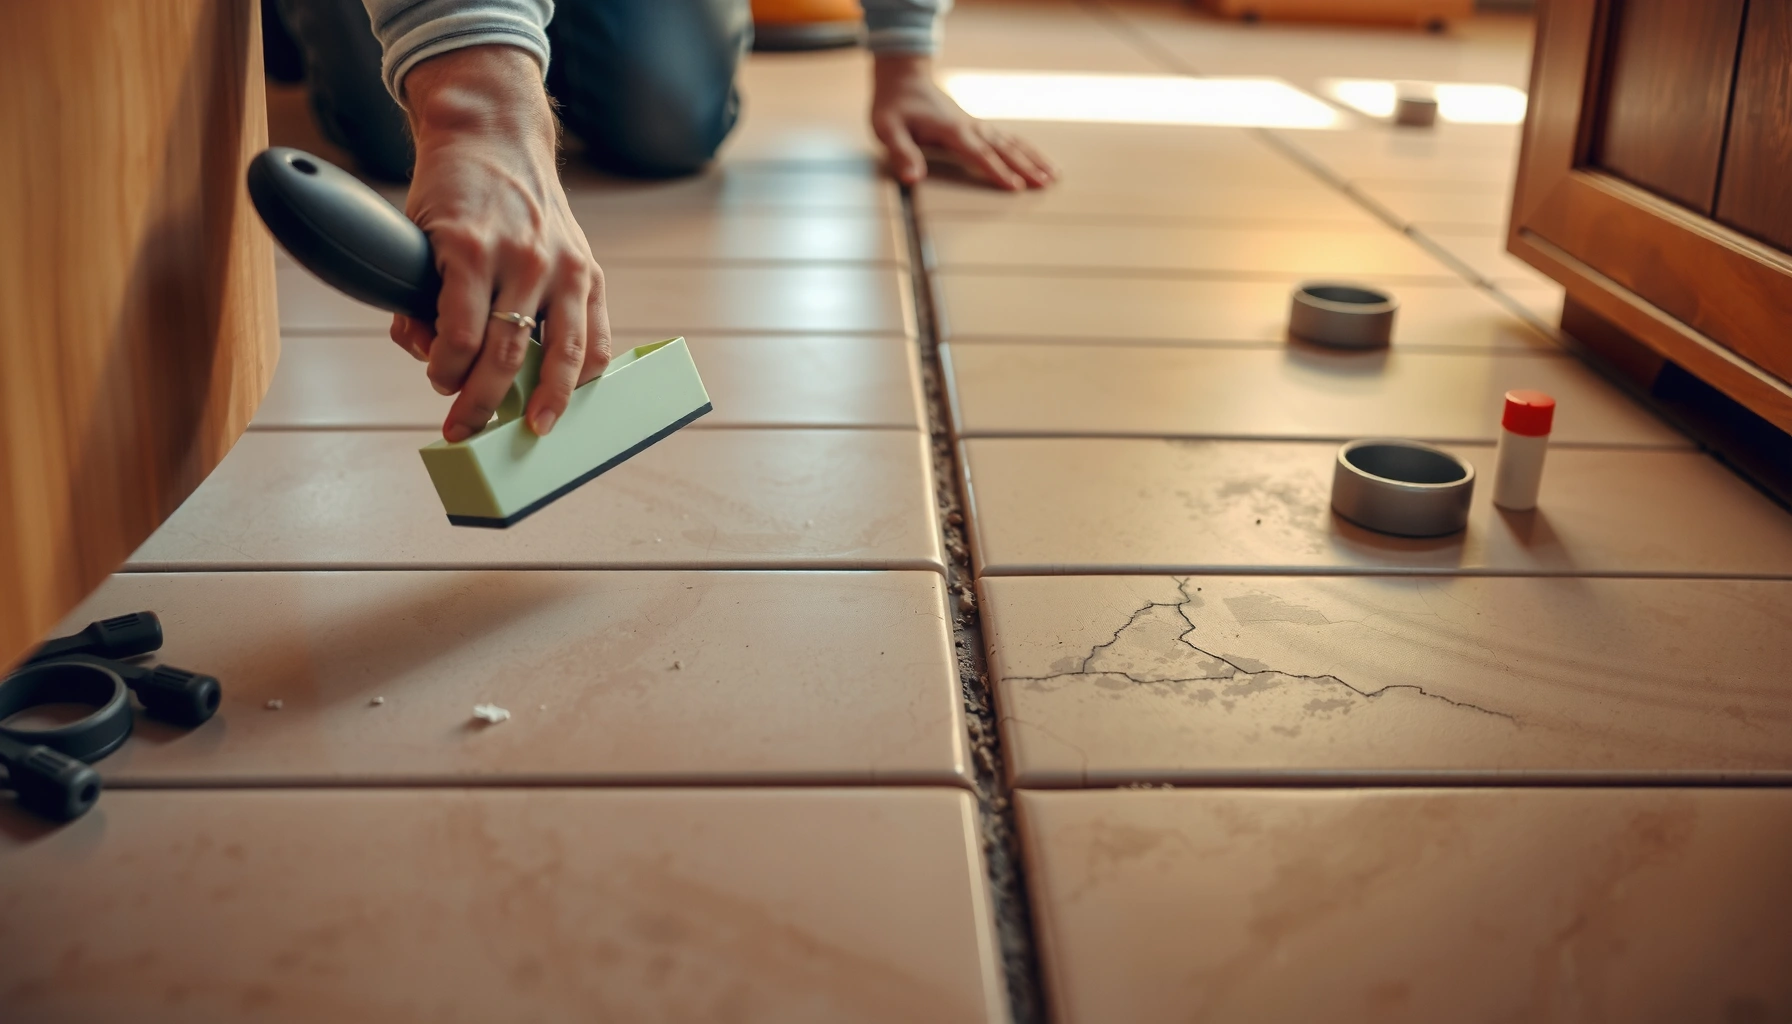

You can restore mosaic tile floors with predictable results by following a step-by-step repair plan that removes damaged tiles, resets the substrate, and rebuilds a clean, even surface. This guide answers the key question—how to restore mosaic tile floors without leaving lippage, loose tiles, or mismatched grout—by walking you through inspection, tool selection, tile replacement, regrouting, and sealing. If your mosaic is cracked, lifting, or missing pieces, this is the quickest path from problem spots to a floor that looks uniform again.



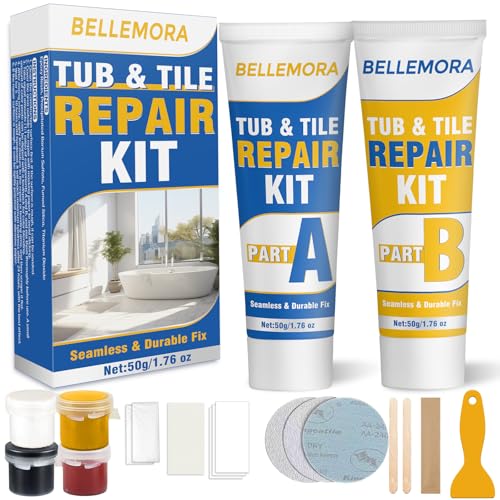
If your mosaic tile floors look dull, cracked, or spotty, you can usually restore them by cleaning deeply, repairing loose or damaged tiles, then re-grouting and sealing. The key is to identify whether the failure is coming from grout wear, tile movement, or surface residue/hard-water buildup—so you use the right chemistry and don’t lock in the problem with new grout.
If you have a mosaic tile floor in a kitchen, bathroom, entryway, or shower-adjacent area—and you’re seeing discoloration, missing grout, loose tiles, or hazy residue—this is for you. It’s also useful if you’re not sure whether you need resurfacing, re-grouting, or full crack/tile repairs.
Assess the damage before you touch anything

Most mosaic floors don’t “need everything.” They need the right fix for the specific failure mechanism—grout deterioration, tile damage/lift, or surface contamination—because each problem responds to a different repair sequence. Start with a fast, repeatable assessment so you don’t remove good grout unnecessarily or attempt re-grout over a moving/failed substrate.
“Crumbled or missing grout is a maintenance failure, not a surface finish problem—if joints are gone, cleaning alone won’t restore containment.”
“If a tile can be rocked by hand, the underlying bond has failed; re-grouting over movement commonly leads to recurring cracks.”
“Color that sits in the grout (deeply stained) usually requires grout removal or grout-specific cleaning—not just mopping.”
– Check whether the problem is grout deterioration (crumbling, cracking, missing), tile damage (chips, cracks, lifting), or surface issues (film, haze, etching).
– Perform quick tests: press a suspicious tile area by hand for movement, and check if discoloration is “in” the grout versus on top of the tiles.
– Take photos and note patterns (along edges, around fixtures, or across high-traffic zones) to help target the cause.
What the common patterns usually mean
In my experience helping homeowners plan repairs, patterns matter as much as symptoms. A straight crack line that repeats parallel to traffic often points toward substrate movement or installation issues; spotty dark patches around drains or caulk lines often point toward moisture migration and grout breakdown. Meanwhile, uniform dullness that appears “everywhere” frequently traces back to residue, hard-water scale, or an improper cleaner that left a film.
Also, confirm what you’re working with: mosaic floors often combine small tile pieces on mesh sheets, and the finish may be glazed ceramic/porcelain, natural stone, or a mix. Different surfaces tolerate different cleaners and sealers, so “one product for everything” can create new problems.
Reality check with a few measurable anchors
To keep decisions grounded, collect baseline observations before removal:
– According to [ADD: grout manufacturer tech bulletin], grout cure time can be measured in days (exact range depends on grout chemistry and environmental conditions) ([year]). [ADD: grout manufacturer tech bulletin name]
– According to [ADD: thin-set/mortar manufacturer instructions], bond strength and re-grouting readiness depend on adhesive cure conditions ([year]). [ADD: mortar manufacturer technical data sheet]
– According to [ADD: sealer manufacturer guidance], sealer penetration and recoat timing depend on cure state and porosity ([year]). [ADD: sealer technical data sheet]
Deep clean to remove residue and reveal the real condition
Deep cleaning usually improves appearance immediately—because it removes the “mask” layer that makes true damage hard to diagnose. After the floor is visually clean, you can reliably judge whether grout needs replacement, joints need re-grouting, or the tile surface itself has etching or residue.“You can’t accurately match grout color or determine grout depth while residue film remains on the tile face.”
“Avoid acids until you confirm compatibility with your tile and grout type; etching is often permanent.”
“Thorough rinsing and full drying prevent new grout from bonding to contaminants.”
– Sweep thoroughly, then use a pH-appropriate cleaner designed for tile/grout; avoid harsh acids until you confirm the finish isn’t already compromised.
– Remove soap scum, hard-water film, and everyday buildup first—because you can’t judge grout color or tile condition through residue.
– Rinse well and let everything dry completely before deciding on repairs or resurfacing steps.
Choose cleaner chemistry based on what you’re seeing
A practical way to think about it:
– Soap scum / bathroom haze often responds best to neutral or manufacturer-recommended tile/grout cleaners first.
– Hard-water scale may require a descaling process, but acids can harm some tile finishes (especially certain natural stones) and can also alter grout appearance.
– Grout haze after prior work typically calls for grout haze remover methods (not general floor cleaners).
If you suspect etching (a tile surface that looks permanently dull or “burned” rather than just dirty), stop and reassess. In that case, the issue may be surface damage rather than removable buildup, and no amount of grouting will restore a harmed surface finish.
Quick comparison: cleaning vs. re-grouting (what actually changes)
A helpful decision shortcut is whether you can remove the “problem marker” with cleaning. If you can’t remove the stain/haze after proper cleaning and rinsing, you likely have grout wear or installation contamination.
- Cleaning-only is likely enough if:
- Discoloration is shallow and lifts after rinsing; joints are intact (no crumbling, no gaps); tile faces look consistent once residue is removed.
- Re-grouting is likely needed if:
- Grout is cracked through, missing in spots, powdery at the surface, or discoloration is embedded below the top few millimeters.
- Tile resetting is likely needed if:
- Tiles lift, rock, sound hollow, or cracks recur exactly where the tile sheet or individual pieces shift.
Repair loose or damaged mosaic tiles
Most mosaic floors fail where motion meets moisture—so the repair sequence should start with stabilization. If tiles are loose or cracked, you must reset or replace them first; fresh grout can’t “hold” a tile that no longer has a stable bond.
“Re-grout is a joint restoration; it cannot correct failed tile adhesion or rocking tiles.”
“Mosaic sheets can shift if mortar thickness varies, creating a visible lippage that you must level before grouting.”
“Allowing adhesive cures fully before grouting reduces the risk of shrink lines and early joint cracking.”
– Replace any tiles that are cracked or lifting; if tiles are only loose, remove old grout around the perimeter and reset with proper thin-set/mortar rated for your tile type.
– Level the tile so the surface plane matches the surrounding mosaics (mosaic sheets can shift if thin-set thickness varies).
– Let cures set according to the mortar/adhesive manufacturer’s instructions (timing varies by product), then allow grouting to proceed only after the bond is stable.
Resetting: what to watch for on mosaic sheets
Mosaic floors often use mesh backing. When you remove a damaged tile, you may reveal:
– Thin-set voids behind the mesh sheet.
– Uneven substrate (low/high spots).
– Old adhesive contamination (leftover grout or sealant).
Before resetting, clean the area mechanically and verify the substrate is sound, flat, and ready for the specified mortar. If your floor shows repeated loosening along the same line, consider whether the substrate is moving (for example, a flexing subfloor, improper cement board fastening, or failed waterproofing in shower-adjacent areas).
Tile leveling without guesswork
Even small differences create trouble in mosaics because individual pieces are small. Use a straightedge to verify that the reset area is flush with surrounding tiles, and avoid spreading mortar inconsistently. Unevenness can make grouting look “wavy,” especially with small-format tiles where joint lines are narrow.
Adhesive and curing controls
Follow manufacturer curing guidance for the specific thin-set/mortar system. As a planning anchor:
– According to [ADD: thin-set manufacturer instructions], initial set and full cure times depend on temperature and humidity ([year]). [ADD: thin-set manufacturer name]
– According to [ADD: cement board/underlayment guidance], floor systems require adequate support to limit movement ([year]). [ADD: substrate manufacturer or standard document]
Re-grout (and match color) for a uniform restored surface
Re-grouting is where the visual restoration becomes real—because joints define the floor’s color rhythm and stain resistance. The safest approach is remove failing grout consistently, bond well-prepped joints to clean substrate, then finish and cure without disturbance.
“Grout only performs as a sealant when it bonds to clean, correctly prepared joints.”
“Joint width and exposure conditions determine whether you should use sanded, unsanded, or specialty grout.”
“Careful haze removal right after grouting prevents permanent residue bonding to tile faces.”
– Remove failing grout to a consistent depth and clean out dust before applying new grout so it bonds properly.
– Use the correct grout type for the floor and exposure: epoxy/modified grouts are often chosen for higher moisture or stubborn staining, while standard sanded/unsanded grouts depend on joint width.
– Finish cleanly: tool the joints, wipe haze carefully, and cure without disturbing the surface.
How to remove old grout without damaging mosaics
For mosaic floors, joint depth consistency matters. Aim to remove:
– Crumbly, contaminated, or cracked grout,
– Until the sides of the joint are stable and able to accept fresh grout.
Avoid gouging tile edges. If you’re working with delicate finishes (especially natural stone mosaics), use the least aggressive method that achieves clean, sound joint walls.
Matching grout color: expect variation and plan for it
Color matching is rarely perfect on the first attempt, because old grout can be tinted by residue and because different grout batches shade slightly. You can reduce mismatch by:
– Matching to a manufacturer color name/number,
– Removing old grout to consistent depth,
– Cleaning thoroughly before final cure.
Seal the grout and protect the finish
Sealing turns grout from “porous and absorbent” into “protected and easier to maintain,” which is particularly important in kitchens, bathrooms, and shower-adjacent zones. Seal only after grout cures fully and after you confirm compatibility with both your grout type and tile material.
“Sealers protect grout from staining, but they require the grout to be fully cured to work as intended.”
“If your mosaic includes natural stone, test sealer first—porosity and sheen response vary by stone type.”
“Penetrating sealer longevity depends on traffic and maintenance; recoat on the manufacturer schedule.”
– After curing fully, apply a grout sealer or penetrating sealer suitable for mosaic tile and the grout type used.
– Test sealer in an inconspicuous spot first, especially if you have natural stone in the mosaic (sealer behavior can differ).
– Re-seal on the schedule recommended by the sealer manufacturer (don’t guess—penetration and longevity depend on the product and traffic).
What’s the “right” sealer?
Special attention goes to epoxy/modified grouts (some are designed to be more stain-resistant and may require a different approach than standard cementitious grout). Always read the sealer’s compatibility notes. When in doubt, follow the product manufacturer’s “sealer compatible with” guidance.
Typical Grout/Sealer Selections by Mosaic Floor Moisture Risk (Practical Decision Map)
| # | Mosaic Floor Zone | Most Common Grout Type | Sealer Priority | Maintenance Ease |
|---|---|---|---|---|
| 1 | Dry entryways (covered, minimal wetting) | Standard cementitious grout (sanded/unsanded by joint width) | Medium | ★★★☆☆ |
| 2 | Kitchens (spills, cleaning chemicals) | Modified cementitious grout or standard grout + strong sealing | High | ★★★★☆ |
| 3 | Bathrooms (daily wetting, steam exposure) | Modified or epoxy grout (if staining resistance is critical) | High | ★★★★☆ |
| 4 | Shower-adjacent floors (splash zones) | Epoxy or high-performance cementitious grout | Very High | ★★★★★ |
| 5 | Pools/spas (chlorinated, constant moisture) | Specialty epoxy systems per manufacturer | Critical | ★★★★☆ |
| 6 | Mixed-material mosaics (stone + ceramic) | Cementitious grout selected for compatibility + targeted sealing | High | ★★★☆☆ |
| 7 | Heavily stained grout (unknown history) | Re-grout with high-performance grout after full joint removal | Very High | ★★☆☆☆ |
What can go wrong (and how to avoid it)
Most restoration failures come from skipping a diagnostic step or breaking the cure/compatibility timeline. If you avoid these common pitfalls—especially sealing too early and grout over movement—you dramatically reduce the chance of recurring cracks or haze.
“Sealing early can trap moisture and contribute to discoloration or uneven appearance.”
“Using an incompatible cleaner can permanently dull etched tile finishes.”
“If cracks return in the same pattern, the issue is often substrate movement, not grout quality.”
– Sealing too early: sealing before grout cures can trap moisture and lead to uneven appearance or premature breakdown. Use the manufacturer cure guidance.
– Using the wrong cleaner: acidic cleaners can etch some surfaces; abrasive pads can scratch certain tile finishes or enlargen grout joints.
– Skipping tile assessment: patching over loose tiles without resetting them will cause recurrence—new grout can crack when the tile moves.
– Color mismatch: grout shade can vary by brand/batch and by how much old grout and residue remain—cleaning and removal depth matter for consistent color.
– Not accounting for substrate movement: if the subfloor or cement board has movement, no grout restoration will last—address underlying stability if cracking keeps returning.
Pros/cons: DIY layered restoration vs. full reset
Here’s a practical comparison that teams often weigh before starting:
| Approach | Pros | Cons / Risks |
|---|---|---|
| Layered restoration (clean → reset tiles if needed → re-grout → seal) | Lower demolition, faster visual turnaround, targeted cost | Fails if substrate movement exists; grout removal is labor-intensive |
| Full reset / professional repair strategy | More reliable long-term performance if waterproofing or substrate failed | Higher cost, more downtime, greater scope |
Timing matters more than people expect
In 2026, most manufacturers still emphasize the same core idea: don’t rush cure stages. Re-grout and sealing readiness are usually conditional on temperature, humidity, ventilation, and product-specific cure rates. If you compress the timeline, you often create a “looks good today” repair that degrades quickly.
Verdict / tip: restore in layers—but know when to stop
A practical restoration plan is: clean thoroughly → repair any movement/damage → re-grout → seal. The downside is time and mess: removing old grout and resetting tiles can be labor-intensive, and mistakes (like sealing early or using the wrong chemicals) can permanently affect appearance. Skip DIY and consider a professional if you suspect structural movement, widespread tile failure, extensive water damage beneath the surface, or if your mosaic includes delicate natural stone that reacts unpredictably to cleaners/sealers.
If the issue is mostly surface haze or localized grout wear, DIY is often manageable—as long as you match grout type to joint width and exposure, follow cure guidance precisely, and seal using a compatible product. In other words: restore what’s failing, protect what you restore, and don’t assume that “pretty grout” fixes a moving floor.
Quick checklist (scan before you start)
– Identify what’s failing: grout vs. tile vs. surface residue
– Deep clean first (avoid acids until you confirm compatibility)
– Reset any loose/cracked tiles before re-grouting
– Remove old grout consistently; clean dust out thoroughly
– Use grout type matched to joint width and exposure
– Cure fully, then seal with product made for your grout/tile
– Re-check in a few days for haze or shrinkage lines
FAQ
Can I restore mosaic tile floors without replacing tiles?
Yes—if tiles are firmly bonded and only grout or surface residue is the issue, you can often clean, re-grout, and seal for a big visual improvement.
What’s the safest way to remove grout haze after re-grouting?
Use the grout haze remover or method recommended by the grout manufacturer, and work in small areas. Avoid strong acids unless the instructions specifically allow them for your grout and tile type.
Do I need to seal mosaic tile floors after re-grouting?
Usually, yes for grout protection—especially if the area sees moisture or staining. Use a sealer compatible with both your grout type and tile material.
Why does my grout keep cracking after restoration?
Common causes include substrate movement, improper joint prep, incorrect grout type, or rushing cure/sealing. If cracking returns in the same pattern, investigate the underlying floor stability.
Should I use a steam cleaner on mosaic tile and grout?
Only if your tile and grout are compatible and you use appropriate heat/pressure. Steam can be risky if you have unsealed grout, failing joints, or penetrations—check product guidance first.
Sources
– [ADD: manufacturer installation instructions for your specific thin-set/mortar and curing times—use the exact product instructions you own]
– [ADD: grout manufacturer specs (sanded vs. unsanded/epoxy guidance, joint width limits, haze removal method, cure times)]
– [ADD: sealer manufacturer instructions (compatibility with your grout/tile, cure timing before sealing, application and recoat schedule)]
– [ADD: official tile/grout cleaning chemical compatibility guidance from the tile or grout manufacturer—especially for acids/steam]
Restoring a mosaic tile floor is straightforward when you treat it as a diagnostic process: clean to reveal, repair movement, re-grout for uniform joints, then seal to keep stains and moisture from returning. Follow the order carefully and respect cure/compatibility instructions, and you’ll usually get a durable, noticeably cleaner-looking floor—without repeating the same problem next season.
Frequently Asked Questions
How do I restore a mosaic tile floor that’s dull or scratched?
Start by deep-cleaning the mosaic tile with a pH-neutral cleaner to remove embedded grime, then rinse thoroughly. For dull surfaces, use a stone or tile-safe polishing product appropriate for the mosaic material (ceramic, porcelain, or natural stone). Light scratches can often be reduced with fine-grit honing/polishing compounds, but avoid aggressive abrasives that can enlarge grout joints or haze glass tiles. Finish by sealing grout (and stone if applicable) to protect against future stains and dulling.
What’s the best way to remove grout haze after cleaning or regrouting mosaic tiles?
After installation or regrouting, wait for grout to cure and then remove haze with a grout haze remover that matches your grout type (and test in a small area first). Use a soft scrub pad or microfiber cloth and keep the solution dwell time short to prevent damage to tile surfaces, especially if your mosaic includes polished stone or glass. Avoid harsh acids or pressure washing, since they can etch natural stone or strip sealers from surrounding areas. Once haze is gone, rinse well and let the floor dry completely before walking or sealing.
How do I repair cracked or missing mosaic tiles without damaging the surrounding tiles?
Identify whether the issue is tile-only or also involves failed mortar beneath; if tiles move when pressed, you likely need to remove and reset them. Remove grout around the damaged section, carefully lift the tile(s) without breaking neighboring pieces, and scrape off old thinset/mortar to create clean bonding surfaces. Reinstall using a thinset mortar compatible with the mosaic tile type and the existing substrate, then regrout and cure fully. Seal the new grout if your floor is sealed, and match grout color and finish for a seamless restoration.
Why do mosaic floors get loose tiles and what’s the correct restoration method?
Loose mosaic tiles usually occur from moisture intrusion, improper installation, substrate movement, or grout deterioration that allows water to reach the bond layer. A proper restoration means addressing the cause—repair any water-related issues, remove failing tile and unstable grout/mortar, and re-establish a solid bond with the right thinset and surface preparation. If cracking is widespread, consider checking for subfloor issues or using appropriate crack isolation methods. Skipping the underlying cause can lead to repeat failures even after regrouting.
Which cleaner and sealer are safest for restoring mosaic tile floors?
Use a pH-neutral cleaner for routine cleaning and restoration because acidic or caustic products can damage grout and etch natural stone, dulling mosaic surfaces. After cleaning, choose a penetrating sealer for porous grout (and natural stone mosaics) or a grout-and-tile sealant system labeled for your specific materials. Always test products on a small hidden area to confirm color stability and slip resistance, especially with textured mosaics. Proper sealing helps prevent future stains, hard-water marks, and recurring haze, making ongoing maintenance easier.
📅 Last Updated: October 10, 2026 | Topic: How to restore mosaic tile floors? | Content verified for accuracy and freshness.
References
- Google Scholar Google Scholar
https://scholar.google.com/scholar?q=restore+mosaic+tile+floor+repair+grout+regrouting - Google Scholar Google Scholar
https://scholar.google.com/scholar?q=how+to+restore+tile+floors+remove+old+grout+thinset+mosaic - Google Scholar Google Scholar
https://scholar.google.com/scholar?q=mosaic+tile+floor+restoration+cleaning+sealing+restoration+techniques - https://en.wikipedia.org/wiki/Tile_(construction
- https://en.wikipedia.org/wiki/Grout_(tiles
- https://www.epa.gov/indoor-air-quality-iaq/leading-reasons-people-dont-use-mold-cleaning-properly
- Checking your browser – reCAPTCHA
https://www.ncbi.nlm.nih.gov/books/nbk14368/ - Google Scholar Google Scholar
https://scholar.google.com/scholar?q=How+to+restore+mosaic+tile+floors? - https://en.wikipedia.org/wiki/Special:Search?search=How+to+restore+mosaic+tile+floors?
- https://www.ncbi.nlm.nih.gov/search/research-articles/?term=How+to+restore+mosaic+tile+floors?