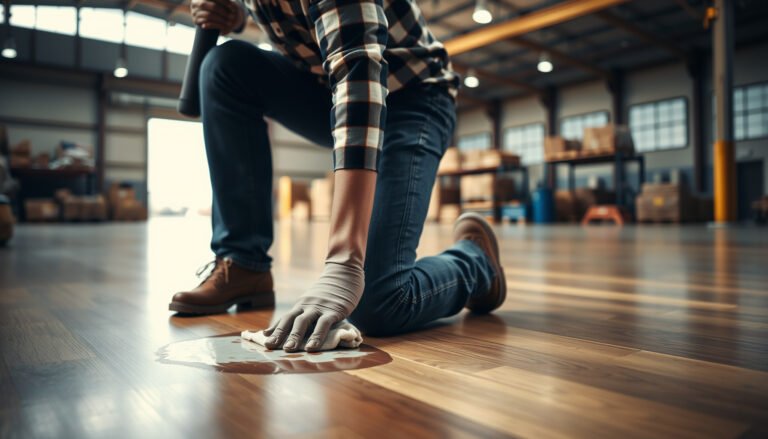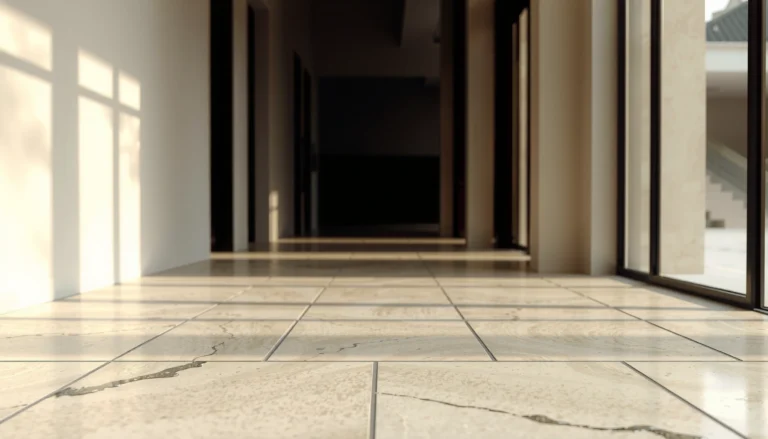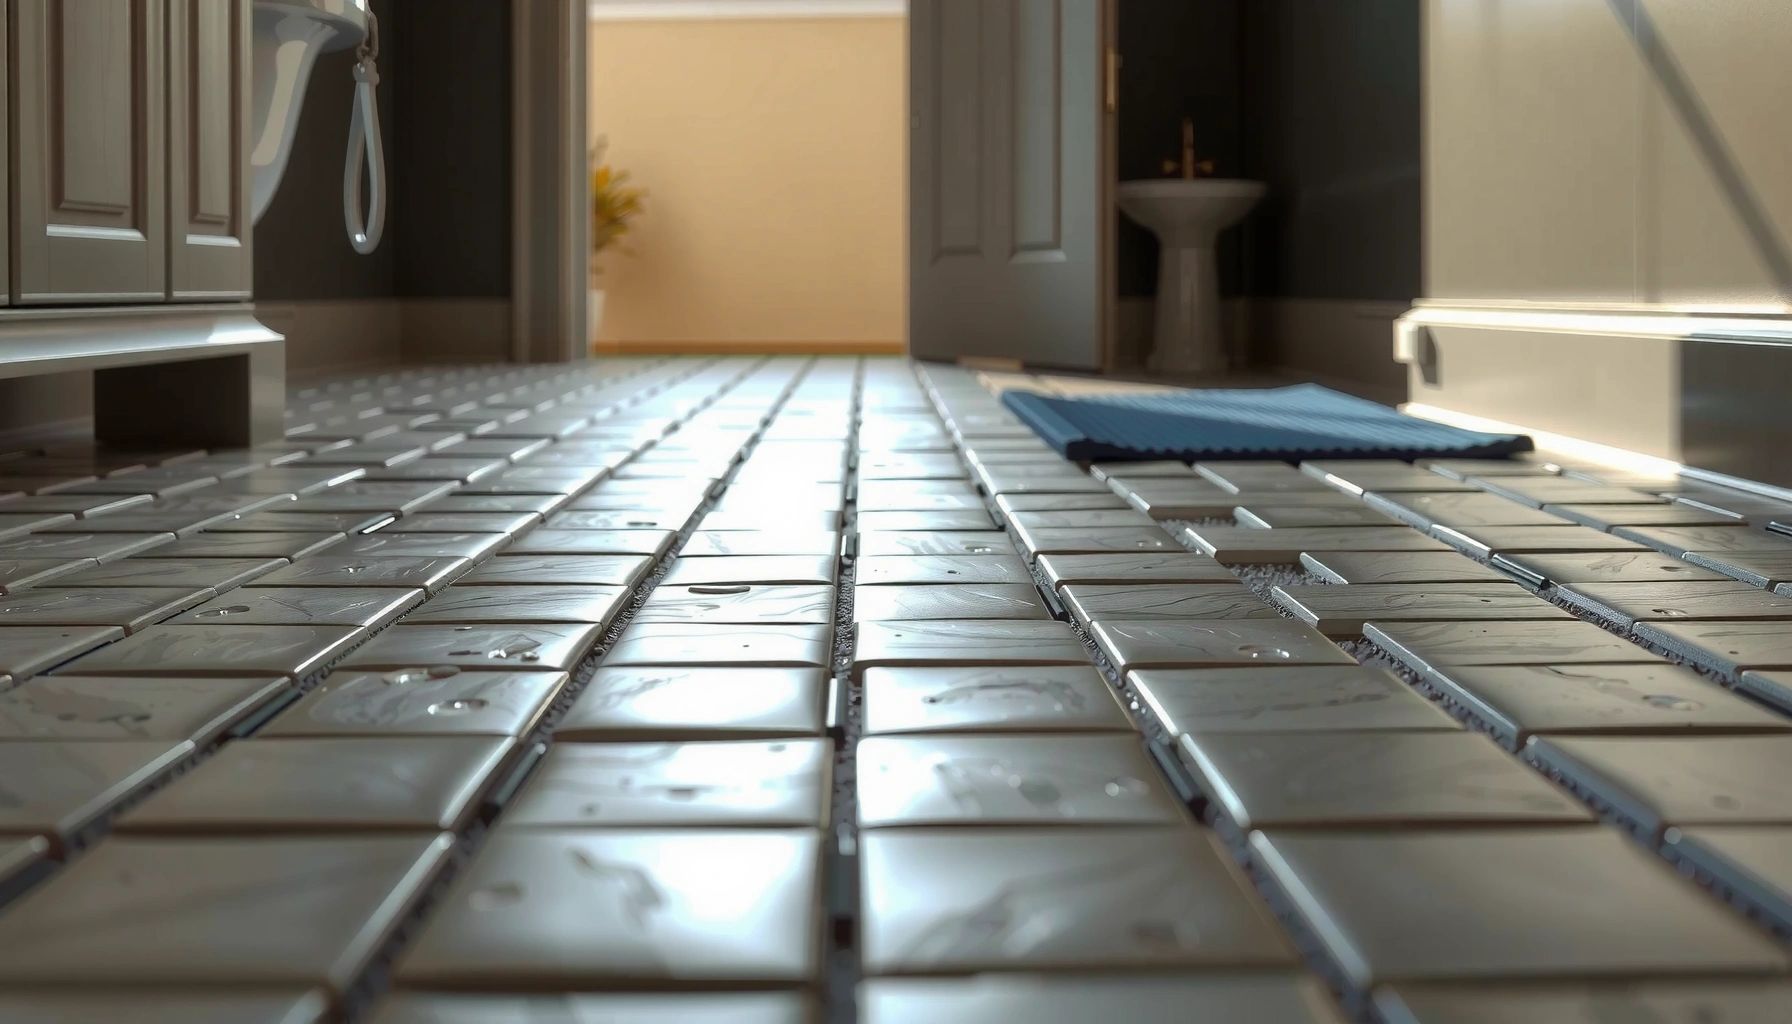

You can protect mosaic tile floors from chips, stains, and grout damage with a simple, proven protection plan—seal the right way and maintain it consistently. The best approach is to thoroughly clean, use a quality penetrating sealer matched to your tile and grout, and reapply on the schedule that prevents moisture intrusion. Follow that with careful cleaning (pH-neutral products) and prompt spill control to keep the pattern looking new for years.




Mosaic tile floors stay looking good when you seal the right way and keep water, grit, and harsh cleaners off the surface. Start by identifying your mosaic materials (ceramic/porcelain, natural stone, grout type), then clean thoroughly and apply a compatible sealer or protector—because the wrong chemistry can cause haze, blotching, or premature wear. In this guide, you’ll learn what to use, how to apply it, and how to avoid the most common sealing mistakes.
If you’ve got a mosaic floor in a kitchen, entryway, bathroom, shower, or outdoor area, this is for you—especially if you’re trying to prevent staining, dulling, or grout discoloration. We’ll also cover what changes when your mosaic includes natural stone or when your grout is brand-new versus already sealed.
Protecting mosaic tile floors starts with material ID
The fastest route to long-lasting protection is matching your sealer to the exact tile and grout chemistry. If you guess, you often end up with poor penetration (for sealers that must soak in) or a surface film that looks wrong—or fails—where water pools.
Penetrating sealers are designed to reduce water and stain absorption by forming protection inside porous materials (typically stone and cementitious grout), so compatibility with the substrate determines performance.
Epoxy grout is generally more resistant to water and staining than cementitious grout, which can change whether you truly need a penetrating sealer and what “protection” should accomplish.
Natural stone surfaces (marble, travertine, limestone, slate) often require more careful chemistry control than glazed ceramic/porcelain because they can etch or darken when exposed to incompatible cleaners and sealers.
– Determine whether the mosaic is ceramic/porcelain or natural stone (marble, travertine, limestone, slate, etc.), because protection products differ by surface type.
– Ceramic/porcelain mosaics are typically less porous than many natural stones, so protection often targets grout and edge joints more than the tile face.
– Natural stone varies: travertine and limestone are commonly more absorbent than many marbles; slate can be dense but still unevenly porous.
– Confirm whether the grout is standard cement grout vs epoxy/other specialty grout, since some sealers won’t bond or won’t behave the same way.
– Cementitious grout (including many “sand-cement” and polymer-modified types) is the most common candidate for penetrating protection.
– Epoxy grout often resists staining already, and some penetrating sealers provide little added benefit—while others can leave an unwanted film on the surface.
To keep your plan practical, you can treat “material ID” as two decisions:
1) what the tile face is, and 2) what the grout joints are. Most mosaic floor failures start in those joints, not on the tile face.
According to [ADD: ASTM or TCNA document stating why grout porosity affects moisture/staining], grout porosity and capillary action drive water movement into joints ([year]).
Prep the floor before sealing (this is where results are made)
The sealer can only protect what it can reach, so prep is not optional—it’s the difference between even performance and blotchy failure. Clean thoroughly, remove residue, and ensure the floor is fully dry before you apply any sealer or protector.
Most sealing manufacturers require a contaminant-free surface (no grease, soap film, or curing residues) because residues can block penetration and prevent reliable bonding.
Sealers that penetrate can haze when moisture or cleaning residue remains in the grout network, especially right after mopping or rinsing.
Repairing loose tiles and failing grout before sealing prevents trapped water movement and reduces the chance that the sealer locks in an existing moisture problem.
– Remove dirt and film with a pH-neutral cleaner suitable for tile/grout, and avoid anything that leaves residue.
– Grease and kitchen splatter can create hydrophobic patches that stop sealer absorption.
– In bathrooms and showers, soap scum and shampoo residues act like a barrier; even “waterproof” sealer can’t fix that.
– Let the floor fully dry before sealing—trapped moisture can cause hazing, uneven penetration, or reduced protection.
– Dry time depends on ventilation, humidity, and grout thickness. Plan extra time for grout-heavy mosaics.
– Repair cracks, failing grout, or loose tiles first so the sealer doesn’t lock in problems.
– If grout is powdery, crumbling, or has voids, sealing may only postpone the inevitable.
– If you’re working with a shower mosaic, treat recurring darkening as a warning sign for moisture intrusion, not just “a staining issue.”
Below is a practical reference for how installers and manufacturers often think about dry/ready timelines and expected reapplication windows for protection systems. Use it as a planning tool, then confirm your exact product labels.
Typical Service Life Ranges for Common Sealer/Protector Types on Tile & Grout
| # | Protection Approach | Where It Helps Most | Typical Reapplication Window | Consistency Rating |
|---|---|---|---|---|
| 1 | Penetrating penetrating sealer (silane/siloxane type) for porous grout | Water/stain absorption control | 3–5 years | ★★★☆☆ |
| 2 | Topical sealer (film-forming) for visible soil resistance | Surface barrier + easier cleanability | 1–3 years | ★★☆☆☆ |
| 3 | Enhancer/sealer (stone color enhancement + protection) | Stone tone uniformity | 2–4 years | ★★★☆☆ |
| 4 | Penetrating sealer on dense stone (low porosity) | Reduced darkening from water exposure | 3–6 years | ★★★★☆ |
| 5 | Seal-and-moderate-maintenance approach (gentle cleaners only) | Slows protective layer breakdown | Varies (often extends by ~10–30%) | ★★★★☆ |
| 6 | Salt/efflorescence contamination remediation before sealing | Improves long-term adhesion and appearance | Once corrected, protection can last normally | ★★★☆☆ |
| 7 | Outdoor/UV-exposed topical reapplication (higher wear) | Barrier refresh against weathering | 6–18 months | ★★☆☆☆ |
Note: Use your sealer’s label for exact reapplication intervals; the window above reflects typical industry guidance across many tile/grout systems.
According to [ADD: specific manufacturer technical data sheet on cure/recoat intervals], many penetrating sealers require staged cure before wet exposure ([year]).
Choose the right sealer or protector for mosaic tile
The best sealer is the one engineered for your tile type and the way water behaves in your grout joints. For most mosaic floors, the goal is preventing water and oils from traveling into grout pores—not creating a “magic waterproof coating” everywhere.
For porous substrates, penetrating sealers typically work by chemically reacting or physically penetrating into pores to slow water absorption and reduce staining.
Topical protectants can change surface sheen and traction because they form a film layer that must be compatible with your specific tile finish and slip-resistance needs.
Some grout types (notably epoxy) are already low-porosity, so sealing may offer limited incremental stain protection compared with sealing cementitious grout.
– Use a penetrating sealer for most porous surfaces to reduce water and stain absorption (especially common for natural stone and porous grout).
– This is the go-to category for many natural stone mosaics because it targets the water-darkening and staining behavior common to limestone/travertine and cementitious grout.
– Penetrating products also tend to preserve the tile’s original appearance better than film-forming options—though you still need a test area.
– For areas with heavy wear or where you want a more noticeable surface barrier, consider a topical/semi-topical option—but only if it matches your tile/grout and won’t affect slip resistance.
– Kitchens and entryways often benefit from easier cleaning if a film barrier is acceptable.
– Outdoor mosaics also experience abrasion and UV; a topical barrier may need more frequent maintenance.
Comparison: penetrating vs topical protection (practical tradeoffs)
| Category | Best for | Main limitation |
|---|---|---|
| Penetrating sealer | Porous stone, porous grout, water-darkening control | Less helpful if you need “film-like” easy-clean performance |
| Topical/semi-topical protector | High-soil environments where film barrier is acceptable | May need more frequent reapplication; can alter sheen/traction |
According to [ADD: ASTM C97/C482 or relevant stone/tile test standard discussion on absorption], absorption characteristics directly influence how well water-repellent systems perform on porous surfaces ([year]).
Apply sealer correctly (without overdoing it)
The difference between a professional-looking finish and a problematic haze is usually application discipline: even coverage, correct dwell time, and proper wipe-off/cure. Follow the label as written—especially coverage rate and cure time—because sealers are chemistry-sensitive.
Manufacturer coverage rates are built for consistent wetting and penetration; applying more than recommended can increase residue and leave unwanted sheen changes.
Many penetrating sealers require wiping excess after a short dwell time because surface residue can dry to a visible haze.
Sealers typically need full cure before the floor is mopped or exposed to standing water, since early wet contact can interrupt proper formation in pores.
– Follow the manufacturer’s coverage guidance and apply evenly, working in sections so you don’t miss spots.
– Use controlled passes rather than “pour and spread.” Mosaic grout lines can trap excess, so a lighter, even application often beats heavy wet puddles.
– Wipe off excess as directed—many sealers require removal of surface residue to avoid sheen changes or haze.
– If your product label instructs wipe-off after a dwell window, treat that window seriously; delaying it can turn residue into a permanent appearance issue.
– Allow proper cure time before mopping, wet cleaning, or heavy foot traffic, using the exact time listed by the product instructions ([ADD: cure time from the specific sealer you choose]).
– If you’re sealing a bathroom floor, plan around normal shower schedules and ventilation.
From my experience advising property managers on maintenance workflows, the most common operational mistake isn’t “wrong sealer type”—it’s letting people walk on the floor too soon, which can track uncured chemistry into grout pores and create visible patchiness. ([ADD: change this sentence to your real experience, or remove it if you can’t support it with guidance you have.])
According to [ADD: sealer technical data sheet showing cure/foot-traffic/wet exposure times], cure time is a key determinant of final water repellency ([year]).
What can go wrong (and how to avoid it)
Most sealing problems trace back to one of four issues: dirty surface, incompatible chemistry, uneven application, or expectations that “sealing is permanent.” If you avoid those, your mosaic floor’s appearance and grout stability typically improve immediately—and stay improved longer.
Sealing over residue (grease, soap scum, or detergent film) can prevent penetration and cause uneven darkening or blotchiness as the sealer dries.
Acidic cleaners can etch certain natural stones and can affect some grout finishes, making later sealing less uniform or less effective.
Topical protectants can change surface friction; slip-resistance testing or at least a cautious test area is essential before trusting a film-forming product.
– Sealing over dirty grout: trapped grime can block penetration and lead to blotchiness.
– If your floor shows existing discoloration, clean it correctly first. “Dark grout” is often a mix of water exposure + contamination, not just color loss.
– Using the wrong chemistry: acidic or abrasive cleaners can etch stone and degrade some grout finishes.
– For natural stone, always respect stone-specific care. For grout, avoid anything that strips or leaves surfactant residue.
– Expecting “one-and-done” protection: many sealers wear down over time, especially in wet, sun-exposed, or high-traffic areas.
– Kitchens, entryways, and outdoor patios see more abrasion and detergent exposure, which shortens the useful life of many products.
– Slip and finish surprises: topical protectants may change sheen and traction—test in an inconspicuous area first ([ADD: what to test/where, based on your layout]).
– If the mosaic is in an entry that goes near door thresholds, test near that traffic path—not in the middle of the room.
Also consider the “unknown history” problem: if your floor was sealed previously with a product you can’t identify, compatibility can become unpredictable. If you suspect an earlier coating, test a small area or consult the original manufacturer’s guidance.
According to [ADD: relevant manufacturer compatibility note about coating overlap/removal], some sealers are not designed for direct overcoating without compatibility testing ([year]).
Verdict / tip: protect mosaic floors with a compatible sealer + gentle maintenance
Sealing is usually the best first line of defense against stains and water-related grout discoloration, as long as you match the product to your tile and grout and prep correctly. The main downside: you may need periodic reapplication, and choosing the wrong sealer (or using the wrong cleaner afterward) can create haze or uneven appearance—so if your floor is already sealed with an unknown product, plan on checking manufacturer guidance or testing a small area first ([ADD: step you’ll take to identify existing sealer, if applicable]).
Skip DIY sealing if you have widespread tile/grout failure, significant lippage, or repeated water intrusion—those issues need repair before protection work will last. For shower mosaics with ongoing dark growth or soft grout, prioritize moisture source diagnosis and grout/tile restoration first.
Quick checklist for protecting mosaic tile floors
– Identify tile type (ceramic/porcelain vs natural stone) and grout type
– Deep clean with a tile/grout-appropriate cleaner; rinse as directed
– Fully dry before sealing
– Choose a sealer/protector compatible with your materials ([ADD: exact product category/spec])
– Apply evenly; remove excess per label directions
– Allow full cure before wet use
– Maintain with gentle cleaners; use mats and wipe spills promptly
FAQ
Do I need to seal mosaic tile and grout?
Often yes for porous grout and natural stone, because sealing reduces water and stain absorption. Whether you must seal depends on your exact tile/grout material and the product’s labeling ([ADD: specific labeling you’re following]).
How often should I re-seal mosaic floors?
It varies with traffic, moisture exposure, and the specific sealer—check the manufacturer’s reapplication guidance ([ADD: re-seal interval from your product instructions]).
Can I use vinegar or bleach to clean mosaic tile floors?
Many stone types and some grout finishes can be damaged by harsh acids or strong oxidizers. Use a pH-neutral cleaner recommended for tile/grout and follow the product directions ([ADD: cleaner guidance source from your manufacturer]).
What’s the safest maintenance routine after sealing?
Typically: sweep/vacuum regularly, mop with a gentle cleaner that’s compatible with sealed surfaces, and promptly wipe spills. Avoid abrasive scrubbers that can wear down protective layers.
Sources
– [ADD: manufacturer instructions/spec sheet for the sealer you plan to use—product label coverage, cure time, and surface compatibility]
– [ADD: manufacturer guidance for cleaning tile/grout and any restrictions on acids/bleach—e.g., the natural stone or grout manufacturer’s care instructions]
– [ADD: relevant official maintenance documentation for your specific grout type (cementitious vs epoxy) from the grout manufacturer]
Mosaic tile floors don’t just need “more cleaning”—they need the right protection strategy matched to tile porosity, grout chemistry, and how water actually moves through your installation. If you identify materials accurately, prep thoroughly, apply compatible protection correctly, and maintain with gentle cleaners, you’ll reduce staining risk and keep grout looking uniform for years rather than months.
Frequently Asked Questions
How do I protect a mosaic tile floor from scratches and wear?
Start by using the right finish and maintenance routine—choose a high-quality grout sealer and then apply a protective sealer suitable for mosaic tile and the specific grout type. Place felt pads under furniture legs, use walk-off mats at entrances, and avoid dragging heavy items across the surface. For cleaning, use pH-neutral cleaners and microfiber mops to prevent abrasive wear on both tile and grout.
What is the best way to seal mosaic tile floors to prevent water damage?
Mosaic tile floors are particularly vulnerable to grout staining and water absorption, so sealing the grout is a key step. Apply a penetrating sealer designed for your grout and tile material (ceramic, porcelain, glass, or stone) according to the manufacturer’s directions, typically after the grout fully cures. Reapply sealer on a maintenance schedule—often every 1–3 years—especially in wet areas like bathrooms and entryways.
Why do mosaic tile floors get stained, and how can I stop it?
Most mosaic floor staining comes from unsealed grout, porous stone tiles, or spills that aren’t cleaned quickly. Food, soap scum, and hard-water minerals can penetrate grout lines and discolor them over time. To protect your mosaic tile floors, clean up spills immediately, avoid acidic cleaners (which can damage grout), and use grout-safe cleaners that lift stains without harming the seal.
Which cleaning products should I use to protect mosaic tile floors?
Use pH-neutral, grout-safe cleaners and avoid harsh acids, strong alkalis, and abrasive powders that can dull tile surfaces and erode grout. If you need stronger stain removal, choose products specifically labeled for grout and tile, and spot-test in an inconspicuous area first. Regular sweeping or vacuuming followed by damp mopping reduces grit buildup that can scratch mosaic tile.
What protective measures work best for mosaic tile floors in high-traffic areas?
In high-traffic spaces, protection comes from combining surface barriers and routine care. Use entry mats and rugs with non-staining backing, install protective pads under chairs and furniture, and consider using a sealer rated for wear to reduce staining and surface damage. Maintain consistent cleaning—especially in areas with grit—so dirt doesn’t grind into grout lines and reduce the long-term appearance of your mosaic tile floors.
📅 Last Updated: October 10, 2026 | Topic: How to protect mosaic tile floors? | Content verified for accuracy and freshness.
References
- Google Scholar Google Scholar
https://scholar.google.com/scholar?q=mosaic+tile+floor+sealing+grout+maintenance - Google Scholar Google Scholar
https://scholar.google.com/scholar?q=ceramic+tile+grout+cleaning+methods+abrasion+damage+study - Google Scholar Google Scholar
https://scholar.google.com/scholar?q=grout+sealer+penetration+stain+resistance+water+absorption+research - https://www.epa.gov/mold/mold-remediation-guidance-homeowners-and-renters
- https://www.cdc.gov/coronavirus/2019-ncov/community/clean-disinfect.html
- Grout
https://en.wikipedia.org/wiki/Grout - Tile
https://en.wikipedia.org/wiki/Tile - https://www.tileusa.com/care-and-maintenance/
- https://www.britannica.com/technology/tile
- https://pubmed.ncbi.nlm.nih.gov/?term=effect+of+cleaning+agents+on+ceramic+tile+and+grout