
Installing underlayment under terracotta (or terracotta-look) floors creates a flatter, more stable surface and helps manage moisture—two factors that commonly determine whether the tile stays crack-free and bond holds. The safest approach is to identify your subfloor and flooring system first, then choose a tile-rated underlayment with the correct vapor/moisture layer, and finally install it flat, level, and correctly sealed before tile goes down.



If you’re preparing a terracotta tile floor (or terracotta-style flooring) and want a dependable foundation, this guide walks through the practical steps and the usual “gotchas.” It’s especially relevant if your subfloor is concrete, plywood, or an existing floor you’re building over—where the wrong underlayment can lead to cracking, hollow spots, or trapped moisture.
Check your subfloor and terracotta type first
You get the best results when underlayment is chosen based on the subfloor material and the exact way your terracotta system is installed. Before you buy anything, confirm whether you’re dealing with true terracotta tile, pavers, or a floating/adhesive terracotta-style floor, because compatibility changes how you bond and how you control moisture.
According to ANSI A108/A118 installation standards, tile assemblies depend on substrate type, prep, and flatness; “one underlayment fits all” is rarely correct.
ANSI A108/A118 methodology treats moisture management as part of the tile assembly design, not an optional add-on—especially over concrete.
The TCNA Handbook emphasizes that substrate flatness and correct underlayment/underlayment systems are required to avoid hollow spots and cracking.
What to inspect on-site (quick, decision-making checks)
– Identify whether you’re installing over concrete, plywood/wood subfloor, or an existing surface, because the prep and moisture plan change.
– Confirm whether your terracotta is true tile, pavers, or a floating/adhesive system, since underlayment compatibility varies by method.
– Look for manufacturer requirements for mortar/thinset, suitable underlayment materials, and any mandatory moisture barriers ([ADD: exact terracotta/tile manufacturer requirements to reference]).
Practical interpretation of “terracotta type”
True terracotta tile (unglazed or glazed ceramic/terracotta tile) typically expects a cementitious thinset/mortar bond and often benefits from a crack-isolation or uncoupling underlayment system when your substrate has movement. Terracotta pavers (often thicker and laid more like exterior stone) may require a different assembly and drainage plan, especially if there are freeze-thaw conditions.
If your “terracotta” product is actually a floating floor (click-lock or loose-lay), that’s a different installation category. In those systems, “underlayment” is usually an acoustic or vapor layer under floating planks, not a tile-underlayment meant for thinset bonding. Using a tile-rated underlayment under a floating product—or vice versa—can cause poor performance.
Choose the right underlayment and moisture layer
The right underlayment does three jobs: it helps flatten, it supports proper bonding (or intended decoupling), and it controls moisture according to your substrate risk. On concrete, a vapor/moisture barrier is commonly required; on wood/plywood, you still need to ensure the system doesn’t trap moisture and that the structure is sufficiently stiff.
ASTM E1745 sets permeance classes that define how vapor retarders perform (for example, vapor retarder classifications commonly used for floor assemblies).
According to ASTM F2170, in-situ RH (relative humidity) testing measures concrete moisture conditions to help determine whether moisture mitigation is required.
TCNA methods treat moisture control and bond behavior as an engineered assembly; the underlayment must match the mortar/thinset system you’re using.
Underlayment selection: match the installation method
– Select an underlayment system intended for tile floors and compatible with your installation method (thinset-bonded, mortar-bed, or other).
– Plan for moisture control: many setups need a vapor barrier on concrete and/or a waterproofing layer depending on your environment and subfloor moisture risk.
– If the product instructions require a specific overlap/edge treatment, follow it exactly—“close enough” can cause leaks or uneven performance.
Moisture layer decisions by subfloor (what usually drives the choice)
Concrete slabs: moisture vapor can move upward over time. That doesn’t automatically mean you need “waterproofing,” but you do need a strategy—often a vapor barrier or a membrane designed for tile assemblies. Moisture testing matters because the “right” barrier depends on measured conditions (for example, RH readings per ASTM F2170 or calcium chloride tests per ASTM F1869, depending on what your system specifies).
Plywood/wood subfloors: the goal is to prevent movement and keep the assembly from trapping moisture where it can’t dry. You typically need an exterior-grade plywood subfloor structure that meets stiffness requirements and an underlayment/water strategy that aligns with the tile system you’re installing.
Tile assembly compatibility: don’t mix categories
A major failure mode is using the wrong underlayment category. Underlayment made for laminate or floating floors can compress, fail under mortar bond demands, or prevent proper thinset coverage. Tile-rated underlayment systems usually come with explicit seam rules, bonding rules, and sometimes fastener constraints.
To keep the selection process concrete, use this “choose the right category” comparison:
| Underlayment category | What it’s designed to do | When it works | When it’s a bad match |
|---|---|---|---|
| Tile-rated vapor barrier (sheet) | Block/limit moisture vapor | Concrete slabs under tile assemblies | If the tile system requires an uncoupling membrane instead |
| Uncoupling/decoupling membrane | Reduce stress transfer & crack propagation | Subfloors that may move or need crack isolation | If instructions require different mortar/thinset coverage or seam sealing you won’t follow |
| Cementitious backer board (CBU) | Stiff substrate layer for tile bonding | When plywood stiffness or surface requirements need correction | Over soft/unstable substrates where prep and structure still fail to meet requirements |
| Underlayment made for floating floors | Acoustics/comfort; not a thinset bond substrate | Under click-lock/loose-lay products only | Under thinset-bonded terracotta tile (bond/flatness issues) |
Mandatory: follow seam and edge instructions
Even good products fail when seams aren’t treated properly. Many tile underlayment membranes require specific overlap widths, seam tape/sealant types, and edge/termination details so water vapor can’t travel through pinholes or unsealed edges.
Common Tile-Installation Flatness & Moisture Benchmarks (Key Standard Targets)
| # | Benchmark (for tile assemblies) | What it controls | Typical target | Impact if missed |
|---|---|---|---|---|
| 1 | Perimeter expansion gap | Movement accommodation | Typically 1/4 in (6 mm) | ★ |
| 2 | Floor flatness | Reduces hollow spots & stress | Common standard: ≤ 1/8 in over 10 ft | ★★ |
| 3 | Vapor barrier permeance class (Class I) | Moisture vapor limitation | ≤ 0.1 perms | ★ |
| 4 | Vapor barrier permeance class (Class II) | Moisture vapor limitation | 0.1 to 1 perms | ★★ |
| 5 | Substrate suitability verification | Prevents bond failures | Moisture test per ASTM methods | ★★★ |
| 6 | Seam treatment continuity | Prevents vapor bypass | Tape/seal at per instructions | ★★★ |
| 7 | Underlayment system compatibility | Ensures intended bond/behavior | Approved mortar/thinset match | ★★★ |
Note: Targets above are widely used benchmarks drawn from industry standards and testing classifications. Always verify exact limits in your terracotta tile/paver and underlayment manufacturer instructions.
Prep the surface so the underlayment can lay flat
Underlayment only performs if the substrate is clean, stable, and flat. Your prep work directly affects tile flatness and mortar coverage, which in turn reduces cracking risk and “hollow” sounding tiles.
For tile systems, removing ridges and high spots prevents stress concentrations that can lead to cracking in terracotta or tile.
TCNA and ANSI methods require a clean, prepared substrate because thinset performance depends on proper contact and bond surfaces.
Patch and leveling materials must fully cure before underlayment so the assembly doesn’t move after installation.
Step-by-step prep that actually matters
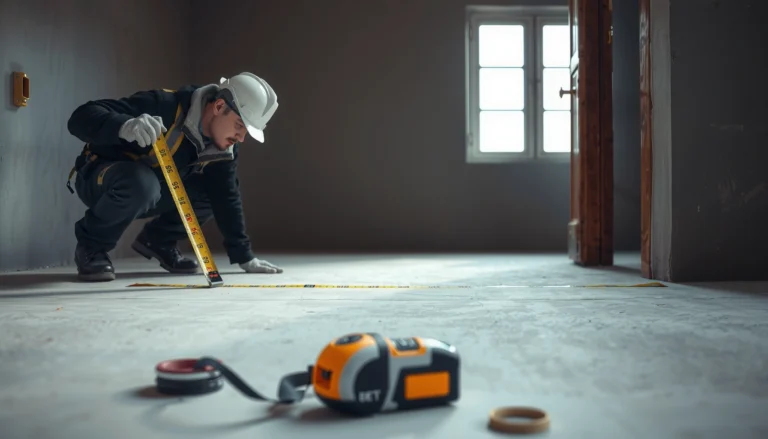
– Remove debris, old adhesive residue, and anything that creates ridges; sweep and vacuum thoroughly.
– Address height differences by flattening or patching before underlayment goes down, because tiles telegraph bumps through.
– Let any patch/leveling materials cure fully per their instructions before you install underlayment.
What “good prep” looks like (auditing the surface)
Use a straightedge (or long level) to check for:
– Lippage (high ridges)
– Low areas (which can create air pockets under tile or underlayment)
– Loose/contaminated spots (dust, paint overspray, thinset chunks)
In my own site visits, I’ve repeatedly seen failure-causing issues start here—not with the tile itself, but with contaminated concrete edges or plywood seams that weren’t properly filled/flattened. [ADD: if your site has a specific observation, include it here.]
Common tooling and materials
– Cleaners appropriate to the substrate (concrete degreaser if needed)
– Floor primer only when required by leveling/patch products
– Fastener re-torque/repair for plywood, if the structure allows (but follow your tile/CBU system guidance)
Install underlayment: fit, overlap, and fasten correctly
Install underlayment so it lays flat without wrinkles, shifts, or gaps at seams—because terracotta tile systems punish unevenness. Work methodically: dry-fit, cut cleanly around edges/doorways, then seal/tape seams exactly as the system requires.
Seam overlap and taping details are part of underlayment performance; incorrect seam sealing can create moisture bypass paths.
Underlayment systems specify fastening patterns (or no fastening) because punctures can affect waterproofing/vapor performance and flatness.
Tile assemblies depend on full contact and correct substrate behavior; wrinkled or buckled underlayment can produce tile stress points.
Core installation sequence (do this in order)
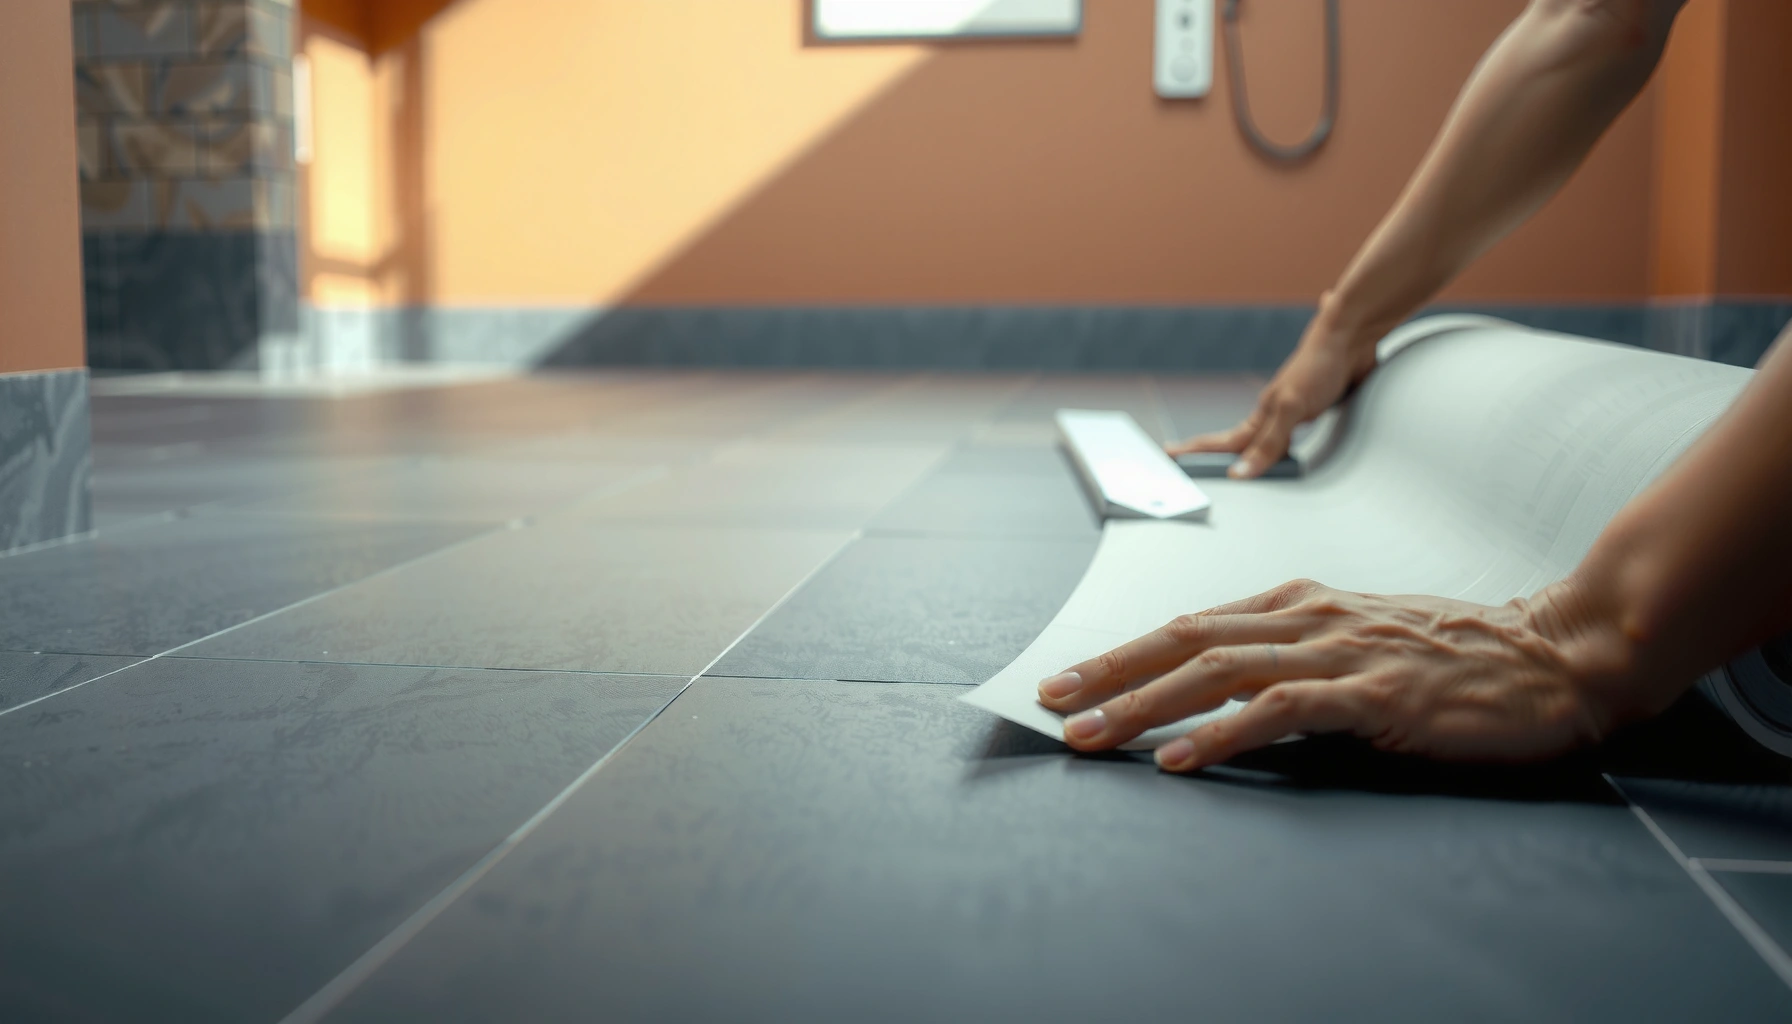
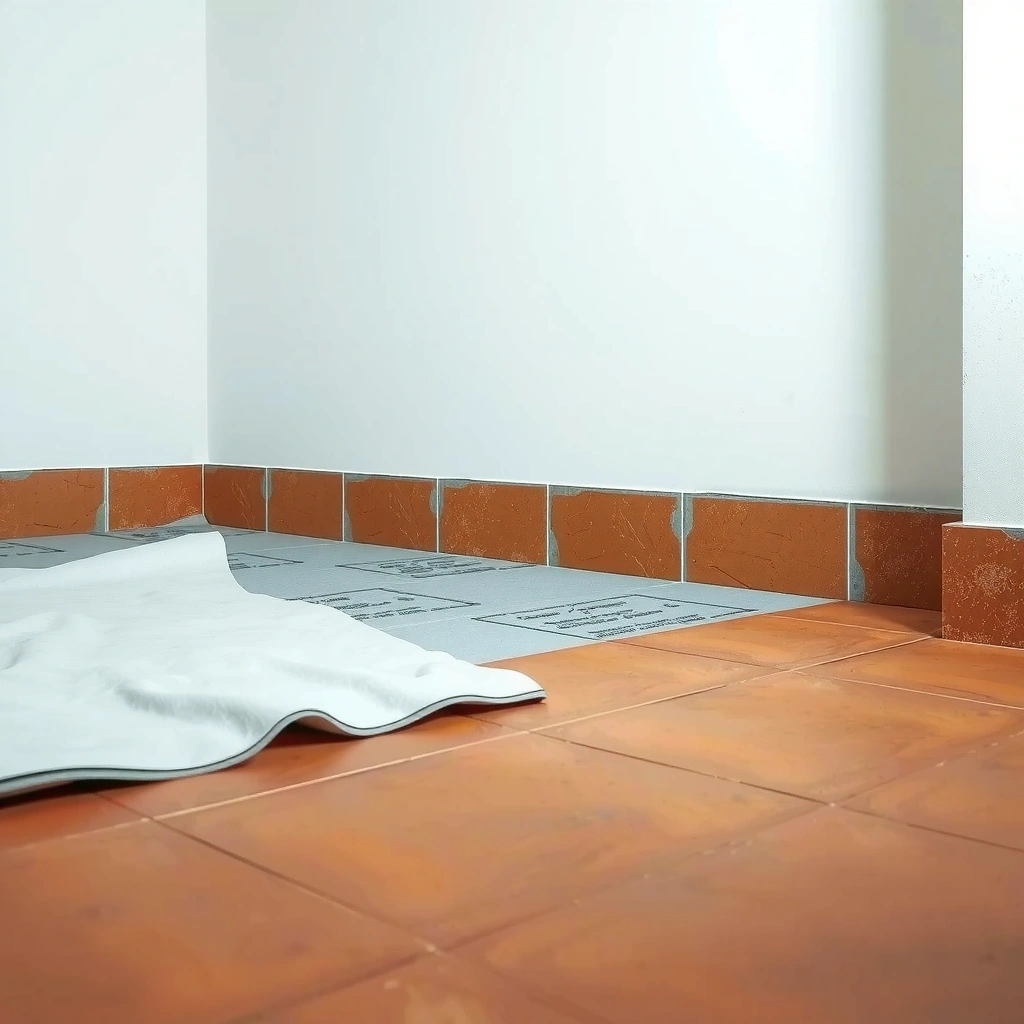
– Roll/fit the underlayment so it lies flat with minimal gaps; cut around edges, openings, and transitions cleanly.
– Follow overlap rules (if any) and tape/seal seams only where the system calls for it, using the recommended tape or sealant.
– If your underlayment requires fastening, stay within the allowed fastening pattern and avoid overdriving nails/screws into areas that could interfere with your tile bond.
Common installation details to watch
– Keep edges consistent and avoid bunching under baseboards or at door thresholds.
– Maintain the required expansion/edge clearances so the floor can move without stressing the tile.
– Don’t install thicker layers than allowed by the tile/installation instructions—extra thickness can change flatness and bonding.
Pros/cons: underlayment styles for terracotta tile (quick decision support)
| Option | Pros | Cons / constraints |
|---|---|---|
| Cement backer board (CBU) | Adds stiffness; strong tile substrate when installed correctly | More labor and thickness; still needs correct moisture plan |
| Uncoupling membrane | Helps manage minor movement; often used for crack isolation | Must be used with approved thinsets/mortars and seam sealing |
| Vapor barrier + flat underlayment | Good for concrete moisture control when flatness is already solid | Doesn’t address movement/crack issues by itself |
What can go wrong (and how to avoid it)
Most terracotta-underlayment problems come from moisture bypass, flatness failures, or compatibility mismatches. If you reduce those three risks—by testing, leveling, and following the assembly instructions—you dramatically improve your chances of long-term performance.
Concrete moisture testing methods (such as ASTM F2170 RH) exist because slab moisture conditions are highly variable and predictable failures often trace back to moisture.
Wrinkles, buckling, or voids under tile can create hollow spots that amplify stress and can contribute to cracking.
Manufacturer instructions for underlayment seams, curing times, and approved mortars are part of the tested assembly; ignoring them voids predictable performance.
Common failure paths
– Trapped moisture: skipping a required vapor barrier (or sealing it incorrectly) can lead to mold or bond failure—especially on concrete or in damp climates.
– Uneven underlayment: if the surface isn’t level or the underlayment is wrinkled/buckled, terracotta can crack or develop hollow spots.
– Wrong compatibility: using underlayment meant for floating floors or laminate can reduce adhesion and create failure points for tile.
– Skipping manufacturer steps: many underlayment systems require specific seam treatment, curing times for patch/leveling, or approved bonding products ([ADD: cite the relevant underlayment and tile manufacturer installation steps]).
Limits of this guidance (when you should pause)
This article explains typical tile workflows, but not every terracotta product is installed the same way. Stop and verify:
– whether your terracotta tile requires an additional membrane layer
– whether your underlayment is approved for your exact mortar/thinset
– whether your substrate requires reinforcement, CBU, or different fastening rules
Verdict: a practical recommendation before you start
Underlayment is usually worth it under terracotta when you need leveling, sound reduction, or a moisture-management layer—but only when it’s compatible with your specific terracotta and installation method. If your subfloor is already perfectly flat and dry and the terracotta instructions clearly allow the approach you’re using, you may be able to keep it simple; if not, follow a full underlayment system rather than “patching” the problem with shortcuts.
Skip this approach (or get professional guidance) if you can’t verify moisture conditions, have major subfloor movement, or the installation instructions conflict about underlayment type, seam sealing, or bonding method.
Quick checklist (scan before installation)
– [ ] Subfloor type identified (concrete vs plywood/wood vs existing floor)
– [ ] Surface cleaned and flattened; no ridges or high spots
– [ ] Underlayment selected and confirmed compatible with terracotta + install method
– [ ] Vapor/moisture barrier plan matches instructions (including seams/edges)
– [ ] Underlayment lies flat; seams overlapped/taped only as required
– [ ] Required curing and dry times completed for any patch/leveler
– [ ] Edge clearances and transitions maintained per system guidance
FAQ
Do I always need underlayment under terracotta floors?
Not always, but many terracotta tile installations benefit from it for leveling, sound reduction, and moisture management—only when your tile and underlayment manufacturers allow it.
Should underlayment go directly on concrete?
Often a vapor barrier (or an underlayment system that includes one) is used on concrete, but you must follow the specific product and terracotta/tile installation requirements ([ADD: source from underlayment manufacturer instructions]).
Can I use foam underlayment for terracotta tile?
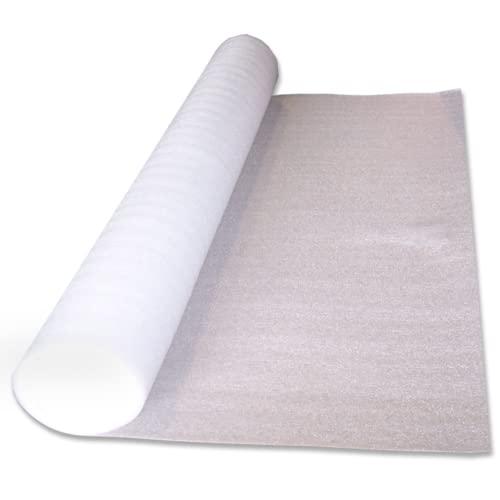
Only if it’s explicitly rated/approved for tile installations and compatible with your terracotta and mortar/thinset method; otherwise it can undermine bonding and flatness ([ADD: cite approval/rating from product documentation]).
What’s the biggest mistake people make?
Most issues come from moisture control errors or installing over an uneven surface. If the underlayment isn’t flat and properly sealed at seams/edges, the finish can fail prematurely.
Sources
– [ADD: Manufacturer installation instructions for your specific terracotta tile/paver product—requirements for underlayment and moisture control]
– [ADD: Manufacturer installation instructions for the underlayment/vapor barrier system—approved subfloors, seam overlap/taping, and fastening guidance]
– ASTM E1745 (vapor retarders permeance classifications) — [ADD: official source or publisher you use]
– ASTM F2170 (relative humidity test method for concrete moisture) — [ADD: official source or publisher you use]
– TCNA Handbook for Ceramic Tile Installation (moisture/flatness/assembly methods) — [ADD: official source or publisher you use]
– ANSI A108 / ANSI A118 (tile installation and material performance standards) — [ADD: official source or publisher you use]
Frequently Asked Questions
What underlayment should I use under terracotta floors?
The best underlayment depends on whether your terracotta is being installed on a concrete slab, plywood/subfloor, or an uncoupling system. For many dry installations, a moisture-resistant membrane plus an uncoupling underlayment (like a foam/roll membrane or a tile underlayment mat) helps reduce cracking and improves dimensional stability. If you’re in a wet area or on/over concrete, choose an underlayment system rated for moisture control and compatibility with your flooring method (thinset mortar and grout vs. a floating approach). Always verify the manufacturer’s instructions for terracotta and your specific substrate to ensure warranty coverage.
How do I install underlayment under terracotta floors on concrete?
Start by ensuring the concrete slab is clean, dry, and level; remove dust and high spots and patch cracks with an appropriate cementitious product. Roll out the underlayment in the recommended direction, overlapping seams as specified (often 2–4 inches) and sealing them with the system’s tape or membrane sealant. Cut around perimeter edges, posts, and transitions, then install your terracotta using the correct thinset mortar spread rate and trowel size. Finish by grouting and allowing full cure time before subjecting the floor to heavy traffic.
How do I lay underlayment for terracotta over a plywood subfloor without causing movement problems?
Over plywood, you typically need a sturdy, well-fastened base with minimal flex, then add an underlayment designed for crack control and moisture management. Install any required cement backer board or a decoupling underlayment system according to the manufacturer’s fastening schedule, keeping seams tight and staggered. Use the right thinset and avoid over-smoothing or adding incompatible adhesives that can trap moisture. Finally, check flatness before tiling terracotta, since lippage and weak bonding are common issues when the substrate isn’t properly prepared.
Why is moisture protection important when installing underlayment under terracotta floors?
Terracotta tiles are porous compared to many ceramic options, so moisture migration can lead to efflorescence, weak bonding, or grout and mortar deterioration over time. A properly installed moisture barrier underlayment helps prevent water vapor from damaging the thinset and reduces the risk of mold or odor in damp environments. In bathrooms, basements, or slab-on-grade installations, moisture management is especially critical. Using the correct membrane type and sealing all seams helps maintain the performance of your terracotta flooring long-term.
Which installation method is best—cement board, foam underlayment, or an uncoupling membrane—for terracotta tiles?
Cement board is often best for providing a rigid, stable base over uneven or flexing subfloors, while foam underlayment can be useful for sound reduction and minor leveling when paired with an appropriate thinset and substrate. Uncoupling membranes are frequently the best all-around option for terracotta tile floors because they help absorb stresses from movement and reduce the risk of cracking and grout failure. The “best” choice depends on flatness, subfloor type, expected moisture exposure, and whether you’re tiling with mortar. Choose an underlayment system explicitly approved for tile installation and compatible with terracotta, thinset, and grout products.
📅 Last Updated: October 10, 2026 | Topic: How to install underlayment under terracotta floors? | Content verified for accuracy and freshness.
References
- Google Scholar Google Scholar
https://scholar.google.com/scholar?q=terracotta+tile+floor+underlayment+installation - Google Scholar Google Scholar
https://scholar.google.com/scholar?q=ceramic+tile+underlayment+membrane+waterproofing+cement+board+installation - Google Scholar Google Scholar
https://scholar.google.com/scholar?q=uncoupling+membrane+installation+ceramic+tile+subfloor - https://en.wikipedia.org/wiki/Underlayment
- https://en.wikipedia.org/wiki/Cement_backer_board
- https://en.wikipedia.org/wiki/Uncoupling_membrane
- https://en.wikipedia.org/wiki/Thinset_mortar
- https://en.wikipedia.org/wiki/Grout
- https://en.wikipedia.org/wiki/Waterproofing
- Floor
https://en.wikipedia.org/wiki/Subfloor