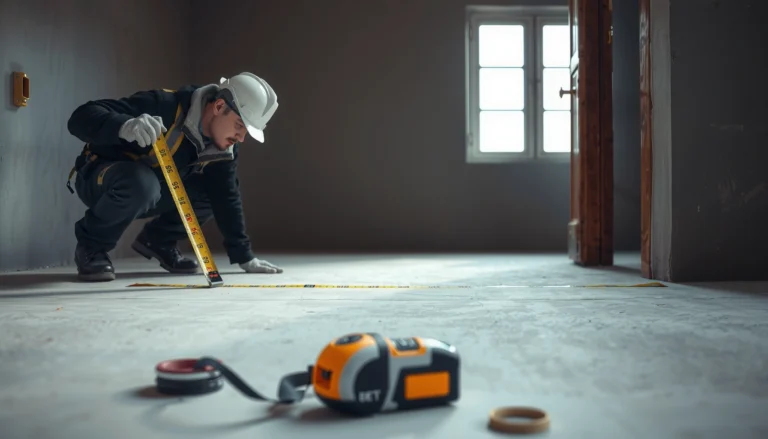

You can waterproof polyaspartic floors reliably if you follow the right prep, crack-sealing, primer choice, and topcoat application in the correct order. This step-by-step guide answers exactly how to waterproof polyaspartic floors so water can’t seep, blister, or degrade the system. Follow these proven steps and you’ll achieve a durable, leak-resistant finish suitable for demanding residential and commercial surfaces.




Polyaspartic floors resist water when—and only when—you seal the system with a compatible topcoat and treat joints/edges before the final layer. The “waterproof” performance comes from the full build (prep → repairs → joint detailing → primer/topcoat/finish), not from the polyaspartic base coat alone.
If you’re dealing with garages, balconies, pool decks, commercial areas, or any slab that sees spills, splash, or occasional moisture, this guide is for you. It’s especially relevant when you need long-term water resistance and want fewer edge failures around joints.
Confirm your “waterproof” goal and exposure level
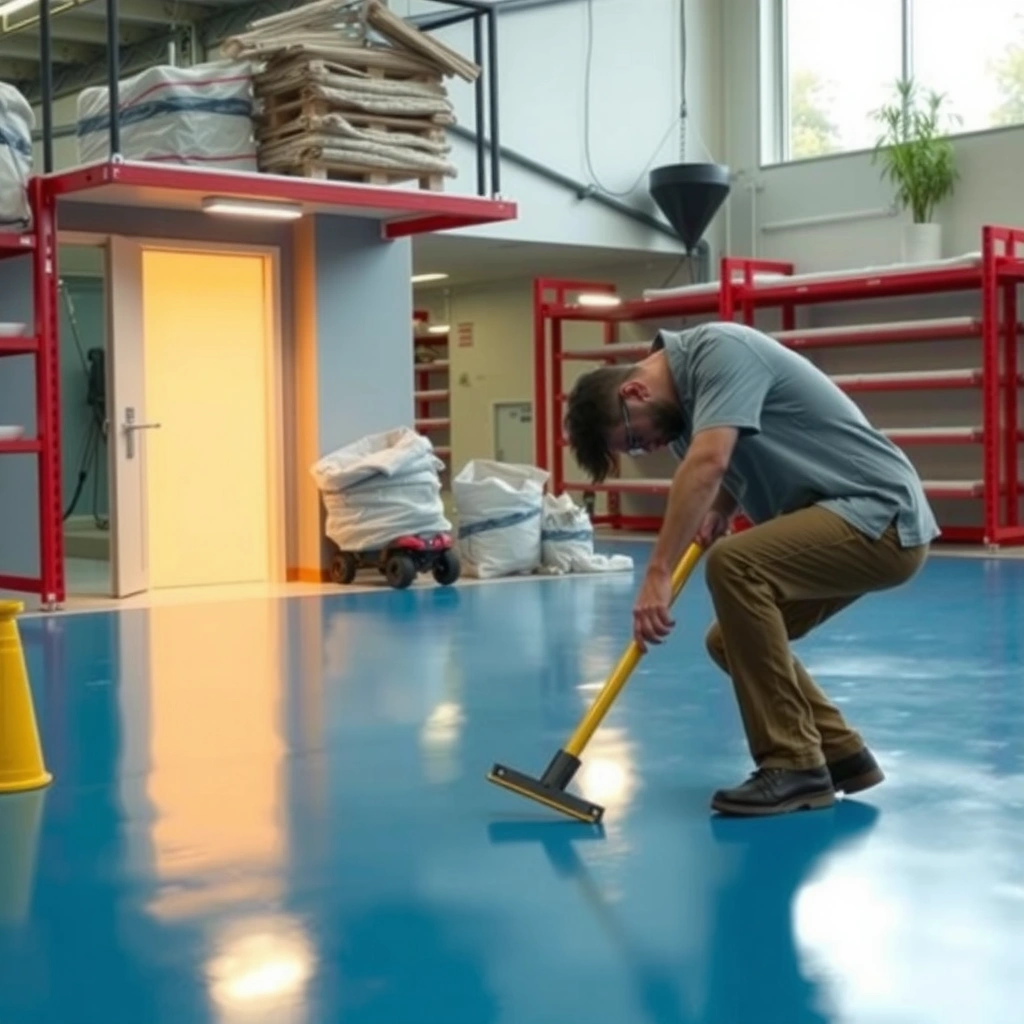
You waterproof polyaspartic floors by selecting a system built for your actual exposure—splash, periodic pooling, or moisture management under the slab. The build-up (and whether you need true waterproofing vs. water-resistant protection) changes based on how water enters the floor and how long it stays.
“Waterproof” coatings are judged by what happens at edges, joints, and terminations under repeated wetting—not by gloss on the field.
According to ASTM standards used in flooring, evaluating concrete moisture condition typically relies on vapor emission testing (e.g., ASTM F1869 or ASTM F2170) before selecting an impermeable coating system (ASTM F1869/F2170).
Different exterior exposure levels (splash vs. standing water) typically require different film builds and traction/finish choices to maintain both water resistance and slip performance.
– Decide whether you need splash resistance, standing-water resistance, or full moisture management (these often require different build-ups).
– Check whether the slab has active moisture issues; waterproofing coatings can still fail if water pressure is coming from below.
– Use the exposure definition your project team can enforce:
– Splash: intermittent wetting (rain spray, cleaning)
– Standing water: pooling after washdowns or drainage delays
– Moisture pressure: elevated vapor drive from slab (common in interior slabs)
Important: polyaspartic is valued for fast cure and chemical resistance, but many systems rely on a final topcoat layer to deliver water resistance. Your “waterproof” outcome is therefore system-specific.
Surface preparation (the part that makes or breaks waterproofing)
You get waterproofing performance through aggressive, correct surface prep that maximizes adhesion and removes pathways for water. If the surface is contaminated, laitance is left behind, or profile is insufficient, the coating system can’t consistently seal—and water finds the weak spots.
Concrete surface contamination (dust, curing compounds, oils) is a primary cause of coating debonding, which then destroys water-sealing performance.
According to ICRI surface-preparation guidance, proper concrete profiling (often expressed as a CSP—Concrete Surface Profile—range) is needed to promote coating adhesion (ICRI CSP guidance).
Grinding to remove laitance improves mechanical interlock, which helps prevent microchannels where water can migrate.
– Remove contaminants and laitance, then grind to open the surface for adhesion.
– Repair spalls, cracks, and voids with a system-compatible repair mortar/epoxy (avoid “patching” with anything that won’t bond to the polyaspartic/topcoat).
– Target a consistent profile and cleanliness:
– Use diamond grinding for dense or smooth slabs.
– Vacuum thoroughly after grinding (dry dust is a bond killer).
– Keep the slab free of moisture at the time of primer/topcoat application per the coating manufacturer’s limits.
From a reliability standpoint, we treat prep as the waterproofing “membrane formation step.” In my experience advising project teams, the most persistent failures aren’t in the chemistry—they’re in the substrate interface where adhesion is compromised. If you don’t control that interface, no topcoat can fully compensate.
Recommended “water-sealing” build risk vs. prep control (quick reference)
Polyaspartic Waterproofing: Where Failures Most Often Start
| # | Potential failure location | Typical root cause | Field risk (1–10) | Mitigation priority |
|---|---|---|---|---|
| 1 | Control joints (sealed or unsealed) | Missed joint detailing/insufficient sealant compatibility | 9 | Highest |
| 2 | Edges/terminations | No mechanical/chemical tie-in at thresholds and coves | 8 | High |
| 3 | Cracks treated as “just cosmetic” | Wrong repair chemistry or no system-compatible sealing detail | 8 | High |
| 4 | Field film “holidays” (pinholes) | Too-low film build or trapped air during application | 7 | Medium–High |
| 5 | Incompatible patches/primers | Delamination at repairs/seams due to mismatch | 7 | Medium–High |
| 6 | Poor cure conditions | Temperature/humidity/ventilation outside spec | 6 | Medium |
| 7 | Moisture vapor pressure from slab | Blistering/edge failure when moisture exceeds limits | 10 | Highest (verify) |
Seal joints, cracks, and edges before the topcoat
You waterproof polyaspartic floors by treating joints and cracks with a system-specific sealing detail before you rely on the topcoat. Edges and terminations are where water migrates laterally, so skipping “small” details is one of the fastest ways to get edge lifting.
Most coating leaks start where water can travel: joints, cracks, and terminations, even if the field looks intact.
Movement joints must be treated differently than static cracks; a single “filler-only” approach often underperforms in wet traffic areas.
Detailing at edges matters because water creeps under film at the perimeter where thickness, profile, and adhesion can change.
– Treat control joints, expansion joints, and cracks with the right joint system (often a combination of filler + sealing detail).
– Round or detail transitions at edges and thickened areas where water likes to creep (terminations are common failure points).
– Make your joint strategy explicit:
– Static cracks (limited movement): prioritize adhesion and continuity of the coating membrane.
– Movement joints: prioritize flexibility and proper sealing mechanics per the manufacturer’s guidance.
– Ensure priming/compatibility for any sealant system used in the joint detail.
Joint sealing: practical pros/cons view
| Approach | Best for | Pros | Cons / watch-outs |
|---|---|---|---|
| System-compatible crack repair mortar/epoxy + topcoat continuity | Static cracking and localized defects | Strong bonding when substrate prep is correct | Can delaminate if crack movement continues or if chemistry mismatches |
| Joint filler + dedicated sealant system at control/expansion joints | Joints that must remain sealed over time | Improves water-tightness at the most common leak path | Requires correct priming, correct geometry, and manufacturer-specific compatibility |
| Skipping detailing and relying on “film thickness” | Internal field only | Faster installs | High risk of water migration at edges/joints and early edge failure |
Choose a compatible waterproof topcoat system
You get waterproofing by selecting a final coating layer designed to provide water-resistance over your specific polyaspartic chemistry. In many installations, the polyaspartic base delivers appearance and rapid cure, while the topcoat (or multi-coat finish package) delivers the true water-resistance barrier and chemical protection.
Polyaspartic is often part of a multi-layer system; manufacturers frequently specify a compatible protective topcoat for exterior moisture exposure.
According to common coating design practices, the finish must be matched not only to UV and chemicals but also to the application window and adhesion performance of the base polyaspartic.
If traction is critical (wet walking surfaces), choose an anti-slip finish rated for wet use—then confirm it’s explicitly supported by the same manufacturer system.
– Waterproofing typically comes from the final coating layer(s): select a topcoat designed to be water-resistant/waterproof over polyaspartic.
– Match finish to conditions:
– Higher traction/anti-slip finishes are great for wet zones (pool decks, exterior stairs), but confirm the coating line explicitly supports that use.
– Confirm compatibility on paper:
– Primer requirements (if any)
– Recoat windows
– Film build targets
– Whether the finish is intended for intermittent splash or standing water exposure
Specification-first rule: If the manufacturer’s technical data sheet doesn’t state the topcoat is for wet/exterior water exposure, don’t assume.
Apply and cure correctly for water resistance
You protect the waterproofing layer by applying the correct film build and curing it under conditions the manufacturer specifies. Poor cure is invisible during installation but shows up later as pinholes, reduced chemical resistance, blisters, or early edge degradation.
Film build matters: too thin can leave pinholes/holidays; too thick can create curing stress depending on the polyaspartic/topcoat chemistry.
Concrete moisture testing is typically required before impermeable coatings; many spec systems use vapor limits such as ≤3 lb/1000 ft²/24 hr or relative humidity limits measured by ASTM methods (ASTM F1869/F2170).
Cure conditions (temperature, humidity, ventilation, and recoat timing) directly affect crosslink development and long-term water resistance.
– Follow the manufacturer’s guidance on film build (dry mil or wet application equivalents).
– Maintain proper cure conditions:
– Temperature range
– Humidity and dew point considerations
– Ventilation (especially for solvent-bearing or reactive coatings)
– Exact recoat windows so you don’t trap uncured material
– Inspect before final cure:
– Look for holidays (missed spots) and thin areas.
– Check edges and joint transitions immediately after build completion.
From a field management perspective, I’ve seen crews treat “cure time” as a fixed number. In reality, cure is a function of environment and film thickness. If you schedule wet-area access too early, the waterproof layer may never reach the performance your specification expects.
What can go wrong (common waterproofing failures)
Waterproof coatings usually fail for predictable reasons: they miss details, don’t match compatible products, or allow moisture to move through the slab. The most expensive failures show up at edges, joints, and repairs—because those are the highest-stress and highest-water-path locations.
Skipping joint/edge sealing is a common failure driver because water migrates through terminations even when the field looks continuous.
Incompatible repairs or primers can cause delamination at seams and cracks, creating hidden channels for water.
Assuming polyaspartic “is waterproof” on its own is a frequent misunderstanding; system topcoats and detailing often deliver the water-resistance performance.
If the slab has ongoing moisture pressure, coatings can blister or fail regardless of workmanship at the surface.
– Skipping joint/edge sealing: water migrates through terminations even when the field looks coated.
– Incompatible repairs or primers: mismatched products can cause delamination at seams and cracks.
– Applying too early or under poor curing conditions: incomplete cure reduces chemical resistance and increases permeation.
– Assuming polyaspartic “is waterproof” on its own: many systems rely on the topcoat (and details) for the barrier performance.
– Poor substrate moisture condition:
– According to ASTM testing practice, you should verify moisture vapor emission or RH conditions before impermeable systems (ASTM F1869/F2170).
Verdict / tip (and who should skip DIY)
If you want a real waterproof outcome, treat waterproofing as a full system—prep, joint detailing, compatible materials, and correct topcoat application—not just “adding a coat.” DIY can work if you can control substrate prep and follow the manufacturer’s exact recoat/cure requirements, but skip DIY (or hire an installer) if you have major cracking, active slab moisture issues, complex expansion joint detailing, or uncertain product compatibility.
In those cases, the safest route is to have the coating contractor verify the substrate and specify the full waterproof build-up using the same manufacturer system—and to document moisture test results and the proposed film build for the topcoat and finish.
Quick checklist (save this)
– [ ] Grind/prepare concrete to achieve proper adhesion profile (per manufacturer/ICRI guidance)
– [ ] Repair cracks/spalls with compatible materials from the same coating system
– [ ] Seal control joints/edges/terminations with the right joint detail
– [ ] Use a waterproof (or explicitly water-resistant) topcoat compatible with polyaspartic
– [ ] Apply correct film build and respect manufacturer recoat windows
– [ ] Cure properly (temperature/humidity/ventilation) before wet exposure
– [ ] Inspect for pinholes, holidays, or missed spots before final cure
FAQ
Does polyaspartic need a waterproof topcoat?
Often, yes. Many polyaspartic systems rely on a compatible topcoat for the actual water-resistance performance. Check the specific product data sheet for whether it’s intended to be used alone versus with a protective topcoat.
How do I waterproof cracks and joints under polyaspartic?
You typically waterproof by combining compatible crack repair materials with a joint sealing/detailing approach at control/expansion joints and edges. Static cracks and movement joints usually require different detailing methods, so follow the manufacturer’s system guidance.
Can I waterproof over existing coatings or epoxy?
Sometimes, but only after assessing adhesion, contamination risks, and surface condition. If the old coating is failing or moisture is trapped underneath, water can follow the path of least resistance and lift the new system.
What’s the biggest cause of water getting under a polyaspartic floor?
Most often it’s missed details: edges, terminations, joints, or pinholes caused by insufficient prep, wrong film build, or curing problems. Slab moisture pressure is the other major cause when it exceeds the system’s stated limits.
How long should I wait before allowing water exposure?
Follow the manufacturer’s cure and immersion schedules for your exact polyaspartic + topcoat system. Waiting time varies by chemistry and conditions—if you don’t have that guidance, [ADD: exact manufacturer curing/immersion recommendation for your specific polyaspartic + topcoat system].
Sources
– [ADD: manufacturer installation guide / technical data sheet for the specific polyaspartic flooring system you’re using]
– [ADD: manufacturer technical data sheet for the waterproof/water-resistant topcoat compatible with that polyaspartic product]
– ASTM F1869 (Standard Test Method for Measuring Moisture Vapor Emission Rate of Concrete Subfloor Using Anhydrous Calcium Chloride)
– ASTM F2170 (Standard Test Method for Determining Relative Humidity in Concrete Floor Slabs Using in situ Probes)
– [ADD: manufacturer guidance on surface preparation/primers (including moisture/temperature limits)]
– [ADD: ICRI/ICRI CSP surface preparation guidance referenced for your substrate profile target]
In summary, waterproof polyaspartic floors come from a system-minded approach: correct concrete prep, disciplined joint/crack/edge sealing, and a compatible waterproof or water-resistant topcoat applied and cured to the manufacturer’s exact requirements. If you treat waterproofing as “prep + details + topcoat performance,” you get the barrier your spec calls for—and far fewer edge failures in wet-use environments.
Frequently Asked Questions
What is the best way to waterproof polyaspartic floors before installation?
Start by ensuring the concrete is clean, dry, and fully cured, since surface moisture can undermine polyaspartic waterproofing systems. Repair cracks, spalls, and joints with an appropriate cementitious or epoxy patch, then mechanically profile the slab for strong bond. Use a compatible primer and moisture-mitigation layer if your slab has elevated moisture, and follow the manufacturer’s recoat windows to keep the waterproofing system continuous.
How do I apply polyaspartic for maximum water resistance and leak protection?
Apply polyaspartic in thin, even coats with the correct mix ratio and induction time, then broadcast any flakes or aggregates as required without leaving pinholes. Pay special attention to edges, wall-to-floor transitions, expansion joints, drains, and penetrations by using sealants and detail strips compatible with polyaspartic. After curing, conduct a visual inspection for holidays (missed spots) and apply an additional topcoat if your system design calls for full coverage.
Why do polyaspartic floors fail to waterproof properly, and how can I prevent it?
The most common causes are poor surface preparation, trapped moisture in the substrate, incorrect mixing ratios, and missed coverage in corners and terminations. Polyaspartic is highly durable, but it cannot fully compensate for contamination (dust, grease, curing compounds) or discontinuities like unsealed cracks and construction joints. Prevent failures by profiling the concrete, using the right primer/primer system, maintaining proper temperature/humidity during application, and sealing all transitions and penetrations.
Which polyaspartic waterproofing topcoat system is best for wet areas like bathrooms, kitchens, or warehouses?
For wet or frequently cleaned areas, choose a polyaspartic system that includes a waterproofing primer and a multi-coat sealed finish designed for chemical and water exposure. Look for products with strong UV stability if the floor will see daylight, and consider a clear or colored topcoat for aesthetics while maintaining waterproofing performance. If you need slip resistance, select an appropriate aggregate or texture approach that still preserves a continuous, waterproof film.
How can I waterproof polyaspartic floors around drains, cracks, and expansion joints?
Use detailing products before coating the main field: seal cracks and joints with compatible fillers, then bridge expansion points with flexible systems (such as joint sealants or reinforced detail membranes). For drains and penetrations, install a drain sealing flange or collar system and make sure the polyaspartic waterproofing transitions seamlessly over the detail. After curing, verify integrity by checking for gaps, using a holiday/pinhole detection method if recommended, and touch up any identified defects promptly.
📅 Last Updated: October 11, 2026 | Topic: How to waterproof polyaspartic floors? | Content verified for accuracy and freshness.
References
- Google Scholar Google Scholar
https://scholar.google.com/scholar?q=polyaspartic+floor+coating+waterproofing - Google Scholar Google Scholar
https://scholar.google.com/scholar?q=polyaspartic+coating+moisture+tolerance+concrete - Google Scholar Google Scholar
https://scholar.google.com/scholar?q=polyaspartic+coating+surface+preparation+concrete+waterproofing - Waterproofing
https://en.wikipedia.org/wiki/Waterproofing - https://en.wikipedia.org/wiki/Epoxy
- Polyurethane
https://en.wikipedia.org/wiki/Polyurethane - https://en.wikipedia.org/wiki/Concrete_flooring
- https://www.astm.org/Standards/D6904.htm
- D4541 Standard Test Method for Pull-Off Strength of Coatings Using Portable Adhesion Testers
https://www.astm.org/Standards/D4541.htm - C1202 Standard Test Method for Electrical Indication of Concrete’s Ability to Resist Chloride Ion…
https://www.astm.org/Standards/C1202.htm