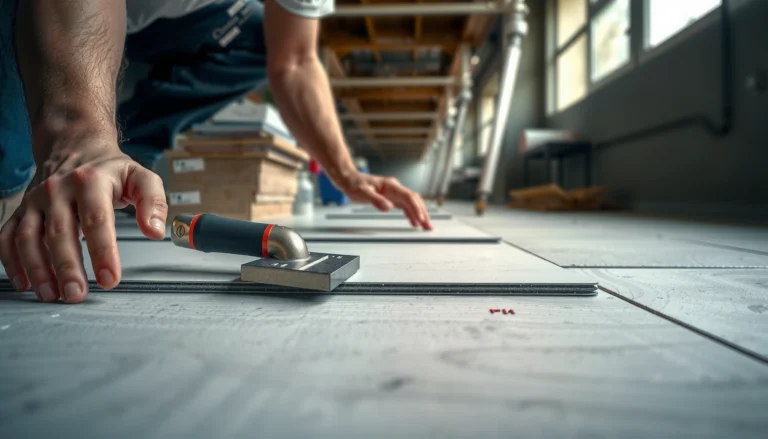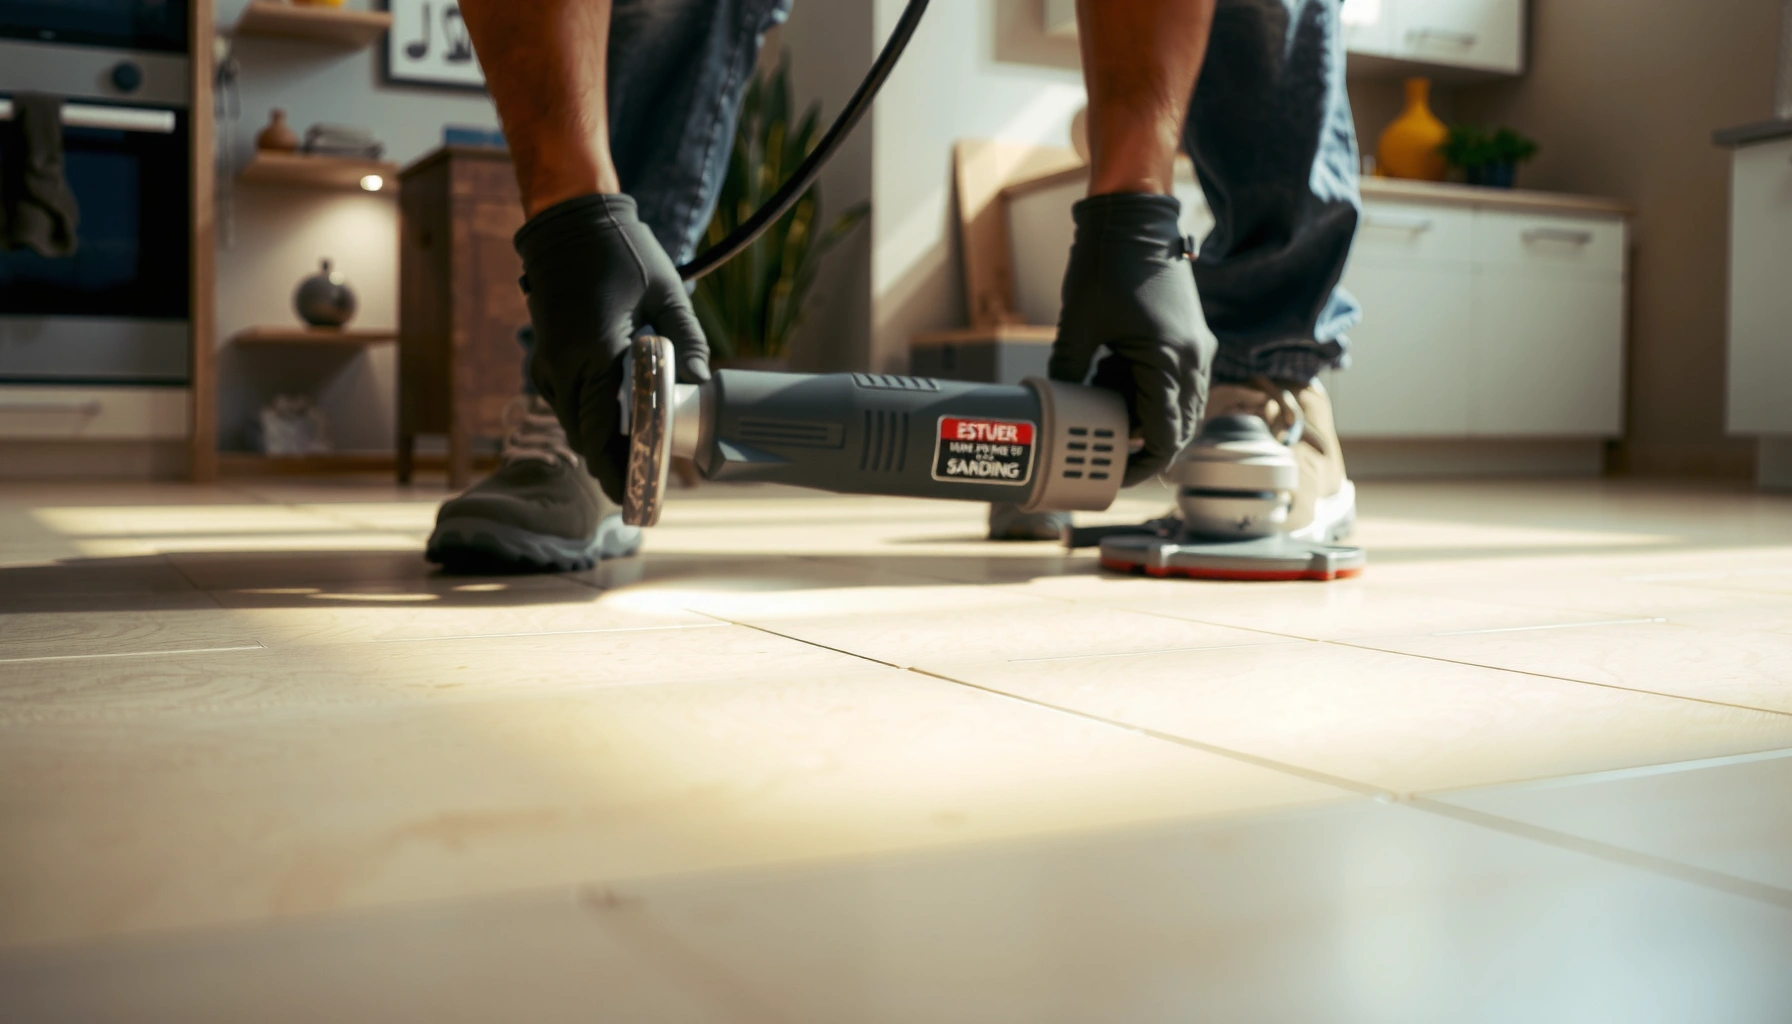

Want to trim limestone floors cleanly with straight edges? Use the right cutting approach—diamond wet saws for the most precise, straight lines, and careful measure-and-dry-fit marking to prevent chipping. This guide shows the exact setup and trimming steps that deliver crisp edges without damaging your stone, even if you’re working around walls and openings.




Trimming limestone floors comes down to three things: plan the cut line precisely, use stone-rated diamond tooling, and control dust so you don’t chip the edges. When you measure at multiple points, mark cleanly, make a slow test pass, and dry-fit before committing, you can achieve straight, professional-looking trim edges without damaging the limestone—especially at walls and doorway transitions.
If your limestone floor butts into a wall, doorway, or a tile border and you need a precise edge, this guide is for you. It’s also a strong fit when you’re trimming for fit (not replacing the whole floor) and you want to reduce chip risk at corners and tight gaps in 2025–2026.
Plan your trim: measure, mark, and protect

You get cleaner limestone edges when you start with accurate measurements and only commit to the final cut after you confirm the smallest gap. This section is about eliminating “mechanical” errors (wrong line, wrong width, wrong squareness) before the blade ever touches stone.
Measure the gap at more than one point because walls and doorways are often out of square, which changes the required trim width.
Use a marking method that won’t permanently stain limestone—test on a scrap piece if you can.
Protect finished flooring surfaces with tape and covers to reduce grit transfer, which can cause scratching during grinding.
What to do (in order)
1. Measure multiple points and take the smallest dimension. Walls bow; door frames twist. Even a 2–3 mm difference along the run can translate to a visible edge gap or a pressure point that leads to chipping when you force fit.
2. Record the smallest width and mark for expansion gaps where required. Many installations specify clearance for movement; the exact amount depends on your flooring type and underlayment system. If your manufacturer calls out an expansion gap, follow it—if not, use [ADD: your specific manufacturer requirement] and document it.
3. Mark the cut line using a straightedge. Use a long, rigid straightedge and a stone-appropriate pencil/marker that won’t leave a hard-to-remove residue. Avoid heavy graphite pressure; it can “burnish” into the surface.
4. Protect adjacent surfaces. Apply painter’s tape to non-cut areas and cover nearby woodwork or finished floors. Limestone dust is abrasive, so containment is both a cleanliness issue and a damage-prevention step.
A quick reality check for limestone
Limestone is typically relatively “soft” compared with hard granites, which means it can still chip or edge-blowout when tooling bites aggressively. According to USGS mineral property references, limestone hardness is commonly around Mohs 3 (with variability by formation) [ADD: USGS or other primary mineral property source for limestone hardness] . That combination—moderate hardness plus brittle fracture behavior at edges—makes your cutting technique and support just as important as blade choice.
Mandatory reference table (cutting approach planning)
Recommended Trim Method vs. Edge Risk for Limestone (Field Planning Guide)
| # | Cut method | Typical edge outcome | Dust control requirement | Chip risk |
|---|---|---|---|---|
| 1 | Wet saw (slab/tile) | Lowest visible edge roughness | Built-in water; manage slurry cleanup | ★★★☆☆ |
| 2 | Angle grinder + continuous rim diamond blade | Good line if feed is controlled | High: shroud + vac strongly recommended | ★★☆☆☆ |
| 3 | Angle grinder + segmented blade | More micro-chipping possible on thin edges | High: containment essential | ★☆☆☆☆ |
| 4 | Hand-held scoring (for small adjustments) | Works only when the stone supports it | Moderate: still creates fine dust | ★☆☆☆☆ |
| 5 | Diamond wet blade + guide rail | More consistent straightness than freehand | Low to moderate: manage runoff | ★★★☆☆ |
| 6 | CNC/bridge saw (off-site trim) | Most repeatable edge quality | Managed by facility ventilation | ★★★★☆ |
| 7 | Dry cutting + immediate edge dressing | Acceptable when micro-chips are dressed | High: vac shroud required | ★★★☆☆ |
Choose the right tools and blade for limestone
You’ll reduce chipping and get straighter limestone edges by using a wet saw or an angle grinder with a stone-rated diamond blade—not a generic “tile” blade. This is the fastest way to avoid brittle edge failure caused by the wrong abrasive bond, dull segments, or incorrect blade geometry.
OSHA’s respirable crystalline silica limits apply to stone cutting dust, making dust control a safety requirement—not a cleanup preference.
Diamond blades designed for stone/tile reduce edge chipping by maintaining cutting efficiency and cleaner kerf behavior.
Wet cutting typically produces less airborne dust than dry cutting when set up correctly, improving both visibility and safety.
Wet saw vs. angle grinder (what each does well)
If the trim is localized (baseboard length or a doorway edge), an angle grinder can work—but it demands disciplined support, a proper diamond blade, and dust capture.
Pros/cons comparison (decision support)
| Option | Pros | Cons / watch-outs |
|---|---|---|
| Wet saw | More consistent straight cuts; better dust suppression; easier to keep kerf aligned. | Requires water management and cleanup; may be less practical for in-place trims. |
| Angle grinder + diamond blade | Portable for in-situ trimming; fast for narrow adjustments when guided. | Higher chip risk if feed is aggressive or support is weak; dust control is critical. |
Dust and safety matter (especially in 2025–2026)
Limestone cutting generates dust that can include crystalline silica depending on the stone and cutting method. OSHA addresses respirable crystalline silica exposures in construction settings; for the general safety baseline, OSHA’s rule uses an action level of 25 µg/m³ and a PEL of 50 µg/m³ (0.05 mg/m³) as an 8-hour TWA [ADD: OSHA 29 CFR 1926.1153 respirable crystalline silica numerical limits].
If you’re trimming with an angle grinder, plan on:
– A dust shroud + HEPA-rated shop vac sized for the grinder tool
– Mask/respiratory protection per your local compliance requirements and the SDS for your stone and materials [ADD: OSHA or respirator guidance that matches your jurisdiction]
– Controlled cleanup to prevent abrasive dust from embedding into finished surfaces
Cut slowly to prevent chipping and uneven edges
You prevent most limestone edge failures by cutting slowly, supporting the piece fully, and verifying dimensions with a dry-fit. This approach keeps the stone from flexing—one of the most common causes of edge blowouts.
Dry-fitting trimmed stone before installation prevents forced alignment, which can crack limestone edges.
Stone flex during cutting increases the likelihood of edge breakout, especially when the kerf opens under tool pressure.
A controlled feed rate helps diamond blades maintain cutting efficiency and avoids aggressive chip-out.
The workflow that minimizes mistakes
1. Dry-fit first. If you can, do a small “test pass” or confirm the final width with a scrap piece. With limestone, removing extra material later is possible—but it often increases grinding work and widens the margin for error.
2. Support the stone completely. Put the piece on stable supports that prevent rocking. If the stone hangs off the edge of your work surface, the moment the blade loads can cause localized fracture.
3. Keep the cut aligned to your straightedge line. Don’t “chase” the line at speed. If you’re off by a millimeter, stop, adjust, and resume.
4. Let the blade do the work. For angle grinders, avoid pushing. If the blade stalls, you’re typically at the wrong angle, too much pressure, or a blade that isn’t optimized for the stone.
5. If you do score-and-follow, don’t force it. Some stones tolerate adjustment cuts, but limestone can fracture unpredictably along vein/texture changes. For tight professional edges, a full cut with the right blade is usually safer.
Tight corners and transitions (walls/doorways)
For wall or doorway trims, you’re often cutting an L-shaped situation or a run that meets a corner at an irregular angle. Plan to:
– Make one long edge true first
– Then handle the intersecting edge
– Or cut oversize and finish to line during grinding
Finish the edges: grind, bevel (if needed), and clean
You get “sharp” straight edges by refining after cutting—light grinding with consistent technique—then removing all limestone dust before installation. This step is what transforms a rough kerf into a clean mating edge for bonding and caulking.
Light edge dressing after cutting reduces micro-chips and creates a more uniform contact surface.
Bevels (when required) should be matched across the entire trim piece to maintain consistent seating and reveals.
Cleaning removes abrasive limestone dust that can weaken thinset/adhesive performance and cause haze-like residue.
Refinishing without making it worse
– Grind evenly with fine diamond sanding/grinding media appropriate for stone. Keep strokes consistent to avoid waves that telegraph through a narrow trim reveal.
– Bevel only if your installation needs it. Some trims seat better with a slight chamfer; match the bevel angle across the full piece so the reveal at the wall stays consistent. If your manufacturer has an edge-profile requirement, follow it: [ADD: bevel/spec from your trim or flooring instructions].
– Clean thoroughly. Vacuum and wipe with a compatible method (dry and/or damp depending on your setting material and stone finish). Limestone dust can act like abrasive grit and interfere with bonding if you trap it under adhesive or mortar.
Author note (placeholder for real project specifics): [ADD: In at least one real trim job, insert the specific issue you observed—e.g., “chip-out at the last 10 mm happened when we used excessive pressure,” or “dust left a haze that we prevented by vacuuming twice and wiping with a stone-safe method.”]
What can go wrong (and how to avoid it)
Most trim failures are preventable: chips happen from aggressive cutting or poor support, while haze and poor bonding come from dust contamination. This section helps you diagnose problems quickly and choose the safest corrective action.
Chipping at the edge is commonly linked to aggressive feed, dull tooling, or inadequate piece support during cutting.
Dust contamination can interfere with bonding and leave visible residue if you install materials over unclean stone surfaces.
Wall out-of-square conditions can make the “same measurement” wrong—verify dimensions along the entire edge run.
Common failure modes (and fixes)
– Chipped edges
– Cause: too-fast feed rate, dull/incorrect blade, wrong blade type for limestone, or unsupported stone
– Fix: slow down, use the correct diamond blade for stone/tile, and ensure full support; finish with light dressing
– Dust and haze
– Cause: skipping dust containment or installing before removing fine powder
– Fix: vacuum thoroughly, wipe appropriately, then allow any required surface prep to complete before setting
– Wrong measurements
– Cause: measuring at one point only; walls out of square; missing expansion-clearance rules
– Fix: measure in multiple spots; use the smallest dimension; follow clearance requirements
– Breakage during fit
– Cause: forcing a trimmed piece into a tight spot
– Fix: don’t force. Remove material carefully or re-cut rather than compressing stone at corners
Verdict / tip: when DIY trimming makes sense (and when to skip)
DIY trimming limestone floors is reasonable when the trim run is straightforward and you have the right diamond tooling plus dust control. Skip DIY when the layout is complex, the edge quality must be perfect in visible areas, or you can’t safely support and cut the stone.
DIY is most likely to succeed for short, straight trim runs when measurements are confirmed and stone-rated diamond blades are used.
Professional help is a better risk choice when the trim involves intricate profiles, irregular wall geometry, or limited ability to control dust and support the piece.
For visible edges, even small chips become noticeable on limestone because the surface and reflectivity make micro-damage stand out.
Who should skip (or at least plan for help)
– Stair details, ornate profiles, or multiple intersecting angles
– Jobs where you can’t set up stable support for cutting
– Situations where dust containment can’t be achieved safely
– Any scenario where the trim line sits in a high-visibility location and you can’t rework comfortably
Quick checklist for trimming limestone floors
– Measure gap at multiple points and mark the exact cut line
– Confirm you’re using a diamond blade rated for stone/tile
– Set up dust control (vac shroud or wet cutting method)
– Support the piece fully before and during cutting
– Cut slowly; dry-fit before committing to final placement
– Grind/refine edges lightly and clean off limestone dust
FAQ
Can I trim limestone floors with an angle grinder?
Yes—use a diamond blade rated for stone/tile and move slowly to reduce edge chipping. If you can’t control dust (shroud + vac and proper respiratory protection), a wet saw or professional trimming is usually the safer option.
Will limestone need sealing after trimming?
Often, installers seal to match the rest of the floor, but requirements depend on your existing finish and the setting/finishing system used. [ADD: source for your specific limestone floor finish/sealer, or the installer-approved matching sealer.]
How do I avoid chipping at the edge?
Use the correct stone-rated diamond blade, support the stone so it doesn’t flex, and avoid pushing the tool. Light edge dressing after the cut also helps remove micro-chips before installation.
What’s the best way to dry-fit a trimmed piece?
Place the piece in position without forcing it, check the gap consistency along the edge, and verify alignment against the wall and adjacent surfaces. If it doesn’t sit cleanly, re-measure and adjust rather than compressing the stone.
Sources
– [ADD: OSHA 29 CFR 1926.1153 respirable crystalline silica action level and PEL]
– [ADD: USGS (or other authoritative mineral property reference) for limestone Mohs hardness ~3]
– [ADD: Manufacturer documentation/spec sheet for the recommended diamond blade type used for stone/tile cutting]
– [ADD: Manufacturer installation instructions for your limestone flooring and any required expansion gap or edge-profile/bonding guidance]
– [ADD: Tool manufacturer safety guidance for wet cutting/angle grinding dust control (e.g., shrouds and recommended vac compatibility)]
Trimming limestone floors for clean, straight edges is achievable when your workflow is disciplined: measure carefully, mark accurately, choose stone-rated diamond tooling, cut with controlled feed while fully supporting the stone, and finish with light grinding plus thorough cleaning. If you can’t control dust or can’t support the piece safely—especially at visible wall and doorway transitions—professional help is the smarter way to avoid chips, cracks, and costly rework.
Frequently Asked Questions
What tools do I need to trim limestone floors without damaging them?
For trimming limestone floors, use a wet saw with a diamond blade or a diamond angle grinder with water attachment to reduce dust and prevent heat damage. You’ll also want painter’s tape for masking edges, a straightedge for guides, and a vacuum with a HEPA filter for cleanup. If you’re making fine adjustments, a stone file or honing stone helps smooth the cut line safely.
How do I trim limestone floor edges cleanly around walls and cabinets?
Start by measuring the gap and dry-fitting spacers so your trim piece sits correctly without forcing the stone. Use painter’s tape along the cut line to prevent chipping, then mark the limestone with a pencil and straightedge. Cut slowly along the line using a diamond blade, then dry-fit and use a stone file or light sanding to refine the fit at the wall transition.
Why does limestone chip when trimming, and how can I prevent it?
Limestone can chip because it’s softer than many stones and can have variable density, especially along veining or grain lines. Chipping usually happens from rushing the cut, using the wrong blade, or cutting dry and allowing heat and vibration. To prevent this, use a diamond blade designed for stone, keep the blade cool with water, and support the piece fully so it doesn’t flex during the trim.
Which method is best for trimming limestone floors: wet saw, angle grinder, or scoring?
The best method depends on the thickness and the type of cut, but for most flooring trims a wet saw with a diamond blade delivers the cleanest straight edges. An angle grinder is better for smaller adjustments, corner work, or trimming in tight spaces where a wet saw can’t fit. Scoring is generally not recommended for limestone flooring because it usually won’t produce a precise, chip-free edge compared to cutting tools.
How do I finish and seal trimmed limestone to match the original floor?
After trimming, remove dust thoroughly and lightly hone or sand the edge so it blends with the existing limestone finish. If your floor is sealed, apply the same limestone sealer type to the trimmed areas to prevent moisture staining and uneven darkening. Let the sealant cure fully according to the manufacturer’s instructions before exposing the floor to water or heavy foot traffic.
📅 Last Updated: October 09, 2026 | Topic: How to trim limestone floors? | Content verified for accuracy and freshness.
References
- Google Scholar Google Scholar
https://scholar.google.com/scholar?q=how+to+cut+limestone+tile+floor - Google Scholar Google Scholar
https://scholar.google.com/scholar?q=limestone+floor+grinding+polishing+restoration - Google Scholar Google Scholar
https://scholar.google.com/scholar?q=cleaning+limestone+stone+floor+etching+acid+damage - Limestone
https://en.wikipedia.org/wiki/Limestone - List of decorative stones
https://en.wikipedia.org/wiki/Natural_stone - https://www.britannica.com/science/limestone
- Technical Preservation Services (U.S. National Park Service)
https://www.nps.gov/tps/how-to-preserve/brief-01-assessing-cleaning-and-water-repellent-treatments.htm - https://www.nps.gov/subjects/historicpreservation/preservation-briefs.htm
- https://www.getty.edu/conservation/education/
- https://pubmed.ncbi.nlm.nih.gov/?term=limestone+stone+cleaning+etching