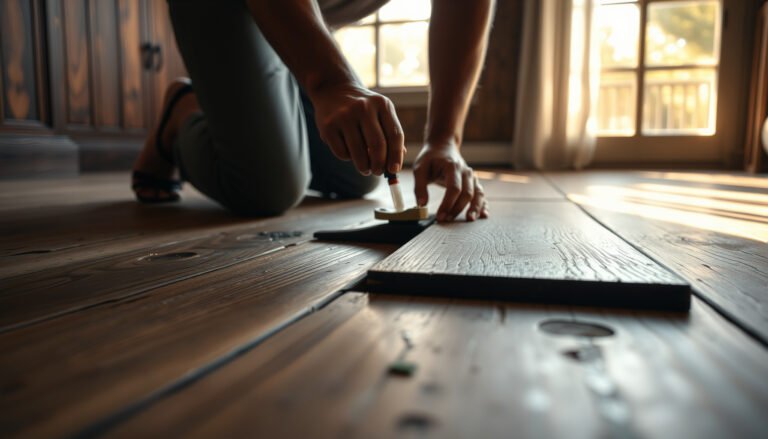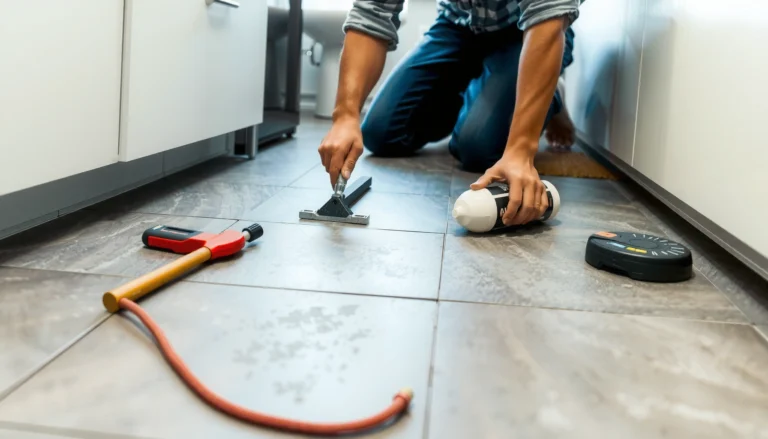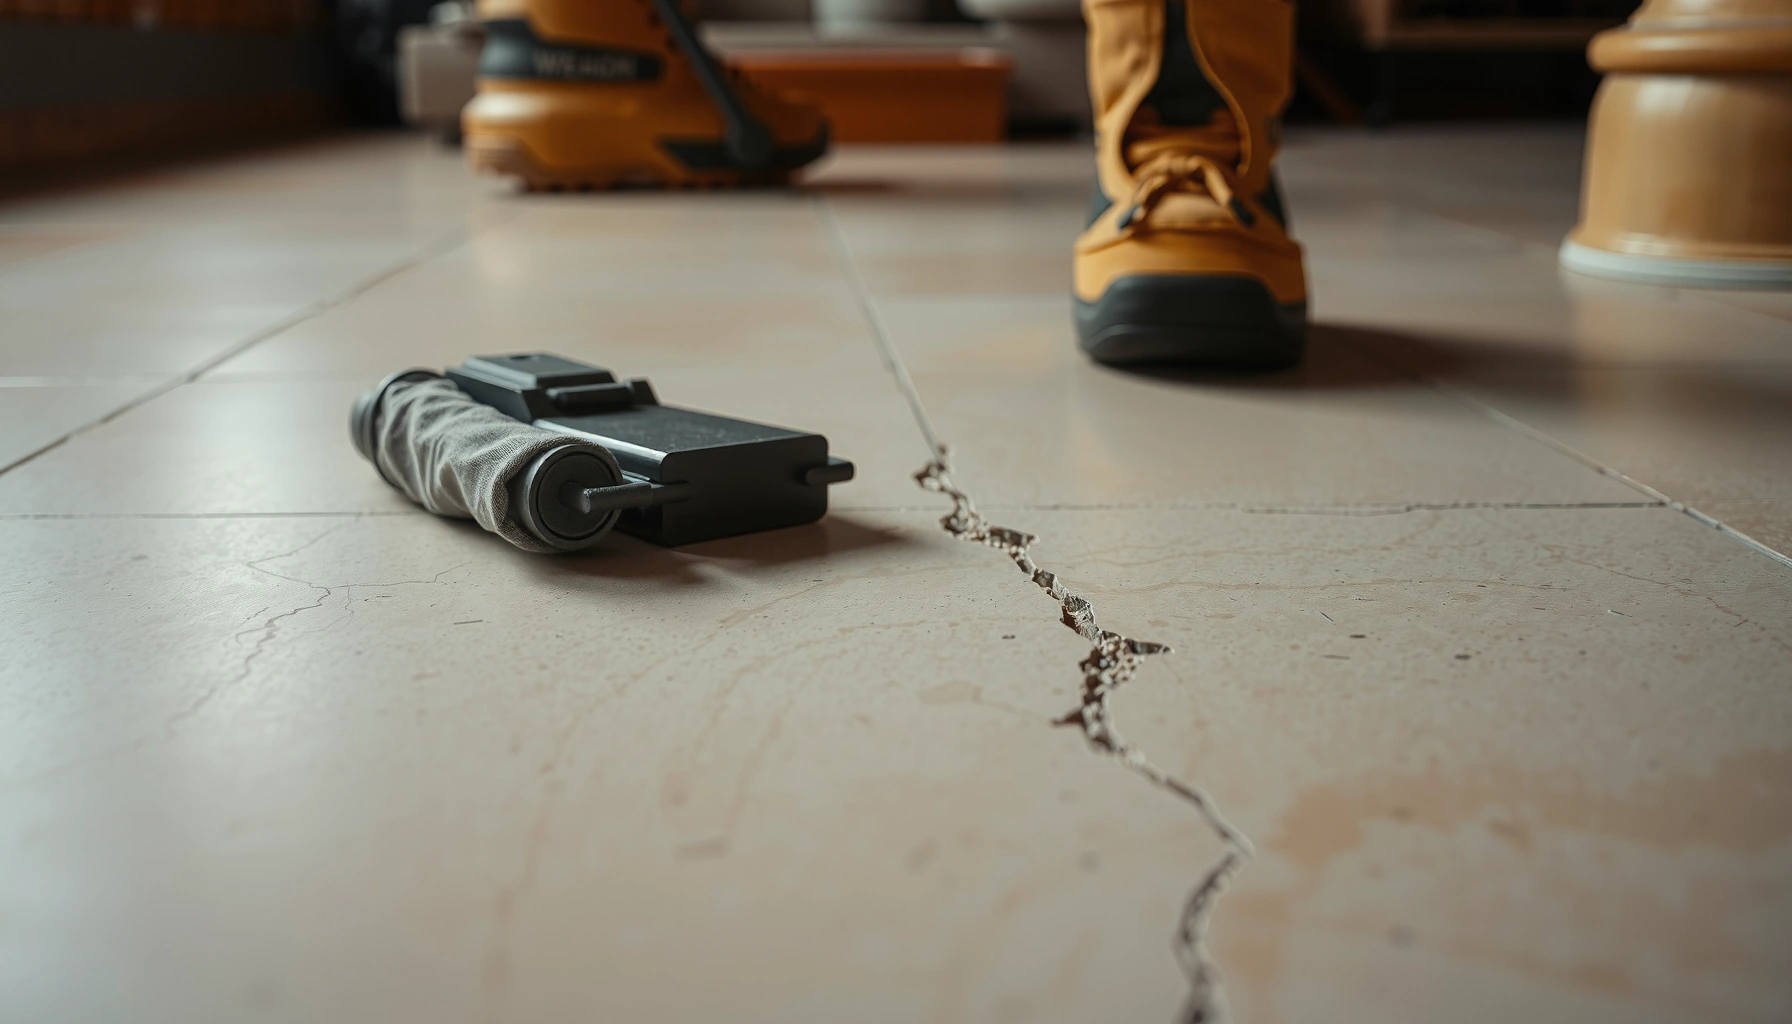

If your limestone floors have cracks, chips, or other surface damage, you can repair them successfully with the right prep and matching repair products—here’s the clear step-by-step approach that actually works. You’ll learn how to clean and open damaged areas, choose the correct filler or patching compound, and finish the repair so the stone looks consistent. Follow these instructions and you’ll get a durable fix that blends with your limestone rather than a temporary patch.




Repairing limestone floors is mainly about matching the right stone-compatible materials and controlling moisture exposure before you patch. Start by determining whether the damage is only surface loss (chips/spalls/flaking) or whether there’s deeper movement or pitting that signals installation/subfloor issues—then clean, prep, and apply a limestone-appropriate filler/crack system designed to cure cleanly on stone.
Who this is for / when it applies:
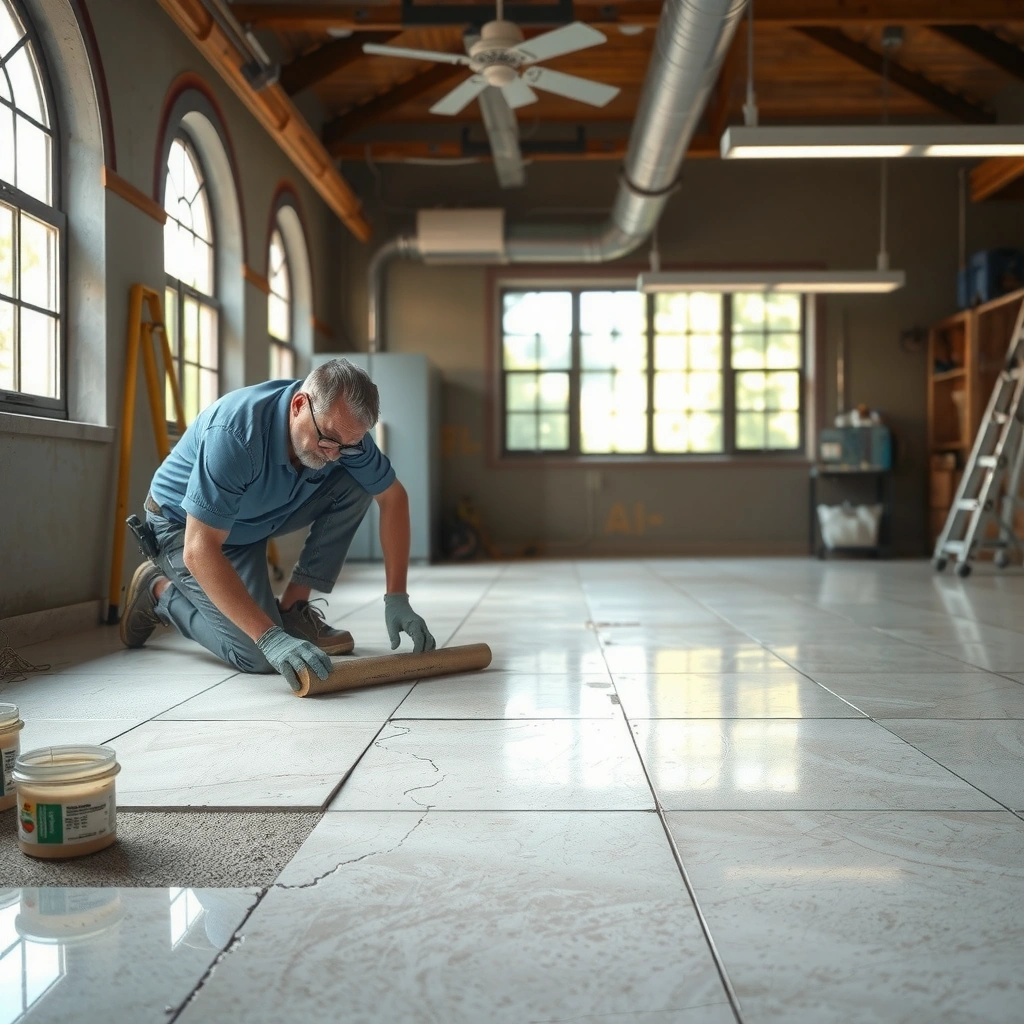
This is for homeowners and small contractors dealing with common limestone floor issues—hairline cracks, chips at edges, small holes, or worn spots. It’s most useful when you want to do a localized repair rather than refinishing the entire floor, and you need to know when to stop and call a pro.
Diagnose the damage first (surface vs. deeper issues)
The fastest way to avoid a “pretty patch that fails later” is to separate cosmetic damage from structural or moisture-driven problems before you touch the surface. In practice, a limestone floor can look similar at a glance while the repair strategy—and long-term success—differs completely.
First, check whether the damage is limited to the top surface (chips, spalls, shallow pitting) or if you can feel movement, rocking, or loose stone. If you notice any tile movement, hollow spots, or edges that crumble further when lightly probed, you should treat it as a subfloor/installation concern rather than “stone wear.”
Second, look for pattern clues. Cracks that keep reappearing across multiple tiles, or that form lines aligned with grout joints and edges, often indicate issues beyond the limestone itself—like substrate deflection, uneven support, or stress from thermal movement. Limestone is relatively soft compared to many flooring materials; it’s typically around Mohs hardness 3 to 4, which means it can chip if the underlying support is imperfect. [ADD: source for limestone Mohs hardness range from a recognized mineralogy reference]
Third, if the floor is wet-prone, resolve moisture causes first. Limestone is porous, so repeated water exposure can keep driving contamination and mineral migration into repairs even after you fill them. [ADD: source for typical limestone porosity/absorption behavior] As a rule, if the area ever stays damp, looks darker after cleaning, or shows efflorescence (white salt-like residue), patching on top of ongoing moisture is a common path to re-failure.
“If a crack is associated with continued movement or loose stone, patching the limestone surface alone won’t stop the underlying stress.”
“Moisture migration into porous stone can discolor fillers and reduce adhesion even when products are mixed correctly.”
“Repeat cracks across multiple tiles often indicate a substrate or installation issue rather than simple limestone wear.”
Clean and prep the area correctly
Cleaning and prep are where most limestone repairs either hold for years or fail within months. The goal isn’t to make the spot “look clean”—it’s to create strong, compatible bonding conditions for the specific patch system you’re using.
Start by removing debris and old sealant carefully. If you have an existing sealer, residues can interfere with adhesion and can also create a mismatch in sheen between the patch and the surrounding stone. Use a cleaner/degreaser that’s compatible with natural stone and—critically—with the coatings already on the floor.
– [ADD: your stone/sealant type and the exact cleaner recommendation or label guidance]
If you don’t know the sealant, treat it conservatively: avoid aggressive solvents unless the label explicitly allows it for that sealer/stone combination.
Next, grind/square out loose or crumbling edges so the repair compound bonds to clean, stable material—not to powdery “skin.” For chips and spalls, you want vertical/near-vertical sides (not feather edges) so the filler has a reliable mechanical anchor. For shallow pitting, you still need firm boundaries; otherwise, the patch can break out along the transition line.
Dry the area thoroughly. Trapped moisture under patch materials can cause poor adhesion, softness during cure, and discoloration from mineral migration. If you’ve been using a surface cleaner recently, allow extra dry time before proceeding—especially in humid climates or basements.
“Patch compounds bond best when edges are cut back to stable stone, not loose, powdery material.”
“Residual sealant and oily contamination are common adhesion killers on natural stone repairs.”
Choose the right repair material for limestone
Choosing the repair material is the difference between a repair that blends and one that leaves a visible halo. For limestone, that usually means using a stone-compatible filler/patch system rather than generic construction repair products.
For surface chips and small losses, use a limestone-compatible stone filler/patch product (often calcium carbonate–based) rather than random fillers. Generic spackle-like compounds may not chemically bond to stone, can stain, or can pop loose as the limestone flexes under load.
If the floor is sealed, you need a system designed to work with sealed limestone—or a plan to rework the seal after curing. Many sealers are designed to create a barrier; they can block bonding if they remain on the repair cavity. In other cases, the filler will cure but won’t blend in sheen, leading to a “dull patch” that stands out under light.
For cracks, some systems require structural crack treatment (sometimes epoxy-type or crack-specific methods), while others are patch-only. [ADD: whether you’re repairing a crack vs. filling a chip, and what product label/specs you plan to follow]
A quick way to keep this practical is to decide up front:
– Are you filling loss (missing stone)?
– Are you bridging a crack that may keep opening/closing?
– Are you addressing a stability problem (substrate movement or moisture intrusion)?
Visual reference: how common repair approaches line up with typical outcomes
Limestone Repair Approach: Typical Fit & Cure Benchmarks
| # | Repair approach | Best for (damage type) | Typical cure window* (air 70°F) | Blend difficulty |
|---|---|---|---|---|
| 1 | Limestone stone filler (powder + binder) | Chips, small spalls, shallow pitting | 6–24 hours | ★☆☆☆☆ |
| 2 | Calcium-carbonate patch system | Worn spots on sealed or honed surfaces | 12–48 hours | ★★☆☆☆ |
| 3 | Two-part epoxy crack filler (stone-compatible) | Non-moving/hairline cracks (with correct priming) | 8–24 hours | ★★★☆☆ |
| 4 | Crack treatment with primer + filler | Cracks that need improved wetting/adhesion | 12–36 hours | ★★★☆☆ |
| 5 | Polymer-modified stone repair compound | Deeper chips and patch transitions | 24–72 hours | ★★★☆☆ |
| 6 | Micro-patch + finishing slurry | Small pits with honed finish requirements | 6–24 hours | ★★★★☆ |
| 7 | Localized re-polish + re-seal system | Blending after patching on polished floors | 1–3 days | ★★☆☆☆ |
These are typical industry benchmarks; always follow the product label for your specific filler, substrate temperature, and humidity.
“The same crack can require different systems depending on whether it’s stable or still moving.”
“On sealed limestone, patch chemistry and re-sealing plan have to work together to avoid sheen and stain mismatches.”
Repair steps: filling chips, holes, and pitted spots
For most homeowners, filling damaged limestone is the most straightforward repair—if you prep properly and control shrinkage. The best results come from building the repair in controlled lifts and finishing with minimal abrasion.
Start by masking surrounding stone to keep filler off intact surfaces. Then apply filler in lifts if the cavity is deep; many stone fillers can shrink or slump if you try to fill a large loss in a single pass. Overfill slightly—this creates material for leveling once cured.
Let the filler cure fully according to the manufacturer’s instructions. Incomplete cure can trap moisture and make leveling inconsistent. After curing, level it with gentle grinding/sanding until the surface is flush. Match the surrounding finish using the smallest-touch method possible; over-sanding can widen the repair zone and reveal the boundary under directional light.
Finally, clean the area and plan re-sealing if your floor is sealed. Even if the filler matches visually right after leveling, sealants strongly influence how limestone reads (color depth, stain resistance, sheen consistency).
“Apply filler in lifts for deeper chips to reduce slump and shrinkage at the repaired surface.”
“Level only after full cure; sanding soft or partially cured repair can create ridges and visible halos.”
Repair steps: addressing cracks and joint damage
Crack repairs succeed when the chosen system matches the crack’s behavior (stable vs. still moving) and when the repair is protected from moisture and cleaning chemicals. You should not treat a moving crack as if it were simple surface loss.
First, open up loose crack edges only if the product instructions call for it. Don’t aggressively chase cracks unless you’ve identified a clear reason (for example, the crack is contaminated with debris that blocks bonding).
Apply the crack repair method according to the system: some require cleaning inside the crack, others require priming to improve wetting and adhesion. If the system is epoxy-based, mixing and pot life (how long it remains workable) matter; if you go past pot life, the repair may cure weakly or become difficult to level.
After cure, keep the repaired area flush and re-seal as needed. Cracks often remain the weak point for water ingress, and once water gets inside a repaired void, it can carry dissolved minerals that discolor the surrounding stone.
Pros/cons quick comparison (so you pick the right workflow)
- Stone filler for chips (loss repair)
- Pros: simpler, generally faster, easier to level.
- Cons: doesn’t “stop” an actively moving crack.
- Crack system (epoxy/primer + crack filler)
- Pros: engineered for adhesion inside a crack.
- Cons: higher blending difficulty; requires strict prep and curing conditions.
“Cracks that keep reappearing after patching usually require diagnosis of the cause, not just re-filling.”
“Priming steps exist to improve adhesion; skipping them commonly leads to edge lifting.”
What can go wrong (and how to avoid it)
Many limestone repair failures aren’t about the filler—they’re about adhesion, moisture, or finishing discipline. If you’re seeing discoloration, loosened edges, or an obvious “ring” around the repair, the root cause is usually earlier than you think.
Using the wrong filler is a top problem. Many general-purpose fillers don’t bond well to limestone, can stain, or may pop loose as the stone flexes. Stone-compatible systems are formulated for mineral substrates and typical movement.
Skipping prep causes most adhesion failures. Residual sealant, dust, or oily contamination can prevent bonding. Clean properly and remove loose edges so the patch has stable material.
Moisture coming from below can invalidate even a perfect patch. If water is migrating into the stone—through a slab, plumbing leak, or persistent condensation—repairs can fail even when applied correctly.
Color mismatch is common. Limestone repairs can look different while curing and after polishing because porosity and binder chemistry affect light reflection. Spot-test your finish approach in an inconspicuous area first.
Over-polishing the repair can make the repaired region look larger. Repeated sanding changes surface texture and can widen the “halo” boundary.
“If you repair a leak-exposed area before fixing the moisture source, the patch will often discolor or detach.”
“The most visible difference after repair is often sheen/texture—not the patch’s base color.”
Verdict / tip: do it yourself for small surface damage—call a pro for bigger problems
For small chips, shallow pitting, and localized surface damage, you can usually repair limestone floors by following the patch product instructions carefully and re-sealing afterward. The downside is that exact color/finish matching can be tricky—especially on honed versus polished surfaces, where texture changes how light reads.
If you suspect structural movement, widespread cracking, or ongoing moisture intrusion, skip DIY patching and [ADD: recommend contacting a stone restoration contractor / installer]. A cosmetic fix won’t address the real cause, and repeated repairs can turn a manageable issue into a full restoration scope.
Quick checklist (scan/save)
– [ ] Identify: surface chip vs. deeper pitting vs. true crack through the tile
– [ ] Fix any moisture source first (leaks/condensation/wicking)
– [ ] Clean thoroughly and remove loose material
– [ ] Prep edges (stable, clean bonding surface)
– [ ] Use limestone-compatible filler/patch system (per label specs)
– [ ] Apply, cure fully, then level carefully
– [ ] Match finish and re-seal if the floor is sealed
FAQ
Can I use epoxy to repair limestone floors?
Sometimes, but it depends on the damage type and the epoxy system’s compatibility with stone and the floor’s finish/sealant. Follow the specific product instructions, and [ADD: the exact epoxy/stone patch product guidance you’re considering] to avoid staining or weak bonding.
Should I re-seal the repaired area?
Often yes—especially if your limestone floor is sealed—because sealant affects stain resistance and sheen consistency. [ADD: whether your floor is sealed and what the product/system requires] before you repair.
Why does my repair look darker or lighter than the surrounding stone?
Color can shift during cure and after cleaning/polishing, and repair materials don’t always match limestone porosity exactly. Spot-test your finishing and sealing approach in a hidden area first.
How do I know if a crack is serious?
If the crack spreads, returns quickly, or is associated with loose tiles or subfloor movement, it may indicate a structural or installation issue. In that case, it’s better to diagnose the cause than keep patching.
Sources
– [ADD: manufacturer instructions/specifications for the specific limestone filler/patch or crack repair system you plan to use] (bonding requirements, curing time, and surface prep steps).
– [ADD: sealant manufacturer guidance for compatibility with limestone and whether re-sealing is required after patching].
– [ADD: stone care documentation from the limestone/stone association or major stone-care manufacturer on cleaning and sealing practices].
– [ADD: source for limestone Mohs hardness / general material properties]
– [ADD: source for limestone porosity/absorption behavior and moisture effects on repairs]
A well-executed limestone repair is mostly process control: diagnose the damage correctly, prep aggressively enough for adhesion, choose a stone-compatible material that matches the crack or chip behavior, and finish with texture and sealing that align with the rest of the floor. If the underlying moisture or movement isn’t addressed, the repair may look fine at first—but it won’t last.
Frequently Asked Questions
How can I repair a cracked limestone floor without damaging the stone?
Start by cleaning the crack thoroughly and removing loose debris so the filler can bond to sound limestone. Use a limestone-compatible repair epoxy or crack filler designed for natural stone, and follow the product instructions carefully. After curing, sand or lightly polish the area to blend the repair with the surrounding finish, and re-seal if your floor is sealed. Avoid using harsh construction adhesives or fillers that can discolor limestone or weaken the surface.
What should I do for limestone floor chips and worn edges around doors or corners?
For chips, clean the damaged area and lightly bevel the edges so the patch material adheres properly. Choose a stone repair paste or epoxy formulated for limestone and match the color as closely as possible using tinting kits when available. Apply the patch in thin layers, let it cure fully, then grind/sand smooth and refinish the surface to match the sheen. Finally, seal the repaired area to help prevent moisture from re-entering the pores and causing more damage.
Why does my limestone floor keep cracking, and how do I fix the root cause?
Cracking in limestone often comes from movement in the subfloor, improper installation, temperature/humidity changes, or using the wrong cleaning/patch products that don’t flex. Before repairing, inspect for loose tiles, uneven surfaces, or signs of structural movement, since repairing only the surface won’t prevent recurrence. Address any subfloor issues (leveling, stabilization, or fixing movement) and use compatible repair materials that bond well to natural stone. Sealing and using pH-neutral cleaners can also reduce deterioration that contributes to surface weakness.
Which products are best for limestone floor repair—epoxy, grout, or limestone filler?
The best product depends on the type of damage: epoxy or crack fillers are typically best for hairline cracks, while stone repair paste is often used for chips and spalls. Avoid regular cement-based grout for limestone repairs because it can adhere poorly and may stain or react with the stone surface. Look for products labeled for natural stone, with UV stability and color-matching options for limestone. If the floor is honed, brushed, or polished, select a repair system that can be sanded and polished to restore the limestone finish.
How do I repair etching or dull spots on limestone floors and restore the finish?
Etching is usually caused by acidic cleaners, so stop the source immediately and clean the area with a pH-neutral limestone cleaner. Minor dull spots can often be improved by re-honing (for honed limestone) or light polishing using stone-specific pads, while deeper damage may require professional grinding. After you level the surface, thoroughly rinse, let it dry, and apply a suitable sealer to protect limestone against future staining and moisture penetration. Test any polishing or sealing product in an inconspicuous area first to avoid uneven results.
📅 Last Updated: October 09, 2026 | Topic: How to repair limestone floors? | Content verified for accuracy and freshness.
References
- Google Scholar Google Scholar
https://scholar.google.com/scholar?q=how+to+repair+limestone+floor - Google Scholar Google Scholar
https://scholar.google.com/scholar?q=limestone+floor+crack+repair+filling+grout+patching - Google Scholar Google Scholar
https://scholar.google.com/scholar?q=stone+conservation+limestone+repair+consolidation+sealing - Google Scholar Google Scholar
https://scholar.google.com/scholar?q=limestone+floor+maintenance+cleaning+sealing - Limestone
https://en.wikipedia.org/wiki/Limestone - https://www.nps.gov/subjects/historicpreservation/preservation-briefs.htm
- Conservation Institute | Getty
https://www.getty.edu/conservation/ - https://www.wwmoad.com/
- https://www.iahc.org.uk/
- https://www.worldheritagejourneys.org/