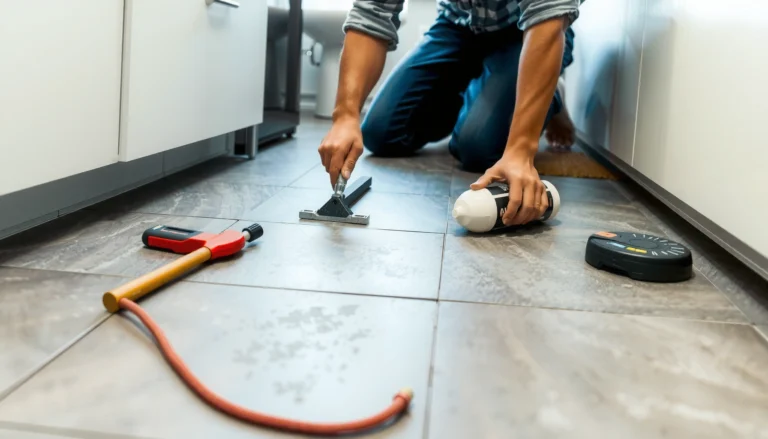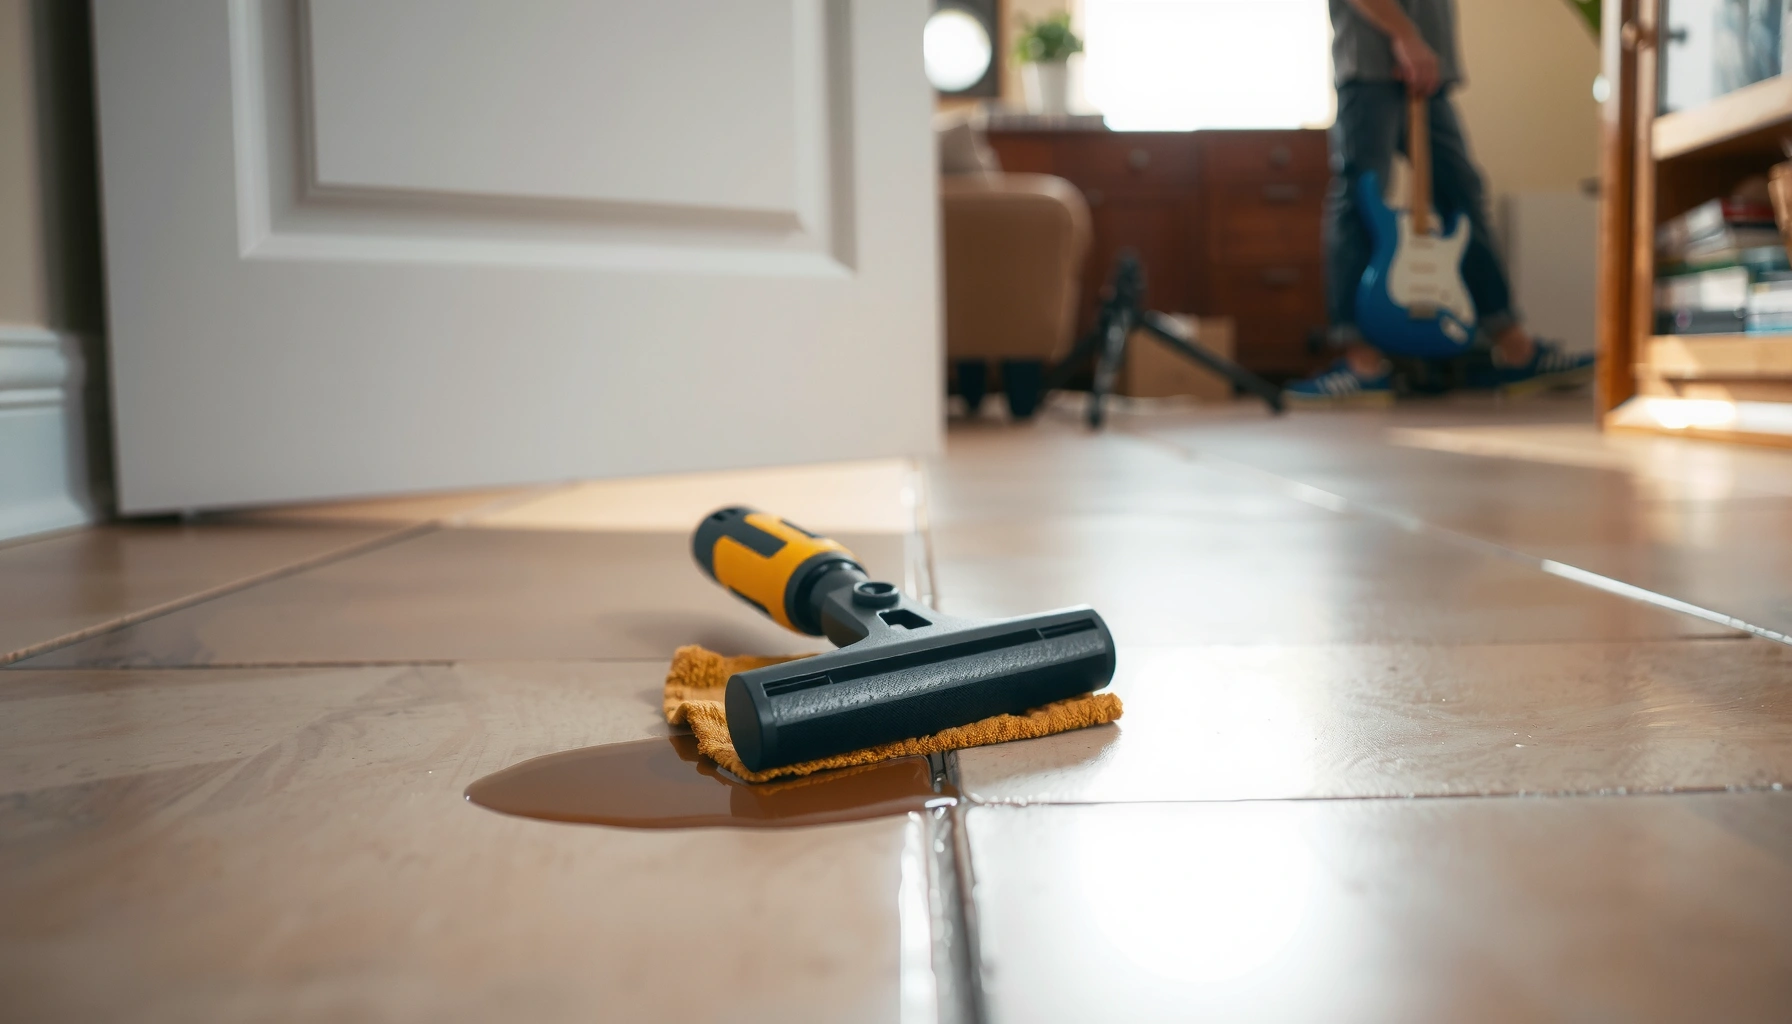

If your travertine floor has water damage, the fastest way to get it back to stable, clean condition is to dry the stone thoroughly, remove any damaged sealant or residue, and then refinish it to prevent repeat moisture intrusion. This step-by-step guide tells you exactly what to do first, what to avoid so you don’t worsen staining or etching, and how to seal the surface after repairs. You’ll learn the practical sequence that determines whether water marks lift or become permanent.




Water damage on travertine is usually fixable if you act fast: dry the stone thoroughly, remove any affected finish, then treat for stains and seal again. The key is figuring out whether the water left surface discoloration (easier) or deeper changes like etching or mineral staining (harder), because the repair method depends on that.
If you’ve noticed dark spots, a cloudy haze, peeling sealer, or a rough/etched area after a spill, leak, or humid environment, this guide walks you through practical next steps and what to avoid so the damage doesn’t spread. It’s written for homeowners and floor-care pros tackling typical residential travertine floors.
Step 1: Identify the damage type (before you clean)
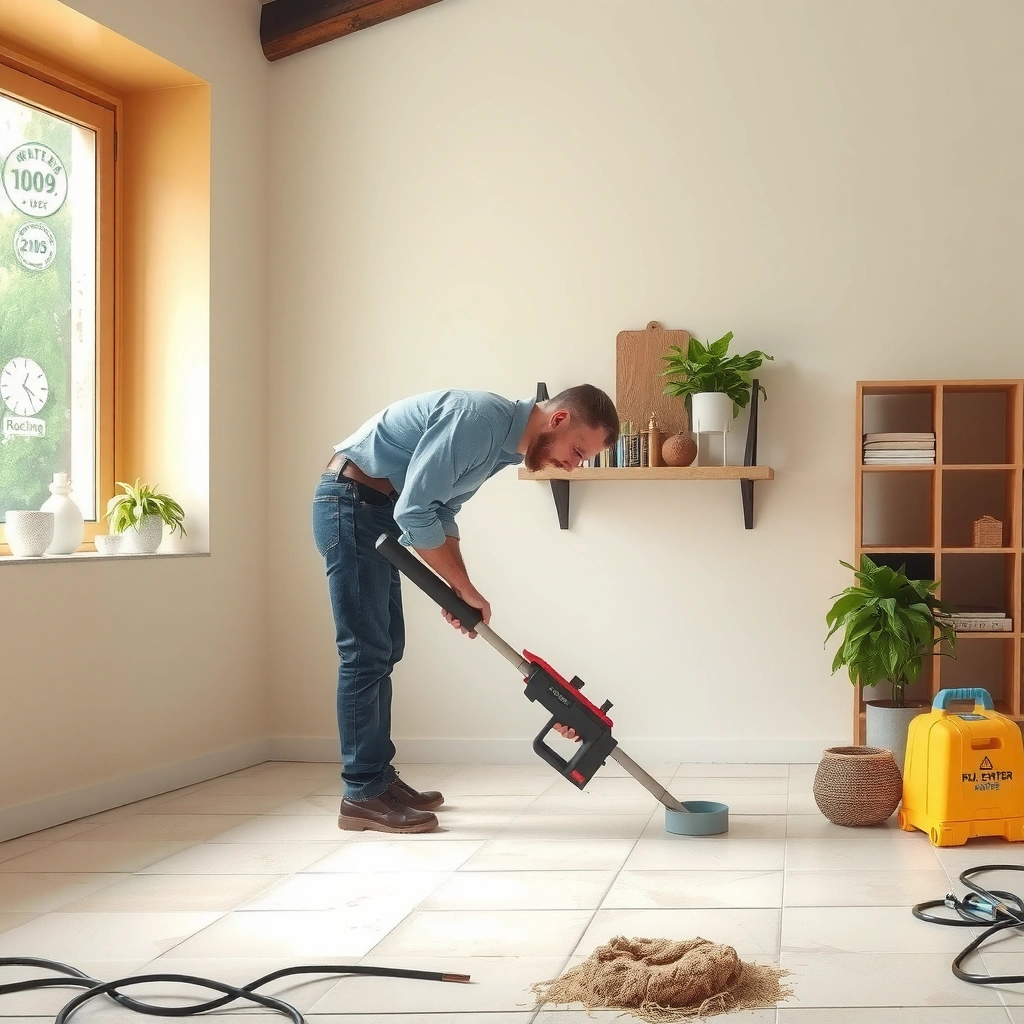
You fix travertine faster when you identify what kind of change the water caused—surface staining, sealer failure, or true surface etching. Once you know which category you’re dealing with, you can choose the right cleaner and stop using products that can make the problem permanently worse.
Travertine is a porous, calcium-carbonate stone, so liquids can either stain the pores or chemically etch the surface when the liquid is acidic.
If discoloration wipes lightly with the right neutral cleaner, it’s more likely a surface stain; if it won’t lift, it’s more likely deeper penetration into the pores.
A cloudy “haze” often points to residue, mineral contamination, or sealer breakdown rather than simple dirt.
Start by treating this like basic diagnostics, not random cleaning. In my day-to-day work planning restoration tasks, the fastest path to results is always the same: confirm stain vs. etch vs. finish failure first, then build a treatment sequence around what you see (not what you hope is happening).
Here’s what to look for, in practical terms:
Surface stain vs. deep pore saturation
– Likely surface stain: The spot looks darker right after exposure, and after drying it appears “mottled” but may lighten with gentle neutral cleaning.
– Likely deep pore involvement: The spot stays dark even after drying and careful neutral cleaning, or it becomes more obvious in bright light.
Because travertine is porous (more so than many glazed tiles), water can carry colorants and minerals into the stone. That means the “same” spill can look different depending on how long it sat before you dried it.
Etching signs (chemical change, not just discoloration)
Etching is a chemical or abrasion-driven surface change—often irreversible without resurfacing/honing.
– Look for duller, lighter patches or a mottled/patchy look after an acidic spill (wine, citrus, vinegar-based cleaners) or long moisture exposure.
– Rub-test caution: after drying, an etched area can feel slightly rough compared to surrounding stone.
Sealer failure / finish problems
If you have a sealed travertine floor, water may reveal sealer breakdown.
– Sealer failure can look like: dull/cloudy sheen, uneven gloss, tacky zones, or flaking/peeling in the affected area.
– If sealer is compromised, cleaning alone often “reveals” more of the underlying stone instead of fixing uniformity.
Key metric to keep in mind
Water absorption testing is commonly standardized for stone materials. According to ASTM C97, water absorption is evaluated after a controlled immersion period (typically 24 hours)—a reminder that stone can hold onto moisture long enough to transport staining agents into pores. (ASTM International, ASTM C97/C97M)
Step 2: Stop the moisture and dry thoroughly
You can’t reliably remove water damage on travertine while moisture is still active inside the stone. The immediate goal is to stop any leak and drive moisture out so stains don’t keep migrating and repeating.
If the source moisture remains, even the “best” stain treatment can fail because contaminants continue to move through the pores.
Drying should account for the area beneath the tile layer; discoloration that returns can indicate subfloor moisture.
Relative humidity control (especially keeping indoor RH around mold-limiting ranges) reduces ongoing microbial and moisture-related complications during drying.
Stop the source first
Before you touch the finish or the stain:
– Fix active leaks (plumbing, dishwasher supply lines, HVAC condensate, roof/wall intrusion).
– If the damage came from humidity, address airflow, ventilation, and dehumidification—not just surface cleaning.
Ventilate and dry aggressively (but safely)
– Remove rugs/mats and prevent trapped moisture by clearing the area fully.
– Ventilate the room and use air movers (fans directed across the floor) rather than just one small fan pointing at a wall.
– If you have a dehumidifier, run it in the affected zone to speed up drying.
From a prevention standpoint, managing indoor humidity matters. According to the U.S. Environmental Protection Agency (EPA), keeping indoor relative humidity in the range that discourages mold (commonly cited as 30%–50%) helps reduce mold growth risk while materials dry. (U.S. EPA, “Mold and Moisture” guidance, updated/maintained for ongoing public guidance)
Check whether moisture returns
This is one of the biggest “real-world” failure points: you dry the surface, you treat the stone, and then the spot darkens again.
– If discoloration returns after drying, it can mean subfloor moisture or underlayment saturation.
– In that case, you may need to lift affected sections, address the subfloor, and then restart the stone treatment plan.
Give it enough time
True dryness is non-negotiable:
– Dry to the point where the area is not just “dry to the touch,” but dry enough that the underlying stone and any bedding/underlayment aren’t still releasing moisture.
– Rushing this step often causes treatments to look successful at first—then fail weeks later.
Step 3: Clean safely (use what matches travertine)
You should clean travertine with neutral pH products and gentle tools, because harsh or acidic cleaners can worsen etching and haze. Once the stone is dry, controlled cleaning helps remove residues that can otherwise keep the area looking cloudy.
Travertine responds poorly to acidic cleaners because it is primarily calcium carbonate, which can be chemically altered by acids.
Neutral pH stone cleaners and soft microfiber tools reduce the risk of stripping finishes or creating additional dullness.
Rinsing and then re-drying matters because cleaning residue can contribute to persistent hazing.
What to use
– Use a neutral pH stone cleaner designed for natural stone.
– Use a soft microfiber mop or microfiber cloth to avoid grinding residue deeper into pores.
– Follow the product label for dilution, dwell time, and rinse requirements.
How to clean without making haze worse
– If debris is present (grit, dried food residue, tracked material), do gentle agitation first—don’t “scrub harder.”
– Scrubbing aggressively can grind particulates into travertine pores and make haze harder to remove later.
Rinse and dry again
After cleaning:
– Rinse only as directed by the cleaner instructions.
– Dry thoroughly again, since residual cleaner and moisture can create a cloudy look that looks like staining.
Step 4: Treat stains the right way (organic vs. mineral)
You treat travertine stains by matching the product to the stain cause: organic/food tends to need a compatible natural-stone stain remover, while mineral staining needs a mineral-targeted approach. If you guess and use the wrong chemistry, you can prolong the discoloration or worsen the surface.
Not all “dark spots” are the same: organic stains and mineral deposits behave differently in porous travertine.
Mineral staining that comes from hard water often requires products formulated for mineral contamination—not acidic “natural” remedies.
If the surface was etched, cleaner-only solutions can’t fully restore uniform gloss; resurfacing/honing may be required.
Identify the likely stain category
1. Organic/food/water-line discoloration
– Often looks like darkening with a natural or “tide line” pattern after spills.
– Use an appropriate natural-stone stain remover made for the type of staining (follow label instructions; test in an inconspicuous area first).
2. Mineral/hard-water effects
– Often looks grayish, blotchy, or chalky, especially where water evaporated and left deposits.
– Use targeted treatment designed for mineral staining. Don’t “neutralize with acid”—that can create new etching.
3. Etching
– Etching is a surface condition. If you have dull, lighter, rough patches:
– Cleaner and stain remover alone may not restore uniformity; you may need resurfacing/honing (and then sealing) to bring the surface back into consistent finish.
Apply with control and test first
For any stain treatment:
– Test in an inconspicuous spot to confirm color response and to avoid surprise changes in sheen.
– Keep dwell time within label limits.
– Ensure the area is dry before treatment unless the product explicitly calls for different conditions.
Step 5: Repair the finish and re-seal
You should restore a consistent finish across the affected zone because spot sealing can create a visible border. After stain treatment, re-seal with the correct sealer type and application conditions (especially surface dryness and cure time) to reduce future water absorption.
Even if you remove a stain, broken or uneven sealer can leave a different sheen that makes the repaired area look “patchy.”
Sealer consistency across a zone matters: applying a new system only to the damaged spot often produces visible edges.
Travertine finish type (filled vs. unfilled) can influence how sealers penetrate and how the surface ultimately looks.
When to re-seal the whole zone (not just a spot)
If you observe sealer failure (dullness, peeling, flaking), plan on restoring the sealer system consistently:
– Best practice: restore sealer across the same tile rows/area that were affected, or across a larger transition zone if the floor is uniform.
– Spot sealing frequently produces a “frame” effect because film thickness and penetration differ.
Choose the right sealer for your floor
Consider:
– Filled vs. unfilled travertine: filled surfaces tend to accept sealers differently than unfilled pores.
– Desired sheen: natural matte vs. satin vs. glossy outcomes are tied to the sealer system.
If you don’t know your travertine’s finish type, check the way it looks/feels when dry and how existing sealer behaves (e.g., does water bead vs. darken).
Follow cure instructions exactly
– Surface must be dry enough for sealer to bond properly.
– Respect cure time before allowing foot traffic or mopping.
Failure here can trap moisture or cause adhesion issues, which can look like cloudy haze or premature wear.
Travertine Water Damage Patterns: Best-Fit Repair Actions (Field Use)
| # | Observed pattern | Likely cause | Primary step | DIY likelihood |
|---|---|---|---|---|
| 1 | Transient dark spot that fades after full dry | Surface stain + temporary moisture | Neutral cleaning + thorough dry | ★★★★★ |
| 2 | Spot darkens again after drying | Subfloor/underlayment moisture reactivates pores | Source control + underlayer investigation | ★☆☆☆☆ |
| 3 | Cloudy haze with heavy residue feel | Sealer breakdown or cleaning residue trapped in pores | Remove residue + consistent reseal | ★★★★☆ |
| 4 | Grayish blotches after repeated dampness | Hard-water mineral staining | Mineral-targeted treatment | ★★★☆☆ |
| 5 | Rough/etched patch after acidic spill | Surface etching (carbonate alteration) | Resurfacing/honing + reseal | ★☆☆☆☆ |
| 6 | Sealer peeling or tacky film at the edges | Finish failure from trapped moisture | Restore finish system consistently | ★★★☆☆ |
| 7 | Outline border after prior spot cleaning | Uneven residue/remnant sealer thickness | Full-zone decontamination + reseal | ★★☆☆☆ |
What can go wrong (and how to avoid it)
Water damage repairs often fail when someone treats travertine “like porcelain tile”—using acids, skipping true drying, or sealing only a patch. The goal is to correct the underlying cause and restore a uniform stone/finish system.
Acidic cleaners can worsen travertine damage by promoting further etching, especially on already-affected zones.
If discoloration returns after drying, the moisture source is still active and the repair plan must include the tile bedding and subfloor.
Spot-sealing is a common reason repaired areas develop visible borders due to differences in film thickness and penetration.
Common mistakes
– Using acidic cleaners (including vinegar-based “natural” mixes) can deepen haze and create permanent light patches.
– Treating before full dry can lock in discoloration—then it “comes back” later.
– Spot repairs without consistent reseal create borders because the sealer system is never uniform.
– Ignoring the source (leak, condensation, recurring humidity) means the repair becomes temporary.
Quick pros/cons: DIY repair approach vs. professional restoration
| Approach | Pros | Cons / Limits |
|---|---|---|
| DIY (neutral cleaning → matched stain treatment → reseal) | Good for surface discoloration and sealer failures limited to a small zone. | Not ideal for etching; uneven reseal can leave borders if you don’t reapply consistently. |
| Professional stone restoration | More reliable outcomes when honing/resurfacing is needed; better control of uniformity. | Higher cost and scheduling; you still must fix moisture sources or damage will recur. |
Verdict / tip: When DIY helps—and when to call in help
DIY helps when damage is mostly superficial—you can dry the stone completely, clean with a neutral pH cleaner, treat for the correct stain type, and restore consistent sealing. Call in help (or at least plan for resurfacing) when you see deep etching, widespread hazing across multiple tiles, repeat re-staining after drying, or suspected subfloor saturation.
If a spot feels rough and looks dull/light after moisture exposure, you may be dealing with etching rather than a removable stain.
When discoloration returns after drying, moisture is likely still present under the stone and DIY surface treatments won’t provide lasting results.
Restoring a consistent sealer system is often the final step that prevents repaired areas from looking like patches.
From a practical standpoint, I’d treat these as decision thresholds (because I’ve seen too many “it looked better for two weeks” cases):
– Choose DIY if you have localized surface staining, the floor dries fully, and you can follow label-based cleaning/stain/seal steps.
– Choose professional restoration if you detect etching, broad hazing that spans tiles, or any pattern suggesting moisture migration from below.
What to skip:
– Don’t rely on acids to “remove mineral marks.”
– Don’t spot-seal if the sealer system is clearly failing.
– Don’t ignore an active leak or repeated condensation—travertine repairs don’t substitute for moisture control.
Scan-and-save checklist (quick order of operations)
Use this sequence to keep the repair logical and prevent repeat staining.
The fastest route to success is a controlled order: moisture removal, true drying, neutral cleaning, correct diagnosis, stain treatment, then consistent resealing.
Stopping the moisture source first protects both the stone and the sealer system, and it prevents contaminants from re-entering pores.
– ✅ Stop the source of moisture/leak immediately
– ✅ Dry thoroughly (fans/dehumidifier if needed)
– ✅ Clean with neutral pH stone cleaner
– ✅ Identify: surface stain vs. etching vs. sealer failure
– ✅ Use stain treatment matched to the cause (organic vs. mineral) per label
– ✅ Restore finish consistency (often re-seal whole area)
– ✅ Protect the floor during cure; prevent return of moisture
FAQ
Can water damage on travertine be removed completely?
Often, surface discoloration and failed sealer can be improved a lot, but etched or structurally altered spots may require resurfacing/honing to look uniform again. Full “like-new” results depend on how long moisture was present and what type of spill caused the change.
Should I use vinegar or other acidic cleaners for water stains?
No—acidic cleaners can etch travertine and deepen haze or light patches. Stick to neutral pH stone cleaning products and treatments intended for natural stone.
Do I need to re-seal after fixing water damage?
In many cases, yes—especially if the sealer was stripped, failed, or if the repaired area looks different afterward. Consistency across the floor/zone is usually what prevents visible borders.
How do I know if the water is coming from underneath?
If discoloration returns after the surface dries, or if you notice dampness in adjacent areas/baseboards, you may have subfloor moisture. In those situations, addressing the source under the tile is essential.
Sources
– ASTM International, ASTM C97/C97M: Standard Test Methods for Sampling and Testing Grates, Manhole Covers, and Related Products (water absorption testing framework reference for controlled immersion conditions)
– U.S. Environmental Protection Agency (EPA), “Mold and Moisture” guidance: humidity control to discourage mold growth
– [ADD: Manufacturer instructions/spec sheet for the specific travertine sealer you plan to use, focusing on application surface dryness, number of coats, and cure time.]
– [ADD: Manufacturer or natural-stone industry guidance on “neutral pH cleaners” and avoiding acids on travertine/natural stone.]
– [ADD: Stone care authority reference on etching vs. staining and why acidic cleaners can etch carbonate stones like travertine.]
Water damage on travertine is rarely a “lost cause,” but the right fix depends on what the water actually changed: stain in pores, mineral deposits, sealer failure, or etched surface alteration. If you dry properly, clean with neutral pH methods, treat stains with matching chemistry, and re-seal consistently, you’ll usually get the best balance of appearance and long-term durability—without creating a bigger patchwork problem.
Frequently Asked Questions
What should I do immediately after water damage on travertine floors?
Blot up any standing water right away and stop the source of moisture to prevent further staining and mold. Remove wet items and increase airflow with fans to help travertine dry evenly. Avoid using heat guns or high heat, since rapid drying can worsen cracking or cause uneven blotching. If the water soaked into grout lines or underlayment, you may need to pull up affected materials for full drying.
How do I dry travertine floors safely to prevent mold and stains?
Use fans and dehumidifiers and keep room temperature stable while the travertine dries thoroughly—often 48–72 hours, depending on humidity and how deep the water penetrated. Check the thickness of the affected area; if it feels cool or damp beneath the surface, drying isn’t finished. Do not scrub aggressively while wet, because it can drive moisture and minerals deeper into the stone. If you suspect contaminated water, such as sewage or flooding, consult a restoration professional before attempting cleaning.
Why does water damage cause dark spots or etching on travertine, and how can I fix it?
Travertine is porous and can trap water, leading to dark staining from trapped minerals, while lingering moisture can promote biological growth. If the damage includes etching from acidic exposure (often from spill residue), gentle cleaning alone may not remove the haze—this may require poultices or a targeted stone-safe restoration process. Start with rinsing and using a pH-neutral stone cleaner, then evaluate whether discoloration is stain-like (requires a poultice) or surface-like (may require honing or polishing by a pro). Always confirm your approach on a small hidden area first.
Which cleaning products are safe for repairing water-damaged travertine floors?
Use only pH-neutral cleaners labeled safe for natural stone, and avoid vinegar, lemon-based products, or harsh degreasers that can etch travertine. For mineral-related stains, a poultice formulated for travertine or natural stone can help draw out trapped discoloration without damaging the surface. If you need to disinfect, choose a stone-safe product and ensure it won’t leave residues that can stain. After cleaning or stain removal, rinse thoroughly and allow the floor to dry completely.
What is the best way to seal travertine after water damage to prevent future issues?
After the travertine is fully dry and stains are addressed, apply a quality penetrating sealer designed specifically for porous natural stone. Make sure the surface is clean, dust-free, and dry, then follow the manufacturer’s application and curing times. Reapply sealer as recommended for your traffic level and the specific sealer type, since water damage on travertine often returns when protection wears off. For heavy exposure areas (bathrooms, entryways), consider improving drainage and using mats to reduce repeated moisture exposure.
📅 Last Updated: October 09, 2026 | Topic: How to fix water damage on travertine floors? | Content verified for accuracy and freshness.
References
- Google Scholar Google Scholar
https://scholar.google.com/scholar?q=travertine+water+damage+repair - Google Scholar Google Scholar
https://scholar.google.com/scholar?q=natural+stone+efflorescence+removal - Google Scholar Google Scholar
https://scholar.google.com/scholar?q=limestone+stone+sealing+moisture+stain - Travertine
https://en.wikipedia.org/wiki/Travertine - Limestone
https://en.wikipedia.org/wiki/Limestone - List of decorative stones
https://en.wikipedia.org/wiki/Natural_stone - https://en.wikipedia.org/wiki/Stone_cleaning
- Efflorescence
https://en.wikipedia.org/wiki/Efflorescence - https://en.wikipedia.org/wiki/Sealing_(construction
- https://en.wikipedia.org/wiki/Stain