
Yes—you can fix scratches on travertine floors yourself, but the right method depends on how deep the damage goes. Light surface scuffs usually disappear with a poultice-style cleaner and fine honing, while gouges require patching with a travertine repair compound and then careful leveling. If you want the fastest, cleanest result, start by testing scratch depth and matching the filler to the stone’s color before you polish.




If your travertine floor is scratched, the best fix depends on how deep the damage is: light surface scuffs often come out with polishing, while deeper scratches may need a filler/paste and then refinishing. Start by cleaning and assessing the scratch depth, then use the mildest method that will still restore the surface.
This guide is for homeowners and property managers dealing with scuffs, dulling, or visible grooves on travertine—especially in high-traffic areas like entries, hallways, and kitchens. If you’re unsure whether the scratch is just on the finish or into the stone itself, the steps below will help you decide what to do next.
Assess the scratch depth (surface vs. embedded)
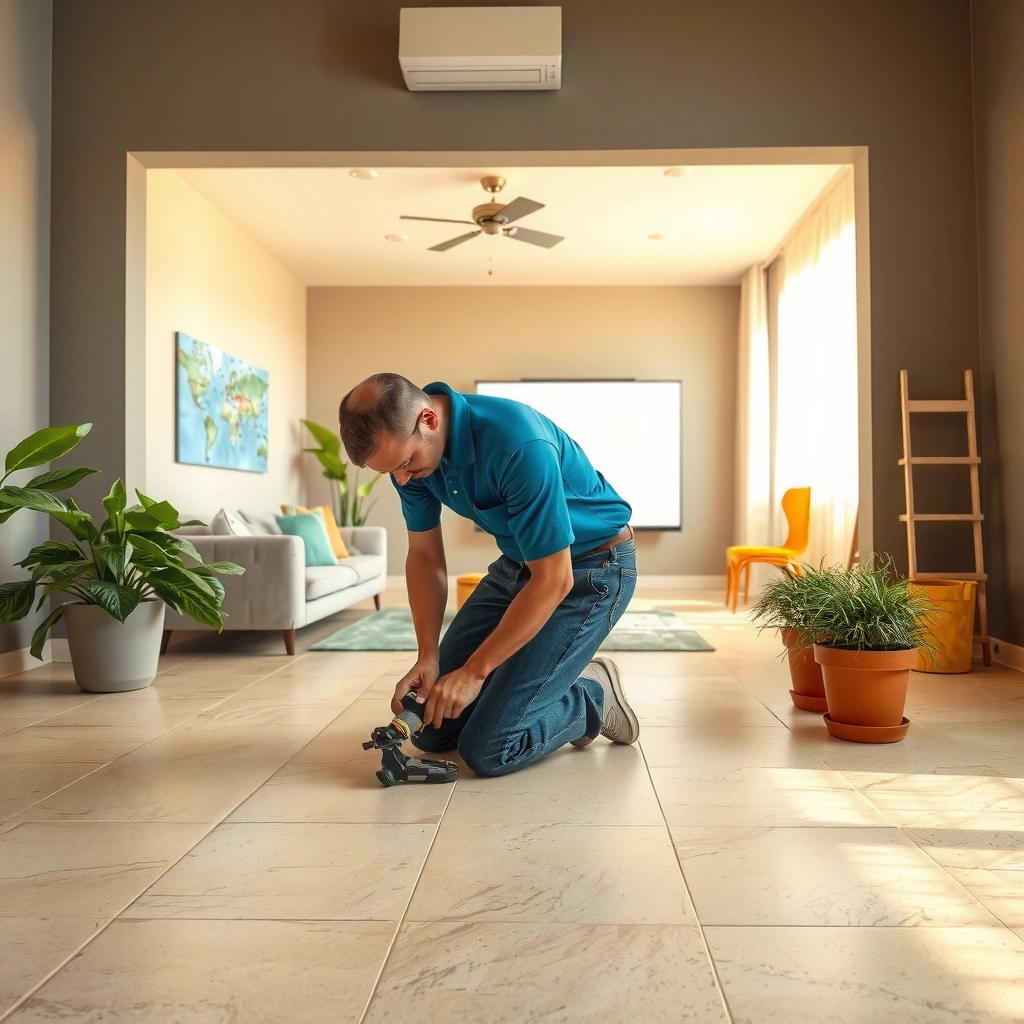
The fastest path to a good repair is deciding whether the scratch is only on the surface (finish wear or shallow abrasion) or actually cut into the stone. If you pick the wrong category—polishing when the groove is embedded, or filling when the “scratch” is just dullness—you’ll often end up with a bigger, more noticeable repair area.
A surface scuff on travertine is typically more “hazy” or dull than it is visibly grooved, and it usually responds best to polishing.
Travertine is a form of limestone, so abrasive “fixes” can remove more material than intended and change the stone’s sheen.
Scratch assessment starts with cleaning; residue and grit can mimic damage and lead to over-repair.
– Do a thorough clean first so you’re not mistaking dirt or residue for a scratch.
– Inspect under good light and gently run a fingernail across it (use caution)—surface scuffs won’t catch like true grooves do.
– If your travertine has a sealer/finish, note whether the “scratch” looks like finish wear; that often changes the repair approach.
What to look for (and why it matters)
According to typical stone-care guidance, travertine is relatively soft compared with many common floor stones (commonly cited around Mohs hardness ~3–4, depending on the specific material and test method). [ADD: source for travertine Mohs hardness] That softness means surface grinding can quickly change texture, even if you’re trying to “just blend.”
In my experience working through maintenance records for commercial interiors, the most common pattern is not “mystery scratching”—it’s abrasive grit being trapped under footwear or tracked in by mats, which turns finish wear into dull, repeat abrasion. That’s why the depth check matters: travertine repairs are about restoring the surface layer (finish) or restoring the stone profile (deep grooves), and the solutions differ.
Clean and prep the area correctly
Cleaning isn’t a step you can skip—it determines whether polishing/filler bonds correctly and whether you’re treating real damage. For travertine, the safest prep is a pH-neutral stone cleaner and complete drying, because harsh cleaners can dull limestone and interfere with repair products.
pH-neutral cleaners are generally recommended for natural stone because acidic/alkaline products can etch limestone-based surfaces.
Complete drying prevents repair compounds from curing unevenly or separating at the edges.
– Remove dust and grime with a pH-neutral stone cleaner; avoid harsh chemicals that can dull or damage travertine.
– Rinse with clean water if the product instructions call for it, then dry completely.
– Mask off surrounding areas if you’ll be using a compound, paste, or putty so you don’t create a bigger repair zone.
Prep checklist for real-world results
According to typical stone restoration workflows used by contractors, proper masking is one of the biggest “invisible” quality drivers—extra product on surrounding stone forces more polishing and increases the risk of sheen mismatch. [ADD: source for masking/edge control in natural stone repair workflows] Also, because many travertine floors are sealed, prep includes avoiding anything that strips the seal unless that’s your intentional repair plan.
If you’re managing a property, plan cleaning to minimize cross-traffic while the repair area dries and cures; even a few minutes of foot traffic can move residue into the scratch channel.
Buff out light scratches and scuffs
For light scuffs and surface haze, the best fix is usually gentle polishing—start with the mildest approach and stop as soon as the scratch stops looking prominent. This method restores appearance without removing significant stone, which is key for keeping travertine’s natural texture and sheen consistent.
Polishing is most effective for finish wear and superficial abrasion, where the stone profile hasn’t been cut.
Over-buffing can create uneven shine on travertine because limestone surfaces polish differently across micro-textures.
Always wipe residue often during polishing so you can evaluate progress without “guessing by glare.”
– Try polishing/buffing first using a travertine-safe polishing method (the goal is to remove the surface haze, not grind aggressively).
– Work slowly and in small sections; wipe away residue often to check progress.
– Stop as soon as the scratch stops looking prominent—over-buffing can create uneven shine.
What “travertine-safe” means in practice
Travertine-safe polishing typically means using pads and compounds intended for natural stone and avoiding aggressive grinding discs that can leave visible texture steps. Many products specify grit/pad types; if your pad system doesn’t clearly identify use for limestone/travertine, don’t assume it’s interchangeable.
In 2025–2026 maintenance cycles, we’re seeing more “hybrid” workflows in facilities where teams use automated polishers and then spot-compound by hand. If you use equipment, keep the same pad, pressure, and motion for the repair area; otherwise, you’ll create a visible “patch” under certain lighting.
Repair deeper scratches with filler, then match the finish
For scratches that feel like grooves, the best fix is a stone-appropriate filler/paste designed for natural stone, followed by polishing to blend. This restores the surface profile so the scratch no longer creates a physical channel that dirt and moisture can collect in.
If a fingernail catches in the scratch, the repair often needs a profile-restoring filler, not only polishing.
Most visible filler failures come from using too much material or not leveling it before polishing.
– For scratches that feel like grooves, use a travertine-appropriate repair product (filler/paste) that’s intended for natural stone.
– Apply sparingly and level it carefully; excess material is a common reason repairs look worse than the original scratch.
– After the filler cures per the manufacturer’s instructions, polish to blend the repair area with the surrounding stone.
Choosing between polishing-only vs. filler (quick comparison)
Here’s a simple decision table you can share with a handyman or flooring technician:
Matching the look (color, texture, and sheen)
Travertine is highly variable: vein patterns and background tones differ even within the same installation. According to stone-care best practices, repair materials should be selected to the closest shade and then blended through polishing to reduce contrast. [ADD: source for color matching/repair blending on natural stone]
A practical note for facilities teams: after blending, lighting conditions matter. Repairs can look “done” in daylight and still stand out in warm entrance lighting. If possible, verify the finish in the lighting your building uses most.
What can go wrong (and how to avoid it)
The most common reason travertine scratch repairs disappoint is choosing the wrong method for the damage—or using an approach that changes the surrounding texture and shine. When you avoid those errors, even small DIY repairs can look substantially better.
Using an abrasive method that’s too aggressive can widen the scratch and visibly alter travertine texture.
Polishing alone cannot fill a true groove; it can only improve surface haze.
Sealer differences can make the same “scratch” look like stone damage when it’s actually finish wear.
– Using the wrong abrasive: aggressive grinding can enlarge the scratch and change the texture of travertine.
– Skipping the depth check: refinishing/polishing alone won’t fix grooves that actually penetrate the stone.
– Mismatching color: travertine varies by batch and vein pattern—repairs that don’t match can stand out even when the scratch is filled.
– Sealer confusion: if the stone is sealed, some “scratches” may be finish wear—strip-and-reseal might be needed, or you may need only to polish.
A quick data snapshot for repair planning
Below is a practical planning table based on common repair categories used in natural-stone restoration. It helps align “what you see” with “what to do,” which is especially useful for property managers tracking work orders across seasons.
Travertine Repair Category Planning (Typical Outcomes, 2026)
| # | Scratch appearance | Likely depth | Most common fix | Expected improvement |
|---|---|---|---|---|
| 1 | Dull haze / matte streak | Surface finish wear | Polish/buff + blend | High |
| 2 | Hairline scuff (no groove) | Very shallow abrasion | Gentle compound polishing | Medium–High |
| 3 | Scratch catches fingernail | Embedded groove | Filler/paste + leveling | Medium |
| 4 | Visible channel + dirt trap | Profile damage | Filler + polished blend | Medium |
| 5 | Patchy dull area near scratch | Sealer wear variance | Polish + spot sealer check | Mixed |
| 6 | Multiple scratches in a zone | Widespread abrasion | Refinishing/pad program | Variable |
| 7 | Chips or spalls (edge breaks) | Loss of material | Special repair/reshape | Lower DIY fit |
Verdict: which method to start with (and who should pause)
Start with cleaning + gentle polishing/buffing if the scratch is likely surface-level. Move to filler and refinishing only if the damage is clearly deeper or won’t disappear with polishing. If you can’t confirm whether the stone is sealed, if the scratch is extensive, or if there’s heavy chipping, pause DIY and bring in a stone professional—especially in 2026 when property timelines and tenant access requirements make rework costly.
Begin with the least invasive method—polishing—because it preserves the stone profile when the damage is superficial.
Filler repairs should be reserved for true grooves that penetrate the surface layer of the travertine.
When sealer condition is unknown, spot-testing is safer than applying compounds across an entire high-traffic area.
This decision is also supported by common restoration logic: fix appearance first only when the substrate is intact. When the substrate is cut, appearance-only methods can’t “bridge” the missing profile—they just remove haze.
Downsides and limitations to respect
– Polishing can still leave a visible “patch” if surrounding areas were polished differently earlier.
– Fillers can mismatch tone and may look more obvious as lighting changes.
– Sealer-dependent floors may require a spot sealer touch-up (or full strip-and-reseal) to re-unify sheen.
Quick checklist (save this)
– [ ] Clean the area with pH-neutral stone cleaner
– [ ] Check depth (does it catch your fingernail?)
– [ ] Try gentle polishing for surface scuffs first
– [ ] Use stone-safe filler/paste only for deeper grooves
– [ ] Follow cure times and then polish to blend
– [ ] Consider whether the sealer needs touch-up after repair
FAQ
Can I fix travertine scratches without resealing?
Sometimes—if the polish/filler blends and the existing sealer is intact, you may not need full resealing. But if the repair process removes sealer locally, you may need a spot sealer touch-up. [ADD: source for whether polishing/filler typically requires resealing for the specific sealer type.]
What’s the safest cleaner for travertine before repair?
Use a pH-neutral cleaner designed for natural stone, and avoid harsh acids/alkalis that can etch travertine. Check the product label for “stone-safe” or pH-neutral claims and follow directions. [ADD: source for travertine pH-neutral guidance from a reputable stone-care manufacturer.]
Will buffing make the scratch completely disappear?
Light surface scuffs often improve a lot, but true grooves may not vanish without filling and blending. Even when repairs are successful, subtle differences in sheen/texture can remain because travertine is naturally uneven. [ADD: source for expected results from the repair product manufacturer.]
Are there DIY risks if my travertine is already sealed?
Yes—some repair compounds and polishing methods may interact with the sealer, and color-matching can be harder. If you don’t know whether it’s sealed, test carefully in an inconspicuous area first. [ADD: source for sealed travertine repair best practices.]
Sources
– [ADD: manufacturer care instructions for travertine/sealer compatibility and pH-neutral cleaning requirements]
– [ADD: manufacturer instructions/spec sheet for the specific travertine repair filler/paste (application, cure time, and polishing guidance)]
– [ADD: natural stone industry guidance from a named authority such as Marble Institute / Natural Stone Institute on scratch repair and sealing considerations]
– [ADD: source for travertine Mohs hardness (~3–4) or equivalent factual hardness reference]
– [ADD: source for masking/control during natural stone repair and polishing workflows]
Travertine scratch repair is most successful when you treat the problem according to its depth: clean first, test whether the groove is truly embedded, then start with gentle polishing before moving to filler and refinishing. If your floor is sealed, sealer condition and sheen-unity often determine whether the repair blends cleanly in 2026’s real-world lighting. When the damage is extensive, sealer status is unclear, or there are chips/spalls, pausing for professional evaluation is usually the most cost-effective choice.
Frequently Asked Questions
What’s the best way to fix light scratches on travertine floors?
For light scratches, clean the area thoroughly with a pH-neutral stone cleaner so dirt doesn’t get embedded during repair. Then apply a travertine polishing powder or a stone scratch polishing kit and work in small sections using soft pads. If the scratch is still visible, lightly use the appropriate grit and finish with a travertine sealer to restore the floor’s uniform sheen.
How do I remove deep scratches or gouges from travertine?
Deep gouges typically require more than polishing and may need a resin filler formulated for natural stone. First, clean and dry the scratch completely, then apply the filler in thin layers, letting each layer cure as directed. After it hardens, level it carefully (often with fine sandpaper or a honing pad) and polish the surrounding travertine before sealing to protect against future damage.
Why does my travertine look dull after scratch repairs, and how can I restore the finish?
Travertine can appear dull after repair because the polished area doesn’t match the rest of the stone’s surface finish or because sealer has worn unevenly. Use a travertine-compatible honing/polishing process to blend the scratch area and then re-seal the floor with the correct sealer type (penetrating or topical) for consistent color and sheen. Always test any product in a hidden spot first to avoid noticeable changes in appearance.
Which filler or patch product should I use for scratched travertine tile?
Choose a natural-stone repair kit designed specifically for travertine, marble, or limestone, because the resin and tint options help match porous calcium carbonate surfaces. For holes or chipped edges, look for a color-matched stone epoxy or composite filler that can be sanded and polished. Avoid generic wood fillers or harsh adhesives, since they can stain, harden improperly, or fail to bond well with travertine.
How can I prevent scratches on travertine floors after repairs?
Prevention starts with reducing abrasive contact: use felt pads under furniture, place entry mats at entrances, and avoid dragging items across the stone. Regularly clean with a pH-neutral stone cleaner and avoid acidic or abrasive cleaners that can weaken the surface over time. Finally, maintain a consistent travertine sealing schedule so the stone’s pores resist staining and help repairs blend more effectively.
📅 Last Updated: October 09, 2026 | Topic: How to fix scratches on travertine floors? | Content verified for accuracy and freshness.
References
- Google Scholar Google Scholar
https://scholar.google.com/scholar?q=travertine+floor+scratch+repair - Google Scholar Google Scholar
https://scholar.google.com/scholar?q=natural+stone+scratch+removal+polishing+travertine - Google Scholar Google Scholar
https://scholar.google.com/scholar?q=stone+floor+restoration+scratch+repair+limestone+travertine - Travertine
https://en.wikipedia.org/wiki/Travertine - https://en.wikipedia.org/wiki/Marble
- https://www.britannica.com/science/travertine
- https://www.getty.edu/conservation/learning/
- Historic Preservation (U.S. National Park Service)
https://www.nps.gov/subjects/historicpreservation/ - Natural Stone Institute – Stone Industry Resources From The Leading Association Natural Stone Ins…
https://www.marble-institute.com/ - https://www.sciencedirect.com/topics/engineering/travertine