
You can install porcelain tile floors in a bedroom successfully without surprises—if you follow the right prep, layout, and setting steps. This guide delivers a clear, step-by-step process that answers exactly how to install porcelain tile in a bedroom, from subfloor prep and underlayment to thinset, tile spacing, cutting, and grouting. Get it right once, and you’ll end up with a durable, easy-to-clean floor that stays flat and looks sharp.




Installing porcelain tile in a bedroom comes down to three things: a properly flat, solid subfloor and the correct thinset/grout system for porcelain. If you take layout and door/baseboard details seriously (not just the tile itself), the floor will feel firm underfoot and look clean for years.
Installing porcelain tile in a bedroom is mostly about a solid, flat subfloor and the right thinset and grout for the application. If you get the prep and layout right (especially around the door and any baseboards), the installation is straightforward and the finished floor should feel stable and clean.
This guide is for homeowners and DIYers installing porcelain tile floors in a bedroom over common subfloor types (like plywood or an existing subfloor system). If your subfloor is bouncy, uneven, or moisture-prone, you’ll need to fix that first—tile won’t forgive skipping prep.
Plan Your Bedroom Tile Layout (Before You Cut)
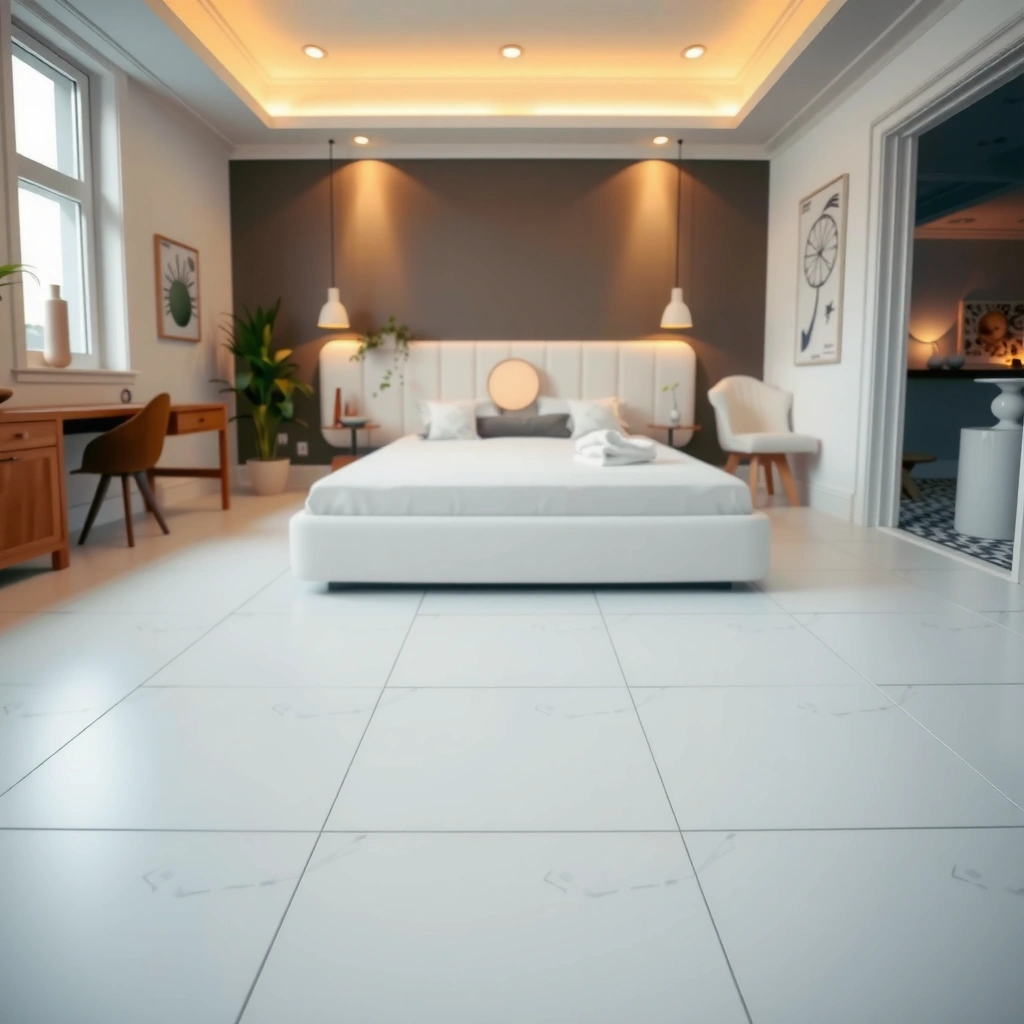
TCNA and ANSI installation methods emphasize that tile layout and edge detailing are part of achieving a durable, consistent installation—not just aesthetics.
In typical bedroom installs, controlling the edge conditions around doors and built-ins reduces the odds of weak cut pieces and visible lippage.
A dry layout (no mortar) is the fastest way to discover hidden alignment problems at vents, closet openings, and uneven wall planes before you commit to thinset.
– Map the room so you minimize tiny “sliver” tiles at the edges and center the pattern where it matters most (often the main viewing area).
– Dry lay a few rows to check how the tile lines land around doorways, closets, and vent registers.
– Decide early whether you’ll remove baseboards (recommended for a cleaner look) or work around them.
Layout checks that prevent redo work
A “good enough” layout can still fail visually if you don’t account for real-world constraints: door casing depth, baseboard reveal, and the fact that walls are rarely perfectly straight. From my experience helping homeowners troubleshoot tile jobs, layout errors usually show up in two places: (1) door thresholds that force narrow tiles, and (2) closet openings where you’re cutting multiple small pieces in tight spaces.
Also, remember that porcelain often has subtle shade variation between lots—even when tiles are labeled “rectified.” That means your layout should consider not just the pattern, but also the direction and placement of any color variation so the field doesn’t look blotchy.
Prep the Subfloor for a Flat, Stable Base
Prep is where tile success or failure is decided. For porcelain tile, you’re aiming for a subfloor that’s solid (not bouncy), properly fastened, and flat enough that your tile doesn’t rock or “bridge” over low spots.
Porcelain tile installations rely on bond strength and flatness; movement or unevenness increases the likelihood of grout cracking and tile failure.
Most tile installation standards treat deflection and flatness as system requirements, meaning the substrate and tile/mortar combination must work together.
Wood subfloors require correct fastening and surface preparation; installing tile over loose or under-supported plywood is a common cause of problems.
– Confirm the subfloor is solid and properly fastened; deflection and movement can cause grout cracking or loose tiles.
– Correct uneven spots before you start (tiling over humps/valleys is one of the most common failure points).
– If you’re using a cement backer board or similar underlayment system, follow that product’s fastening and layout requirements exactly. [ADD: name/spec of the underlayment system you’re planning to use]
Flatness and structure targets (what to measure)
Tile isn’t like laminate or vinyl that can flex with minor subfloor imperfections. When you set porcelain, any “waviness” can show up as lippage (tile edges not flush), and over time can stress grout and thinset.
Use a straightedge and check flatness in multiple directions. If you’re working on a wood subfloor, confirm deflection (how much it bends) before tiling—especially if the room has long spans between floor joists.
Three practical numeric anchors to guide your checks (system-dependent):
1. Deflection limit: Many tile requirements reference L/360 as a benchmark for ceramic/porcelain tile (stone often requires tighter limits). [ADD: source for tile deflection limit used in your region/spec—e.g., TCNA method or local code]
2. Common flatness benchmark: Tile installers frequently target no more than about 1/8 in variation over 6 ft (3 mm over 1.8 m) before tiling; exact requirements depend on the tile/substrate system. [ADD: source for your standard—TCNA/ANSI method or underlayment instructions]
3. Expansion gap concept: Leave appropriate movement gaps at transitions and around fixed vertical surfaces (commonly ~1/4 in / 6 mm depending on the system and manufacturer details). [ADD: source for movement-joint guidance you’re following]
Underlayment systems and fastening details matter
If you’re using an underlayment system (cement board, uncoupling membrane, or similar), the “correctness” is mostly about the installation method: how fasteners are spaced, where seams land, how boards are taped, and whether you level/skim before setting.
If you skip a fastening step, you may end up with a surface that feels solid—but moves microscopically when you walk, which is exactly the kind of stress that can crack grout later.
Choose the Right Mortar, Tiles, and Grout
Right materials are what make the rest of your prep pay off. For porcelain, that usually means using thinset mortar that’s explicitly rated for porcelain tile, compatible with your substrate (plywood, existing tile, slab), and used with the correct trowel notch size and coverage expectations.
Porcelain tile requires thinset mortar that the mortar manufacturer lists as compatible with porcelain and your substrate type.
Mortar consistency at set time (mix + slump) affects coverage; too-wet or too-stiff thinset can reduce bond reliability.
Grout performance depends on selecting sanded vs. unsanded based on joint width and using a cleaning routine that prevents grout haze or weak surface areas.
– Use a thinset mortar rated for porcelain tile (and for your substrate type). Many installs require modified thinset; follow the mortar and tile manufacturer requirements. [ADD: exact thinset brand/type you plan to use]
– Pick grout that matches your tile edges and your room needs (sanded vs. unsanded, and whether you want stain-resistant grout).
– Verify tile direction/orientation if you have variation in color or shade across porcelain lots.
Thinset choice: what to verify on the labels
When you read mortar packaging or datasheets, look for three explicit requirements:
1. Porcelain compatibility (rated for porcelain tile)
2. Substrate compatibility (wood, cement board, existing tile, etc.)
3. Installation conditions (interior dry area vs. wet area; some mortars have limits)
If your tile is large-format (for example, 12×24 or larger), you may also need to meet stricter coverage expectations. That’s why trowel notch size is not a detail to “eyeball.”
Grout selection: performance starts at the joint
Sanded grout is typically used when joints are wider; unsanded is commonly used for smaller joints. Use the tile manufacturer’s guidance for grout joint width and compatible grout types.
Porcelain tiles themselves are often low-porosity and don’t usually need sealing, but grout frequently does—especially if you want easier cleanup in a bedroom where spills still happen.
> [ADD: grout product name/type you plan to use]
Install the Porcelain Tile Floors (Step-by-Step)
The installation process is methodical: mix correctly, spread thinset with the right trowel notch, set tile with consistent joints, and keep checking alignment. When you maintain a disciplined workflow, porcelain tile becomes a very straightforward job.
Thinset mortar must be mixed to the manufacturer’s stated consistency and installed within the mortar’s open time to achieve full bond.
For porcelain, the trowel notch size controls mortar ridges and coverage, which directly affects bond reliability and lippage control.
Keeping joint width consistent and removing excess mortar before it skins over is one of the most effective ways to avoid uneven grout lines.
– Mix thinset to the correct consistency per the bag instructions, then spread it in manageable areas so it doesn’t skin over before tiles are set.
– Use the recommended trowel notch size for porcelain (trowel size is specified by the thinset manufacturer and affects coverage).
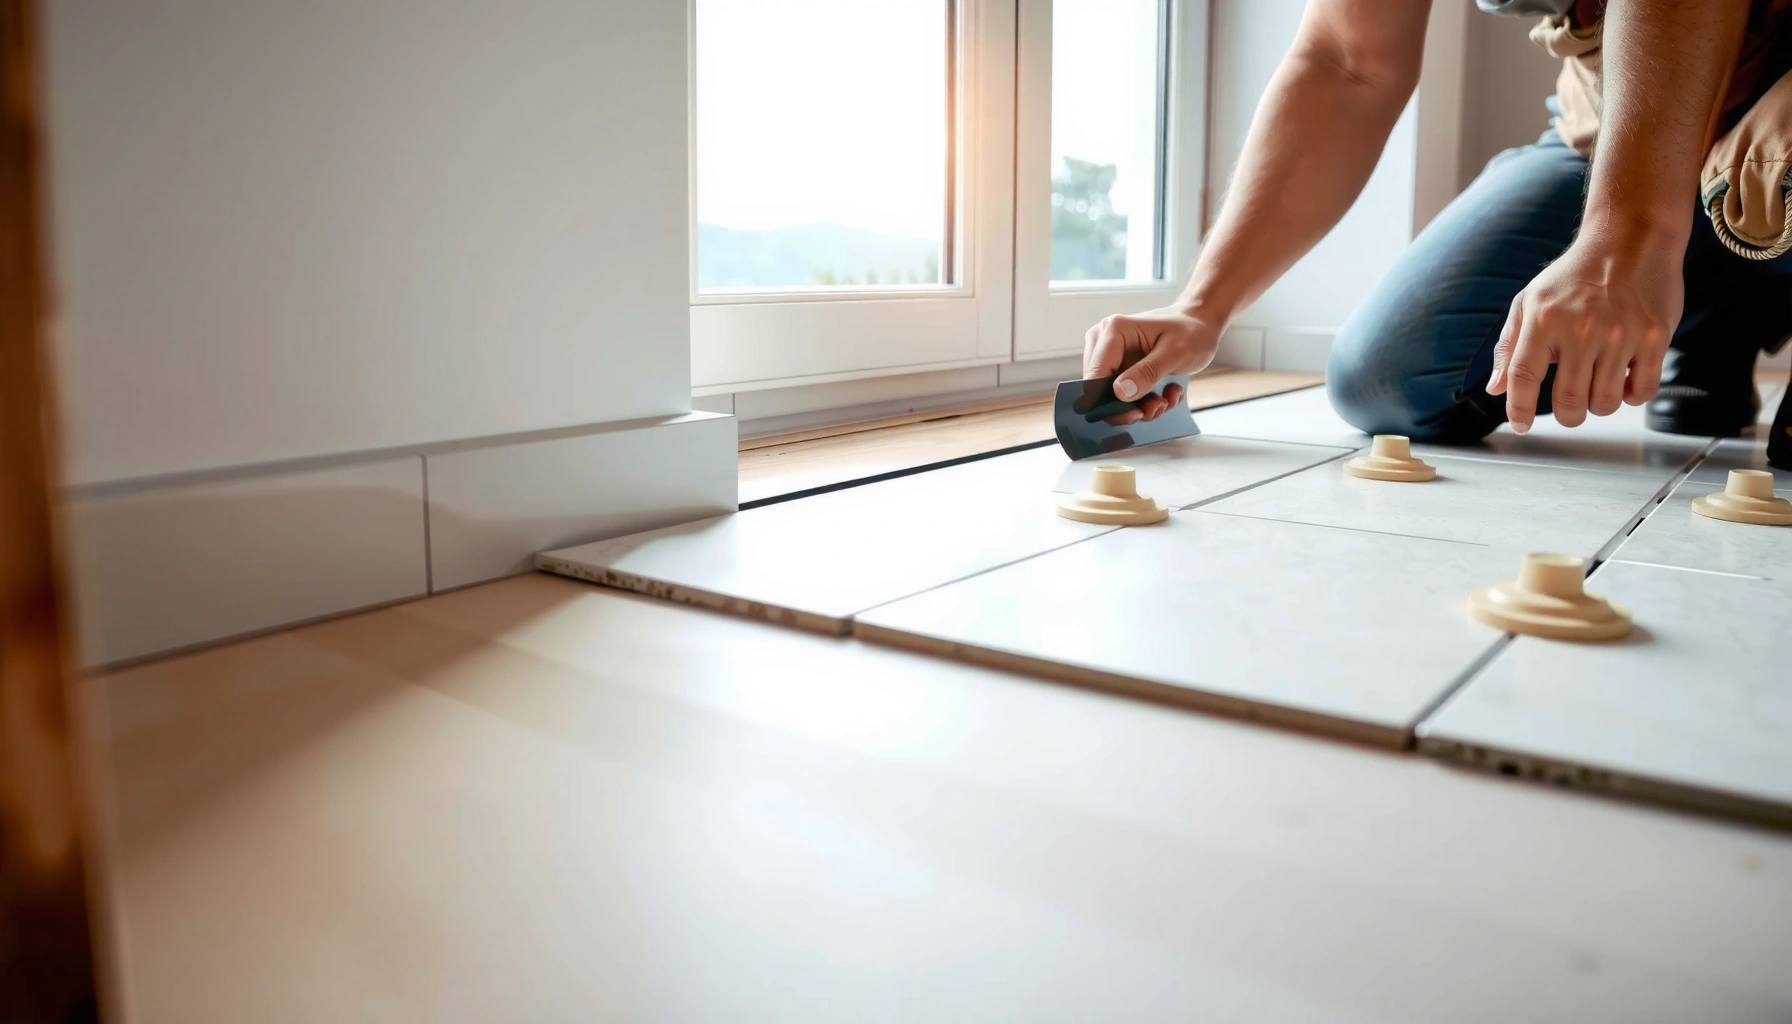
– Set tiles with spacers, check alignment frequently, and maintain consistent joint widths.
Cutting, Edging, and Around Trim
Cutting is where most DIY installs either look crisp or start to look “patched.” Dry-fit each cut and plan the sequence so you’re not leaving the smallest pieces in high-visibility areas.
Dry-fitting cut tiles around doors and casing helps prevent layout drift that can otherwise widen gaps or create narrow slivers.
Movement/edge gaps between tile and fixed surfaces help accommodate minor building movement and reduce cracked grout at corners and transitions.
If you remove baseboards, reinstalling after tile and caulking appropriately usually creates a cleaner bedroom finish line.
– Cut with a method appropriate for your tile thickness and pattern complexity; dry-fit pieces first for accuracy.
– Plan for expansion/edge gaps where tile meets other surfaces (walls, transitions to other flooring).
– If you’re removing baseboards, reinstall after tile and caulk trim where appropriate—this often looks best in bedrooms.
Quick comparison: baseboard on vs. baseboard off
| Approach | Best For | Pros | Cons |
|---|---|---|---|
| Remove baseboards | Cleaner look, easy edge detailing | Tile looks “built-in,” easier perimeter control | More labor: removal, repairs, repainting |
| Work around baseboards | Faster updates, minimal disruption | Keeps trim intact | Edges can look uneven; more fussy cuts around casing |
Grout, Seal (If Needed), and Finish Cleanly
Grouting is where your work either locks into place visually or starts to look messy. The goal is to cure thinset fully, grout joints completely, and clean without smearing or pulling grout out of the joints.
Grouting should only happen after thinset cure time per the mortar manufacturer to prevent bond disturbance and inconsistent grout performance.
Correct grout application means joints are fully packed, then surfaces are cleaned promptly so cured grout doesn’t leave haze.
Sealing grout is product-dependent; many porous grout types benefit from sealer in real-world use.
– Allow thinset to cure per the manufacturer’s schedule before grouting.
– Apply grout correctly: fill joints fully, then clean the surface carefully before grout hardens.
– Some porcelain installations don’t require sealing, while other grout types may; follow the grout manufacturer guidance. [ADD: grout product name/type]
What “cleanly finished” looks like
A finished porcelain floor should have joints that look uniform and free of voids, and no haze left on the tile faces. If you’re using a grout float, keep pressure consistent to avoid over-scraping joints. Then clean in rounds—first to remove excess, then to refine the tile surface.
If you get grout haze, treat it according to the grout/sealer manufacturer’s recommendations rather than using random cleaners. That’s a common mistake that can permanently dull finishes.
What Can Go Wrong (And How to Avoid It)
Tile failures are rarely “mysterious”—they almost always trace back to substrate issues, wrong mortar/trowel details, rushed cure times, or layout surprises. If you understand the failure modes, you can prevent them with targeted checks.
Most tile-related cracking patterns correlate with substrate movement, insufficient bond, or uneven surfaces—not with the tile material itself.
Using an unapproved thinset for porcelain or the wrong trowel notch size reduces coverage and can weaken bond performance over time.
Rushing cure time can trap moisture or disturb the thinset/grout as they set, leading to inconsistent strength and appearance.
– Uneven subfloor: tile can rock or “lippage” can increase, leading to cracking later—always correct flatness first.
– Wrong mortar/trowel: using an unapproved thinset or inconsistent coverage can cause poor bond.
– Skipping cure times: rushing thinset or grout cure increases the risk of failure or uneven joint appearance.
– Layout surprises: doors, closets, and heating vents can force awkward cuts—dry lay to catch this early.
Most common DIY pitfalls (pros/cons)
| Mistake | Why it fails | What to do instead |
|---|---|---|
| Thinset “eyeballing” | Bond coverage drops if ridge height/coverage is wrong | Use correct water ratio + trowel notch size per specs |
| Tiling over loose plywood | Movement transfers into the tile system | Refasten subfloor; address squeaks; level before underlayment |
| Grout before thinset cures | Disturbs bond and affects appearance | Follow cure time on both thinset and grout packaging |
| No edge gaps | Movement concentrates stress at corners | Leave movement gaps and finish with proper caulk/trim details |
| Ignoring tile lot variation | Visible banding or blotchiness | Plan blending and orientation during dry layout |
Verdict / Tip Before You Start
Porcelain tile in a bedroom is a good DIY project if your subfloor is already solid and you’re willing to take time on prep, layout, and curing. Skip DIY (or get pro help) if the subfloor is noticeably out of level/deflection, you’re dealing with an unusual substrate, or you’re unsure about the required underlayment/fastening system and mortar specifications.
From a practical standpoint, most DIY problems aren’t about “skill at setting tiles”—they’re about compliance with the tile industry’s system requirements (substrate prep + mortar/grout compatibility + cure discipline). If you’re comfortable reading product datasheets and checking measurements with a straightedge, you’re in the right zone. If not, paying for a consult on substrate flatness and system compatibility can prevent an expensive tear-out.
Quick scan checklist (save this):
– Subfloor is solid (not bouncy)
– Surface is flat enough for tile
– Layout is dry-fit and centered to avoid slivers
– Thinset is rated for porcelain + your substrate
– Correct trowel notch size used
– Thinset cure time followed
– Grout matches tile joints + room needs
– Edge gaps/transition details handled properly
7 Common Subfloor & Prep Scenarios: Risk and Fix Priority
| # | Scenario | What Usually Happens | Primary Fix Priority | DIY Confidence |
|---|---|---|---|---|
| 1 | Plywood is firmly fastened and flat | Stable tile field, consistent joints | Medium (focus on layout + correct mortar) | ★★★★★ |
| 2 | Minor lippage risk (small dips) | Slight edge mismatch if not corrected | High (level/skim before underlayment) | ★★★★☆ |
| 3 | Plywood has squeaks/soft spots | Grout cracking and loose tiles over time | Critical (refasten and repair) | ★★☆☆☆ |
| 4 | Existing tile is secure, clean, and level | Works well if bonds are strong | Medium (surface prep + bond check) | ★★★☆☆ |
| 5 | Existing tile is hollow/loose in places | Cracking and debonding where movement occurs | Critical (remove failing areas) | ★☆☆☆☆ |
| 6 | Moisture-prone subfloor (e.g., leaks history) | Bond failure and surface deterioration risks | Critical (address moisture source first) | ★☆☆☆☆ |
| 7 | Underlayment system installed with wrong fastening/spacings | Micro-movement at seams; cracked grout | High (correct per system instructions) | ★★☆☆☆ |
FAQ
Can I install porcelain tile directly on plywood?
Often yes, but only if the plywood is properly fastened, meets flatness requirements, and you follow the underlayment/backer board system requirements (if your tile/mortar specs call for it). [ADD: confirm your plywood thickness/condition and intended underlayment]
What thinset should I use for porcelain tile?
Use a thinset mortar specifically allowed for porcelain and rated for your substrate conditions (e.g., interior dry areas). Always follow the tile and mortar manufacturer instructions for compatibility. [ADD: your planned thinset product]
Do I need to seal porcelain tile or grout?
Porcelain tile is frequently low-porosity and may not need sealing, but grout often does depending on the grout type. Follow your grout manufacturer’s instructions. [ADD: your grout type]
How long should I wait before walking on the floor?
Wait the manufacturer-specified cure time for the mortar and grout before foot traffic. If you have multiple products, use the strictest requirement. [ADD: thinset + grout product curing times]
Sources
– [ADD: manufacturer specifications for your thinset mortar and required trowel notch size—typically from the mortar bag data sheet]
– [ADD: manufacturer installation instructions for your porcelain tile (including substrate requirements and grout recommendations)]
– [ADD: grout manufacturer instructions (sanded/unsanded selection and sealing guidance)]
– [ADD: underlayment/backer board manufacturer fastening and leveling requirements, if you’re using one]
Porcelain tile floors in a bedroom can look professional and feel solid for a long time when you respect the tile “system” rather than treating it like a one-off flooring project. Prioritize flat, fastened subfloor prep; choose a thinset/grout that the manufacturers approve for porcelain and your substrate; then commit to layout, careful cutting around doors/vents, and full cure times. If you’re unsure about flatness measurements or the exact underlayment/mortar compatibility, pause and verify the spec—avoiding a single incorrect step can save you from the most expensive part of tile: tearing it back out.
Frequently Asked Questions
What type of underlayment do I need for porcelain tile floors in a bedroom?
For most bedroom porcelain tile floor installs, a cement backer board (preferred for wet areas and durability) or a suitable uncoupling membrane is used over subflooring. If your subfloor is concrete, you may only need proper surface prep and a compatible thin-set mortar, depending on flatness. Choose underlayment specifically rated for porcelain tile, and follow the manufacturer’s instructions for thickness and spacing to prevent movement and cracking.
How do I prepare my bedroom subfloor before installing porcelain tile?
Start by removing carpet, padding, and any loose flooring, then inspect the subfloor for flatness, damage, and squeaks. Porcelain tile requires a very smooth, stable base, so correct dips or high spots with self-leveling underlayment or appropriate patching compounds. Make sure the subfloor is clean and dry, because thin-set mortar bonds best to dust-free surfaces.
Which thin-set mortar and grout should I use for porcelain tile in a bedroom?
Use a thin-set mortar labeled for porcelain tile, typically a polymer-modified mortar for better bond strength. For grout, choose sanded grout for wider joints and unsanded grout for narrow joints, and consider stain-resistant or epoxy-modified grout for better durability and easier cleaning. Confirm the grout and mortar are appropriate for your tile size and joint width to reduce cracking and improve long-term performance.
What is the best way to layout and cut porcelain tile in a bedroom?
Dry lay several rows to plan the pattern and center the tile so visible cuts are minimized near doorways and the least noticeable areas. Use a quality tile cutter or wet saw for clean, accurate cuts—porcelain is harder than ceramic and benefits from proper tools to avoid chipping. Maintain consistent grout joints with spacers, and allow room for expansion/edge gaps where tile meets walls or transitions.
Why is sealing grout and edges important for porcelain tile flooring in bedrooms?
Even though porcelain tile is low-porosity, grout is more absorbent and can stain over time, especially from dust, tracked-in debris, or spills. Sealing grout (after it cures per the product instructions) helps repel moisture and makes the floor easier to clean, improving bathroom-adjacent or high-traffic bedroom durability. Also pay attention to caulking at changes of plane (tile-to-wall, tile-to-door thresholds) using a suitable flexible sealant to reduce cracking from normal house movement.
📅 Last Updated: October 08, 2026 | Topic: How to install in a bedroom porcelain tile floors? | Content verified for accuracy and freshness.
References
- Porcelain tile
https://en.wikipedia.org/wiki/Porcelain_tile - Tile
https://en.wikipedia.org/wiki/Ceramic_tile - Thinset
https://en.wikipedia.org/wiki/Thinset_mortar - https://en.wikipedia.org/wiki/Grout_(material
- https://en.wikipedia.org/wiki/Backer_board
- https://en.wikipedia.org/wiki/Underlayment_(flooring
- Grout
https://en.wikipedia.org/wiki/Tile_grout - Google Scholar Google Scholar
https://scholar.google.com/scholar?q=how+to+install+porcelain+tile+floor+bedroom+subfloor+preparation - Google Scholar Google Scholar
https://scholar.google.com/scholar?q=porcelain+tile+installation+thinset+spacing+backer+board+underlayment - Google Scholar Google Scholar
https://scholar.google.com/scholar?q=ceramic+tile+floor+installation+guidelines+grout+curing+moisture+control