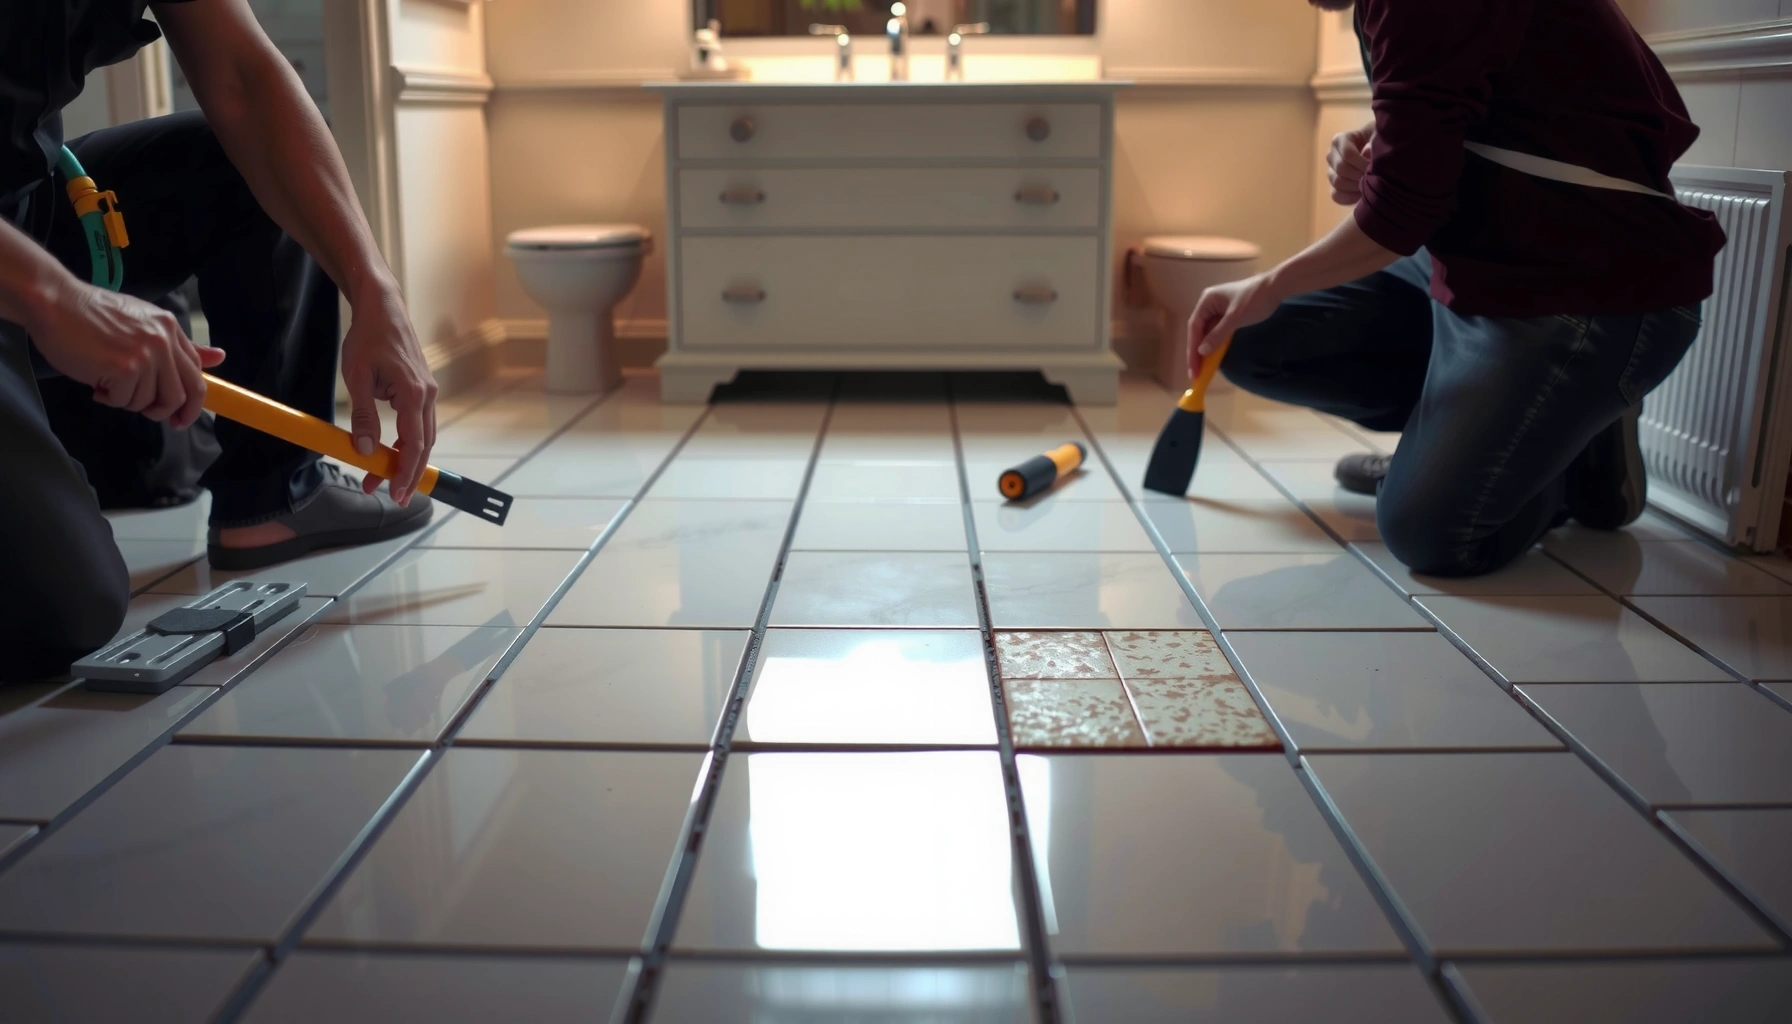

If you need to know how to install porcelain tile floors in a bathroom, follow this process for a clean, watertight result that holds up to daily splashes and humidity. You’ll get step-by-step instructions from prepping the subfloor and planning layout to setting tiles, grouting, and sealing where it matters most. The winner here is careful waterproofing and proper thinset coverage—cut corners and the bathroom will punish you fast.
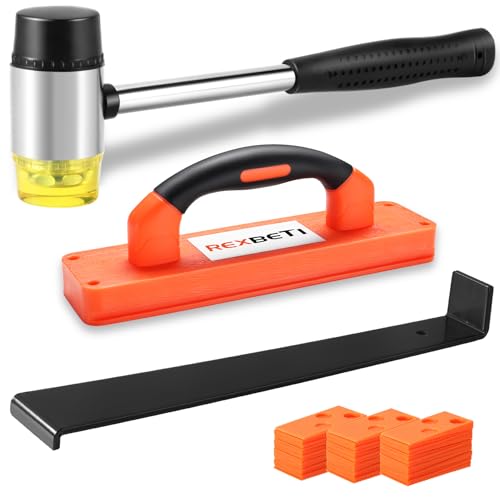



Plan around waterproofing first, then build a level, stable base before you set porcelain tile. In most bathroom installs, that means verifying subfloor flatness, using porcelain-appropriate thinset/mortar, and detailing waterproofing at seams, transitions, and penetrations so moisture can’t reach the structure.
If your bathroom has an unusual substrate (radiant heat, exterior plywood over joists, prior damaged flooring, or a very old subfloor), read the “What can go wrong” section carefully before you start. Porcelain can be forgiving in appearance, but it’s unforgiving in assembly errors—especially where water, movement, and grout joints meet.
Prep the subfloor (level, clean, and stable)
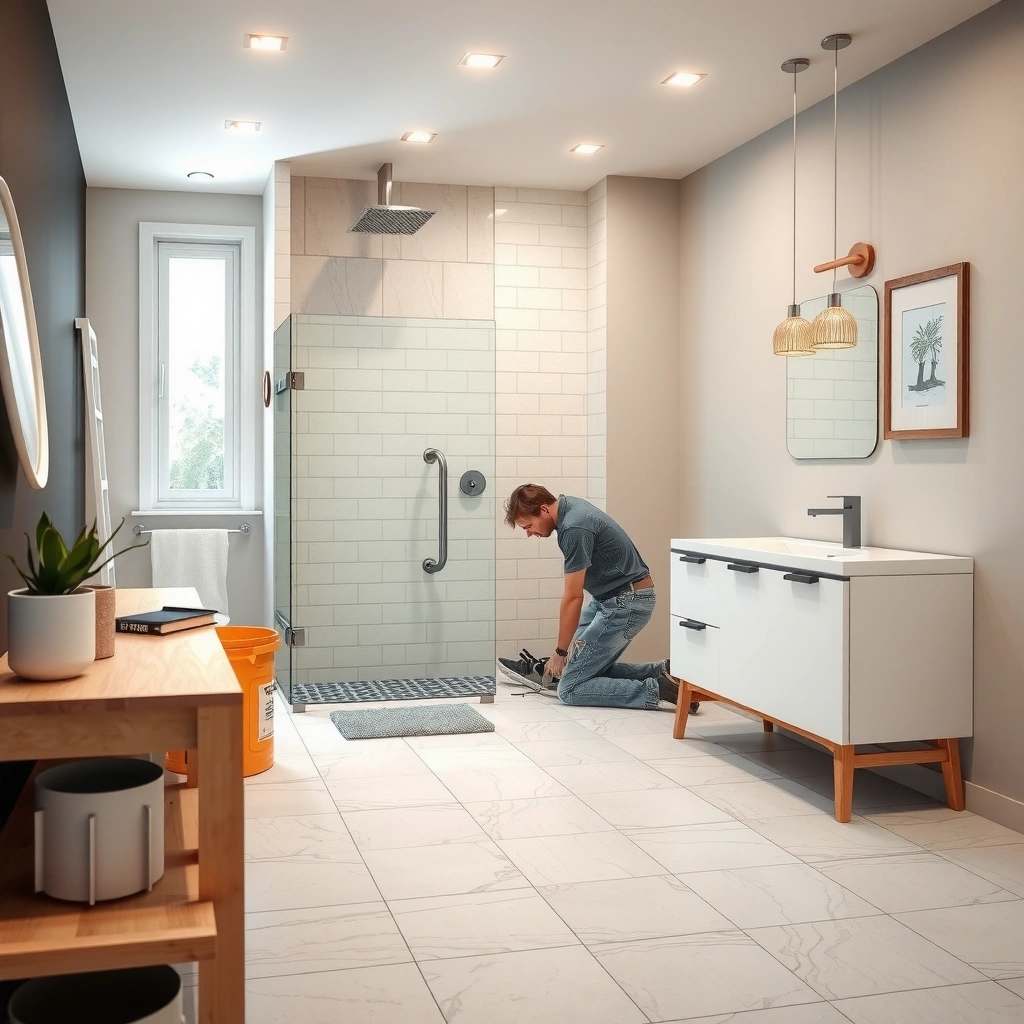
If you want a long-lasting bathroom porcelain floor, treat subfloor prep as the most important “tile work” you’ll do. A stable, flat surface prevents lippage, cracking, and bond failures—none of which waterproofing can reliably fix after the fact.
Porcelain tile is harder and denser than many other floor tiles, but that doesn’t compensate for a wavy or weak subfloor. The bathroom environment adds another layer of risk: when the subfloor flexes or the tile assembly de-bonds, grout and movement can create pathways for water.
A common industry benchmark for wood-joist floors tiled with ceramic/porcelain is limiting joist deflection to L/360 to reduce cracking risk (per TCNA guidance).
Underlayment and tile systems perform best when the substrate is clean and rigid enough to avoid movement at the tile-to-mortar bond line (as described in ANSI/TCNA installation methods).
Porcelain tile is defined by very low water absorption (typically ≤0.5%), which helps stain resistance but does not eliminate the need for waterproofing below the tile.
Start by removing old flooring, adhesive, drywall patch material, and anything loose. Vacuum thoroughly; any dust or paint overspray can interfere with thinset bonding. Then check for flatness using a long straightedge (commonly 6 ft or the longest you can manage). Flatness requirements vary by underlayment and mortar system, so use your specific manufacturer/spec requirement rather than a generic number—this is where DIY failures often begin.
Next, fix squeaks and soft spots now. If you find movement, you’ll need to address it (for example, by fastening subfloor layers properly or sistering/repairing framing). Skipping this step is risky: movement under a tile assembly is what turns small irregularities into cracked tile and failing grout.
A practical workflow we’ve seen work well:
– Scrape and grind ridges; feather edges where appropriate.
– Replace water-damaged or delaminated plywood/underlayment.
– Fasten subfloor panels so they don’t flex during prep and setting.
– Re-check flatness after repairs—don’t assume it’s still correct.
Pros/cons: subfloor repair vs. “build it up later”
| Option | Pros | Cons |
|---|---|---|
| Fix subfloor flatness first | Cleaner mortar thickness, fewer lippage issues, better bond | More labor upfront |
| Rely on thicker thinset “to level” | Faster start | Higher risk of debonding or hollow spots; thinner and thicker areas cure differently |
(Use the method that matches your system instructions; mortar is for bonding and uniform support, not for correcting major structural problems.)
Choose the right underlayment and waterproofing
If you want a bathroom porcelain tile floor that resists failures, select a waterproofing method that’s explicitly approved for your tile system—and install it exactly as directed. The correct combination of waterproofing membrane/underlayment and mortar is not optional in a wet area.
The waterproofing layer is what protects the assembly from moisture that inevitably gets past the surface (through grout micro-cracking, seasonal humidity, and cleaning chemicals). Bathroom floors also experience frequent temperature and humidity swings, which means movement at joints and penetrations is normal—so waterproofing detailing must be meticulous.
There are two common system approaches:
1) Sheet or liquid-applied waterproofing membrane (with required accessories at corners, seams, and penetrations), then tile over approved mortar.
2) Cementitious backer board or similar underlayment *only when paired with a system that specifies additional waterproofing*, not as a stand-alone “water barrier.”
ANSI and TCNA methods require waterproofing systems to include compatible accessories at seams, corners, and penetrations so water can’t migrate under the tile assembly.
Use only mortar/adhesive and membrane components that are listed as compatible by the manufacturer to avoid bond incompatibility and water ingress at transitions.
Porcelain’s low absorption rate resists water in the tile body, but moisture can still reach thinset and substrates if waterproofing detailing is incomplete.
When installing waterproofing:
– Treat seams, corners, and transitions (especially at walls, curbs if present, and door openings).
– Follow the manufacturer’s overlap requirements for membranes or coverage/thickness guidance for liquid systems.
– Plan your penetrations: toilet flange areas, supply lines, and any drains must be sealed with the correct collars/flanges and compatible sealants.
Keep system compatibility non-negotiable
Choose one approved waterproofing approach and stay within it. Mixing “best available” products (for example, a membrane from one brand with mortar from another that isn’t listed as compatible) can create unpredictable failures at the critical interface. If you’re using an underlayment, confirm it’s rated for wet-area installation with the waterproofing you picked.
Also, watch expansion and control joints. Bathrooms often have movement from structural and thermal factors. Waterproofing should be continuous across the tile surface except where your system directs joint treatment. When in doubt, follow the system details rather than filling every joint like a non-waterproof assembly.
Plan layout and allow for bathroom obstacles
If you want the finished floor to look intentional (and not “pushed together”), plan the tile layout before you open thinset. A smart layout helps you maintain consistent grout joints around the toilet, doorways, and irregular wall conditions.
Dry-lay tiles to simulate the final pattern. Mark reference lines and decide on your starting point based on visual balance and cut tile sizes. In most bathrooms, the biggest layout challenges are:
– Toilet clearance and flange height
– Door thresholds and transitions (especially if flooring changes materials)
– Small alcoves and irregular wall angles
Porcelain tile layout planning also affects performance. While alignment is aesthetic, it influences structural outcomes: consistent joint widths and well-supported cuts reduce edge stress and helps keep lippage under control.
Dry-laying tile is recommended practice because it reveals how doorways, the toilet flange, and wall out-of-square will affect cut sizes and joint alignment.
To avoid “thin slivers,” plan for minimum cut widths and adjust starting lines before setting—lacking support on small cuts can increase chipping and cracking risk.
Account for toilet flange height relative to your finished floor. The correct flange-to-finished-floor relationship is specified by code and manufacturer guidance for wax rings and flange extensions—measure before you set any tile. If the flange is too low, you may need a flange extender kit compatible with your toilet connection method; if it’s too high, you may need adjustment before waterproofing/tile build-up.
Also plan your grout joint consistency. Irregular walls can tempt you to “force” alignment; instead, decide whether you’ll adjust your pattern line or keep a consistent grout width while letting the tile line “read” naturally against the wall. The key is consistency.
Finally, think about traffic paths. If you can, orient tile so your most visible cuts land in less noticeable locations (behind the toilet or toward the least visible wall). That’s not just style—it’s also easier to keep cut edges supported and waterproofed cleanly.
Set porcelain tile correctly (thinset, spacers, and coverage)
If you want porcelain tile to stay bonded and flat, set it using the correct mortar and achieve the required coverage for the specific substrate and tile size. Proper thinset mixing and coverage are the difference between “looks good today” and “still looks good after a year of wet-season cleaning.”
For porcelain, select a thinset/mortar rated for porcelain and compatible with your substrate (cement board, plywood assembly, and your waterproofing system). Confirm this by checking the mortar’s technical data sheet. Porcelain tile is dense; using an incompatible mortar can reduce bond strength even if the tile initially adheres.
Coverage matters. In many ANSI methods, the target for tile floors in wet areas is 95% mortar coverage (meaning no more than 5% voids under tile). Coverage depends on tile size, substrate condition, and trowel selection—so you can’t eyeball it.
ANSI A108.5 specifies mortar coverage requirements for tile installations, including a common target of 95% coverage for many interior installations to reduce hollow spots and bond failures.
Correct trowel notch size affects both mortar thickness and void percentage; using the wrong trowel is a frequent cause of lippage and bond issues.
Mix thinset exactly per instructions (water amount and mixing time). Overwatering and inconsistent remixing are common reasons mortar behaves poorly and skins over. Use a margin trowel to key mortar into the substrate, then comb with the specified trowel notch.
As you set:
– Use spacers or leveling systems if your design calls for them.
– Check lippage frequently by running a straightedge and lightly lifting and re-setting as needed.
– Periodically pull one tile to inspect mortar transfer—this is the only reliable way to verify coverage.
Remove excess thinset from joints before it cures. Fully packed joints can reduce grout performance and increase the chance of hairline voids. Clean joints help grout bond and resist water movement.
Quick setter’s rule
Use thinset as described: comb to create consistent ridges, set tile with firm pressure, and ensure the tile beds fully without sliding after initial contact.
Grout, cure, and finish for wet-area performance
If you want your bathroom porcelain tile floor to perform long-term, grout for wet areas and respect cure time. Grout that isn’t mixed, cleaned, or cured correctly can underperform even when the tile and waterproofing are properly installed.
Choose grout intended for floors in damp/wet environments (often sanded grout for wider joints, but match it to your joint width and system instructions). Then mix exactly as directed—water ratio and mixing time affect strength and permeability.
Grout cure time is product-specific; manufacturers typically require a full cure before routine water exposure, so cure schedules should be followed exactly rather than estimated.
Porcelain tile generally does not require sealing because of its low absorption rate, but grout often benefits from sealing depending on grout type and manufacturer guidance.
Clean joints thoroughly while grout is fresh. Use the right tools (grout float for packing, then appropriate sponge or microfiber cleaning method). If you leave thinset film or partial grout in joints, water can travel into voids and compromise durability.
Cure: Keep the floor protected from heavy traffic and washout during the early cure window. If you’re replacing the toilet or reinstalling fixtures, plan timelines so you’re not rushing joint contamination.
Seal only when your grout instructions say to
Porcelain’s low absorption (commonly ≤0.5% per ASTM C373) helps resist staining, but grout is porous by design. Many grout manufacturers provide optional sealing guidance; others say sealing is unnecessary for certain grout formulations. Follow your grout’s directions.
Also use the correct sealant at changes of plane (like transitions to walls and around tub edges) where movement is expected. Grout is not a movement joint sealant.
What can go wrong (and how to avoid it)
If your bathroom porcelain tile floor fails, the cause is usually moisture management, movement, or poor subfloor prep—not the tile itself. The fastest way to reduce risk is to understand the failure modes and design your system to stop each one.
Here are the most common problems and how to prevent them:
Moisture-related failures commonly trace back to incomplete waterproofing detailing at seams, corners, and penetrations rather than water “soaking through” the porcelain tile.
Lippage and cracking are often driven by out-of-flat substrates and inconsistent thinset thickness, which create stress points under the tile assembly.
Grout problems frequently result from dirty or incompletely filled joints and improper cure schedules, which reduce grout integrity in wet-use conditions.
– Moisture getting under the tile: Skipping waterproofing, using the wrong membrane system, or failing to seal around the toilet flange and penetrations.
– Lippage and cracking: Out-of-flat subfloor, incorrect trowel notch size, or not achieving consistent mortar thickness.
– Grout failure: Wrong grout for the environment, joint contamination, or rushing cure time.
– Toilet and flange issues: If the flange height is wrong or waterproofing is interrupted at the toilet area, you can get leaks and movement at the toilet base. Re-check your system instructions before final setting.
Edge cases to consider:
– Radiant heat: Requires system-specific mortar and underlayment approvals, plus heat-cure cycles per manufacturer.
– Plywood over joists: Often demands an engineered tile-ready assembly (panel fastening, underlayment, and waterproofing compatibility).
– Prior damaged flooring: Any leftover soft/failed materials can telegraph through tile.
If any of your conditions are unusual, treat the system documentation as your “spec sheet.” When in doubt, stop and get clarification from the membrane/mortar manufacturer or a qualified installer.
Verdict / tip (what’s worth doing—and who should skip DIY)
Porcelain bathroom floor installs are very doable when you’re willing to do subfloor prep thoroughly and follow a waterproofing system exactly. The biggest risks aren’t the tile itself—they’re membrane compatibility, substrate stability, and cure timing—so if you can’t confidently follow those parts, consider hiring a tile installer.
Weigh the downsides honestly:
– Waterproofing mistakes are hard to correct once covered with tile.
– Achieving flatness and correct mortar coverage takes time and measurement tools.
– Toilet flange and transition details often require careful planning and sometimes extra materials (flange extenders, specific sealants, or system-approved accessories).
Skip DIY (or get help) if your bathroom has significant structural movement, extensive subfloor damage, or you’re unsure about flange heights, wet-area transitions, or radiant heat requirements. If the project involves an unfamiliar substrate, you’ll often be faster and safer working with a pro who installs your chosen membrane method routinely.
A reliable porcelain bathroom floor depends on system-spec installation: waterproofing, approved mortar, correct trowel coverage, and correct cure time.
Most “mystery failures” in wet rooms trace back to an interface detail—seams, corners, penetrations, or transitions—not the visible tile surface.
Performance Targets Commonly Used in Porcelain Bathroom Tile Floors
| # | Standard / Method | What it controls | Typical target value | Source type | Relevance |
|---|---|---|---|---|---|
| 1 | ASTM C373 | Porcelain water absorption | Absorption ≤ 0.5% | Material spec | ★★★★★ |
| 2 | TCNA Handbook (wood floors) | Joist deflection limit | L/360 (typical for tile) | Installation guidance | ★★★★★ |
| 3 | ANSI A108.5 | Mortar coverage for floors | Often 95% coverage target | Installation standard | ★★★★☆ |
| 4 | ASTM C627 | Thinset/setting mortar performance testing | Verified via bond tests & criteria | Test method | ★★★☆☆ |
| 5 | TCNA Handbook (wet areas) | Waterproofing strategy | Continuous membrane + details | Installation method | ★★★★★ |
| 6 | ANSI A108.01 | Mixing and installation practices | Follow manufacturer instructions | Workmanship standard | ★★★★☆ |
| 7 | Grout manufacturer specs | Cure & wet exposure timing | Use product-specific schedule | Product instructions | ★★★★☆ |
Quick checklist for a bathroom porcelain tile floor
– Subfloor is clean, solid, and flat ([ADD: flatness target from your system spec])
– Waterproofing/underlayment is rated and installed exactly per manufacturer
– Mortar/thinset is approved for porcelain + your substrate
– Tile layout is planned around doorways and the toilet area
– Thinset coverage and correct trowel method used
– Grout chosen for wet areas, joints cleaned, correct cure time followed
– Sealant used only if your grout instructions require it
FAQ
Do I need waterproofing under porcelain tile in a bathroom?
Usually, yes—most bathroom floor systems require waterproofing or an approved waterproofing membrane approach. Follow the specific membrane and tile/mortar manufacturer requirements for your setup.
Can I install porcelain tile directly over plywood?
Sometimes, but only if the plywood is suitable and you build the correct tile-ready assembly (often including an approved underlayment and/or cementitious layer). Check the mortar and underlayment specs for “plywood” eligibility and requirements.
What thinset should I use for porcelain tile?
Use a thinset/mortar rated for porcelain and compatible with your substrate and waterproofing system. Look up the mortar’s instructions for porcelain approval and the required trowel size/coverage.
How long until I can use the bathroom floor?
Wait for the grout and any waterproofing/thinset cure times specified by the product instructions. If you can’t find the exact times, [ADD: your product names so we can cite the correct cure schedule].
Sources
– ASTM C373, “Standard Test Method for Water Absorption of Ceramic Tile”
– TCNA Handbook (Tile Council of North America), recommended installation methods for tile floors over wood and wet areas
– ANSI A108.5, “Installation of Ceramic Tile with Thin-Set Mortar” (mortar coverage requirements)
– ANSI A108.01, “General Requirements for Sub-surfaces and Installation” (workmanship/installation practices)
– [ADD: manufacturer installation instructions for your waterproofing membrane/underlayment system]
– [ADD: manufacturer installation instructions for your porcelain tile and thinset/mortar]
– [ADD: manufacturer installation instructions for your grout (wet-area suitability + cure/sealing guidance)]
– [ADD: relevant ANSI/TCNA installation guidance for your specific waterproofing method/system]
A successful porcelain bathroom tile floor is mostly about system discipline: waterproofing that’s continuous and compatible, a subfloor that’s clean and flat enough for tile, and grout/thinset work that follows the product cure and mixing guidance. If you build the assembly like a specification—not a guess—you’ll get a floor that looks right and holds up to the realities of daily wet-area use.
Frequently Asked Questions
What is the best way to prepare a bathroom subfloor before installing porcelain tile floors?
Start by ensuring the subfloor is clean, flat, and structurally sound—porcelain tile floors require a stable base to prevent cracking and lippage. Remove old flooring, scrape off adhesives, and repair any loose or squeaky areas; then check flatness with a straightedge (large gaps should be corrected). In bathrooms, confirm the subfloor is dry before tiling and consider moisture mitigation options if your floor is prone to dampness. Finally, prime the surface as recommended by your thinset or underlayment system to improve bond strength for porcelain tile.
How do I install porcelain tile floors in a bathroom without cracking or uneven edges?
Use a high-quality thinset made for porcelain tile and follow the mixing ratio exactly; improper thinset consistency is a common cause of failures. Spread thinset with the correct notched trowel, back-butter tiles where needed, and aim for full mortar coverage—especially important on floors with potential movement. Set tiles using spacers for consistent grout lines, and check levels and lippage frequently as you work. After installation, allow full cure time before grouting or walking on the floor to reduce stress during the early bond period.
Which underlayment or waterproofing system works best for bathroom porcelain tile floors?
In wet areas like bathrooms, choose a waterproofing system compatible with porcelain tile and your substrate type (concrete slab, plywood, or cement board). Options include cement backer board with seams treated, uncoupling membranes, or liquid-applied waterproofing systems—each can help manage moisture and reduce movement-related grout cracking. Pay close attention to manufacturer requirements for seam treatment, overlap, and curing times, especially around floor drains, toilet flanges, and transitions. A properly installed bathroom waterproofing membrane helps protect the substrate and extends the life of your porcelain tile floors.
Why do I need to use the right grout and sealing approach for porcelain tile floors in bathrooms?
Even though porcelain is low-porosity, grout still absorbs water, which can lead to discoloration, odors, and deterioration over time in a humid environment. Choose a grout type suited for bathroom conditions—often a latex-modified thinset for setting and a sanded grout for wider joints or an appropriate grout for your joint size. Sealing may be recommended for many grout products to reduce staining and moisture penetration; follow the grout manufacturer’s guidance for whether sealing is required and when. Proper grout installation, including correct mixing and curing, is key for durable porcelain tile floors.
What is the correct way to plan layout and tile direction for a professional-looking bathroom porcelain tile floor?
Plan your tile layout to avoid tiny “cut” pieces at the room’s entry or near the walls—measure the room, account for the toilet area, and dry-lay tiles to visualize symmetry. Start from a centerline or focal point (like the doorway or main wall) and establish straight reference lines to keep porcelain tile floors aligned. Use the layout to determine where wet-area cuts, edges, and transitions will land, then mark cut lines clearly before setting. This approach reduces waste, minimizes visible uneven edges, and helps the bathroom porcelain tile floor look balanced and intentional.
📅 Last Updated: October 08, 2026 | Topic: How to install in a bathroom porcelain tile floors? | Content verified for accuracy and freshness.
References
- Google Scholar Google Scholar
https://scholar.google.com/scholar?q=porcelain+tile+floor+installation+bathroom+cement+board+thinset+grout - Google Scholar Google Scholar
https://scholar.google.com/scholar?q=porcelain+tile+installation+waterproofing+shower+floor+backer+board - Google Scholar Google Scholar
https://scholar.google.com/scholar?q=bathroom+floor+tile+installation+thinset+layout+backer+board+grout - Tile
https://en.wikipedia.org/wiki/Ceramic_tile - Thinset
https://en.wikipedia.org/wiki/Thinset_mortar - https://en.wikipedia.org/wiki/Tile_backer_board
- Grout
https://en.wikipedia.org/wiki/Grout - Mold | US EPA
https://www.epa.gov/mold - https://www.cdc.gov/mold/default.htm
- https://www.tileusa.com/resources/installation-guides/