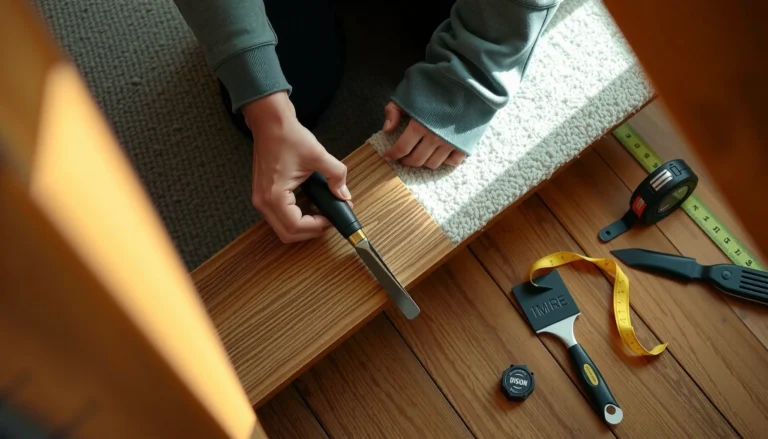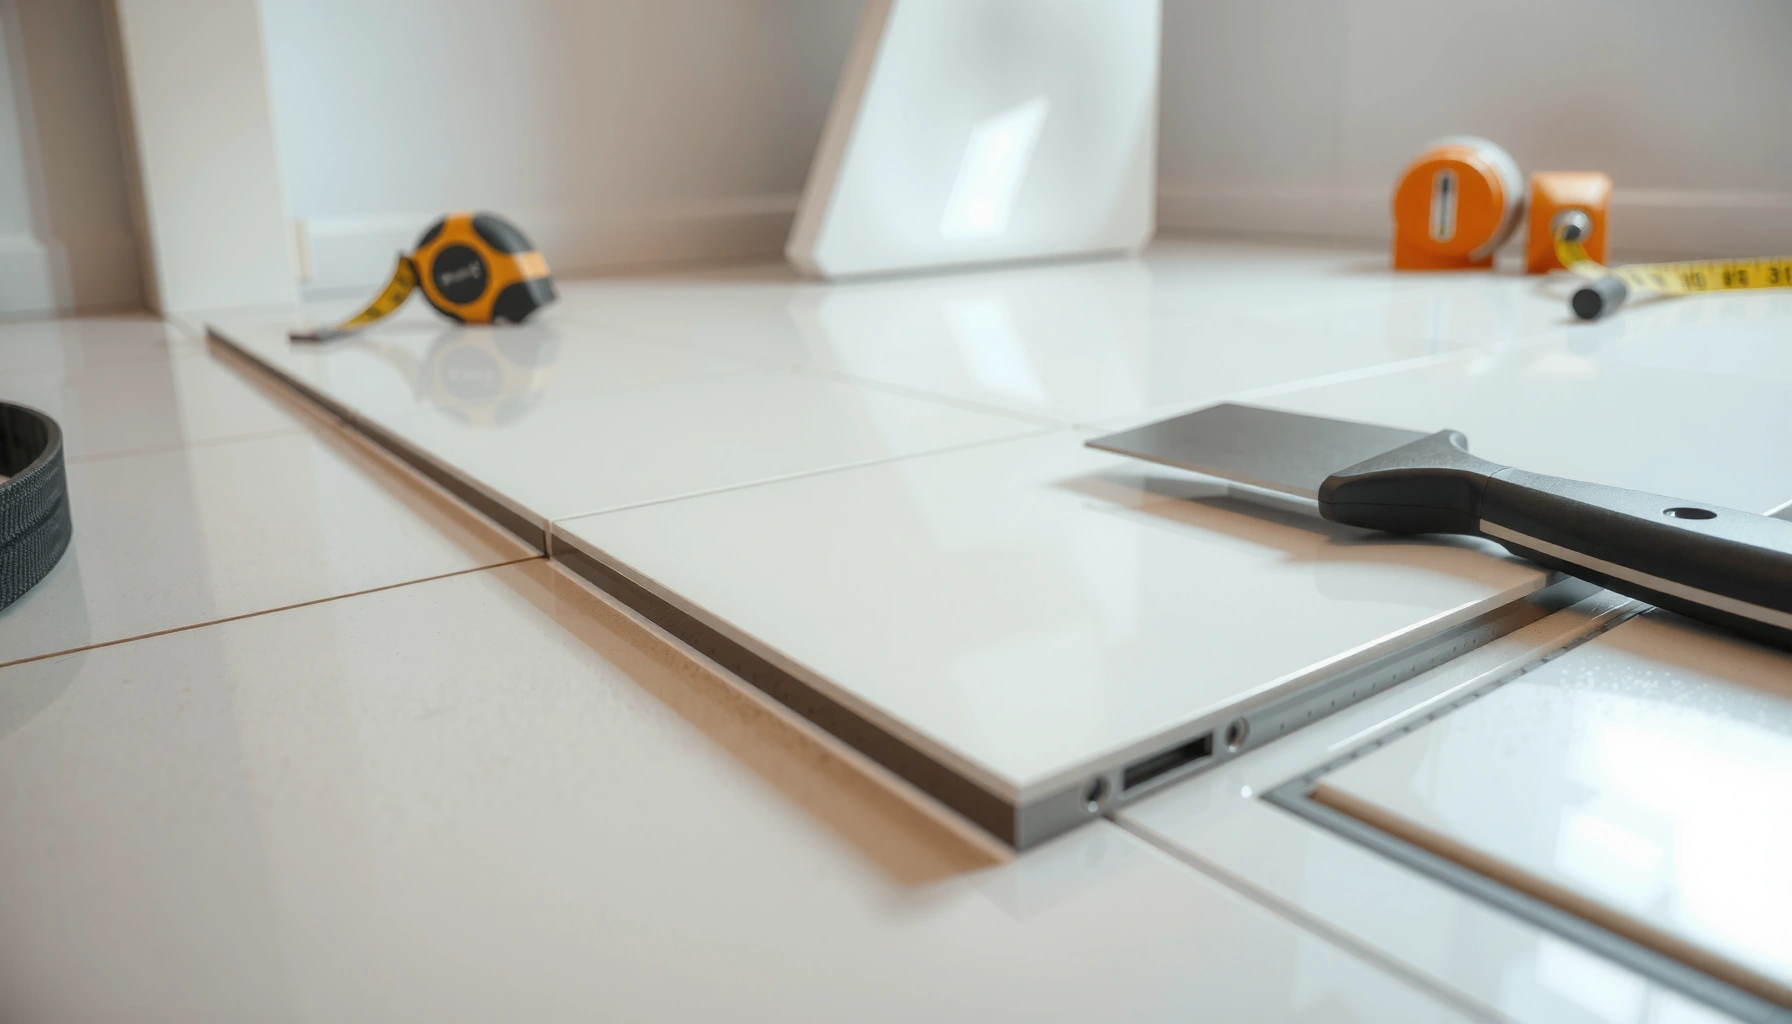

Want to install transitions for porcelain tile floors without gaps, cracks, or misaligned edges? This step-by-step guide shows the exact process—from choosing the right transition type to setting it level and securing it cleanly—so the finish looks straight and performs long term. If you’re transitioning between porcelain tile and another surface, you’ll get the quickest, most reliable method to install it correctly the first time.




If you want porcelain tile transitions to sit flush and look clean, you should plan the finished height first, then set the transition with the correct thinset/adhesive method for your specific substrate, and only grout/seal after the trim is confirmed level and aligned. Start with a dry-fit to verify the porcelain edge-to-transition height, then bond using the transition’s designed method so you avoid lips, gaps, and edge failures later.
This guide is written for DIYers and remodelers installing transitions between porcelain tile and another surface (carpet, vinyl, wood, or another tile field), especially when small height differences can create tripping edges or snag-prone lips.
Pick the Right Transition Type for Your Porcelain Tile
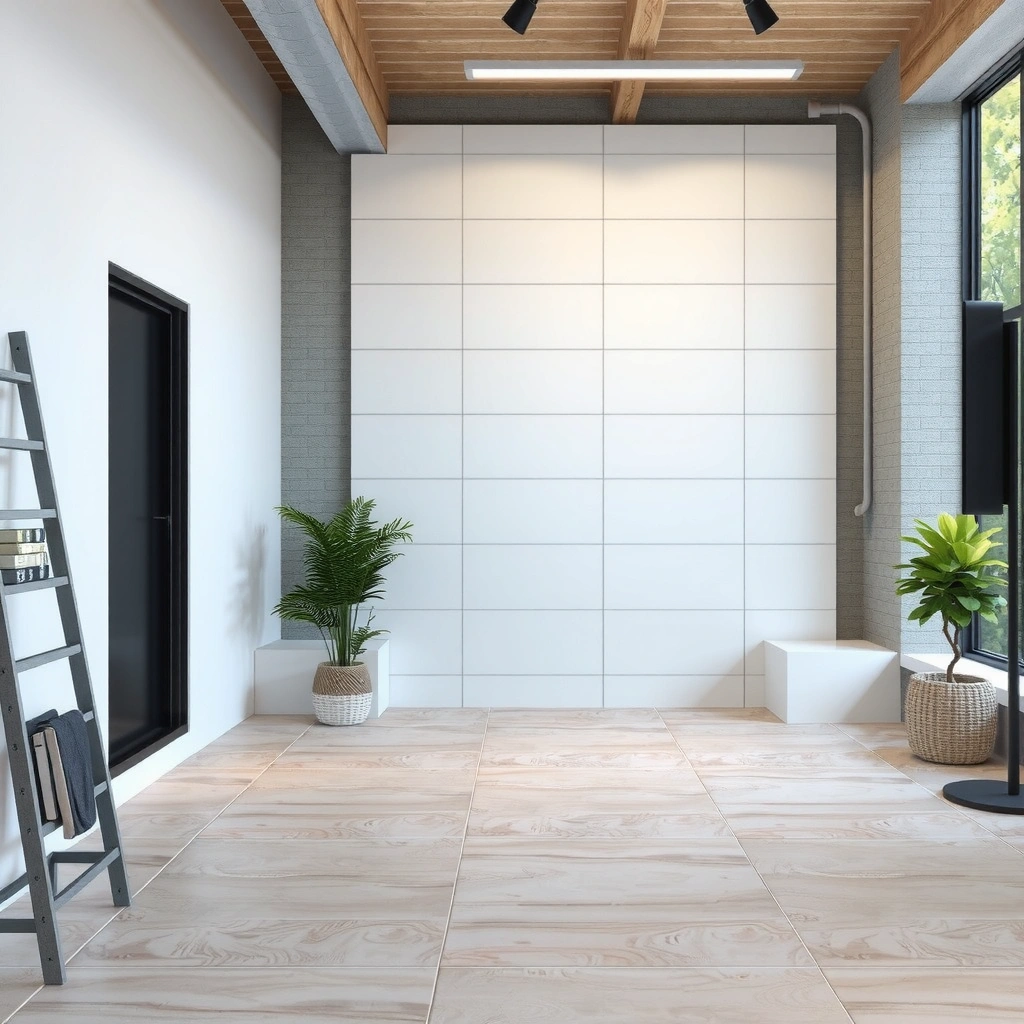
Choose the correct transition based on both the surface change (tile-to-tile vs. tile-to-soft flooring) and the expected height difference at the joint. A well-chosen profile makes the flush look effortless; a mismatched one forces you to “make it fit” with improper mortar or excessive caulk.
Start by matching the transition system to the way the joint is supposed to work:
– Tile-to-tile: Often uses straight “flush” transitions, reducers, or profiles that are designed to land at two finished tile elevations.
– Tile-to-wood: Commonly uses a reducer or threshold with a compatible fastening/adhesion method that accounts for wood movement.
– Tile-to-soft surfaces (carpet, padded vinyl): Usually requires a profile intended to sit over carpet pile or compress slightly without creating a hard lip.
Also check whether the transition is explicitly intended for tile installations. Some transition systems are made for floating floors and rely on movement mechanics that don’t align with a rigid thinset/tile assembly.
A tile-integrated transition is typically installed so it becomes part of the tile assembly, meaning the bonding method is specified to work with thinset and tile edge conditions.
Many reducers and T-moldings are designed to address a known height step (porcelain + thinset vs. another finished floor), so “flush” depends on selecting the right profile height range.
If a manufacturer states the transition is not intended for rigid tile substrates or does not allow a certain mortar/adhesive, using a substitute is a frequent cause of hollow sound, separation, and lip formation.
To make selection easier, here’s a scan-style data table of common transition scenarios and the typical height realities you’re planning around:
Typical Porcelain-to-Subfloor Transition Height Planning (Common Field Conditions)
| # | Adjoining Flooring Condition | Typical Finished Height Gap to Plan | Common Transition Profile | Field Fit Risk |
|---|---|---|---|---|
| 1 | Porcelain tile to carpet (low pile) | ~0.125–0.375 in (3–10 mm) | Carpet reducer / ramp | ★ ★ ★ ★ ☆ |
| 2 | Porcelain tile to carpet (medium/high pile) | ~0.25–0.625 in (6–16 mm) | Carpet ramp with wider landing | ★ ★ ★ ☆ ☆ |
| 3 | Porcelain tile to vinyl plank (underlayment vary) | ~0.062–0.312 in (2–8 mm) | Straight metal/stone transition or reducer | ★ ★ ★ ☆ ☆ |
| 4 | Porcelain tile to engineered wood | ~0.062–0.25 in (2–6 mm) | Reducer or threshold with expansion gap allowance | ★ ★ ★ ★ ☆ |
| 5 | Porcelain tile to another tile field (different thicknesses) | ~0.062–0.312 in (2–8 mm) | T-molding or straight reducer | ★ ★ ★ ★ ☆ |
| 6 | Porcelain tile to entry mat (slight step change) | ~0.125–0.25 in (3–6 mm) | Low-profile straight transition | ★ ★ ★ ★ ★ |
| 7 | Porcelain tile to threshold/landing (high-traffic transition) | ~0.062–0.375 in (2–10 mm) | Ramp/threshold system rated for floor loads | ★ ★ ★ ★ ☆ |
Measure and Dry-Fit for Perfect Height Alignment
You get a truly flush transition by measuring the finished floor heights on both sides before you install anything permanently. Once the trim is bonded, you generally can’t “micro-correct” it without risking lippage, gaps, or bond failure.
Here’s how to measure correctly:
– Measure finished height, not just tile thickness:
– Porcelain tile thickness (mm/in you actually have)
– plus thinset bed thickness under the tile edge (varies by trowel and substrate)
– plus any underlayment (for the non-tile side), and any leveling compound build.
– Mark a target plane that represents the walking surface you want across the transition.
– Dry-fit the transition and check it with a straightedge across the seam in both directions (along the joint and perpendicular to it).
Movement planning matters, too:
– At structural expansion/joint locations, don’t lock the transition across that movement.
– Leave the gap and joint treatment the transition instructions call for—rigid-grouting over movement points is a common “why did my seam crack?” scenario.
Dry-fitting lets you detect height mismatch before thinset locks the transition in place, which is much cheaper than re-setting a failed edge.
Finished-height alignment depends on mortar and underlayment thickness, so measuring only tile thickness will not predict lip risk.
Transitions must respect movement joints; forcing a rigid connection across expansion points increases stress and can lead to cracking or separation.
Quick comparison: where height mismatch shows up fastest
| If your heights are off by… | You typically see… | Most likely at… |
|---|---|---|
| ~1/16 in (1.5 mm) | A visible “click” underfoot | Ramped reducers and straight metal trims |
| ~1/8 in (3 mm) | A noticeable lip or snag edge | Tile-to-carpet or tile-to-wood transitions |
| ~1/4 in (6 mm) | Strong trip hazard | Mis-selected profile height or thick thinset surprises |
Prep the Subfloor and Tile Edges Before Installation
Prepping is what makes the flush alignment last, not just what makes it look good on day one. A transition installation fails visually when the substrate is not flat or when tile edges are dusty/weak where bonding depends on adhesion.
Do these prep steps:
– Verify flatness on both sides of the seam:
– Use a straightedge across the transition footprint.
– Fix low spots with leveling compound before you set the transition.
– Clean tile edges thoroughly:
– Remove dust/grout haze from the porcelain edge where thinset or adhesive will bond.
– Weak residue reduces bond strength—especially on cut edges with less glazed surface.
– Confirm edge condition:
– Some transitions require specific edge finishing (for example, a clean, straight edge with appropriate clearance).
– If your transition system has a “tile edge prep” requirement, follow that guidance rather than guessing.
Also confirm substrate compatibility:
– Thinset chemistry matters: a manufacturer may specify a polymer-modified thinset, an unmodified mortar, or a particular bonding method depending on how the transition integrates with tile.
Surface contamination (dust, grout haze, curing residue) can reduce bond strength for thinset and adhesive systems on porcelain cut edges.
Flatness issues get amplified at transitions because the seam is a visual and tactile boundary, not a broad tile field.
Many transition manufacturers specify edge/clearance conditions because their profiles are engineered around the tile geometry and finish height.
Install the Transition (Adhesive/Thinset, Then Set Level)
Bonding is where the transition becomes “real,” so use the transition manufacturer’s installation method, not general trim advice. Commonly, you either set the transition into thinset (when it integrates with tile edges) or use a compatible adhesive/fastening approach (when the profile sits over or anchors to an edge).
Follow this workflow:
1. Dry-fit again (before mixing mortar) to confirm height and reveal.
2. Set using the specified bonding method:
– If the system calls for thinset: use the recommended mortar and trowel approach, and ensure full contact where required.
– If it calls for adhesive or fastening: confirm substrate condition and curing time (some adhesives require a specific environment).
3. Set level and align:
– Use a straightedge and spacers to keep a consistent reveal.
– Check the transition in multiple points along its length—pressure from clamps and shifting tiles can create “one end high” issues.
4. Allow proper cure time:
– Don’t grout or expose to traffic until the bonding system has achieved enough strength per its instructions.
From a standards and best-practice perspective, mortar selection and coverage requirements matter. For example, ANSI/TCNA-related installation guidance emphasizes proper thinset type and method, and manufacturers’ instructions define the mortar/coverage requirements for their product systems ([ADD: ANSI/TCNA method and the relevant mortar coverage requirement from your thinset and transition manufacturer docs]).
Using the transition’s specified thinset/adhesive system reduces the risk of debonding at the exact point pedestrians repeatedly strike or pivot on.
Setting the transition level with a straightedge during installation prevents “end-lift” that later becomes a tripping lip.
Grouting or caulking too early can interfere with bond development, so curing timelines in the transition/mortar instructions should be treated as non-negotiable.
Pros/cons: thinset-integrated vs. surface-mounted transitions
| Approach | Pros | Cons | Best for |
|---|---|---|---|
| Set into thinset (tile-integrated) | Cleaner integration with porcelain edges; often more stable in service | Requires correct mortar, coverage, and edge prep | Tile-to-tile and tile-to-rigid surfaces |
| Adhesive/fastened trim (surface-mounted) | Faster for some remodels; easier to remove/adjust early | Can telegraph height differences if subfloor is uneven | Tile-to-wood, tile-to-thin flooring underlayments |
Finish: Grout, Seal, and Confirm the Edge Is Smooth
Finishing is not one universal rule—transitions may require grout, caulk, or a movement-capable sealant depending on how they’re engineered. If you finish the joint incorrectly, you can trap stress and get cracked grout lines or gaps that look worse over time.
Finish correctly:
– Use grout vs. sealant only where the system calls for it:
– Some straight or reducer transitions are designed to be grouted for a rigid finish.
– Others explicitly require a flexible sealant because the joint must move.
– Smooth the joint line:
– Ensure shoes and rolling carts don’t catch.
– Check smoothness along walking direction and perpendicular to it.
– After cure, confirm flushness:
– Re-check the transition against the porcelain surface with a straightedge.
– Look for sharp edges or tiny ridges from grout squeeze-out.
For movement joints and expansion behavior, the general principle is consistent across reputable ceramic tile installation standards: movement joints must be honored and treated as movement joints. ([ADD: TCNA Handbook movement-joint guidance referenced in your tile and grout manufacturer instructions])
Correct joint finishing (grout vs. sealant) depends on whether the transition design expects rigid fill or movement-capable treatment.
A snag-free edge is confirmed after cure, not during installation, because grout/adhesive buildup can create a microscopic lip.
Filling movement-capable transition gaps with rigid grout increases stress concentration and can lead to cracking or separation.
What Can Go Wrong (And How to Avoid It)
Most transition problems come from three root causes: incorrect height planning, wrong bonding method, or finishing the joint as if it never moves. When those happen, you get lip/edge problems, visible gaps, and sometimes audible hollow spots.
Common issues and fixes:– Mis-matched heights → tripping edges:
– Re-measure finished heights on both sides before you commit to bonding.
– Wrong bonding method:
– Adhesives marketed for general trims may not perform like tile-set mortars in the conditions required for tile edges—use the transition instructions.
– Improper joint treatment:
– Using rigid grout in a movement location can crack or pop.
– Use the recommended sealant/grout type for that specific transition location.
– Skipping flatness checks:
– Transitions highlight unevenness; fix dips and substrate flatness early.
– Over-tight sealing:
– Don’t force the transition to bridge expansion gaps. Respect the system’s movement allowances.
A few “real-world” constraints to keep in mind:
– Porcelain tile cut edges can behave differently than factory edges; if your transition bonding method relies on surface contact, clean prep becomes even more critical.
– Soft flooring (carpet) can compress under load; if your reducer is too aggressive, you may create a small permanent depression over time.
Even a small height mismatch—on the order of a few millimeters—can turn into a noticeable lip because transitions concentrate foot impact at a single line.
Bond failures often trace back to using the wrong mortar/adhesive or insufficient surface cleaning on the tile edge where adhesion matters most.
Rigid infill in a movement joint contradicts the purpose of expansion/movement accommodation and raises the odds of cracking.
Verdict: When This DIY Approach Works (and When to Skip)
This DIY approach works when you can accurately measure finished heights, keep tile edges clean, verify substrate flatness, and follow the transition manufacturer’s bonding and joint-finishing requirements. Where those conditions are missing—especially on uneven subfloors or major height differences—you should re-plan the transition choice or consider a certified installer review.
Skip (or bring in help) if:
– You have significant subfloor unevenness and don’t know how to level it to the tolerances required for tile transitions ([ADD: tile/flatness tolerance reference from your tile system or substrate standard]).
– The height difference requires redesign (for example, the transition profile you selected simply can’t meet a safe, flush walk surface).
– You aren’t sure whether a joint needs movement-capable sealant vs rigid grout.
If you’re unsure about the correct transition type or bonding method for your exact porcelain edge and adjoining floor material, [ADD: ask for manufacturer guidance or a certified installer review].
The most reliable flush transitions come from selecting the right profile and installing it per manufacturer bonding and finishing instructions.
If you cannot correct flatness and finished-height alignment before bonding, DIY transitions tend to fail visually even when the materials are otherwise correct.
Movement-capable joint treatment is not optional; guessing grout vs. sealant is one of the fastest ways to create cracking.
Quick Scan Checklist (Save This)
– [ ] Identify the correct transition type for tile-to-tile or tile-to-other flooring
– [ ] Measure finished heights on both sides (tile + thinset + any underlayment)
– [ ] Dry-fit and verify flush alignment with a straightedge
– [ ] Prep: clean tile edges and confirm substrate flatness
– [ ] Install using the transition’s specified thinset/adhesive/fastening method
– [ ] Set level and align; don’t bridge movement gaps
– [ ] Finish with the correct grout vs. sealant approach
– [ ] After cure, check for a smooth, snag-free walking edge
FAQ
What height should a porcelain tile transition be set at?
Set it to match the finished floor height on both sides so the walking surface stays flush. Calculate the target level using your porcelain thickness plus thinset and any underlayment/build-up on the adjoining floor.
Can I use thinset for all transition types?
Not always—some transitions are designed to be set into thinset when they integrate with tile edges, while others require adhesive or fastening methods. Use the transition manufacturer’s installation instructions to confirm the correct bonding approach for porcelain floors.
Should I grout a transition seam?
Only grout where the transition design explicitly calls for it. Many transitions are meant to use caulk/sealant in areas that may move, while others are made to be grouted—follow the system’s guidance.
How do I prevent a lip between tile and the transition?
Prevent it by planning finished-height alignment early, dry-fitting the transition before installing, and keeping it level during setting. Also confirm substrate flatness and clean tile edge prep so the transition doesn’t “float” or rock.
What if my subfloor is not flat?
Transitions will make unevenness more visible and can create gaps or rocking. Correct flatness before installing the transition, or consult a flooring professional for leveling options that match your substrate and tile system.
Sources
– [ADD: transition manufacturer installation instructions/spec sheet for your exact transition type (thinset vs adhesive, grout vs sealant requirements, and movement-joint guidance)]
– [ADD: porcelain tile manufacturer guidelines for installation materials and curing (e.g., thinset requirements and substrate preparation)]
– [ADD: substrate/tiling standard or method referenced by your tile/adhesive manufacturer (e.g., TCNA/ANSI-related flatness and movement-joint guidance if applicable)]
When you plan the finished height, dry-fit the profile, bond it with the specified thinset/adhesive method, and finish the joint as rigid vs movement-capable correctly, porcelain transitions typically become one of the cleanest details in a remodel—not the weak link. Take the time to verify level and movement allowances before curing materials, and you’ll avoid most of the lip/edge problems that show up weeks or months later.
Frequently Asked Questions
What transitions are best for porcelain tile floors when changing to carpet or hardwood?
For porcelain tile transitions to carpet, use a carpet-to-tile reducer or a T-molding designed for floors with height changes. For tile to hardwood, a grout-ready or flush transition strip helps create a clean line while accommodating slight thickness differences. Choose materials like aluminum or PVC that resist corrosion and are suitable for tile edges, and confirm the transition profile matches your tile thickness and thinset height.
How do I install tile transitions (reducers, T-molding, and thresholds) on porcelain without chipping the edges?
Dry-fit the transition first and mark alignment points so the strip lands exactly on your tile edges. For tile reducers and thresholds, set the transition using thinset or the manufacturer’s adhesive, then press it firmly while keeping the top flush with the surrounding porcelain tile. If you drill or screw through tile-adjacent areas, pre-mark carefully and use the correct bit to avoid cracking; for stability, consider using spacers or leveling clips where recommended.
How do I measure and choose the right transition height for porcelain tile floors?
Measure the finished floor height at the tile edge, including the tile thickness plus the thinset and any underlayment. Then compare those measurements to the transition’s designed height range—many reducers specify the thickness they accommodate. A common mistake is buying a transition that’s too high or too low; a proper match prevents lippage and tripping and helps the transition sit snugly along the porcelain.
Why do porcelain tile floor transitions need expansion gaps and movement space?
Porcelain tile can expand and contract slightly with temperature and moisture, and grout can be stressed if transitions are installed too rigidly. Leaving an appropriate expansion gap at changes of plane—especially near doorways, thresholds, and exterior transitions—reduces cracking and hollow-sounding tile. Use the recommended gap size and select a transition system that allows for movement, such as a flush transition designed for tile plus grout lines.
Which installation method is best for porcelain tile transitions: thinset, screws, or adhesive?
The best method depends on the transition type and substrate—many aluminum and metal transition strips are best installed with thinset or manufacturer-approved construction adhesive for a strong bond to tile. If the transition is a nail-down or screw-down type (often for wood subfloors), predrill and ensure fasteners don’t interfere with tile edges or cause cracking. For a smooth finish, seal or caulk the appropriate joints as directed, and verify the transition top surface is level with the porcelain tile for a professional look.
📅 Last Updated: October 08, 2026 | Topic: How to install transitions for porcelain tile floors? | Content verified for accuracy and freshness.
References
- Google Scholar Google Scholar
https://scholar.google.com/scholar?q=porcelain+tile+floor+transition+installation+threshold+strip - Google Scholar Google Scholar
https://scholar.google.com/scholar?q=how+to+install+tile+transition+strips+expansion+joint+setting - Google Scholar Google Scholar
https://scholar.google.com/scholar?q=ceramic+tile+installation+best+practices+transitions+between+rooms - https://en.wikipedia.org/wiki/Ceramic_tile
- Grout
https://en.wikipedia.org/wiki/Grout - https://en.wikipedia.org/wiki/Thinset_mortar
- https://en.wikipedia.org/wiki/Tile_adhesive
- https://en.wikipedia.org/wiki/Expansion_joint_(building
- https://en.wikipedia.org/wiki/Threshold_(architecture
- https://en.wikipedia.org/wiki/Tile_backer_board