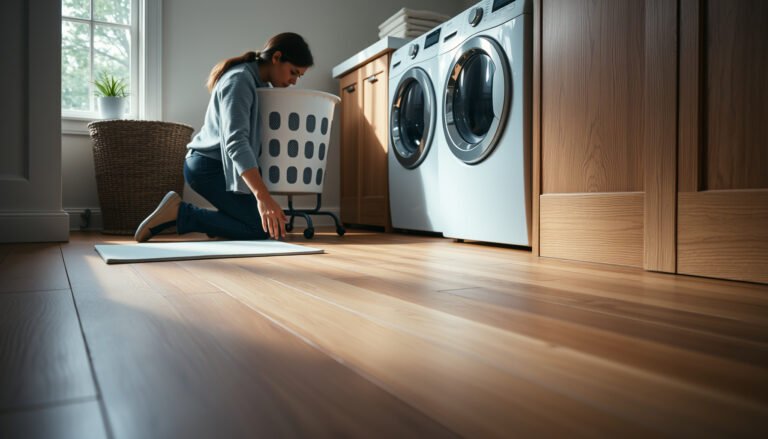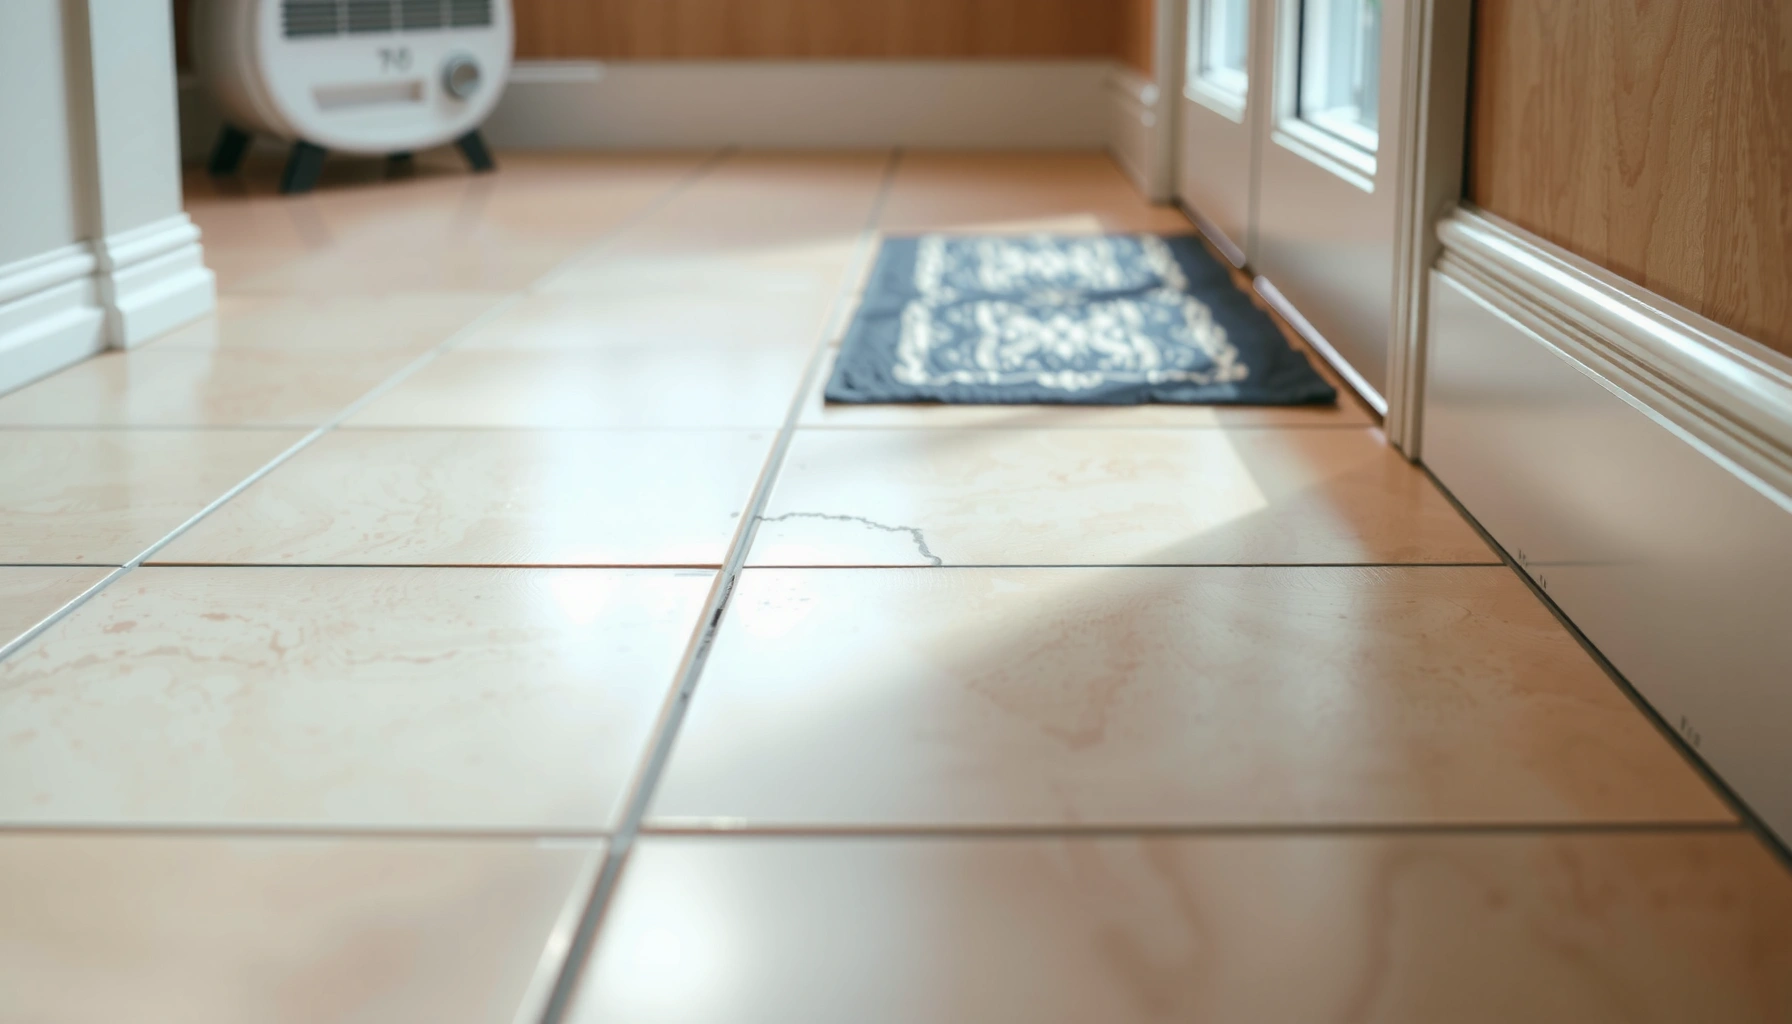

Preventing mold under porcelain tile floors is about controlling moisture before it ever reaches the subfloor. If you install proper vapor barriers, use the right underlayment and grouting system, and keep your ventilation and humidity in check, mold risk drops dramatically. Follow the steps that directly stop moisture intrusion and you’ll avoid the hidden, persistent problems that start under tiles.
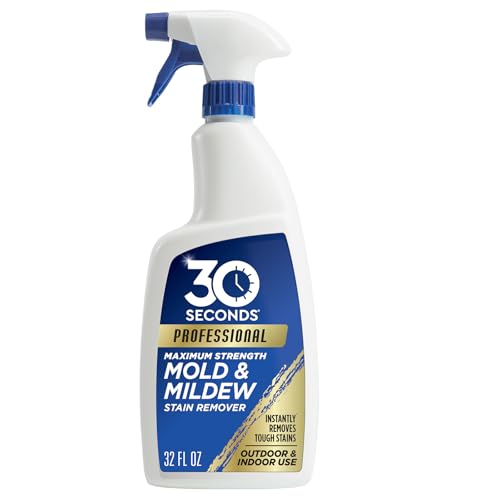



Preventing mold under porcelain tile floors comes down to one strategy: control moisture before it gets trapped in the thin space beneath the tile. Use a properly installed waterproofing system, keep grout/caulk joints maintained per manufacturer guidance, and fix leaks fast—then reduce indoor humidity so any incidental moisture can’t linger.
If you’ve noticed musty odors, dark spots along grout lines, or recurring mildew after spills, this guide is for you. It’s especially relevant for bathrooms, laundry rooms, and any slab or subfloor that sees condensation or occasional wetting.
Start with the moisture sources (find the real entry point)
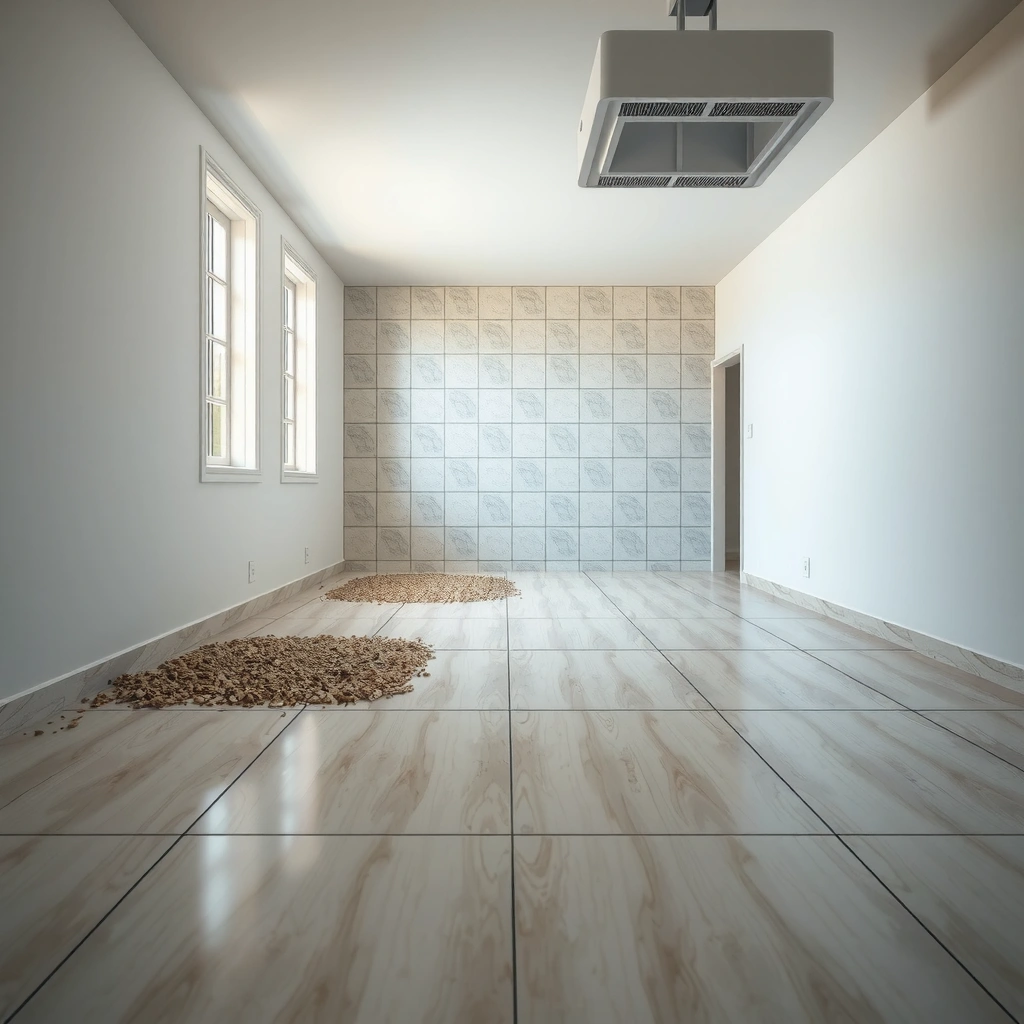
Mold under porcelain tile usually starts because water finds an edge, penetration, or transition—and then stays trapped where you can’t see it. The fastest path to prevention is to locate the moisture entry point first, then upgrade waterproofing and drying where it actually fails.
According to the U.S. Environmental Protection Agency (EPA), mold can begin growing on damp materials within 24–48 hours after water damage occurs. [ADD: EPA guidance source]
Moisture under porcelain tile is commonly driven by wet-area edges (perimeters, corners, and change-of-plane joints) rather than the center “field” of the tile. [ADD: waterproofing standard/spec source]
If you don’t stop water entry, resealing grout alone often can’t prevent mold because water typically travels through movement joints, caulk, or failed penetrations before reaching the subfloor. [ADD: grout/caulk system guidance]
– Check for leaks from plumbing penetrations, valves, and shower/wet-area edges before you treat “symptoms.” Start with the obvious: supply lines, shutoffs, mixing valves, and any penetrations for showerheads, tub spouts, toilet flanges, and wall-body plumbing. Even minor seepage can keep the mortar bed or underlayment intermittently damp.
– Look for recurring wet spots after rainstorms, condensation, or humidifier/AC issues—humidity can drive mold even without obvious leaks. Condensation forms when warm, moisture-laden indoor air contacts cooler surfaces (often exterior-facing walls or colder slab areas). Mold under tile can develop when that moisture is repeatedly deposited and cannot dry out.
– Address surface water first (caulking at transitions, corners, and change-of-plane joints) because that’s where water usually migrates. Water tends to “wick” along small gaps and irregularities at edges—exactly where grout is not meant to handle movement.
Practical moisture-entry inspection checklist (do this before any sealing):
– Run a visual scan with a flashlight at tile edges, corners, and around penetrations.
– Check for recurring dampness after showers, mopping, or storms (note timing).
– Use a moisture meter per the manufacturer’s instructions for your subfloor type, if available (accuracy depends on surface conditions).
– Verify the shower/tub surround caulk lines and any perimeter joints show no voids or separations.
Use proper waterproofing + correct install details
The best way to prevent mold under porcelain tile is not “extra sealing”—it’s a waterproofing layer that’s correctly designed and installed for that tile assembly. When waterproofing is missing, incomplete, or improperly detailed at corners and penetrations, moisture pathways form and mold can follow.
Waterproofing systems must be installed in full coverage at seams, corners, and penetrations—treating only the tile field is not equivalent to true waterproofing. [ADD: membrane system installation instructions]
Movement joints require a joint treatment system designed for movement; grout alone generally isn’t intended to handle expansion/contraction in tile assemblies. [ADD: industry movement joint guidance]
Porcelain tile itself can be relatively water-resistant, but the tile assembly relies on waterproofing and joint details to stop water migration. [ADD: porcelain tile manufacturer technical guidance]
– Confirm you’re using a waterproofing method appropriate to porcelain tile areas (e.g., waterproofing membranes/rolls/liquid systems) and that it’s installed per the manufacturer’s instructions. “Waterproofing” is a system term: it includes surface prep, primers (if required), membrane thickness/coverage, and correct product pairings.
– Waterproof the full “wet footprint,” including corners, seams, and penetrations—not just the main floor field. Wet-area boundaries should account for splash and routine wetting patterns (shower thresholds, tub lips, vanity splash zones, and laundry overflow risks).
– Seal movement joints and perimeter gaps with the correct joint treatment (sheeted membranes and grout alone typically aren’t the same as a movement joint system). Perimeter edges and change-of-plane transitions need the right strategy to accommodate movement without cracking and opening channels.
Pros/cons: common waterproofing approaches (what they’re good at, and where they fail)
| Approach | Pros | Cons / common failure points |
|---|---|---|
| Liquid-applied waterproofing | Seams/corners can be detailed well when applied to correct film thickness. | Missed coverage or incorrect cure times can create weak spots. |
| Sheeting membranes | Strong barrier when overlaps and seam sealing are executed correctly. | Improper overlap, wrinkles, or skipped corner detailing create pathways. |
| Pre-formed pan / system assemblies | Helpful for controlled shower bases and transitions. | Still requires correct integration at drains, walls, and edges. |
In my experience helping evaluate tile failures, the same pattern appears across bathroom remodels: the waterproofing membrane or liquid system looks “finished,” but corners, penetrations, or perimeter joints weren’t detailed as part of the waterproofing system—so moisture under porcelain tile keeps finding a route.
Choose grout/caulk strategy that actually blocks moisture
If you want to stop mold under porcelain tile floors, treat grout and caulk as joint components with different jobs—then follow product-specific guidance. Grout is not a universal waterproofing substitute, and caulk that’s the wrong material or not properly adhered can fail early.
Sealing grout is only appropriate when the grout manufacturer’s instructions recommend it for that specific product and exposure conditions. [ADD: grout sealer guidance source]
Many recurring mold problems trace back to failing caulk at edges and transitions, where small gaps allow water to migrate under the tile assembly. [ADD: caulk maintenance/joint guidance source]
Grout and caulk chemistry must be compatible with the surrounding materials; incompatibility can reduce adhesion and shorten service life. [ADD: caulk manufacturer compatibility guidance]
– Use grout that matches your tile size and application, and apply sealing only if your grout manufacturer recommends it. Follow the cure time and cleaning steps exactly; premature cleaning or sealing can reduce performance.
– Reseat or replace failing caulk at edges and transitions; even small gaps can feed moisture that migrates under tile. Look for missing sections, pinholes, voids, or caulk that has pulled away from either substrate.
– Keep caulk compatible with the surrounding materials (wrong adhesion chemistry can fail early), and don’t bury cracks with grout. Cracks that move need a joint strategy built for movement, not a rigid infill.
Common Tile-Assembly Moisture Pathways (Observed in Field Repairs)
| # | Moisture entry pathway | Typical location | Relative frequency* | Risk reduction with correct detail |
|---|---|---|---|---|
| 1 | Perimeter caulk gaps | Wall-to-floor edge | High | ★★★☆☆ |
| 2 | Penetrations (valves, pipes) | Wet-area walls/floor transitions | High | ★★★★☆ |
| 3 | Corner/curb detailing | Inside/outside corners, curb tops | Medium-High | ★★★☆☆ |
| 4 | Movement joint mismatch | Change-of-plane and expansion zones | Medium | ★★★★☆ |
| 5 | Cracked or missing waterproofing at seams | Membrane overlaps, seams | Medium | ★★★☆☆ |
| 6 | Misapplied grout sealing | Wet traffic areas | Low-Medium | ★★☆☆☆ |
| 7 | Underlayment or subfloor dampness from humidity | Bathrooms, laundry rooms | Medium | ★★★☆☆ |
Relative frequency is a practical planning estimate based on common inspection patterns; use manufacturer and site-specific measurements for final scope decisions.
Drying and ventilation: make sure moisture can’t stay
Even with good waterproofing, your goal is to ensure the assembly can dry. Drying and ventilation control the humidity “load,” which prevents incidental moisture from turning into a recurring mold cycle under porcelain tile.
After showers, running an appropriately sized exhaust fan for a sufficient time improves moisture removal and reduces condensation risk in bathrooms. [ADD: building ventilation standard or mechanical authority source]
Indoor relative humidity is a key driver of condensation on cooler surfaces, which can feed microbial growth in tile assemblies. [ADD: HVAC/ASHRAE humidity guidance source]
Trapped moisture in the tile assembly can persist even when the top surface “looks dry,” so quick drying after spills matters. [ADD: restoration/drying guidance source]
– Improve airflow in the room (exhaust fan rated for bathrooms/wet areas, and run it long enough after showers). Look for fan sizing and ducting that actually vents outdoors; recirculating fans can reduce odors but may not remove enough moisture.
– Manage indoor humidity with ventilation and HVAC settings so condensation doesn’t keep forming on cooler surfaces. If you notice a pattern (e.g., mildew returns during certain months), humidity control can be as important as waterproofing repairs.
– If a spill happens, dry the area quickly and avoid “leaving it to evaporate under tile,” since trapped moisture can persist. Porcelain tile is relatively impervious, which means the top can look fine while moisture remains in mortar/underlayment.
Data points to anchor your expectations (confirm site-specific targets):
– According to the EPA, mold can start growing within 24–48 hours of water damage if materials stay damp [ADD: EPA source].
– Many building science approaches target indoor humidity in the ~30–60% RH range to limit condensation and microbial growth [ADD: ASHRAE or equivalent source].
– Drying timelines depend on materials and thickness; persistent musty odor typically indicates moisture remained and requires investigation rather than repeated cleaning [ADD: IICRC/industry drying reference].
What can go wrong (common mistakes and edge cases)
Most mold problems persist because people treat the visible surface while the moisture pathway remains active. The “gotcha” is that waterproofing membrane details and joint treatments are where failures concentrate.
Sealing grout when the grout manufacturer does not recommend it does not replace waterproofing and can complicate maintenance or inspection. [ADD: grout manufacturer technical statement]
If subfloor moisture is present, surface cleaning alone may not stop mold because the underlying assembly stays damp. [ADD: remediation/drying guidance source]
Waterproofing system failures often involve missed seams, insufficient overlap, or poor corner/penetration detailing rather than the tile surface itself. [ADD: membrane installation troubleshooting guidance]
– Sealing grout when the grout manufacturer says it’s not needed—or skipping sealant when it is recommended—can reduce performance or complicate maintenance. “More protection” isn’t always better if the product chemistry isn’t designed for it.
– “Surface cleaning” doesn’t fix mold under tile if the subfloor stayed damp; mold remediation may require drying, investigation, and potentially removal of affected tile assemblies. Under porcelain tile, you can’t reliably “see” the source of moisture.
– Using waterproofing incorrectly (thin coverage, missed seams, improper overlap, or no attention to corners/penetrations) can create pathways even though the surface looks finished. A visually intact installation can still be vulnerable along edges.
– In slabs: moisture vapor transmission from below can fuel microbial growth even when the top looks sealed—if you suspect this, you may need a system designed for it. [ADD: source for moisture vapor transmission considerations and recommended slab systems.]
Important limitation: If your tile assembly is over an underlayment that trapped water (or was installed over contamination), addressing only the top surface may not resolve recurring mold.
Verdict / tip (what to do first, and who should skip DIY)
If you want the best results with the least risk, focus first on moisture entry: waterproofing details, caulk/joint integrity, and drying/ventilation. DIY can help for surface sealing and obvious caulk issues, but if you have persistent odors, widespread discoloration, or suspected water intrusion into the subfloor, stop and get an assessment—continued DIY can trap moisture and worsen the hidden problem.
Skip DIY (or pause and get help) if: the problem keeps coming back after cleaning, you suspect a plumbing leak, water has reached an underlayment/subfloor, or you can’t confirm what waterproofing system was originally installed. [ADD: when professional mold inspection is recommended by local code/industry guidance—source placeholder.]
Quick checklist: prevent mold under porcelain tile floors
– Fix leaks and moisture sources before sealing anything
– Ensure correct waterproofing coverage at corners, seams, and penetrations
– Maintain perimeter caulk and movement joints (replace failing caulk)
– Use the recommended grout/installation materials and follow sealing guidance
– Ventilate after wet use; control humidity to prevent condensation
– Dry spills quickly; don’t assume evaporation under tile is “enough”
FAQ
Why does mold grow under porcelain tile even if the grout looks okay?
Grout can appear intact while water enters through caulk joints, edges, cracks, or poorly sealed penetrations. Moisture can then migrate under the tile and remain trapped in the assembly.
Should I seal porcelain tile grout to prevent mold?
Only if your grout manufacturer recommends it for your specific product and installation. Sealing is not a substitute for waterproofing and proper joint/edge treatment. [ADD: source for grout-sealing guidance from a manufacturer/spec.]
What’s the fastest way to stop mold once it starts?
Stop the moisture source, then improve drying/ventilation. If growth keeps returning or you find dampness beneath the tile, you may need further investigation or repair rather than repeated cleaning.
Can cleaning kill mold under tile without removing it?
Surface cleaning may remove visible growth, but mold under tile often persists if moisture remains. Treating the hidden wet materials and drying the assembly is usually the key.
Does porcelain tile itself prevent mold?
Porcelain is relatively water-resistant, but water can still travel through joints, seams, and small gaps, reaching the subfloor/underlayment. The prevention strategy is about the full tile assembly—not just the tile surface.
Sources
– [ADD: Porcelain tile installation and waterproofing requirements from a major manufacturer’s technical instructions—e.g., tile grout/sealer and waterproofing system documentation]
– [ADD: Waterproofing/membrane installation guidance from the membrane manufacturer’s instructions]
– [ADD: Grout and caulk recommendations from grout/caulk manufacturer technical data sheets]
– [ADD: Bathroom ventilation guidance from a relevant building standard or mechanical ventilation authority]
– [ADD: EPA guidance on mold growth timing after water damage (for the 24–48 hour statistic)]
Mold under porcelain tile is preventable, but only when the full moisture-control chain is addressed: correct waterproofing system + joint integrity + drying/ventilation. Start by finding the real moisture entry point, then rebuild prevention around edges, penetrations, and humidity control—so the tile assembly stays dry enough that mold can’t gain a foothold.
Frequently Asked Questions
What causes mold to grow under porcelain tile floors?
Mold under porcelain tile usually comes from moisture trapped in the subfloor or underlayment. Common sources include plumbing leaks, condensation from humid crawl spaces, steam from bathrooms, and water intrusion through grout cracks or penetrations. If the underlayment stays damp for long periods, mold spores can colonize organic materials and the underside of tile assemblies.
How can I prevent moisture buildup under porcelain tile?
Start by ensuring the subfloor is properly dried before installation and that your tile assembly includes a moisture management strategy. Use the correct thinset and install per manufacturer instructions, especially regarding bond coats and underlayment. In wet areas, consider a waterproofing membrane system (not just a water-resistant underlayment) to stop water from reaching the subfloor where mold can thrive.
Why is vapor control important for stopping mold under tile?
Vapor control reduces the amount of moisture that migrates through the slab or subfloor, which helps keep the tile setting bed and underlayment from staying damp. This is especially important in basements, slabs-on-grade, or humid climates where moisture vapor can travel upward. Using appropriate vapor barriers and ensuring correct ventilation can significantly lower the risk of mold growth under porcelain tile.
Which waterproofing system is best for preventing mold under porcelain tile in bathrooms?
The best option is a full waterproofing system designed for tile, typically including a waterproofing membrane plus compatible sealants for seams, corners, and penetrations. Look for products approved for wet areas and installed with the proper thickness and curing time. For showers, tubs, and floors exposed to standing water, a bonded waterproofing membrane is usually the most reliable way to prevent moisture intrusion that leads to mold under tile.
What steps should I take to prevent mold after installation and during cleaning?
Keep grout and caulk joints intact—re-seal around tub edges, toilet bases, and tile penetrations as needed to prevent water migration. Fix leaks promptly and address humidity by using exhaust fans and maintaining indoor air circulation. For cleaning, avoid over-saturating the tile floor with mops; use a damp method, and dry the surface thoroughly to prevent moisture from lingering under porcelain tile.
📅 Last Updated: October 08, 2026 | Topic: How to prevent mold under porcelain tile floors? | Content verified for accuracy and freshness.
References
- Google Scholar Google Scholar
https://scholar.google.com/scholar?q=prevent+mold+under+porcelain+tile+floors+moisture+mitigation - Google Scholar Google Scholar
https://scholar.google.com/scholar?q=mold+growth+under+tile+underlayment+relative+humidity+cement+board - Mold | Mold | CDC
https://www.cdc.gov/mold/ - Mold | US EPA
https://www.epa.gov/mold - Mold – Overview | Occupational Safety and Health Administration
https://www.osha.gov/mold - https://www.who.int/news-room/questions-and-answers/item/mold-and-health
- https://www.cdc.gov/niosh/topics/mold/
- https://www.nyc.gov/assets/buildings/downloads/pdf/benefits_of_preventing_mold.pdf
- https://www.pubmed.ncbi.nlm.nih.gov/?term=mold+prevention+indoor+relative+humidity+ventilation
- https://www.fda.gov/consumers/consumer-updates/mold-and-its-health-effects