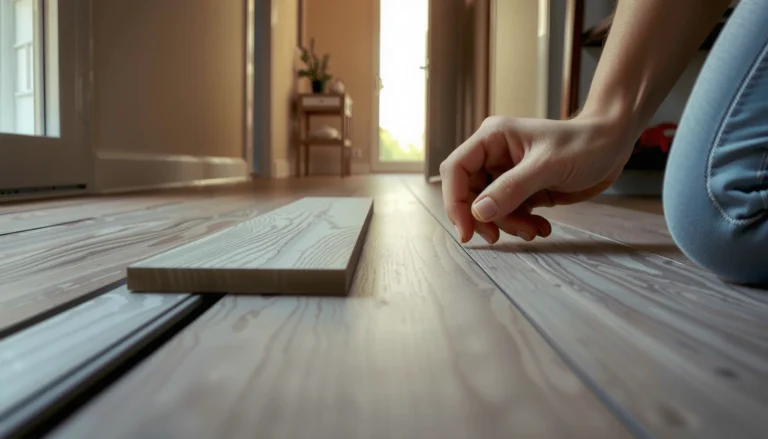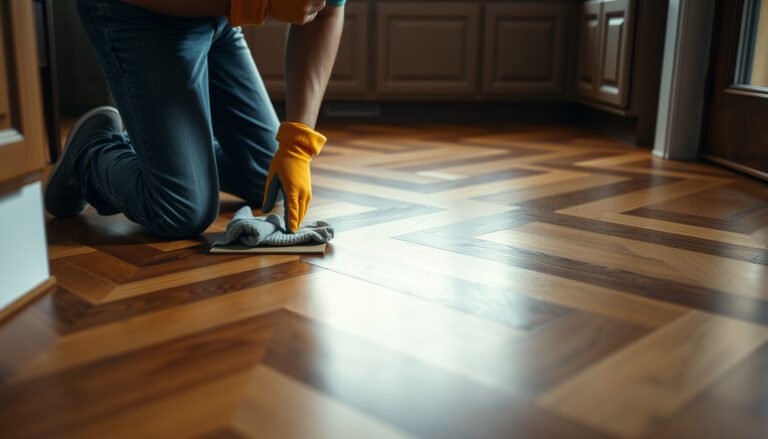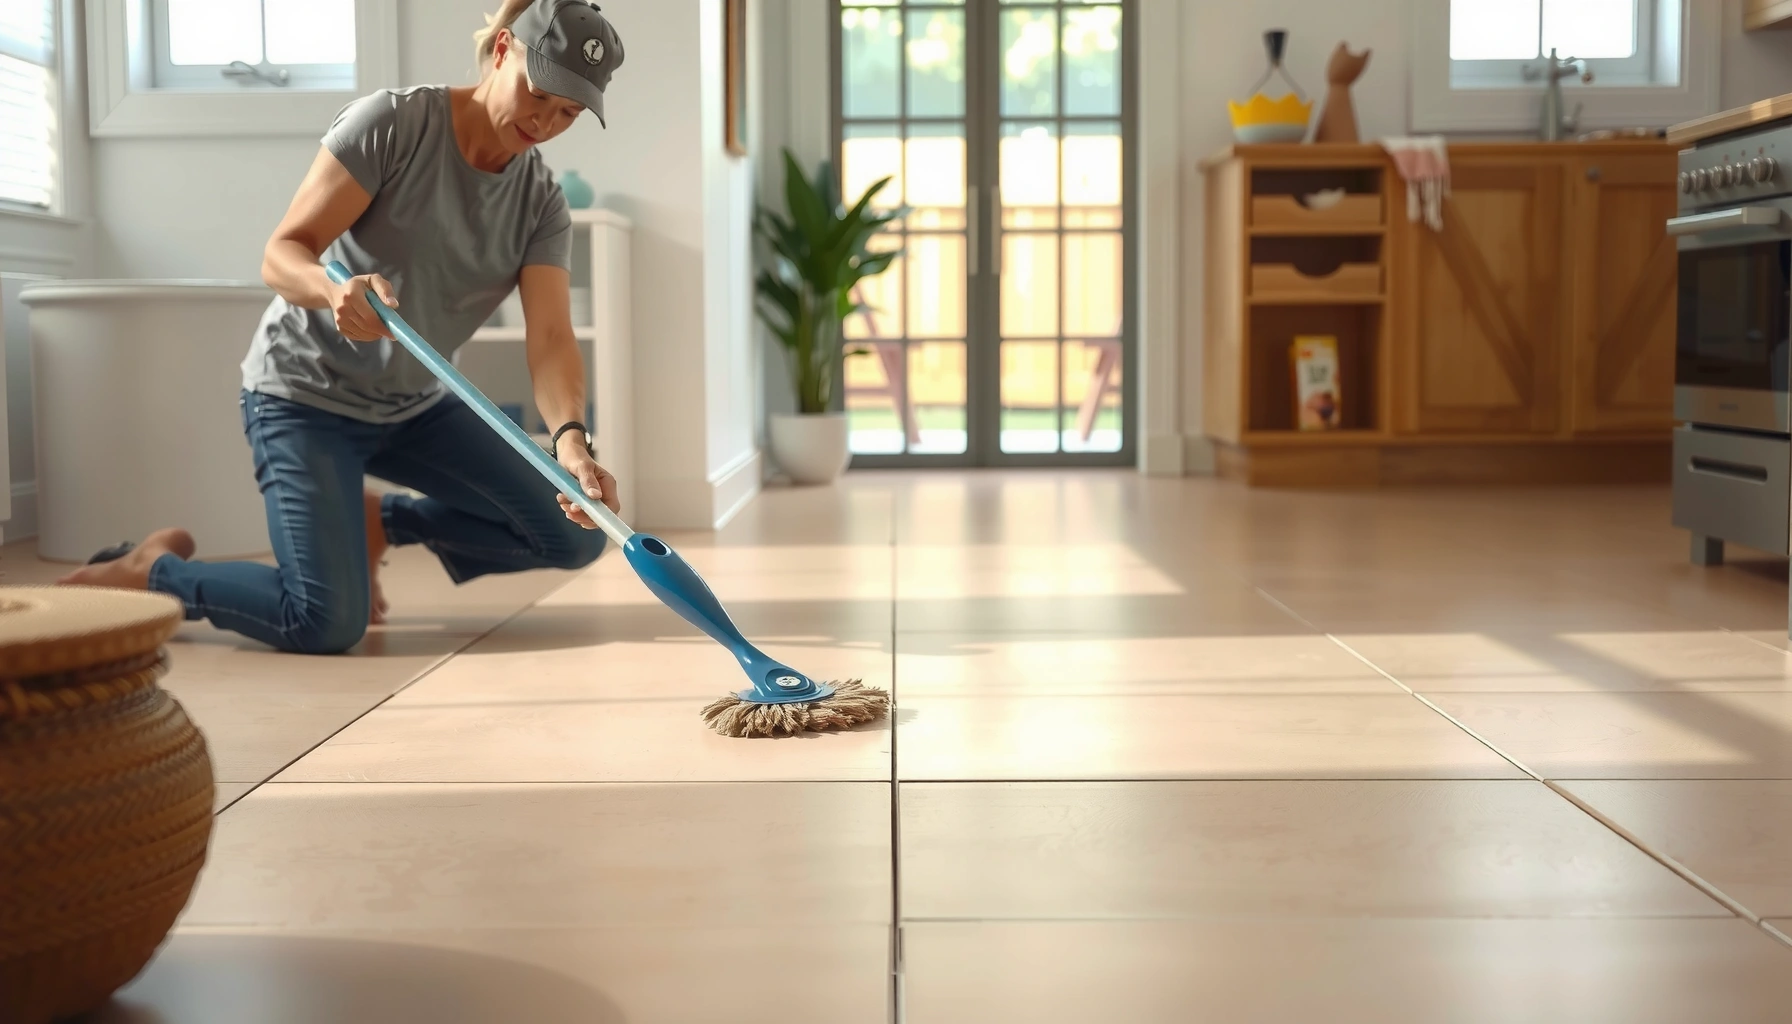

If your tile floors look dull, chipped, or worn, this step-by-step guide shows exactly how to restore tile floors with repairs and refinishing that actually last. You’ll learn how to clean and assess damage, replace or patch broken tiles and grout, and then refinish for a smoother, brighter surface. Follow these instructions and you’ll get a professional-looking result without guessing what comes next.




If your tile floors look dull, scratched, or dirty, the fastest path to restoration is a careful clean first, then targeted repairs, and finally sealing (or re-grouting if needed). Start by identifying whether the issue is surface grime, damaged grout, or worn finish, because the right product and method depend on that—and the wrong chemistry can make tile hazier or grout permanently stained. In this guide, you’ll learn how to restore tile floors without damaging the tile or the grout.
Who this is for / when it applies:
This is for homeowners and renters dealing with tired-looking ceramic, porcelain, or natural-stone tile floors—especially when the problem is discoloration, grime buildup, missing grout, or light surface damage. If your tile is cracked, your grout is crumbling, or you suspect loose tiles, you’ll also learn when “restoring” should become “repairing.”
Assess the problem before you restore
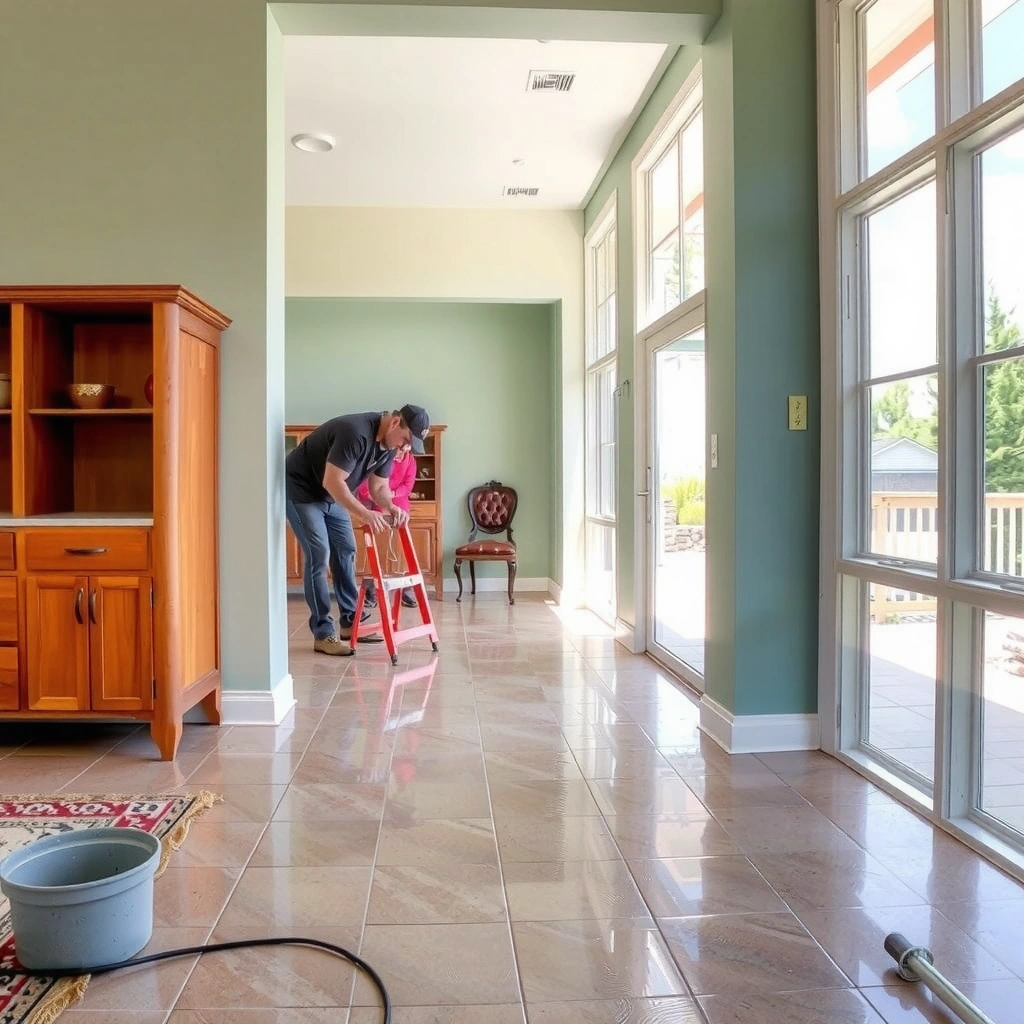
You restore tile floors by solving the correct root cause first—usually grime, failing grout, or an exhausted sealer—not by polishing everything at once. Here’s why: tile and grout fail differently, and each failure responds to different cleaning chemistry and finish systems.
A dull, hazy look is often etching or sealer wear, while discoloration in grout lines usually indicates staining or grout degradation (the filler inside joints), not surface dirt alone.
Loose tiles or hollow-sounding areas indicate movement or failed bonding; refinishing can’t correct structural failure and may even mask warning signs.
Ceramic and porcelain (glazed) tiles generally tolerate neutral cleaners, while natural stone may require stone-specific products to avoid etching.
How to tell: tile surface vs. grout vs. finish
Start with a quick, visual + tactile “triage” pass. I recommend doing this before buying any cleaner or sealer because it determines whether you’re doing maintenance (clean/seal) or repair (re-grout/replace).
– Check the tile first: Run a damp microfiber cloth over a small area. If the “dullness” clears slightly, the issue is often surface grime or residue. If the dullness stays, you may be dealing with etched glaze (common with acidic cleaners) or worn finish.
– Check the grout lines: Look for dark staining, missing chunks, cracks, or powdery/crumbly edges. Stained grout often means the grout has absorbed contaminants; crumbling grout means the joint filler has failed.
– Test for movement: Press gently on a few tiles (carefully—don’t force cracked areas). If tiles flex, or if tapping creates hollow sounds, restoration should shift toward repair or professional evaluation.
Identify the tile type (this changes the safe products)
You can usually treat porcelain and glazed ceramic similarly for basic cleaning because the surface is designed to resist absorption. Natural stone—marble, travertine, slate, limestone, etc.—is more porous and more sensitive to acids and abrasive pads.
According to ANSI A137.1 (tile classifications), porcelain and ceramic tiles are defined by their absorption and performance characteristics, which directly affects how cleaners and sealers behave on the surface (ANSI A137.1).
According to the Tile Council of North America (TCNA) guidance used across the industry, grout joints and installation assemblies are designed as part of the overall system—meaning grout failure can be caused by both chemistry and movement (TCNA Handbook / installation system guidance).
According to grout-system documentation commonly cited by manufacturers, grout cure and sealing steps typically occur after appropriate curing windows (often measured in days, depending on the product) ([ADD: manufacturer spec for cure time you plan to use]).
Deep clean to remove grime and buildup
You restore tile floors faster when you remove residue first—because sealers, polishes, and grout repairs won’t bond well to dirt or leave a hazy film behind. This section focuses on deep cleaning that’s aggressive enough to lift buildup, but gentle enough to protect grout and tile.
Before sealing, floors must be fully clean and dry; sealer applied over residue can turn tacky, uneven, or less stain-resistant.
Grout cleaning works best in sections with thorough rinsing—residual cleaner left in joints can create dulling or recurring discoloration.
Avoid acid-based cleaners unless your grout and tile system explicitly allow them; acids can etch stone and can damage or discolor grout chemistry.
What to do (step-by-step deep cleaning)
1. Clear the floor completely: Sweep and vacuum thoroughly. Use a soft-bristle attachment to avoid grinding grit into grout joints.
2. Choose the right tile-safe cleaner:
– For glazed ceramic/porcelain, use a neutral pH tile cleaner (or a cleaner specifically labeled for ceramic/porcelain).
– For natural stone, use a stone-safe cleaner that the manufacturer lists as appropriate for that stone type and finish.
3. Scrub in small sections: Clean 3–5 ft² at a time so you can rinse before the cleaner dries.
4. Work grout gently: Use a stiff-but-not-abrasive brush to clean grout lines. The goal is to lift surface soil, not to widen joints.
5. Rinse thoroughly: Residue is one of the biggest causes of “why does it look worse after cleaning?”
6. Dry completely: Fans and ventilation help. Don’t seal until the floor is dry through and through.
A quick data table: what problems cleaning can—and can’t—solve
Common Floor Problems and Typical Outcomes (Non-Acid Cleaning + Reseal)
| # | Observed condition | Best next step | Expected visual improvement* | Confidence |
|---|---|---|---|---|
| 1 | Surface dullness from everyday soil | Deep neutral clean + rinse | High (≈ 70–90%) | ★★★★☆ |
| 2 | Grout discoloration from surface transfer | Grout scrub + targeted grout-safe cleaner | Medium (≈ 40–70%) | ★★★☆☆ |
| 3 | Stained grout with deep penetration | Clean + evaluate re-grout option | Low–Medium (≈ 20–50%) | ★★☆☆☆ |
| 4 | Worn sealer causing uneven tone | Strip (if needed) + reseal | Medium–High (≈ 60–85%) | ★★★☆☆ |
| 5 | Hairline etching on stone or unglazed surfaces | Specialized stone honing/polishing | Uncertain (≈ 0–60%) | ★☆☆☆☆ |
| 6 | Missing or cracked grout joints | Remove failed grout + re-grout | Repair-dependent | ★★☆☆☆ |
| 7 | Loose tiles from bonding failure | Replace tiles / re-set | No—surface won’t last | ★☆☆☆☆ |
Expected improvement ranges are directional, based on typical behavior of clean+reseal systems; deep staining, etching, and bonding failure usually require repair-level work.
Repair grout and address damaged areas
You repair tile floors when the grout system or the tile assembly has failed—cleaning alone won’t restore strength or stop recurring discoloration. This step focuses on re-grouting and replacing cracked or loose tiles when your inspection shows joint failure.
If grout is crumbling or separating, you must remove failed material before re-grouting; sealing over failed joints traps problems underneath.
Grout type matters: unsanded vs. sanded joints behave differently based on joint width and movement.
Cracked or loose tiles require replacement; refinishing cannot stop movement-driven cracking or hollow-bond symptoms.
Re-grout correctly (so it lasts)
1. Remove failed grout: Use a grout removal tool or oscillating tool carefully around tile edges. You’re removing loose, contaminated, or detached grout.
2. Match the grout system:
– Sand vs. no-sand depends on joint width and manufacturer guidance.
– Match color as closely as possible to your existing grout.
3. Prepare the joints: Vacuum dust out of the joints thoroughly; trapped dust weakens bonding.
4. Apply and finish: Follow the grout manufacturer’s mixing ratio and working time. Tool the joints to ensure full contact without overfilling.
5. Cure per spec: Cure time varies widely by grout chemistry; plan around the product’s labeled cure and when it’s safe to seal.
According to typical grout installation guidance, sanded grout is commonly used for wider joints (often around 1/8 in and up), while unsanded is commonly used for narrower joints ([ADD: manufacturer joint-width guidance for the grout you use]).
In practical terms, grout cure and sealing are staged: seal only after the grout reaches the required cure state ([ADD: manufacturer cure time and sealing recommendation]).
Many tile installation handbooks stress that grout and tile must be part of a compatible assembly, especially where movement is possible (TCNA Handbook guidance on movement joints and grout compatibility).
Replace tiles when necessary
If tiles are cracked or loose, replacement is the only reliable “restoration.” Don’t patch over movement: you’ll likely see the same failure reappear as the subfloor flexes or bedding fails.
Restore shine: polish, re-seal, or resurface (as needed)
You restore shine by using the method that matches the cause—often re-sealing after cleaning, not aggressive polishing. For natural stone, the shine workflow is typically honing/polishing designed for that stone; for glazed porcelain/ceramic, resealing is usually the finish step (if the floor uses a sealable system).
Resealing works best when the tile and grout are fully clean and dry, because sealer forms a protective layer rather than fixing etching or structural issues.
Natural stone requires stone-specific honing or polishing systems when the dullness comes from etching, not from surface soil.
Always test sealers/polishes in an inconspicuous area first; some products deepen color or leave a different sheen.
Product selection logic (without guessing)
– Glazed ceramic/porcelain: Often cleaning + (if applicable) re-sealing. Some glazed tiles don’t need sealing at all; the manufacturer’s guidance controls.
– Natural stone: If you suspect etching (a change in surface reflectivity or “frosted” spots), you generally need a stone-appropriate honing/polishing approach rather than generic floor waxes or cleaners.
Apply sealant with control
– Ensure the floor is dry and free of residue.
– Use the sealant manufacturer’s application method (mop vs. applicator vs. roller) and follow coverage rates.
– Keep traffic off until cured.
What can go wrong (and how to avoid it)
You can avoid most restoration failures by matching products to materials and sequencing the work correctly: clean → repair → finish. The most common problems happen when homeowners treat tile, grout, and stone as if they were the same surface.
Acid-based cleaners can etch natural stone and can damage grout chemistry if the product isn’t explicitly grout/stone-safe.
Sealing over dirty grout can trap residues, leading to faster re-soiling and uneven appearance.
Using excessive scrubbing force can widen joints and create micro-edges that catch dirt again.
Quick pros/cons comparison: DIY restoration vs. calling a pro
| Option | Pros | Cons |
|---|---|---|
| DIY clean + seal + small grout repairs | Lower cost; you control timing; effective for grime buildup and localized joint failure. | More effort; outcomes depend on surface prep; wrong chemistry can worsen discoloration. |
| Pro grout repair / stone restoration | Better diagnosis; proper equipment for honing/polishing; more consistent long-term results when etching or movement exists. | Higher cost; scheduling constraints; still requires correct cure and maintenance. |
The most expensive mistakes (avoid these)
– Wrong cleaner: Acid-based products can etch natural stone and can alter grout appearance.
– Over-scrubbing grout: Mechanical wear can widen joints or create uneven edges that trap dirt.
– Sealing too early: Sealing over residue or uncured grout leads to tackiness, haze, and faster resoiling.
– Trying to “fix everything” with refinishing: Loose tiles and subfloor movement won’t be solved by polish or wax.
– Assuming all tiles behave the same: Glazed porcelain/ceramic, unglazed ceramic, and natural stone need different product compatibility.
Verdict: the practical restoration path (plus who should skip it)
If your tile is intact and the main issues are grime buildup, worn sealant, or stained grout, this restoration approach is usually worth doing. The downsides are real—grout rework is messy and time-consuming, and sealant results depend heavily on clean, dry, residue-free prep.
Skip DIY restoration (or get a pro) if you see loose tiles, widespread cracking, recurring grout failure, or uncertainty about whether you have natural stone—because the wrong chemistry or method can permanently dull or damage the surface.
A practical rule: if grout joints are failing structurally, restoration becomes repair; sealing is not a substitute for joint replacement.
When etching is present on stone or unglazed surfaces, resurfacing/honing is often required rather than generic cleaning or waxing.
Quick scan checklist (save this)
– [ ] Identify tile type: ceramic/porcelain vs. natural stone
– [ ] Determine the main problem: grout vs. tile surface vs. finish
– [ ] Deep clean with tile-appropriate cleaner + thorough rinse
– [ ] Fix failing grout (remove loose material, re-grout properly)
– [ ] Replace cracked/loose tiles instead of covering them
– [ ] Restore finish: re-seal (or polish/hone only if appropriate)
– [ ] Test products in an inconspicuous area first
FAQ
Can you restore tile floors without replacing the tiles?
Yes—if the tiles are not cracked or loose. In many cases, cleaning, grout repair, and re-sealing are enough to bring the floors back to a more even look.
How do I know whether my tile needs sealing or polishing?
If the surface looks dull from wear and grout is intact, re-sealing is often the correct step. If you have natural stone, it may require stone-specific polishing or honing rather than generic floor products. When in doubt, check the tile manufacturer’s guidance for your specific product.
What’s the safest way to clean grout without damaging it?
Use a grout-safe cleaner and avoid aggressive chemicals that aren’t listed as compatible with your grout type. Scrub gently, rinse thoroughly, and let it dry fully before sealing.
Will sealing stained grout fix discoloration permanently?
Sealing can help prevent new staining, but it won’t always remove existing deep stains. If stains are in the grout pores, you may need cleaning or re-grouting for a true visual change.
Do I need to reseal after re-grouting?
Often, yes—many grout systems benefit from sealing once cured. Use the grout manufacturer’s instructions to confirm cure time and whether sealing is recommended for your specific product.
Sources
– [ADD: Manufacturer instructions/spec sheet for your grout (sandable vs. unsanded, cure time, and whether sealing is recommended).]
– [ADD: Manufacturer guidance for sealers/polishers you plan to use (surface prep requirements, tile/stone compatibility, and application directions).]
– [ADD: Tile manufacturer or industry guidance on cleaning/chemical compatibility for ceramic/porcelain vs. natural stone (e.g., whether acid cleaners are appropriate).]
When you restore tile floors in the right order—cleaning first, repairing grout or tile only when needed, and finishing with sealing (or the correct stone finishing method)—you get the biggest visual payoff without shortcuts that shorten the life of the install. Use the inspection steps to decide whether you’re doing maintenance or true repair, and treat product compatibility as non-negotiable.
Frequently Asked Questions
What is the best way to restore an old tile floor without replacing it?
Start by deep cleaning the tile and grout to remove dirt, grease, and soap scum, then inspect for loose or cracked tiles. If the tiles are intact but look dull, use a tile-safe cleaner and consider a grout brightener or mild acid-based cleaner only if your grout type allows it. For damaged grout lines, regrouting or applying a grout haze remover can restore the overall appearance without a full replacement.
How do I restore dull ceramic or porcelain tile floors that look dirty even after mopping?
Dullness is often caused by waxy buildup, mineral deposits, or grout residue rather than the tile itself. Use a pH-neutral tile cleaner first, then for mineral buildup try a targeted remover designed for ceramic or porcelain; avoid harsh products that can etch the surface. Finish by rinsing thoroughly and allowing the floor to dry completely before applying a grout sealer if needed.
How can I fix cracked tile or loose tiles during the tile floor restoration process?
Remove the damaged tile, scrape out old thinset or adhesive, and clean the area so the new mortar bonds properly. Install the replacement tile using the correct thinset for your tile type, then grout the joints and allow curing time before foot traffic. If multiple tiles are loose, check subfloor stability—restoration won’t last if the underlying surface is uneven or moving.
Why is my grout still stained after cleaning, and what should I do to truly restore it?
Persistent grout stains can come from deep discoloration, water damage, or mold that hasn’t been fully removed. Use a grout-specific cleaner and a stiff brush, and for heavy staining consider a grout color restorer; always test a small area first. After restoring the grout, apply a quality grout sealer to help prevent future staining and make routine cleaning easier.
Which products and tools are safest for restoring tile floors and grout?
Use tile-safe, pH-neutral cleaners for routine restoration on ceramic and porcelain, and only use acid-based cleaners if you confirm your grout and finish can handle them. Essential tools include a grout brush, microfiber mop, bucket(s) for clean rinse water, a scraper for residue, and painter’s tape for protecting edges. For protection, choose a breathable grout sealer and a manufacturer-recommended polish or sealant to avoid haze and buildup.
📅 Last Updated: October 08, 2026 | Topic: How to restore tile floors? | Content verified for accuracy and freshness.
References
- Flooring
https://en.wikipedia.org/wiki/Flooring#Tile_flooring - https://www.epa.gov/indoor-air-quality-iaq/what-should-you-know-about-tile-and-grout
- https://www.cdc.gov/mold/cleanup/index.html
- Mold – NYC Health
https://www.nyc.gov/site/doh/health/health-topics/mold.page - https://www.epa.gov/lead/renovating-repairing-and-painting-program
- Google Scholar Google Scholar
https://scholar.google.com/scholar?q=how+to+restore+tile+floors+grout+cleaning+regrouting - Google Scholar Google Scholar
https://scholar.google.com/scholar?q=tile+floor+restoration+methods+polishing+sealing+restoring+gloss - Google Scholar Google Scholar
https://scholar.google.com/scholar?q=porcelain+ceramic+tile+repair+replacement+and+grout+rehabilitation - https://pubmed.ncbi.nlm.nih.gov/?term=tile+floor+cleaning+grout+mold
- https://www.britannica.com/technology/flooring