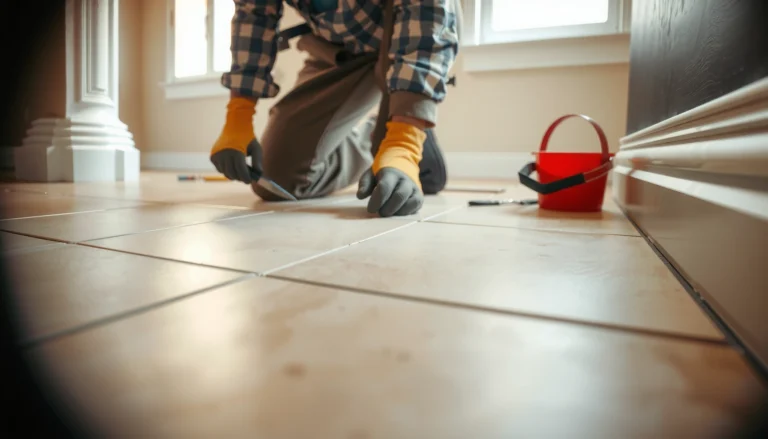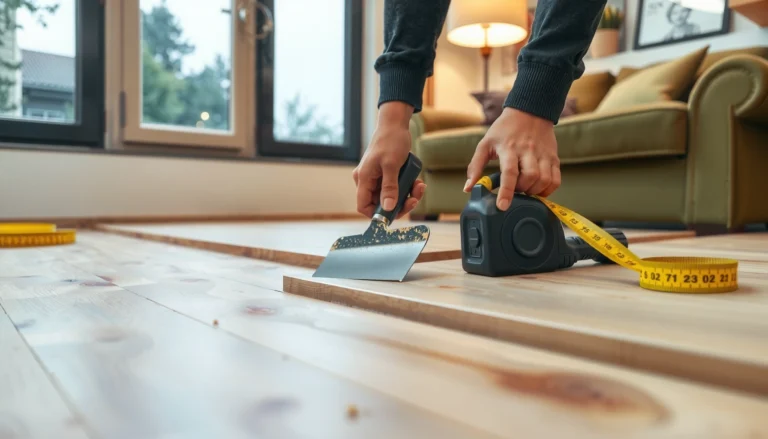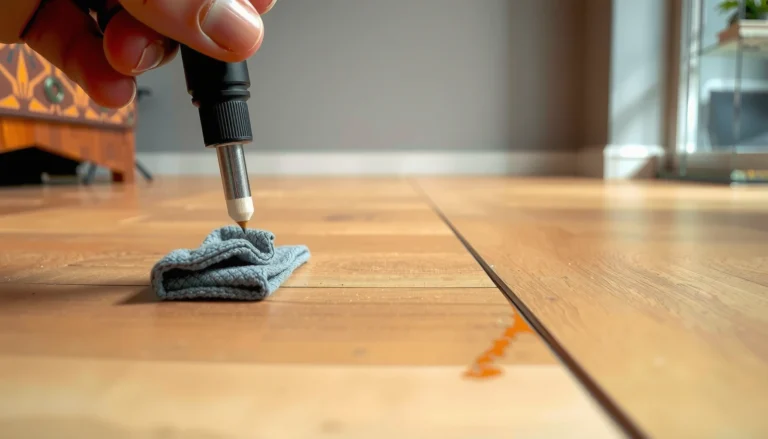

Need to know how to fix peeling on WPC floors? This step-by-step repair guide tells you exactly why the top layer is lifting and what to do next—whether it’s moisture trapped underneath, a damaged click-lock joint, or an installation surface problem. Follow the process in order to stop further peeling and restore a smooth, sealed finish.



If your WPC floor is peeling, the reliable fix starts with stopping the moisture path, then removing loose material and re-bonding or replacing the affected boards. This matters because WPC (WPC = wood polymer composite) can tolerate water better than traditional floors, but it still can fail when water gets under seams or when the subfloor stays damp.
If you’ve noticed peeling at seams, near doors, or in spill-prone spots, this is for you. It’s also relevant if the floor feels slightly lifted, looks bubbled, or the coating is coming up in strips after cleaning or humidity changes.
Identify what’s actually peeling (top layer vs. plank edges)

The first step is to determine whether the peeling is just a surface wear-layer/coating problem or a deeper plank/seam failure. Once you know which layer is separating, you can pick the correct repair path—spot patching, re-gluing edges, or full plank replacement.
Peeling that follows locking seams/joints usually indicates water ingress into the joint or movement at the edge, not just surface wear.
If the lifted area feels soft or “spongy,” moisture may have reached the backing/core interface, increasing the chance that re-gluing won’t last.
Coating/skin peeling across the walking surface is often treated differently than seam-edge lifting because the board’s internal bond may be compromised.
WPC flooring failure still depends on installation conditions (subfloor moisture, underlayment/vapor control), even if the core is water-resistant.
Start with a quick, practical inspection:
– Peeling location:
– Along seams/lock joints (especially in repeating rows) → most often moisture wicks into joints, or the planks weren’t able to stay flat.
– On the walking field (broad areas not tied to seams) → more likely wear-layer/coating bond failure.
– Near doorways/thresholds → common stress point where transitions, drafts, and cleaning water pathways concentrate.
– What’s lifting (the “layer test”):
Use a plastic card or fingernail (gently) to see what moves:
– Only the top film/coating lifts cleanly while the core feels firm → spot patching may be possible depending on your product system.
– The plank edge lifts and you can see a gap at the joint → seam/core bond or locking-edge failure is more likely.
– The plank itself separates from the backing (you see separation lines, or the board flexes differently) → replacement is often the long-term solution.
Use this quick “root-cause hint map”
– Swollen edges / discoloration / darkening at the lifted area → water exposure and likely subfloor moisture involvement.
– Bubbling right after mopping or heavy humidity → cleaning water trapped at the surface or vapor imbalance.
– Peeling after moving furniture or rolling heavy loads → mechanical stress plus any moisture pathway can accelerate edge lifting.
Stop the cause before you repair
The best repair won’t hold if moisture keeps returning, so you must stop leaks and correct cleaning/subfloor moisture conditions first. After that, repairs (adhesives or replacement) have a real chance to stay stable.
In-situ flooring failures commonly reoccur when the underlying moisture source (spills, mopping, plumbing leaks, or HVAC condensation) isn’t corrected.
Many manufacturers require damp—not wet—mopping for vinyl/WPC-type floors to avoid liquid infiltration at joints.
Proper vapor control and subfloor moisture management are central to resilient flooring performance in service environments.
Fix active moisture sources first:
– Leaks: plumbing under sinks, dishwasher hoses, refrigerator lines, water heaters.
– Condensation: HVAC vents, dehumidifier issues, or humidifier placement (especially on exterior-wall sides).
– Cleaning habits:
– Avoid soaking or leaving standing water on the floor.
– Use a damp (not wet) mop and follow the flooring’s care guidance.
– If you’re unsure which method to use, use your manufacturer’s cleaning instructions: [ADD: source for your WPC floor cleaning method—manufacturer care instructions].
Then address installation/system conditions:
– Underlayment and vapor barrier: WPC floors often require the correct underlayment and/or a vapor barrier depending on your product and subfloor type.
Check your installation specs: [ADD: source for your product’s installation specs].
– Subfloor dryness: If the slab/wood subfloor is running damp, adhesive patches can trap moisture and worsen separation. Use your product’s moisture/vapor requirements first.
Mini checklist: what to fix before glue
– [ ] No active leak (test and confirm).
– [ ] No recurring condensation (correct HVAC/dehumidification pattern).
– [ ] Cleaning will not introduce liquid into seams (switch to damp mopping).
– [ ] Underlayment/vapor layer matches the product requirements.
Prepare the damaged area correctly
The preparation step determines whether the repair sticks and stays flat. Remove loose material, clean residue properly, and—most importantly—make sure the area is fully dry before applying any bonding product.
Adhesives used for resilient flooring need a sound, clean substrate; chalky residue, oils, or moisture commonly cause bond failure.
Moisture-driven lifting often reopens after repair if the subfloor and joint area aren’t dry.
Surface prep methods should match the manufacturer’s guidance for your specific WPC system to protect the wear layer and joint surfaces.
Follow this workflow:
1. Remove loose material carefully
– Lift only what peels easily.
– Avoid tearing deeper layers or widening the joint.
2. Clean residue until the surface is stable
– Remove adhesive residue, dirt, and any degraded coating.
– Do not leave wet spots behind.
3. Dry thoroughly
– Let the area air out until there’s no visible dampness and the board feels normal to the touch.
– If you suspect ongoing moisture, stop here and address the source (before you bond).
4. Clean with the manufacturer-approved approach
If you’re unsure which cleaner or method is compatible, use: [ADD: source for recommended surface prep/cleaner compatibility].
Compatibility note (important)
Some WPC wear layers are sensitive to certain solvents. If you’re cleaning with a stronger chemical, you can inadvertently soften the top skin and make peeling worse—so stick to the documented prep method.
Reattach or patch: choose the right repair route
The right repair route depends on what failed: a loose edge might be re-bondable, but coating/skin separation across large areas—or plank/core separation—usually needs replacement. Choose based on the failure type you identified.
Re-gluing an edge can work when the core is stable and the only issue is localized lifting at the joint area.
If the top wear layer is failing over a wide walking area, many product systems limit how far “spot patching” can restore the original bond.
When planks separate across multiple rows, repeated re-gluing can create uneven ridges and recurring failures.
Here’s how to decide:
1) Minor edge lifting (localized joint/edge)
– Use a WPC/LVP-compatible adhesive method that your manufacturer allows.
– Only proceed if your product system supports re-bonding rather than requiring board replacement.
– Adhesive guidance you should follow: [ADD: adhesive type/spec from your flooring manufacturer, if available].
Practical approach
– Clean and dry first (from the previous section).
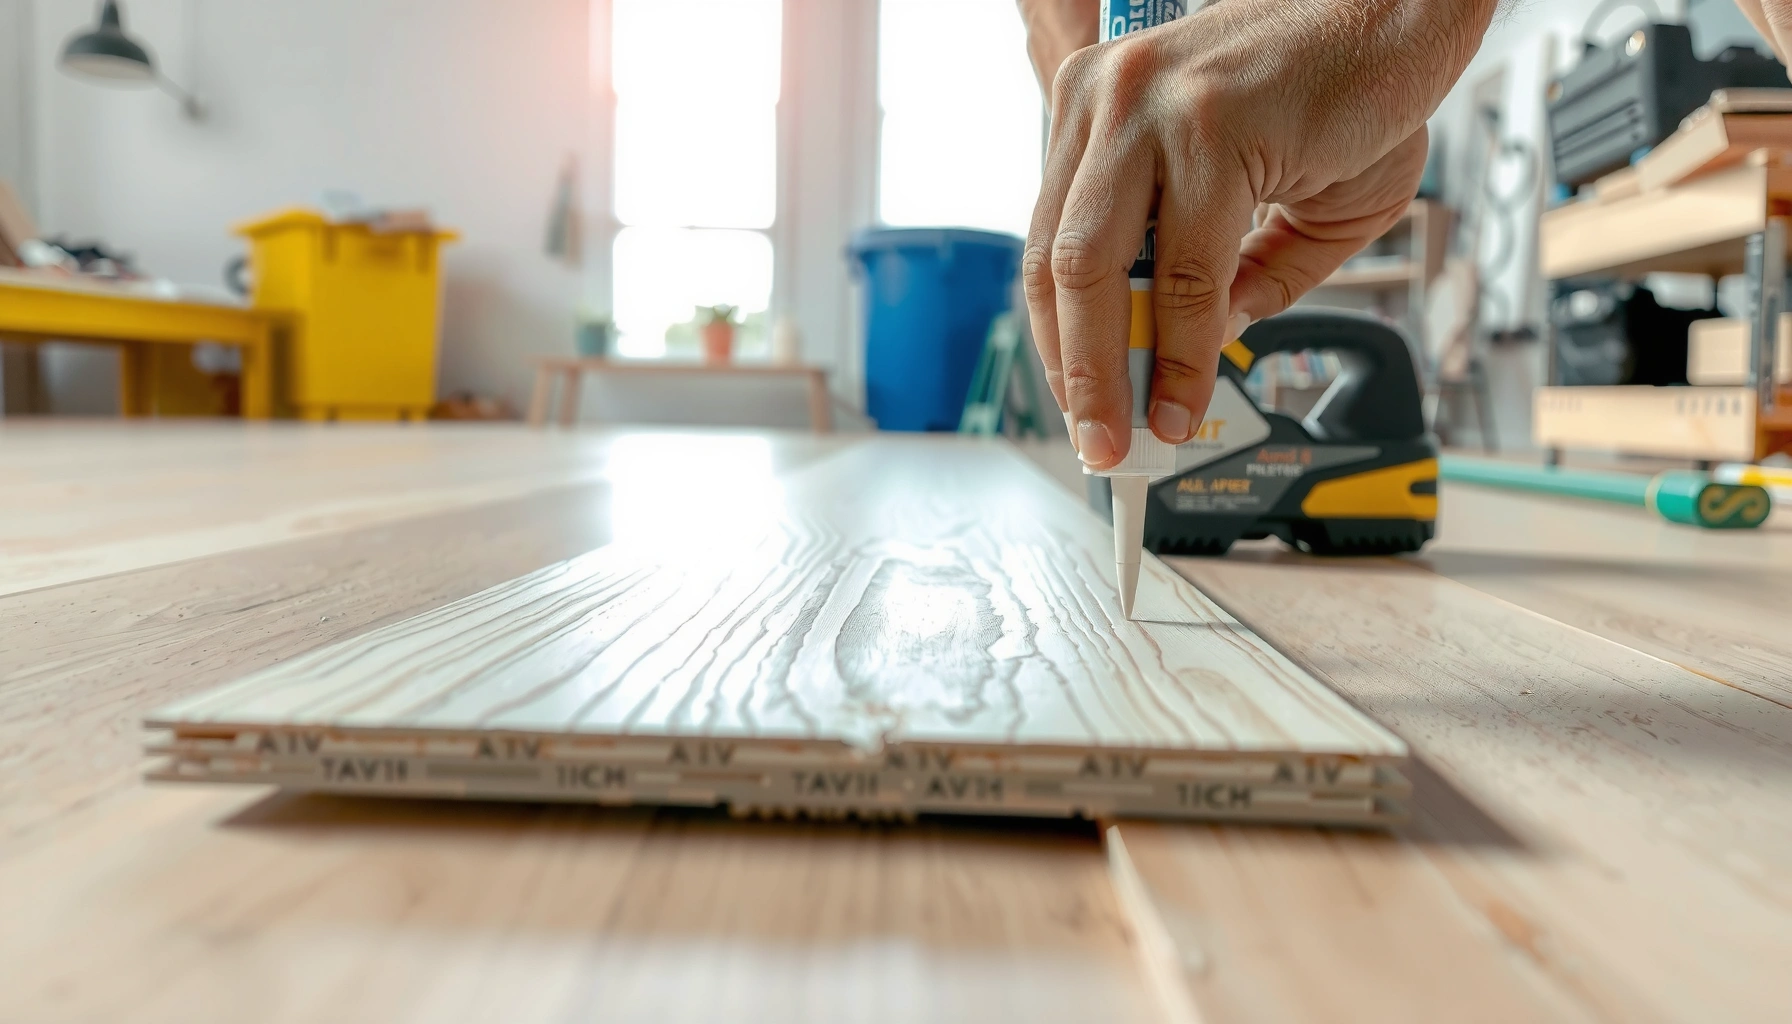
– Apply the approved adhesive sparingly (avoid excess that can spread into gaps).
– Press/secure as directed by the adhesive instructions.
2) Coating/skin peeling (localized surface)
– If peeling is mainly “skin/coating,” some manufacturers allow spot repairs; others require replacement because the wear layer’s bond isn’t meant to be reassembled long-term.
– If your manual doesn’t explicitly allow patching, treat it as a replace-more-reliably situation.
3) Structural seam failure (planks separating/lifting)
– If planks separate, shift, or the locking edge is no longer tight, the dependable remedy is usually:
remove and replace affected planks (not repeated gluing attempts).
Pros/cons comparison (quick decision support)
| Repair route | Best for | Main upside | Main risk |
|---|---|---|---|
| Spot re-bond (approved adhesive) | Small, stable edge lifting | Faster, less disruptive | Fails if moisture pathway remains |
| Spot patch (if allowed) | Limited coating/skin lifting | Maintains appearance | May not restore mechanical durability |
| Replace affected planks | Seam/core separation or spreading failure | Long-term reliability | More labor and material costs |
What can go wrong (and when to stop DIY)
The most common reason peeling returns is that the original moisture path or the wrong repair method was left untreated. Stop DIY when the board/core is failing broadly or when you can’t confirm dryness and compatibility.
If you seal over active dampness, the repair can trap moisture and accelerate separation under the patch.
Using an unapproved adhesive can compromise the wear layer or interfere with how the locking system behaves under load.
Repeated spot repairs can create visible ridges and long-term unevenness when the floor is already losing structural stability.
Common mistakes:
– Fixing only the visible peel
The adhesive may “hold” briefly, but the same moisture pathway can restart the failure.
– Using the wrong glue
Many general adhesives are not compatible with resilient flooring finishes or core composition. Always use the documented guidance: [ADD: source for approved adhesives/repair guidance].
– Skipping drying time
If the subfloor/joint is still damp, the bond often reopens.
– Trying to re-glue across a systemic lift pattern
If lifting spans multiple rows or increasingly spreads, replacement is usually cleaner and more stable.
When you should stop and choose replacement (or pro help)
– Peeling is spreading after the area dries.
– You see core separation or consistent joint gaps.
– The floor is uneven or rocking at the lifted sections.
– Your product manual states repair is limited or replacement is required.
Verdict / tip: what’s most likely to work
For small, localized peeling at edges where the core is still stable, cleaning, thorough drying, and using the manufacturer-approved bonding approach can work. If peeling covers large areas, spreads across seams, or you suspect ongoing moisture, replacing affected planks and correcting moisture sources is the better long-term strategy.
Localized edge re-bonding has the best odds when the subfloor is dry and the only failure is minor seam lifting.
Broad seam peeling or repeated re-opening after drying strongly suggests moisture ingress or installation/subfloor mismatch—replacement becomes the dependable fix.
Follow your WPC floor’s repair/maintenance policy first; some product systems explicitly limit adhesive patch repairs.
If you’re deciding whether to DIY, be honest about these downsides:
– Re-bond repairs can look good at first but fail early if moisture returns.
– Replacement requires careful board removal without damaging adjacent planks.
– If you can’t locate the moisture source, you’re likely fixing the symptom, not the cause.
Use your product guidance to confirm your allowed repair method: [ADD: source for your WPC floor’s repair/maintenance policy].
Quick checklist (scan before you start)
– [ ] Find the water source (leaks, spills, wet mopping, humidity/condensation)
– [ ] Confirm what’s peeling (top layer vs seam/locking edge vs board separation)
– [ ] Fully dry the area before any repair
– [ ] Remove loose material only; clean residue properly
– [ ] Use only manufacturer-approved adhesive/repair method ([ADD: source])
– [ ] If lifting spreads or the core is affected, plan replacement instead
Moisture Testing Methods Commonly Used for Flooring Failures (ASTM)
| # | Standard (ASTM) | What it measures | Typical result format | Best use case for WPC peeling diagnosis |
|---|---|---|---|---|
| 1 | ASTM F2170 | In-situ slab relative humidity (RH) | % RH | Root-cause check for moisture migration under resilient floors |
| 2 | ASTM F1869 | Moisture vapor emission rate | lbs/1000 sq ft/24 hr | When you need a slab emission rate indicator before adhesives/replacement |
| 3 | ASTM F710 | Standard practice for surface profile and substrate prep | Surface profile descriptor | Ensuring the adhesive bond line has proper substrate readiness |
| 4 | ASTM D4263 | Plastic sheet test (moisture/condensation indicator) | Condensation/condensate observation | Quick screening for moisture presence where detailed RH testing isn’t available |
| 5 | ASTM E96 | Water vapor transmission rate (WVTR) | g/m²·day (typical) | Selecting/validating vapor-control layers used with flooring systems |
| 6 | ASTM E1907 | Moisture in wood (electrical/method-based approach) | % moisture content (varies by method) | When your subfloor is wood and seam-edge lifting suggests localized dampness |
| 7 | ASTM F3191 | Moisture measurement methods for wood flooring subfloors (guidance) | Method-dependent metrics | Use only if it matches your project’s flooring system requirements |
FAQ
Can I fix peeling WPC flooring without replacing planks?
Sometimes—if peeling is minor and localized at edges where the core stays stable, a manufacturer-approved re-bonding or patch method can work. If the core has separated or the failure is spreading across seams, replacing affected planks is usually the dependable long-term move ([ADD: source for your specific product’s repair guidance]).
Why does WPC floor peeling happen near seams or doors?
Peeling near seams often points to water ingress into joints or installation/stress issues that allow moisture to wick under edges. Doors and thresholds also create pressure and transition stresses, so the joint area should be checked for moisture pathways and proper transition details.
What adhesive should I use for peeling WPC floors?
Use only adhesives approved for your specific WPC product system and repair method. If you don’t have guidance, follow the approved adhesive type/spec: [ADD: source for approved adhesive type/spec], because using the wrong chemistry can fail or damage the finish.
Will peeling come back after repair?
Peeling can return if the underlying cause—ongoing moisture, poor cleaning technique, or inadequate subfloor/vapor control—wasn’t corrected. Drying, stopping water exposure, and following installation/maintenance specs are what prevent repeat separation ([ADD: source for your WPC floor’s repair/maintenance policy]).
Conclusion
Peeling on WPC floors is usually a “moisture + bond” problem, so the winning sequence is: stop the moisture source, remove only what’s loose, prepare a clean and fully dry surface, and then use the manufacturer-approved bonding approach—or replace planks when core/seam separation is involved. If the peeling is spreading or you can’t confidently identify and correct the moisture pathway, replacement is the safer long-term option.
Sources
– ASTM F2170, “Standard Test Method for Determining Relative Humidity in Concrete Floor Slabs Using In Situ Probes.”
– ASTM F1869, “Standard Test Method for Measuring Moisture Vapor Emission Rate of Concrete Subfloor Using Anhydrous Calcium Chloride.”
– ASTM F710, “Standard Practice for Preparing Concrete Floors to Receive Resilient Flooring.”
– ASTM D4263, “Standard Test Method for Indicating Moisture in Concrete by the Plastic Sheet Method.”
– ASTM E96/E96M, “Standard Test Methods for Water Vapor Transmission of Materials.”
– ASTM E1907, “Standard Test Methods for Measuring Moisture in Wood and Other Cellulosic Materials.”
– [ADD: manufacturer installation instructions for your exact WPC flooring model—especially sections on subfloor moisture/vapor control, approved cleaning methods, and repair/adhesives.]
– [ADD: manufacturer care/maintenance guide for WPC floors—cleaning method and what to avoid.]
– [ADD: manufacturer technical datasheet/spec sheet—adhesive compatibility and layer/finish limitations, if available.]
Frequently Asked Questions
What causes WPC floor peeling, and how can I identify the source?
Peeling on WPC floors is usually caused by moisture intrusion, poor subfloor preparation, or adhesive failure (especially on glue-down installs). Check whether peeling is localized near edges, in wet areas, or under joints—edge lifting often points to water exposure or inadequate acclimation. Also inspect for trapped water, high humidity, or damage to the top wear layer that can let the surface delaminate over time.
How do I fix peeling on a WPC floor without replacing the entire room?
Start by cleaning the affected area and removing any loose or flaking sections down to firm, intact material. Dry the subfloor completely—using fans or a dehumidifier—before applying a WPC-safe floor repair adhesive. Press the lifted section back in place, weigh it evenly, and allow full cure time per the adhesive instructions to restore adhesion and prevent repeat peeling.
How do I repair a peeling seam or edge on WPC vinyl planks?
For seam or edge lifting, remove the plank section carefully if the seam is actively separating and there’s underlying dirt or moisture. Clean the tongue-and-groove or backing area thoroughly, then re-align the edges and apply an appropriate vinyl/WPC flooring seam adhesive if your flooring type requires it. After reinstallation, keep traffic and heavy loads off the area until the adhesive has cured and the floor is fully stable.
Which adhesive is best for re-gluing peeling WPC floor areas?
Use a repair adhesive specifically designed for vinyl/WPC or luxury vinyl plank (LVP) flooring, as these products bond properly without damaging the core or creating brittle failure. Avoid generic construction glues unless the manufacturer confirms compatibility with WPC wear layers and backing. Before applying, do a small test patch on a scrap or hidden area to ensure the adhesive doesn’t discolor or fail to bond.
How can I prevent WPC floors from peeling again after repairs?
Maintain proper indoor humidity and ensure the subfloor is level, dry, and clean before future repairs or reinstallation—most peeling problems return when moisture remains. Use recommended cleaning methods (soft mop, pH-neutral cleaner, minimal water) and avoid steam mops that can drive water under the planks. Finally, protect the floor from standing water and sharp temperature/humidity swings, and keep manufacturer-recommended expansion gaps to reduce edge lifting.
📅 Last Updated: October 08, 2026 | Topic: How to fix peeling on WPC floors? | Content verified for accuracy and freshness.
References
- Google Scholar Google Scholar
https://scholar.google.com/scholar?q=WPC+floor+peeling+repair - Google Scholar Google Scholar
https://scholar.google.com/scholar?q=waterproof+rigid+vinyl+floor+delamination+causes+moisture - Google Scholar Google Scholar
https://scholar.google.com/scholar?q=peeling+resilient+flooring+surface+wear+causes+cleaning - https://en.wikipedia.org/wiki/Vinyl_flooring
- Resources & Technical Documents | RFCI
https://www.rfci.com/resources - IICRC – A non-profit organization for the Inspection, Cleaning, and Restoration Industries.
https://www.iicrc.org/ - Mold | US EPA
https://www.epa.gov/mold - https://pubmed.ncbi.nlm.nih.gov/?term=vinyl+floor+degradation+moisture+delamination
- https://www.sciencedirect.com/topics/earth-and-planetary-sciences/delamination
- Google Scholar Google Scholar
https://scholar.google.com/scholar?q=How+to+fix+peeling+on+WPC+floors?