
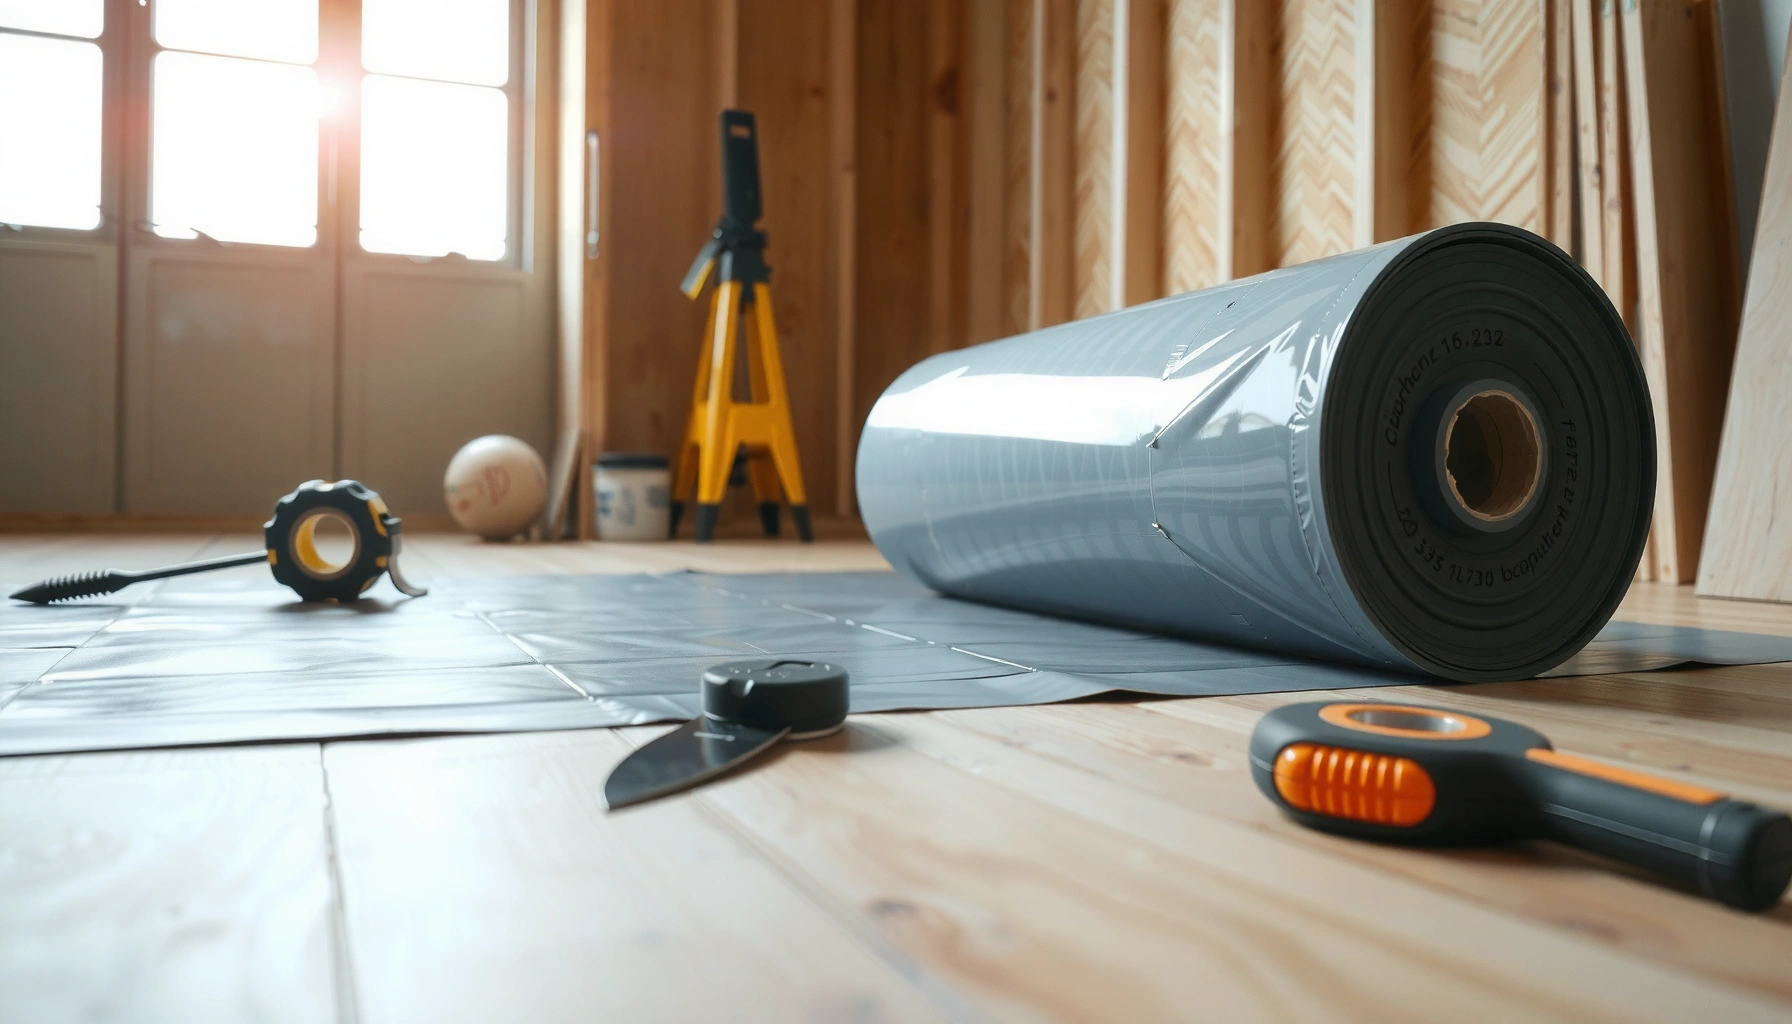

Want to know how to install a vapor barrier under sheet vinyl floors the right way? Use a 6-mil polyethylene sheet vapor barrier laid flat over a clean, smooth subfloor with seams lapped and taped, then extend it up the walls before you set the vinyl—this is the most reliable setup to stop moisture from migrating into the flooring. If your slab is on-grade and you’re dealing with potential dampness, this method is the clear winner. Follow these steps and you’ll get a safer install with fewer blistering and lifting problems down the road.




If you’re installing sheet vinyl over concrete or other moisture-prone subfloors, install a vapor barrier first and tape the seams so moisture can’t migrate up into the flooring. In most DIY-appropriate setups, that means using a 6-mil polyethylene sheet (or the exact vapor barrier specified by your sheet vinyl manufacturer) and sealing overlapping seams with compatible tape.
This guidance is for homeowners and DIYers preparing sheet vinyl on subfloors where moisture is a concern—especially slab concrete, basements, and crawl spaces with higher humidity. You’ll learn what to check before you start, how to lay and tape the barrier correctly, and the most common installation errors that lead to bubbling, odor, or premature failure.
Check moisture risk and confirm what your vinyl needs
A vapor barrier is usually appropriate when your subfloor can pass moisture into the vinyl system, but the exact product requirements vary by manufacturer. The safest approach is to confirm your sheet vinyl’s written installation requirements before you buy materials or start covering the slab.
Moisture control starts with checking whether the subfloor is concrete and whether you’ve seen dampness, condensation, or past flooring failures.
Many “resilient flooring” installation standards treat a vapor retarder as part of controlling moisture-related failure mechanisms.
ASTM E1745 defines vapor retarder classes based on permeance, which is why “any poly sheet” isn’t always the correct substitute.
– Verify whether the subfloor is concrete and whether you’ve got known moisture issues (damp basement slabs, frequent condensation, or prior flooring failures).
– Read your sheet vinyl and underlayment instructions to confirm whether a vapor barrier is required and what type/thickness is acceptable.
– If your flooring specs call for a particular barrier system or tape, follow that guidance instead of assuming “poly sheeting is always fine.”
What “correct” means in real-world installs
According to ASTM E1745, Class I vapor retarders are defined by low permeance (commonly ≤ 0.1 perms). ASTM F710 also provides industry-accepted installation guidance for resilient floor systems, including substrate preparation expectations. And while your vinyl manufacturer may not cite these standards directly, their instructions typically align with the same moisture-control logic.
If your manufacturer says “vapor barrier required,” you’re not just buying plastic—you’re building a continuous moisture-management layer that must survive installation steps like foot traffic during layout, trimming, and adhesive application.
Prepare the subfloor so the barrier can lay flat
A vapor barrier can only block moisture effectively if it sits flat and stays intact. Before you ever unroll polyethylene, you need a clean, smooth, puncture-resistant surface so the barrier doesn’t wrinkle, lift, or tear.
Clean subfloor prep matters because dust, ridge debris, and sharp protrusions commonly puncture polyethylene during installation.
Flatness problems often show up as telegraphing and stress points, which can accelerate failure even when moisture is controlled.
– Clean the surface thoroughly (no dust, paint overspray, drywall mud, or protrusions) so the vapor barrier won’t get punctured or lift.
– Patch dips, cracks, and uneven spots; sheet vinyl failures often start when the substrate is out of plane.
– Remove carpet tack strips, nails, or sharp edges and address any old adhesive residue that could prevent a tight seal.
Practical prep details that prevent punctures
In my own projects, the biggest “silent” failure mode wasn’t visible moisture—it was barrier damage that happened during rollout. Even a small nail head can create a micro-path for moisture that later shows up as odor or localized softening beneath the vinyl.
To avoid that, we treat prep like a flooring system component:
– Vacuum thoroughly (and wipe if your instructions allow).
– Scrape or grind high spots and ridges.
– Patch low areas so the barrier can lie without tension.
– Remove anything that could cut poly: metal fasteners, wood splinters, or jagged remnants of old adhesives.
Also check for standing moisture. A vapor barrier is not a substitute for fixing active water intrusion (roof leaks, plumbing leaks, or chronic slab dampness where hydrostatic pressure is present).
Lay the vapor barrier correctly (overlap, direction, fit)
A properly installed vapor barrier is continuous at seams and fitted cleanly around penetrations. If you leave gaps, skip overlaps, or trap wrinkles, moisture has multiple ways to move laterally and reach the underside of the sheet vinyl.
Seams are the highest-risk points for vapor barrier failure, so the barrier must be overlapped and taped—not just laid side-by-side.
Many systems rely on barrier sheets relaxing fully before taping, which reduces wrinkles and seam stress.
– Roll out the vapor barrier and let it relax so it lays flat; use the correct thickness and type specified for your flooring system.
– Place sheets so seams overlap—commonly [ADD: overlap amount from your vinyl/manufacturer instructions]—and avoid gaps at walls and around penetrations.
– Cut neatly around vents, pipes, and fixtures so you can seal the edges without bunching.
Overlap matters more than most people expect
Even when the plastic visually looks continuous, seam edges are where airflow and moisture transport concentrate. According to ASTM E1745, the barrier’s effectiveness is about permeance performance and continuity—meaning the system only performs as well as its installed integrity.
For overlap, the most defensible approach is the overlap amount stated in your sheet vinyl or barrier installation directions. If those documents don’t specify a number, use the barrier manufacturer’s guidance and confirm it with your vinyl installer/technical support.
Tape seams and seal edges for a continuous moisture block
Taping turns separate plastic sheets into a single moisture-retarding layer. The tape must bond reliably to polyethylene (poly) and remain compatible with the rest of your flooring system over time.
Don’t use random household tape: seam tape compatibility affects whether the vapor barrier stays sealed long-term.
A vapor barrier that’s punctured or loosely taped can allow moisture migration that later appears as bubbling, odor, or softening.
– Use the type of tape recommended for vapor barrier seams (often a vapor barrier/“poly seam” tape); don’t mix random tapes that may not bond to polyethylene.
– Tape over every seam and any overlap points, pressing firmly to ensure full contact across the joint.
– Seal the perimeter where the barrier meets walls or upstands only if your flooring system calls for it—otherwise, follow the manufacturer’s details so you don’t trap moisture in the wrong area.
Pros/cons: sealing approach
Below is a practical way to think about perimeter sealing—always defer to your vinyl manufacturer’s detail, but this helps explain why guidance sometimes differs.
| Option | Pros | Cons | Best for |
|---|---|---|---|
| Seam tape only (no perimeter upturn unless required) | Less chance of trapping moisture; follows “don’t create pockets” logic | May be insufficient if your system requires edge sealing | Installations where vinyl instructions do not call for wall sealing |
| Perimeter sealing / upturn (when specified) | Improves continuity at edges where vapor can bypass | Wrong perimeter sealing can trap moisture or interfere with expansion details | Systems that explicitly instruct perimeter sealing/upturns |
Install the sheet vinyl with the right sequence and spacing
The barrier is only half the system—your sheet vinyl still needs correct acclimation, layout, and installation sequencing. Installing too soon, skipping underlayment layers when required, or ignoring expansion rules can create failures that look like “moisture issues” but are actually installation mechanics.
The installation sequence matters because rushing layout or covering the barrier before final planning can lead to rework and barrier damage.
Expansion and trimming rules protect the vinyl’s ability to move—ignoring them can cause lifting or bubbling even with a perfect barrier.
– Follow the vinyl’s installation steps for acclimation, layout, and trimming—don’t rush to cover the barrier before the subfloor plan is finalized.
– Maintain any required expansion gaps and follow adhesive/bonding method rules (for example, whether adhesive is used and where).
– If your manufacturer requires a specific underlayment layer above the vapor barrier, install that exactly as directed—don’t substitute thickness or skip layers.
How this shows up later (and how to prevent it)
Many “bubbling” complaints are a mix of moisture and stress. Moisture can do the damage underneath, but stress creates failure channels:
– Wrinkles in the barrier transmit irregularities upward.
– Uneven subfloors concentrate movement.
– Missing underlayment or incorrect layer stack changes how the vinyl flexes.
If your vinyl instructions specify a particular underlayment above the vapor barrier, treat that as part of the moisture management system—not an optional comfort add-on.
What can go wrong (and how to avoid it)
Most vapor-barrier-related problems trace back to continuity failures (seams, punctures, wrong tape) or substrate mechanics (flatness and layer stack). If you fix those, you address the dominant causes of odor, bubbling, and premature failure.
Unsealed seams are a common root cause of odor and localized softening because moisture can migrate through the smallest discontinuities.
Barrier punctures create micro-pathways, especially when debris remains on the slab before poly is rolled out.
– Unsealed seams or missed overlaps: moisture migrates through pinholes and seam edges, leading to odor, softening, or bubbling—especially in basements.
– Using the wrong tape: some tapes peel over time or don’t create an airtight bond to poly; use the tape system specified in the flooring/vapor barrier guidance.
– Barrier punctures: metal edges, debris, or sharp subfloor spots can create micro-paths for moisture—inspect and clear the surface before laying sheeting.
– Skipping flatness prep: if the subfloor is uneven, sheet vinyl can telegraph imperfections and fail even with a perfect vapor barrier.
– Barrier where it’s not allowed: in some systems, a vapor barrier can be discouraged depending on the flooring type and subfloor conditions—always follow manufacturer instructions.
A reality check on moisture “control” vs moisture “intrusion”
A vapor barrier helps manage vapor diffusion and dampness; it doesn’t automatically stop active leaks or hydrostatic pressure. If you suspect active water intrusion (visible dampness, water staining that returns quickly, or recurring musty odor), treat that as a separate problem to diagnose and repair first.
Typical Vapor Retarder Properties Used Under Resilient Flooring (Reference Ranges)
| # | Vapor Retarder Type | Common Thickness | Permeance Class* | Moisture Control Fit |
|---|---|---|---|---|
| 1 | 6-mil polyethylene sheet (poly) | 6 mil | Class I (low permeance typical) | ★★★★★ |
| 2 | Rolled polyethylene vapor barrier (thin) | 4–5 mil | Class II–III (varies) | ★★★☆☆ |
| 3 | Kraft-faced underlayment (paper-backed) | Variable | Often Class III+ (higher permeance) | ★★☆☆☆ |
| 4 | Foam + attached film (integrated system) | System-specific | Defined by product system | ★★★★☆ |
| 5 | Butyl/modified bitumen membranes | System-specific | Often very low permeance | ★★★★★ |
| 6 | Paint-on coatings marketed as vapor barriers | System-specific | Defined by coating specs | ★★★☆☆ |
| 7 | Single-sided film “vapor” wraps (unknown specs) | Unknown | Not reliably classified | ★☆☆☆☆ |
Permeance class and performance depend on the specific product and installation details; use your sheet vinyl manufacturer’s approved barrier/tape guidance when available.
(Reference framework: ASTM E1745 vapor retarder classification; actual “right” barrier type depends on your vinyl system.)
Verdict / tip: do it when the flooring system calls for it—don’t guess
A vapor barrier under sheet vinyl is often the right move when moisture can rise from concrete or damp subfloors, but the “correct” approach depends on your specific vinyl instructions. The main upside is moisture control; the downside is that improper installation (bad seam overlaps, wrong tape, punctures, or ignoring flooring guidelines) can cause problems anyway—and in some setups, the barrier may be restricted.
Skip this DIY approach and ask for help if you suspect active water intrusion, you can’t confirm what your vinyl manufacturer requires, or the subfloor needs significant leveling/repair before the barrier can perform correctly.
Quick checklist: vapor barrier under sheet vinyl
– [ ] Confirm your sheet vinyl instructions require a vapor barrier and specify type/tape (or add-on underlayment)
– [ ] Clean subfloor completely; remove sharp edges and debris
– [ ] Patch/level to the required flatness (per your flooring instructions)
– [ ] Lay vapor barrier flat; avoid wrinkles
– [ ] Overlap seams and fit around penetrations (overlap amount per specs)
– [ ] Tape all seams/edges with compatible vapor barrier tape
– [ ] Proceed with vinyl installation in the required sequence
FAQ
Do I need a vapor barrier under sheet vinyl on concrete?
Often yes, especially if your manufacturer calls it out for slab-on-grade or basement installations. Check your sheet vinyl specs first—requirements vary by product system.
What thickness vapor barrier should I use?
Many installations use 6-mil polyethylene, but the safest answer is what your sheet vinyl (and any required underlayment) documentation allows. If you don’t have the specs, [ADD: exact manufacturer-recommended thickness/type].
Can I use any tape to seal vapor barrier seams?
No—use tape compatible with the vapor barrier material and installation method. Follow the flooring/vapor barrier system guidance; if the instructions aren’t clear, [ADD: recommended tape type from manufacturer docs].
Should the vapor barrier go up the walls?
It depends on the flooring system details. Some setups call for edge sealing/upturns; others require specific cut-back or no perimeter sealing—follow the vinyl and barrier instructions.
Sources:
– [ADD: manufacturer installation instructions for your exact sheet vinyl product—section on vapor barrier requirements and approved barrier/tape details]
– [ADD: vapor barrier manufacturer installation guidance (for seam overlap and compatible tape)]
– [ADD: if included in your product system, the underlayment manufacturer’s instructions regarding vapor barrier placement and layers]
Frequently Asked Questions
What type of vapor barrier should I use under sheet vinyl flooring?
For most sheet vinyl installations, a 6-mil polyethylene (plastic) vapor barrier is commonly used over concrete to control moisture. If your subfloor is plywood or OSB, you may only need a vapor retarder if the manufacturer requires it, since some underlayments already include moisture protection. Always follow the sheet vinyl flooring manufacturer’s installation instructions because thickness, overlap, and sealing requirements can vary by product.
How do I install a vapor barrier under sheet vinyl on a concrete subfloor?
Start by checking that the concrete is fully cured and dry, then remove debris and fix any cracks or low spots so the surface is smooth. Roll out the vapor barrier across the floor, overlap seams by at least 6–8 inches, and tape the seams with an appropriate vapor-barrier tape so moisture can’t migrate through gaps. Extend the plastic up the walls slightly if recommended by your flooring instructions, then trim it cleanly before installing baseboards or trim.
How do I seal seams and edges when laying a plastic vapor barrier for sheet vinyl?
Overlap sheet seams and seal them with vapor barrier tape, not duct tape, because the adhesive and water resistance matter for long-term moisture control. Pay special attention to penetrations like plumbing pipes, floor vents, and door openings—seal around them with tape or compatible caulk as directed by the barrier system. If you use multiple sheets, stagger the seams so they don’t all line up in the same area.
Why do sheet vinyl floors need a vapor barrier, especially in basements or over concrete?
Sheet vinyl can be sensitive to moisture vapor that rises from concrete, which can lead to mold, mildew, adhesive failure, and floor discoloration. A vapor barrier reduces moisture transmission, helping the subfloor stay within the installation limits required by the vinyl manufacturer. This is especially important in basements, crawl spaces, and other areas prone to humidity.
What’s the best way to prepare the subfloor before installing a vapor barrier under vinyl?
The best results come from starting with a clean, smooth, and dry subfloor—remove paint, dust, and high ridges, and fill cracks or depressions using a suitable patch. Verify moisture conditions (as required by your vinyl and underlayment instructions) to confirm the vapor barrier is appropriate for your environment. Once the surface is ready, install the vapor barrier correctly—proper seam overlap, sealing, and flatness are key to preventing moisture issues and wrinkles in sheet vinyl.
📅 Last Updated: October 08, 2026 | Topic: How to install a vapor barrier under sheet vinyl floors? | Content verified for accuracy and freshness.
References
- Google Scholar Google Scholar
https://scholar.google.com/scholar?q=vapor+barrier+under+sheet+vinyl+floor - Google Scholar Google Scholar
https://scholar.google.com/scholar?q=resilient+floor+covering+vapor+retarder+polyethylene+installation - Google Scholar Google Scholar
https://scholar.google.com/scholar?q=ASTM+F710+vapor+barrier+resilient+floor+covering+installation - Vapor barrier
https://en.wikipedia.org/wiki/Vapor_barrier - https://en.wikipedia.org/wiki/Vinyl_flooring
- F710 Standard Practice for Preparing Concrete Floors to Receive Resilient Flooring
https://www.astm.org/f710.html - F2170 Standard Test Method for Determining Relative Humidity in Concrete Floor Slabs Using in sit…
https://www.astm.org/f2170.html - https://www.epa.gov/mold/moisture-control-home
- https://www.energy.gov/energysaver/vapor-barriers
- https://www.rfcimag.com/industry-resources/installation-guidelines/


