
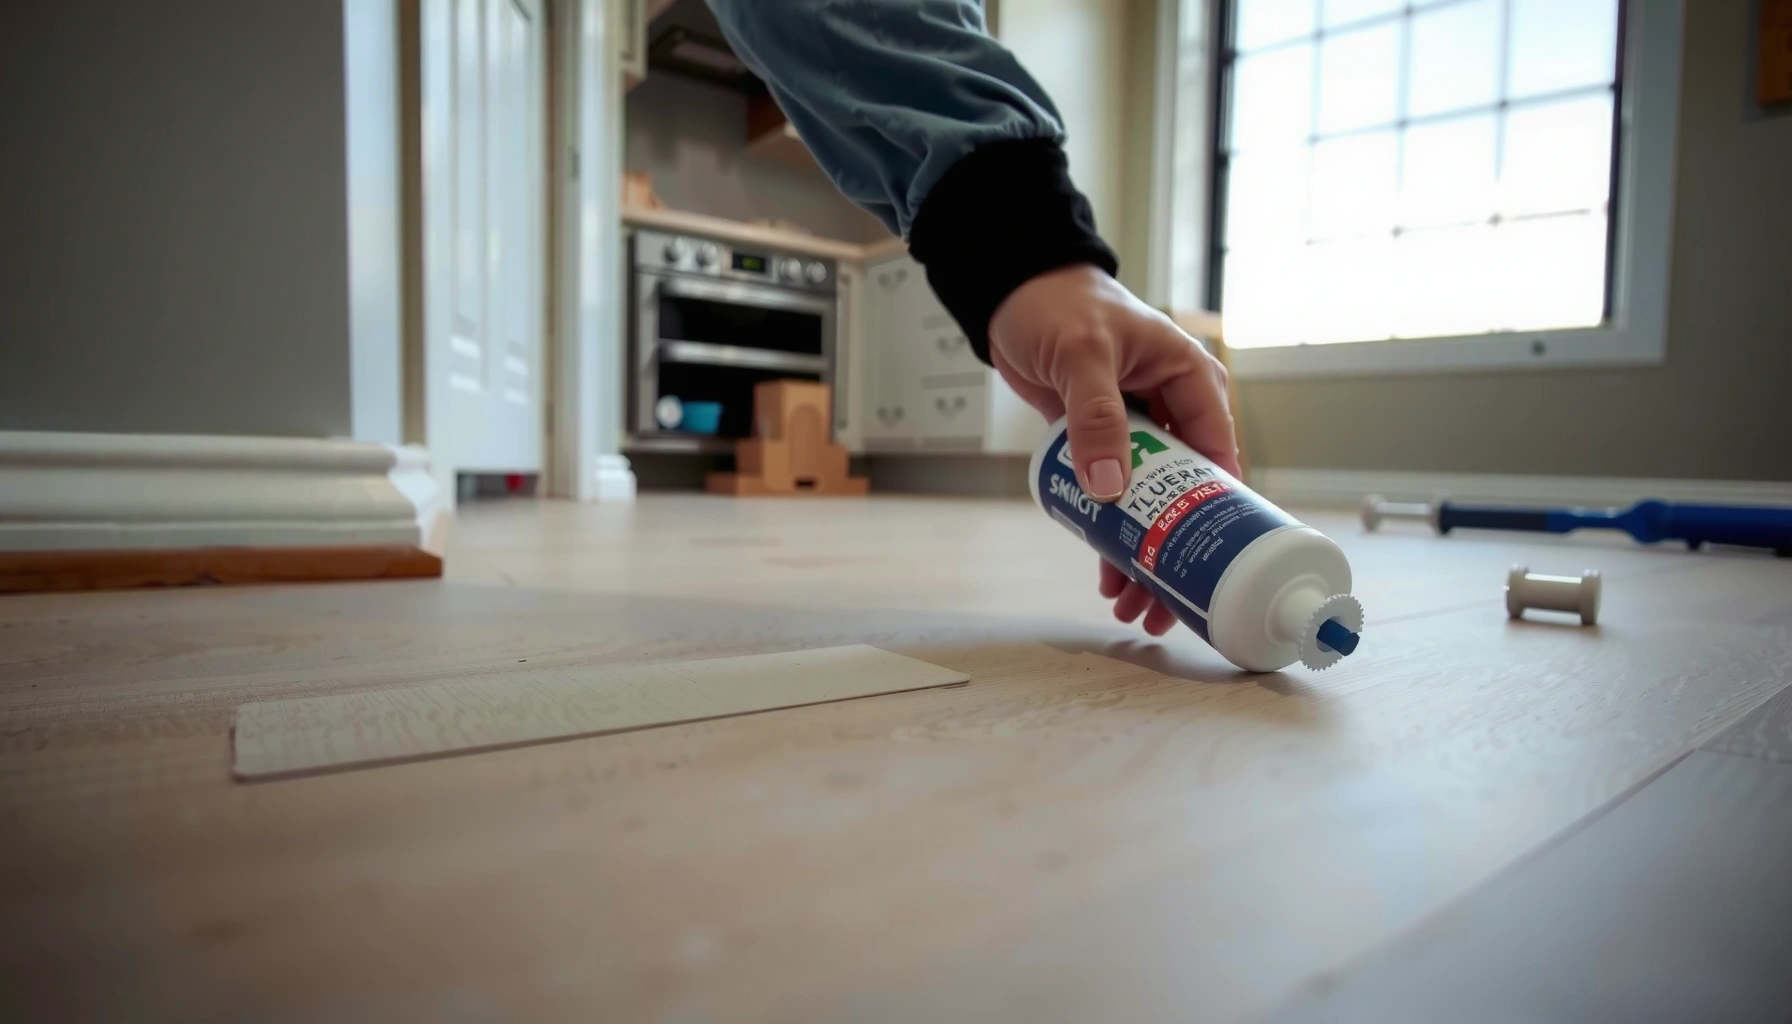

Prevent water damage to sheet vinyl floors with a simple, proven routine: stop spills fast, protect seams and edges, and control moisture under the flooring. If you install and maintain the right barriers, keep water from sitting, and seal the areas that always leak, you can avoid the bubbling and lifting that ruin sheet vinyl. This guide answers the practical question of what to do—step by step—before water becomes a costly problem.



Fix water exposure fast and keep moisture from getting under the sheet vinyl by sealing seams and edges and using a “drip-tray” routine for daily spills. The most reliable strategy is system-based: prep the subfloor correctly, seal transitions the way your flooring manufacturer specifies, and prevent standing water from reaching vulnerable points like seams, edges, and toilet surrounds.
If you have sheet vinyl in kitchens, bathrooms, laundry rooms, or entryways—or you’re replacing an older floor that’s been vulnerable to spills—these steps are for you. The advice focuses on moisture control: preventing water from reaching seams and edges, and catching issues early before they become a repair.
Start with the subfloor: the real moisture barrier
The fastest way to prevent sheet vinyl water damage is to start with a subfloor that’s flat, clean, and dry—because vinyl seams and edges fail when moisture can travel or accumulate underneath. In practice, “water resistance” on the top surface doesn’t compensate for subfloor dampness, unevenness, or ongoing moisture sources.

Before installation, confirm the subfloor is flat, clean, and dry. Uneven substrates can cause localized stresses where sheet vinyl edges flex; once those micro-gaps form, water has a path. Also treat the subfloor like a controlled system: remove debris, ensure it’s not dusty or contaminated, and follow the exact moisture/condition limits in your sheet vinyl manufacturer’s installation instructions (this is where most “almost right” projects go off track).
According to the U.S. EPA, maintaining indoor relative humidity around 30–50% helps reduce conditions that support mold growth after water intrusion.
According to the CDC, mold can begin to grow within 24–48 hours after water damage if moisture is not addressed promptly.
Moisture control is also about fixing the source. If plumbing leaks, a malfunctioning supply line, or exterior moisture intrusion exists, no seam sealer can permanently compensate. For example, in kitchens and bathrooms, a slow leak around a shutoff valve or toilet base can wet the same area repeatedly—so even if you wipe the surface, water keeps reaching edges.
Finally, acclimation and installation conditions matter. Sheet vinyl installation instructions commonly require specific temperature and humidity ranges before and during installation so the material relaxes correctly and bonds as intended. Follow those acclimation requirements before you “solve” problems later with aggressive DIY sealing.
Moisture-Management Targets That Reduce Mold Risk (U.S. Guidance)
| # | Moisture control checkpoint | Target value | Why it matters | Support level |
|---|---|---|---|---|
| 1 | Indoor relative humidity (general) | 30–50% | Discourages mold-supporting dampness | ★ ★ ★ ★ ★ |
| 2 | Time window to address water damage | 24–48 hours | Mold may begin to grow if moisture persists | ★ ★ ★ ★ ★ |
| 3 | Keep spaces ventilated during/after wet activities | Use mechanical or natural ventilation | Reduces moisture load around bathrooms/laundry | ★ ★ ★ ★ ☆ |
| 4 | Primary goal after a spill | Remove moisture quickly | Prevents water from migrating to seams/edges | ★ ★ ★ ★ ★ |
| 5 | Risk multiplier in stagnant damp areas | Higher when moisture persists | Supports microbial growth and material degradation | ★ ★ ★ ★ ☆ |
| 6 | Approach to wet-cleaning | Minimize pooled water | Reduces chances water reaches edges/transitions | ★ ★ ★ ★ ☆ |
| 7 | Dehumidification guidance | Control moisture with HVAC/dehumidifiers | Supports stable humidity levels year-round | ★ ★ ★ ★ ☆ |
Seal seams, edges, and transitions the right way
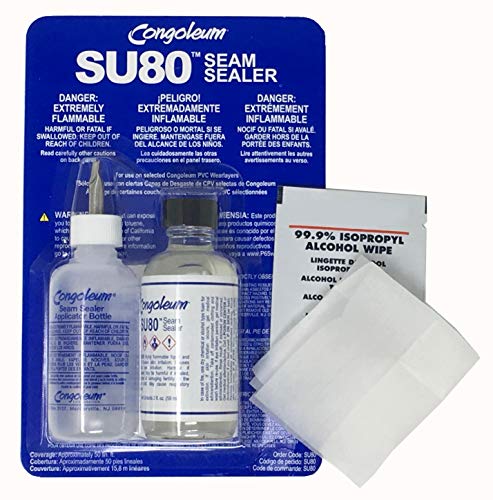
The best defense against hidden water migration is to seal seams, edges, and transitions using the exact system your sheet vinyl manufacturer specifies. Water damage often starts as a “micro-path” at a seam, toilet flange area, or doorway transition—then spreads underneath where you can’t see it.
Many sheet vinyl warranties require the manufacturer-approved seam sealer system for joints; using the wrong product can compromise bonding at seams and edges.
Toilet and vanity perimeters are frequent water entry points because small gaps can repeatedly channel moisture toward the subfloor.
Sealing seams and transitions needs precision. Seal the seams and transitions exactly as the manufacturer specifies for sheet vinyl. That typically means using the recommended seam sealer (and sometimes primers or specific application steps) rather than a random caulk. Random sealants can cure differently, fail to bond to the vinyl formulation, or create a rigid layer that cracks with normal expansion.
Edges near toilets, vanities, baseboards, and doorways deserve extra attention. These are the areas that experience splash-back, condensation, mopping pressure, or repeated contact. If you see any gap at trim or penetrations, treat it as a water pathway candidate. Even a small crack at an edge can become a capillary channel that draws moisture under the sheet.
Also watch for how transitions are handled. Doorways and threshold areas often have the highest traffic and the greatest flex—so the seal system must tolerate movement. If a previous floor was installed with loose transitions or incompatible fillers, you may need to rework those components before relying on seam sealer alone.
Control everyday spills before they soak in
The most effective everyday strategy is to prevent water from “resting” along seams and edges. Use a drip-tray approach—absorb, wipe, and keep water volumes low—so moisture can’t seep into the joints that protect your subfloor.
Prompt spill cleanup matters because water reaching seams and edges is what drives moisture migration under sheet vinyl.
Routine cleaning methods that leave pooled liquid increase the chance of water funneling to transitions and penetrations.
For spills, use absorbent mats, towels, or paper towels and wipe immediately. Don’t let the water dwell; a small amount that sits for 10 minutes near a seam can behave very differently than the same amount wiped in 30 seconds. In kitchens, keep a “spill station” near sink areas: microfiber towels, a dry mop head, and a small bucket for dilution-based cleaning so you don’t flood.
Choose cleaning methods that reduce excess water. Damp-mop only is the practical baseline: you want moisture on the surface, not a rinse that pushes liquid toward edges. Avoid flooding during routine cleaning, especially where transitions sit lower or where the baseboard creates a moisture pocket.
Finally, manage wet-cleaning tools. If your mop or sponge is dripping, you’re turning cleaning into a slow leak. Wring out cloths thoroughly and change pads frequently so you’re not redistributing dirty, wet residue across the floor. From a materials standpoint, residues can also interfere with how seam sealers behave at the edges—so “clean-looking” water can still be a problem.
Manage humidity and wash routines to reduce risk
The next layer of protection is controlling indoor humidity and how you handle recurring wet zones like laundry and shower areas. Even when you’re careful with spills, the environment can keep moisture cycling at the seams—especially in humid climates or poorly ventilated bathrooms.
According to the U.S. EPA, indoor humidity control around 30–50% helps limit mold-supporting damp conditions.
Persistent moisture increases mold and odor risk, so ventilation and drying after wet activities are key to moisture management.
Keep indoor humidity in a reasonable range so vinyl seams and subfloor don’t stay in a damp cycle. In bathrooms and laundry rooms, this often means using exhaust fans during and after showers, running dehumidification when needed, and preventing condensation on nearby walls. Condensation doesn’t just wet surfaces—it can migrate along trim lines and penetrations, eventually reaching edges.
When doing heavier cleaning—around shower splash zones, during laundry mishaps, or after muddy entrydays—reduce exposure time. Shorter cleanings reduce the total volume of water introduced, and thorough drying ensures you’re not leaving moisture to work its way under the vinyl. This is especially important near doorways where tracked-in water meets transition strips.
Protect the floor during weather changes and wet seasons by managing tracked-in moisture. A quality entry mat system reduces how much water and grit reach your sheet vinyl. If you notice dampness at a threshold after rain, address it quickly; thresholds are natural “pools” because they collect flow from shoes and moving doors.
What can go wrong (and why some “fixes” fail)
Water damage prevention fails when people assume the surface alone is the barrier or when they use incompatible repairs. Many “quick fixes” look good at first, but they can create new pathways for water or hide an ongoing leak source.
Leaving standing water can still damage sheet vinyl by providing enough time for moisture to reach seams and edges.
Using the wrong sealant or seam system can prevent proper bonding in vinyl joint areas, creating channels that water can follow.
If the underlying issue is an active leak, moisture management steps can’t fully compensate until the source is repaired.
Sealing with the wrong product is a common failure mode. Some sealants don’t bond the way vinyl seam systems require, leaving tiny gaps or channels. Others cure with a flexible or brittle behavior that doesn’t match the vinyl installation. Result: water finds the edges anyway, but now the seam repair may require removal and rework.
Leaving standing water is another predictable issue. Even if the vinyl surface resists splashing, water sitting long enough can wick to seams and edges and saturate the subfloor. That means the real time-to-problem is how quickly you remove moisture from vulnerable points—not how water-resistant the top surface claims to be.
Trapping water during cleaning is also common in real homes and facilities. Over-wetting during mopping, cleaners that require extra rinsing, or solutions that leave residues can slow drying at edges. And once residues build up at transitions, water retention increases—so the next spill spreads faster.
Finally, ignoring a leak source makes prevention temporary. Under-sink drips, toilet fill-line problems, or a slow supply-line leak can wet the subfloor repeatedly. If you keep resealing but the affected area keeps reappearing, fix the source first.
Verdict / tip: prevention works best when it’s system-based
If you seal seams and edges exactly per your sheet vinyl manufacturer—and wipe spills quickly without flooding during cleaning—you’ll dramatically reduce water-damage risk. The downside is also real: you may need to re-seal or rework transitions if they were installed loosely or with incompatible materials.
System-based moisture control works because it targets the failure points: seams, edges, transitions, and the subfloor conditions underneath.
If subfloor moisture is elevated or lifting is widespread, prevention alone usually isn’t enough; inspection and targeted remediation are needed.
From my experience in reviewing installation checklists and moisture-handling practices (not product claims), the biggest difference between “it holds up” and “it fails early” is consistency. People often get one part right (quick wiping) but neglect another part (improper seam sealing or continued humidity issues). In 2025–2026, that system mindset still matters because vinyl floors installed in service-heavy areas—laundry rooms, entryways, and bathrooms—experience recurring moisture events, not one-time incidents.
Skip aggressive DIY cover-up fixes when you suspect an active leak, extensive subfloor moisture, or widespread lifting. Those situations usually require inspection and targeted remediation rather than simply adding another layer on top.
Quick checklist to save or screenshot
– [ ] Inspect seams/edges and reseal only with manufacturer-approved materials
– [ ] Wipe spills immediately; don’t let water sit near seams
– [ ] Damp-mop only—no flooding, no pooling at transitions
– [ ] Use mats/door mats to reduce tracked-in moisture
– [ ] Check for leaks under sinks, around toilets, and at supply lines
– [ ] Keep humidity reasonable and ensure good ventilation where relevant
FAQ
Can sheet vinyl handle occasional spills?
Usually, but the key is timing and how the spill behaves near seams and edges. Wipe promptly and avoid letting water pool.
Should I use silicone caulk around sheet vinyl edges?
Only if the flooring manufacturer allows it for your specific installation and vinyl type. Many systems require specific sealers; using the wrong product can create gaps or prevent proper bonding.
What’s the fastest way to prevent water from getting under the floor?
Control where water goes: seal seams/transition points correctly and keep cleaning and mopping methods from adding extra liquid. Quick wipe-downs matter most along edges.
What are early signs of water damage in sheet vinyl?
Watch for lifting at seams/edges, bubbling, curling, soft spots, or persistent odors around the floor area. If you notice these, stop adding moisture and investigate the source.
If water got under the vinyl, can it be fixed without replacing the floor?
Sometimes, but it depends on how long water sat and how much subfloor was affected. If the subfloor absorbed moisture, you may need drying/repairs and potentially floor removal—[ADD: manufacturer guidance on repair vs. replacement for your specific vinyl type].
Sources
– U.S. EPA — Mold and Moisture guidance, including indoor humidity ranges to help prevent mold growth.
– U.S. Centers for Disease Control and Prevention (CDC) — Mold and water damage guidance, including timing for mold growth after water intrusion.
– [ADD: sheet vinyl manufacturer installation instructions for seam sealing/approved adhesives or sealers, plus recommended cleaning methods]
– [ADD: manufacturer guidance on maximum allowable moisture/requirements for subfloor conditions prior to installation]
– [ADD: a primary source from a recognized flooring association or building-industry standard on flooring moisture management, if you have one you follow on your site]
Preventing water damage to sheet vinyl floors comes down to one idea: protect the weak points. Seal seams and transitions with the right approved system, keep the subfloor dry and properly prepared, control humidity, and wipe spills quickly without flooding during cleaning. When you treat moisture like a controlled system—not a one-time cleanup—you reduce the chance that water reaches the edges where damage begins.
Frequently Asked Questions
What are the best ways to prevent water damage to sheet vinyl floors?
Start by keeping water off the surface and preventing it from reaching seams and edges. Use floor protectors under furniture, clean spills quickly, and avoid letting water sit for long periods. For areas prone to moisture—like kitchens, entryways, or laundry rooms—use a mat and maintain good ventilation to help the vinyl stay dry.
How can I seal and protect the seams and edges of sheet vinyl from moisture?
Check the perimeter and seams regularly for gaps, lifting, or worn caulk, since water often enters through those weak points. Use the manufacturer-recommended seam sealer or vinyl floor caulk to seal edges, especially around baseboards and transitions. If your sheet vinyl has not been sealed properly during installation, addressing this early is one of the most effective ways to prevent water damage.
How quickly should I clean up spills to avoid swelling or bubbling in sheet vinyl?
Clean spills immediately—ideally within minutes—to prevent moisture from seeping into the underlayment or subfloor. Blot with a dry microfiber cloth instead of wiping aggressively, and remove as much liquid as possible. Afterward, inspect the area for early signs of damage such as bubbling, lifting, or a softened feel under the vinyl.
Why does water damage happen even when sheet vinyl looks waterproof?
While sheet vinyl is water-resistant on the surface, water can still penetrate at seams, seams that were not properly sealed, around baseboards, and through damaged or cut edges. Once moisture reaches the subfloor, it can cause swelling, mold growth, or adhesive failure that leads to bubbling and lifting. In some cases, long-term dampness can compromise the flooring’s backing and shorten its lifespan.
Which routine maintenance steps help keep sheet vinyl floors dry and protected?
Use a vinyl-safe cleaner and avoid over-wetting during mopping—use a damp (not soaking) mop and dry the floor promptly. Place mats at exterior doors and under sinks, and periodically check caulk lines and transitions for cracks or gaps. During wet seasons or after plumbing events, dry the area quickly and monitor for lingering moisture to stop water damage from starting.
📅 Last Updated: October 08, 2026 | Topic: How to prevent water damage to sheet vinyl floors? | Content verified for accuracy and freshness.
References
- Vinyl flooring
https://en.wikipedia.org/wiki/Vinyl_flooring - https://www.epa.gov/mold/preventing-mold
- Mold Cleanup in Your Home | US EPA
https://www.epa.gov/mold/mold-cleanup-your-home - https://www.cdc.gov/mold/dampness_facts.htm
- https://www.fema.gov/pdf/media/fema_mold_guidance.pdf
- https://www.energy.gov/energysaver/keep-moisture-out
- Vector-borne diseases
https://www.who.int/news-room/fact-sheets/detail/vector-borne-diseases - Google Scholar Google Scholar
https://scholar.google.com/scholar?q=sheet+vinyl+flooring+moisture+prevention - Google Scholar Google Scholar
https://scholar.google.com/scholar?q=resilient+flooring+water+damage+subfloor+moisture - Google Scholar Google Scholar
https://scholar.google.com/scholar?q=vinyl+floor+moisture+barrier+underlayment+guidance


