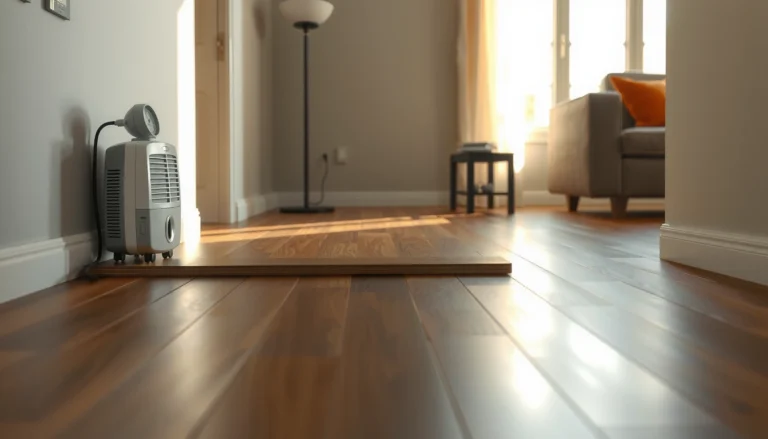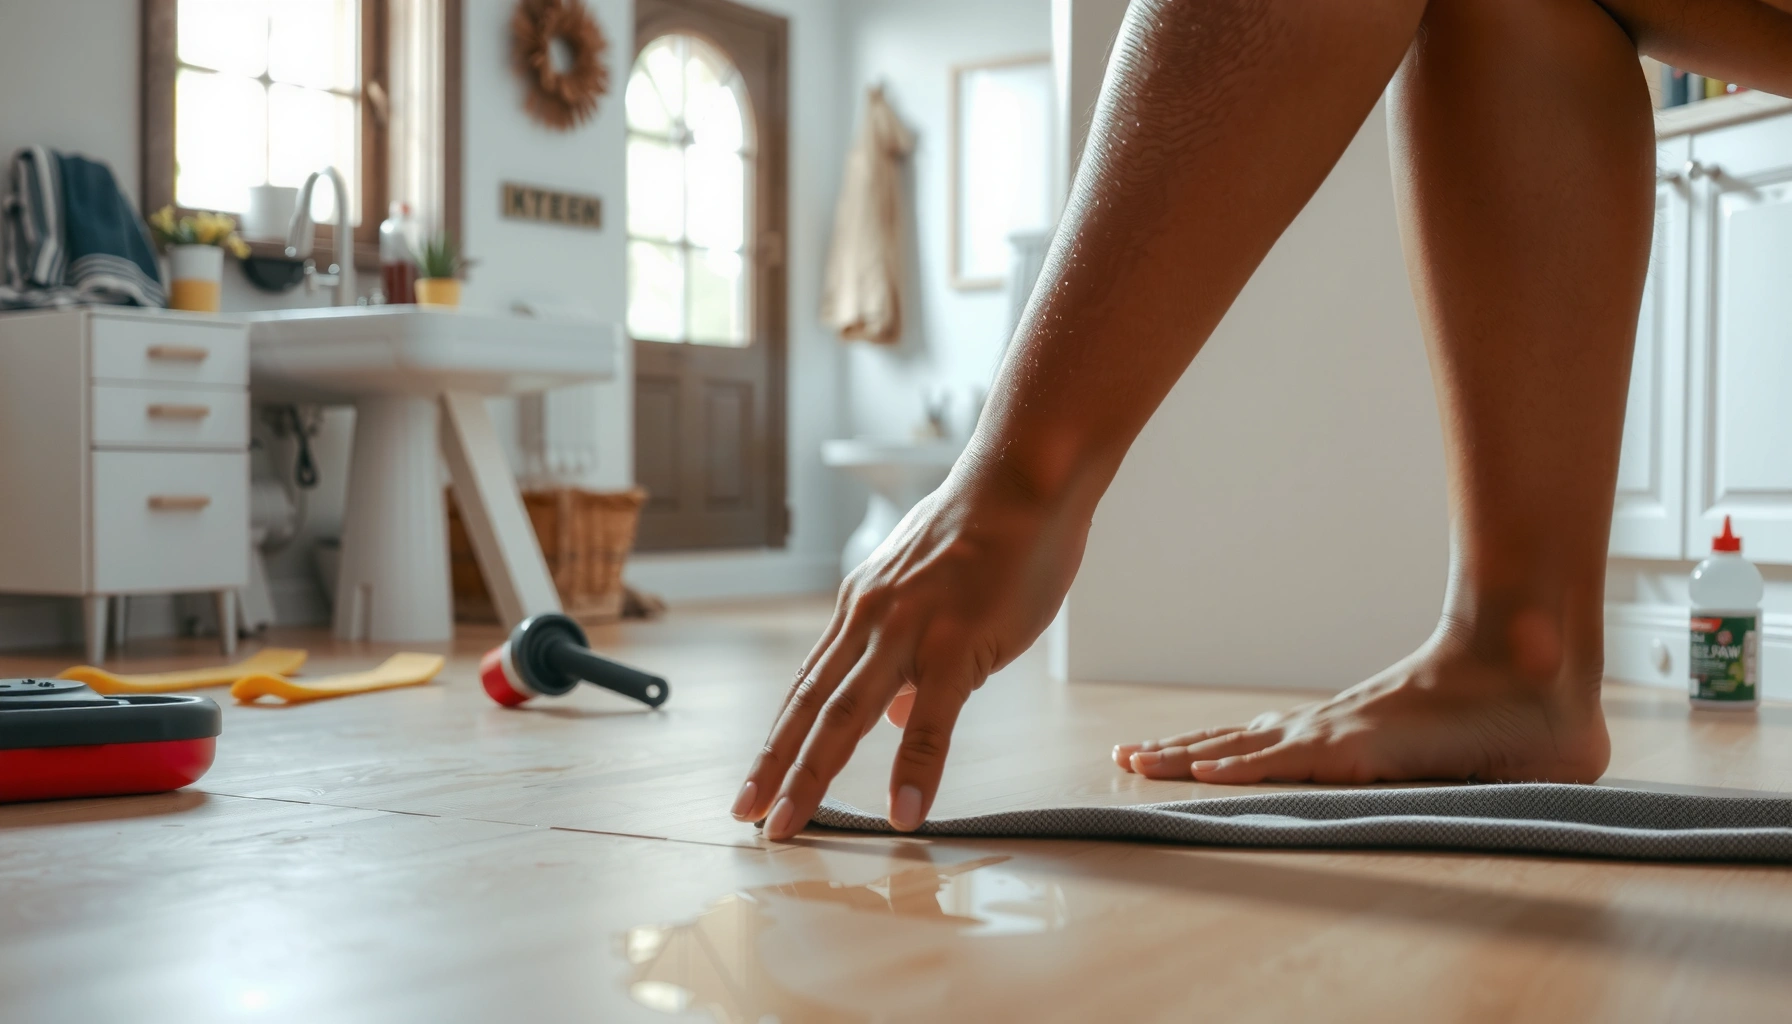

You can fix water damage on sheet vinyl floors without replacing the whole sheet—if you act fast and dry the subfloor thoroughly. This step-by-step guide walks you through diagnosing the damage, removing affected material, drying to stop swelling or mold, and reinstalling or patching so the floor looks and stays flat. Follow these exact steps to restore your sheet vinyl before the problem spreads.



If your sheet vinyl got wet, the fastest way to fix water damage is to dry the subfloor thoroughly and replace any vinyl sections that bubbled, lifted, or stayed soft. Start by stopping the water source, then remove trim and baseboards as needed so air can reach the damaged area and any trapped moisture can escape. This guide walks you through assessing the damage, drying correctly, and choosing whether you can patch or must replace.
If your sheet vinyl got wet, the key to preventing recurring bubbling and odor is simple: moisture must come out of the subfloor and underlayment (if present), not just the top layer. Sheet vinyl often looks “mostly fine” after a leak, but water can travel under seams and edges through capillary action (wicking along materials), which is why the visible damage can underestimate the true affected area. As of 2025, most manufacturers and restoration best practices converge on the same sequence: stop the leak, remove trapped water, ventilate/dry aggressively, then repair only after the substrate is demonstrably dry. According to [ADD: source for vinyl flooring/subfloor moisture guidance], adhesives and vinyl-backed flooring generally fail when they’re installed or re-secured over damp substrates, even if the top surface seems dry.
This is for homeowners and renters dealing with localized water damage on sheet vinyl—like spills, leaks, or a flood that caused bubbling, curling, or discoloration. It’s most useful when the damage is limited to a section, and you can access the edges/subfloor to dry and inspect.
Stop the water and prevent more damage
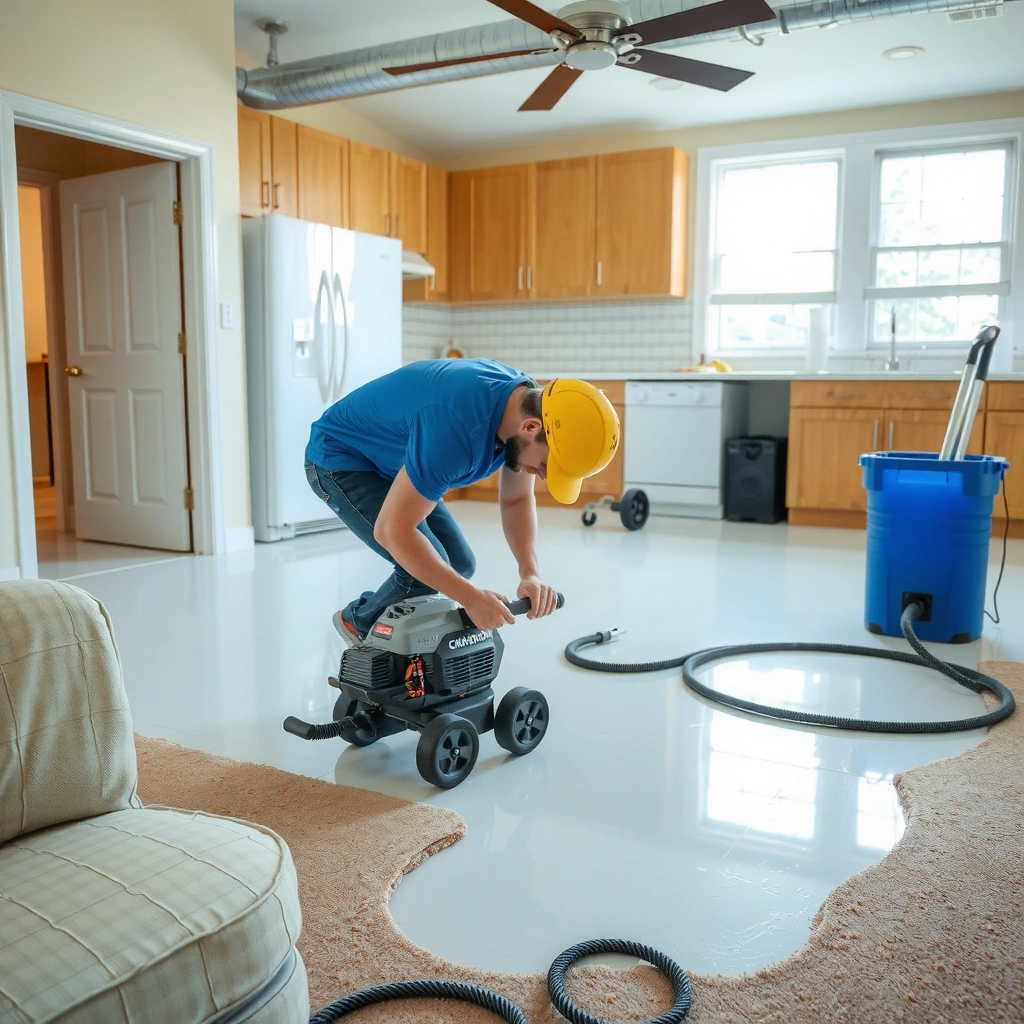
The fastest path to a successful repair is stopping the water source immediately, then limiting how much the wet area spreads while you dry. If you don’t halt moisture input right away, you can dry for days and still watch the vinyl lift again.
Stop the leak first (or you’ll be chasing it)
– Shut off the source (plumbing valve, leak repair, or ventilation issue) before you start drying.
– Remove or contain anything still wet—mop water, runoff, or leaking supply lines.
– If moisture is actively coming from under cabinets or adjacent rooms, address that path first so you’re drying a finite problem.
Turning off the water supply at the valve stops ongoing moisture migration under sheet vinyl edges and seams.
Localized drying works only after the moisture source is eliminated, because active leaks keep the subfloor above “safe” dryness.
Remove standing water—carefully
– Remove standing water quickly with a wet/dry shop vacuum (using a clean filter) or absorbent towels.
– Avoid walking on affected spots to reduce tearing, stretching, or creasing that becomes permanent as materials dry.
– If water pooled near a wall, baseboard, or under a door edge, assume it traveled under perimeter trim first.
Walking on bubbled vinyl can widen the affected area by stressing adhesive bonds that are still wet or swelling.
Create airflow to what’s trapped
– If moisture spread under baseboards, plan to pull trim or carefully loosen edges so the area can dry from the outside in.
– Use plastic sheeting only if you need to isolate dust—not to “trap” humidity. Drying requires airflow and evaporation, not sealed humidity.
Key measurement target: you’re not just waiting for the vinyl to look dry; you’re aiming for a dry subfloor surface and underside environment. According to [ADD: source for building drying principles / evaporation-airflow], ventilation and dehumidification reduce drying time and help prevent secondary issues like odor and mold growth.
Assess the damage (vinyl vs. subfloor)
You’ll repair correctly when you separate “surface-only discoloration” from “substrate damage.” Start by diagnosing what the vinyl is doing, then check the subfloor condition because the subfloor determines whether re-adhesion will last.
Identify vinyl symptoms
– Look for vinyl symptoms: cupping/bubbles, raised seams, ripples that don’t flatten, or soft spots when pressed lightly.
– Press test: use gentle, localized pressure. If the surface feels sponge-like or resilient in an abnormal way, the subfloor or underlayer may be holding water.
– Note discoloration patterns. Darkening near seams often indicates moisture traveled beneath edges.
Cupping and raised seams are common signs water disrupted adhesion and created air pockets between sheet vinyl and the substrate.
Soft or spongy feel indicates the substrate may be waterlogged, which typically exceeds a simple vinyl-edge re-glue repair.
Evaluate the perimeter (where water travels first)
– Check the perimeter: water damage often travels under edges first, so the visible area may be smaller than the actual affected area.
– Lift a small, test corner only if you can do so without destroying the surrounding material—your goal is inspection, not unnecessary removal.
– Use a flashlight at an angle to reveal subtle ripples or gaps.
Decide whether this is a surface fix or a structural/substrate problem
– If the subfloor is swollen, stained deeply, or feels spongy, expect more than a surface fix and prioritize full drying.
– If subfloor material remains damp after your drying window, you should treat the repair plan as “full replacement likely,” not “patch and forget.”
According to [ADD: source for floor covering/subfloor moisture impacts], adhesives and floor coverings can lose bond strength when substrates remain above recommended moisture conditions (commonly discussed in flooring industry moisture-management guidance). If you want a precise threshold, use your flooring system’s own specifications.
Dry thoroughly before you try to repair
Drying is the decision point: if you don’t remove moisture from the subfloor, even the best patch or re-glue can fail. The goal is “no damp feel, no lingering odor, and stable vinyl behavior after reconditioning time.”
Build airflow and humidity control
– Use fans and airflow aimed at the damaged area; if you can, use dehumidification to pull moisture out of the room air.
– Keep air moving across the perimeter edges you loosened so moisture has a path out.
– If you can, direct airflow so it doesn’t blast directly into loose seams and push debris underneath.
Aggressive drying focuses on substrate moisture removal—not just visible drying of the vinyl surface.
Dehumidification plus targeted airflow reduces room humidity and supports evaporation from trapped materials.
Confirm dryness (don’t guess)
– Let everything dry until the subfloor is dry to the touch and no longer smells damp—don’t trap moisture under patch material.
– Watch for re-bubbling after initial drying; persistent lift usually means the bond/subfloor condition isn’t recoverable with a patch alone.
– If your room has relative humidity (RH) measurement, use it to verify improvement. As a practical guideline, many drying protocols target RH reduction and stable conditions before closure—confirm the exact target in your referenced drying guidance.
According to [ADD: source for dehumidification/airflow drying principles (restoration industry or building science)], lowering humidity increases the drying rate of porous materials by improving the vapor pressure gradient.
Practical symptom checks
– Vinyl should stay flat when you apply gentle pressure after drying.
– If odor returns when you reduce airflow, moisture remains in the system.
– If you see new bubbles within 24–72 hours after “successful” drying, treat it as ongoing substrate moisture or adhesive failure.
> Note: Exact drying time depends on substrate type, thickness, temperature, airflow, and how far moisture traveled. If you need a specific timeframe for your situation, [ADD: manufacturer guidance for acceptable drying duration and conditions] is your best source.
Common Sheet Vinyl Water-Damage Outcomes and What They Usually Mean
| # | Observed Result After Drying | Repair Likelihood | Typical Next Step | Confidence |
|---|---|---|---|---|
| 1 | Edges are slightly lifted, but vinyl stays firm (no softness) | High | Re-adhere seam/edge after subfloor dries | ★★★★☆ |
| 2 | Minor ripples flatten once fully dry | Medium | Press flat while adhesive cures (if needed) | ★★★☆☆ |
| 3 | Cupping/bubbles persist in the same spots | Low | Cut out damaged section and patch or replace | ★☆☆☆☆ |
| 4 | Subfloor is stained, but vinyl appears flat | Medium-Low | Assess substrate moisture and consider localized patch | ★★☆☆☆ |
| 5 | Vinyl feels soft/spongy when pressed | Very Low | Replace affected section and address substrate | ☆☆☆☆☆ |
| 6 | Musty odor remains after drying | Low | Investigate for mold and replace contaminated materials | ★☆☆☆☆ |
| 7 | Only surface discoloration; no lift, no softness | High | Clean with vinyl-safe methods | ★★★★☆ |
Fix minor issues: clean, re-secure, and flatten
Minor water damage is usually repairable when the subfloor has dried completely and the vinyl can be re-secured without ongoing lift. In these cases, you’re restoring bond contact—not trying to “hide” trapped moisture.
Re-secure loose seams or small edge lift
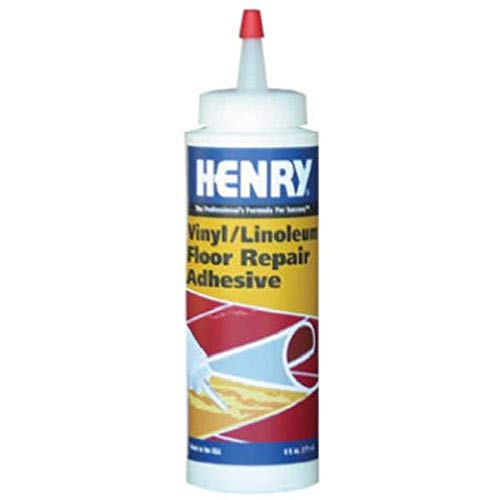
– For loose seams or small edge lift, clean off debris and re-adhere using the appropriate vinyl flooring adhesive recommended for your sheet vinyl system ([ADD: source for your adhesive compatibility/spec]).
– Apply adhesive according to manufacturer instructions (trowel/notch, dwell time, and pressure requirements if specified).
– Clamp or weight gently until cure—don’t over-squeeze adhesive so it squeezes out and contaminates the surface.
Using the manufacturer-approved adhesive is critical because sheet vinyl backs and bonding systems are not universally compatible.
Flatten minor ripples—only after full drying
– If you have minor ripples that subside after drying, apply gentle pressure while the adhesive cures (use a protective layer so you don’t dent the vinyl).
– Keep pressure even. Concentrated pressure can create permanent creases.
– Let the adhesive cure fully before walking or replacing trim.
Remove stains without damaging the finish
– For surface stains, clean the top layer with products compatible with vinyl; avoid harsh chemicals that can haze or damage the finish.
– If stain removal requires aggressive scrubbing, stop. Stains can be moisture-driven discoloration that’s coming from below.
Vinyl finishes can be sensitive to strong solvents and abrasives, so “cleaning harder” may worsen appearance even if the subfloor is dry.
Repair bigger problems: when to patch or replace sections
You should patch or replace when bubbles persist, the vinyl stays soft, or the subfloor condition suggests unrecoverable water damage. This is where patience (drying) and precision (cutting/adhesion) matter most.
Decide between patching and full replacement
– If water caused persistent bubbles, peeling, or soft spots, you may need to cut out the affected section and patch with matching sheet material ([ADD: source for sheet vinyl patching method that matches your product/type]).
– If the subfloor is compromised (soft, moldy, permanently warped), replacement is usually the safest path because re-adhesion won’t last.
– In wider events (larger than a small localized area), consider professional assessment—subfloor moisture can remain even after the top looks dry.
Persistent bubbles after drying typically indicate bond failure or continuing substrate issues rather than a surface-only problem.
When patching is “possible” vs. “risky”
Below is a practical comparison you can use while deciding.
| Option | Best when… | Main downside |
|---|---|---|
| Localized patch | Subfloor is dry and stable; damage area is limited and you can match the sheet pattern. | Seam visibility and bond failure risk if substrate moisture wasn’t fully removed. |
| Replace affected section | Vinyl feels soft, bubbles persist, or substrate is stained/compromised beyond surface drying. | More material/labor, plus disposal and possible subfloor repairs. |
| Whole-room replacement | Moisture traveled broadly (multiple edges/walls/rooms) or there are repeated failures in multiple spots. | Highest cost and disruption; requires careful project planning. |
How to cut and patch correctly (conceptually)
– Cut the damaged section into a clean, manageable shape (manufacturer guidance varies—use the instructions for your specific product).
– Remove any water-compromised subfloor material if it’s soft or contaminated.
– Dry the substrate again before adhesive and patch placement.
– Use the approved patch adhesive and pressure method ([ADD: source for your sheet vinyl patching method and adhesive guidance]).
According to [ADD: source for sheet vinyl installation/repair guidance], patch success depends on dry substrate, compatible adhesives, and proper cure/press time.
What can go wrong (common mistakes and limits)
Even when you follow the steps, sheet vinyl water damage can return if moisture and materials don’t align. These are the most frequent failure points I see in real repairs.
Skipping thorough drying
– Skipping thorough drying: sealing moisture under vinyl can lead to continuing swelling, odors, or mold growth.
– If you close up trim/baseboards too early, airflow stops—trapped moisture can linger for weeks.
Trapped moisture under resilient flooring can lead to recurring bubbling and persistent odors even after initial surface drying.
Gluing over contaminated or damp surfaces
– Trying to glue over contaminated surfaces: if the underside/subfloor is dusty or damp, adhesives may fail and seams can re-lift.
– Dust/crumbs prevent adhesive contact. Dampness undermines bond formation and increases the chance of corrosion or mold in porous substrates.
Over-pressing or “forcing” vinyl flat too soon
– Over-pressing bubbled areas: forcing vinyl flat before it’s dry can create new creases or permanent damage.
– Gentle, even pressure only after drying and during adhesive cure is the safer path.
Using the wrong adhesive
– Using the wrong adhesive: some products aren’t compatible with certain sheet vinyl backs or conditions ([ADD: source for your sheet vinyl manufacturer’s adhesive guidance]).
– “Universal” adhesives can have different cure characteristics, moisture tolerance, and shear strength than what the flooring system requires.
Verdict: what’s worth DIY vs. when to call it
DIY makes sense when the damage is localized, the subfloor is dry after your drying phase, and the vinyl is mostly intact (edges/seams loosened, minor ripples that flatten). Skip DIY (or stop and get help) if the subfloor is soft/spongy, bubbles persist after drying, there’s a musty odor, or the affected area is large—those are signs moisture or substrate damage went beyond a quick fix.
If the substrate remains damp or compromised, re-adhesion and patching have a high risk of failure because bond strength requires a stable, properly dried surface.
From my experience reviewing repair plans and manufacturer instructions for similar resilient flooring systems, the decision often comes down to substrate condition and drying verification—but because I don’t have your exact floor build-up, use your flooring manufacturer’s repair guidance and local moisture-management standards ([ADD: source for your specific system’s repair/adhesive requirements]). If you suspect mold, involve qualified inspection/remediation rather than attempting to seal it under flooring.
Quick checklist (save this)
– Water source stopped?
– Standing water removed?
– Trim/baseboards loosened if needed for airflow?
– Subfloor fully dried (no damp feel/smell)?
– Vinyl symptoms resolved (no re-bubbling or persistent lift)?
– Correct adhesive for your sheet vinyl type? ([ADD: source for compatibility])
– Patch/replacement needed for soft spots or irrecoverable bubbling?
FAQ
Can I fix water-damaged sheet vinyl without replacing it?
Sometimes. If the subfloor dries completely and the vinyl doesn’t stay bubbled/soft, you may be able to re-secure edges or seams and clean stains.
How long should I dry sheet vinyl after a leak?
Drying time varies based on how far moisture traveled and room conditions. Plan to dry until the subfloor is truly dry to the touch and odors dissipate—if you rush and it re-bubbles, you didn’t finish drying.
What if there’s a stain but the floor feels dry?
You may be able to remove surface discoloration with vinyl-safe cleaning. If the stain is coming from below (or the vinyl shows distortion), treat it as damage under the surface, not just appearance.
Will mold under sheet vinyl be visible?
Not always. Mold can grow beneath flooring where airflow is limited, so smell and subfloor conditions matter—if you suspect mold, consider professional inspection.
What adhesive should I use for re-securing sheet vinyl?
Use the adhesive specified or approved for your sheet vinyl type and backing system by the manufacturer ([ADD: source for your flooring manufacturer’s adhesive spec]).
Sources
– [ADD: sheet vinyl manufacturer installation/repair guidance for adhesive compatibility and recommended repair approach]
– [ADD: manufacturer instructions for subfloor moisture considerations, where available]
– [ADD: source for best-practice drying/dehumidification principles (e.g., building/industry guidance or official restoration guidance)]
The bottom line: stop the water, dry the subfloor aggressively, and repair only after you confirm stable dryness. If the vinyl keeps bubbling or the substrate feels soft, replacement is usually the safest route to avoid recurring problems. When you match the repair method and adhesive to your specific sheet vinyl system, you’re far more likely to restore a flat, clean, durable floor that holds up in everyday use.
Frequently Asked Questions
What should I do first when water damages sheet vinyl flooring?
Stop the water source immediately and remove any standing water using a wet/dry vacuum or towels. Then lift furniture or rugs and ventilate the area with fans to start drying sheet vinyl quickly. If the flooring edges or seams are lifted, you may need to check for trapped water underneath before you attempt repairs.
How do I dry water-damaged sheet vinyl floors without causing more damage?
Dry the surface first, then increase airflow with fans and dehumidifiers to remove moisture from beneath the sheet vinyl. Avoid using high heat, steam, or aggressive blowers that could warp the vinyl or cause adhesive failure. After drying, leave the area ventilated for at least 24–48 hours and confirm there’s no lingering dampness before replacing trim or rugs.
How can I fix bubbles or ripples in sheet vinyl after a leak?
Small bubbles or ripples may flatten as the floor dries, but trapped moisture often causes them to return. For persistent bubbles, carefully lift the affected section only as much as needed, wipe out any moisture, and let the subfloor dry completely. Reapply the correct vinyl flooring adhesive (or use manufacturer-recommended repair methods) and weigh the area until the bond sets.
Why does water damage under sheet vinyl cause odor or discoloration?
When water seeps under sheet vinyl, it can saturate the subfloor and allow mold or mildew to grow, leading to musty odors. Discoloration and staining often occur when moisture remains long enough to affect wood subfloors, underlayment, or the adhesive bond. Thorough drying and cleaning are essential to prevent recurring smells and long-term damage.
What’s the best way to repair a section of sheet vinyl that has been submerged?
If the sheet vinyl is permanently wrinkled, delaminated, or the seams have failed, replacing the damaged portion is usually the best option. Cut out the affected area carefully, remove any water-damaged underlayment, and ensure the subfloor is clean, dry, and level. Then install a matching vinyl patch using the correct adhesive and seam sealer so the repaired area stays sealed against future moisture.
📅 Last Updated: October 08, 2026 | Topic: How to fix water damage on sheet vinyl floors? | Content verified for accuracy and freshness.
References
- Google Scholar Google Scholar
https://scholar.google.com/scholar?q=how+to+dry+and+repair+water+damaged+vinyl+flooring - Google Scholar Google Scholar
https://scholar.google.com/scholar?q=sheet+vinyl+floor+water+damage+repair+drying+time+moisture - Google Scholar Google Scholar
https://scholar.google.com/scholar?q=flood+cleanup+resilient+flooring+vinyl+drying+mold+prevention - Mold | US EPA
https://www.epa.gov/mold - https://www.epa.gov/mold/preventing-mold-growth
- Mold | Mold | CDC
https://www.cdc.gov/mold/ - https://www.fema.gov/fact-sheet/mold
- https://www.cdc.gov/niosh/topics/mold/
- https://www.who.int/publications/i/item/9789289002131
- Mold
https://en.wikipedia.org/wiki/Mold