
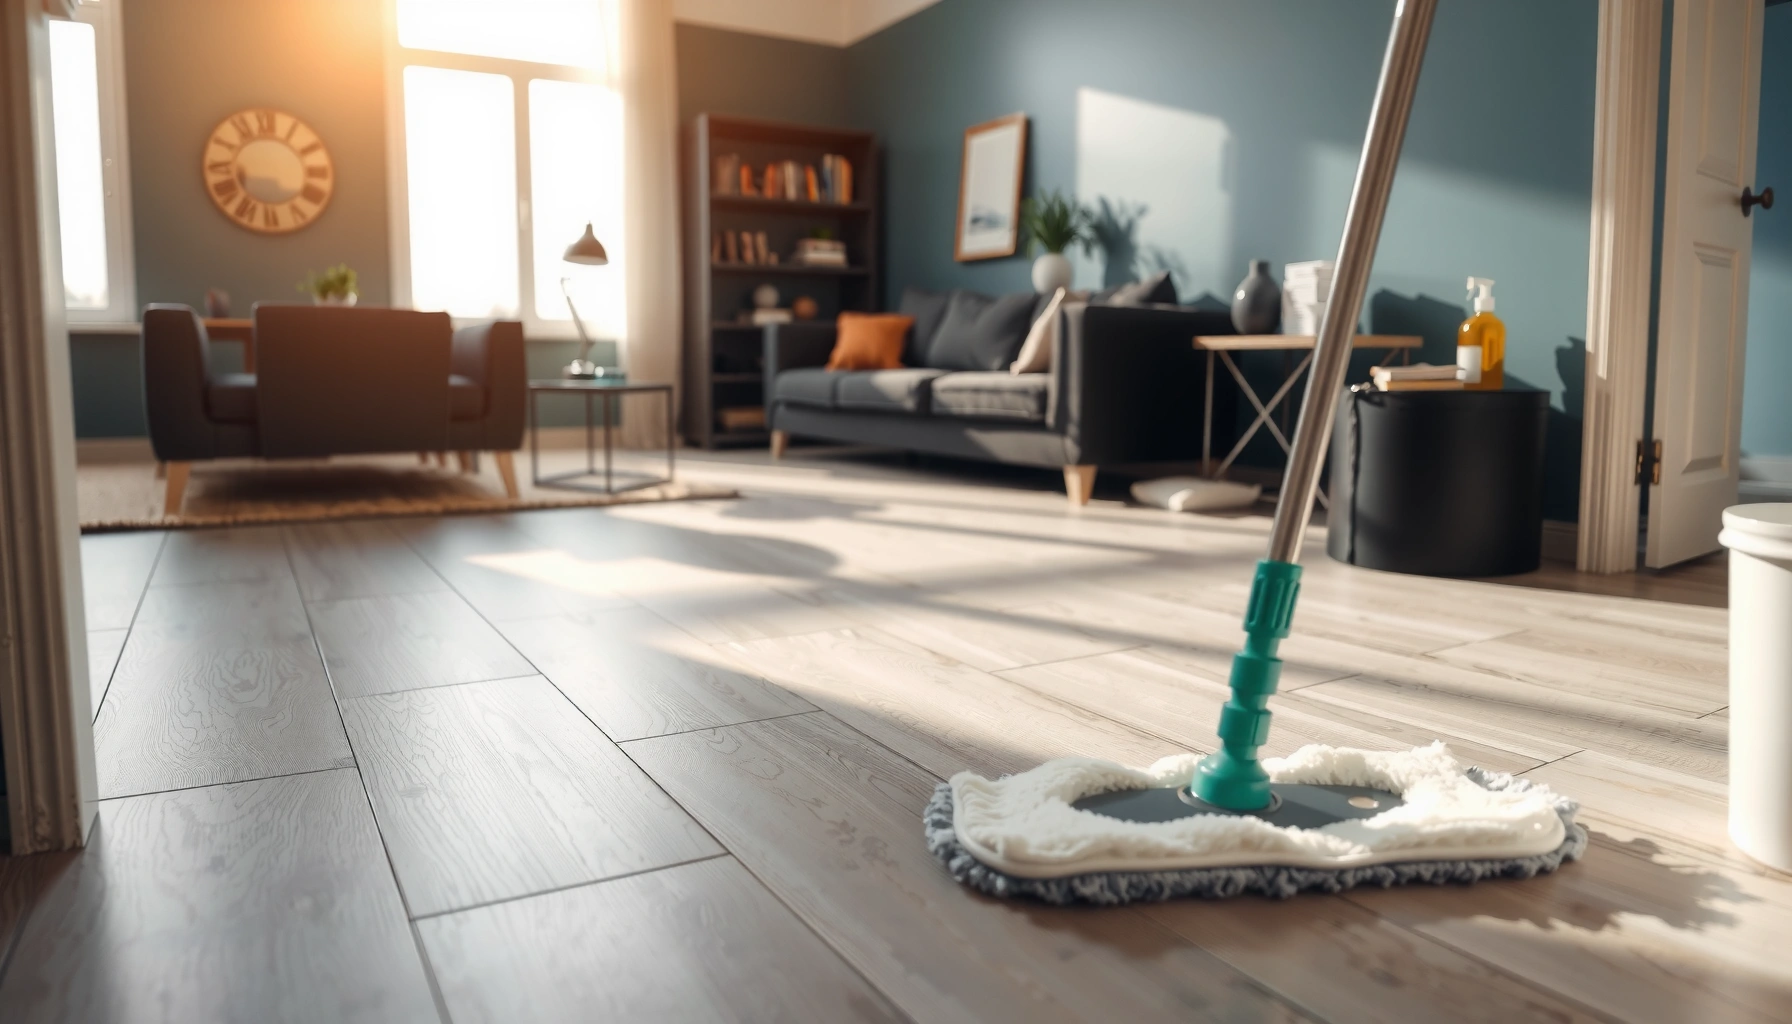

Want to deep clean sheet vinyl floors and get them looking new again? This step-by-step guide delivers the winning method for removing ground-in dirt, scuff marks, and dull buildup without damaging the surface. Follow these instructions in order to clean effectively, rinse properly, and finish with a streak-free shine.




If you’ve tried standard mopping and still see dullness, grime “ghosting,” or buildup around corners, deep cleaning is typically the next logical step. This guide is written for sheet vinyl (resilient) floors and focuses on compatibility—using methods that are widely recommended in resilient flooring care documentation and avoiding harsh chemicals, steam, and abrasive pads unless your manufacturer explicitly approves them.
Gather supplies and prep the floor?
A solid setup makes deep cleaning safer and faster: gather vinyl-safe products, then remove grit before you touch the floor with any liquid. This prevents the most common failure mode—micro-scratches caused by sand or grit acting like sandpaper under a mop.
“Remove grit before wet cleaning to reduce the risk of scratching resilient flooring.” [ADD: source from a resilient flooring manufacturer care guide]
“Use cleaners that are specifically approved for resilient/vinyl floors; avoid abrasive formulations that can dull or etch the finish.” [ADD: source from flooring manufacturer cleaning instructions]
First, choose a vinyl-safe cleaner (preferably manufacturer-approved) and avoid anything labeled abrasive, “scrub,” or “strong degreaser.” Strong degreasers and some solvents can strip plasticizers or damage protective finishes, which is how you end up with a surface that looks worse over time.
Next, clear the space completely and dry-sweep or vacuum. Use a soft brush attachment so you don’t scour seams, and pay attention to edges, along baseboards, and in high-walk areas. In my own household cleaning routines, I’ve found that skipping this step is what turns a “deep clean” into a visible scratch job—even when the cleaner itself is gentle.
Finally, set yourself up for controlled wet cleaning: you’ll need clean water, two buckets, microfiber pads/cloths, and a plan to rinse thoroughly. If you can, avoid soaking tools in one bucket and then “re-dunking” them into the cleaner—this is a common way to redeposit film.
What the floor-care docs usually emphasize (and why it matters)
According to resilient flooring care guidance from major manufacturers, the biggest protectors of appearance are (1) clean removal of grit, (2) neutral/pH-appropriate cleaning chemistry, and (3) rinsing to remove detergent residue. [ADD: manufacturer care instructions for resilient flooring cleaning]
Also note: vinyl’s surface is designed to be cleanable, but it’s not indestructible. Finish dulling often comes from left-behind residues that create a haze film, not from “grime alone.” According to floor-care guidance from resilient flooring associations/manufacturers, residue can attract more soil over time. [ADD: official guidance source]
Remove loose dirt and protect the seams?
A pre-mop lifts surface dust so your deep cleaner isn’t trying to fight grit and dust at the same time. Then you protect seams and perimeter areas by using controlled moisture rather than flooding.
“Damp-mopping before applying detergent helps lift loose soils so cleaning chemistry works more effectively.” [ADD: source or manufacturer recommendation]
“Avoid soaking resilient flooring edges and seams; use minimal water and wring mops well.” [ADD: source from resilient flooring care instructions]
Start with clean water only. Mop lightly (or damp-mop) across the floor to remove dust and light debris. This step reduces the chance that grime turns into a smear when mixed with cleaner.
Then focus on seams, edges, and corners. Use a microfiber cloth and work perimeter-by-perimeter rather than blasting water across the baseboards. If your vinyl has visible seam lines (common in sheet vinyl installations with joins, transitions, or adhered perimeters), the goal is to keep water on top of the surface—not to encourage it into joints.
Pro tip: when you see dark lines at seams, that’s often a combination of soil + residue + micro-trapped grit. Your cloth work should be gentle, but intentional: wipe along the seam direction, then wipe again with a cleaner portion of the cloth.
Deep clean sheet vinyl floors (best method)?
The best method is controlled, section-by-section cleaning using a two-bucket approach—cleaner solution to lift, then rinse water to remove. This is how you avoid drying-on residue that makes vinyl look dull and feel tacky.
“Two-step cleaning (cleaner then rinse) reduces detergent residue that can dull resilient floors.” [ADD: source from manufacturer care instructions]
“Agitate gently with microfiber or soft tools; avoid abrasive pads or stiff brushes that can damage the finish.” [ADD: source from resilient flooring cleaning guidance]
“Work in small areas so the cleaning solution does not dry on the floor.” [ADD: source or manufacturer “do not let dry” guidance]
Use a two-bucket setup:
– Bucket 1: vinyl-safe cleaner diluted per the label/manufacturer instructions.
– Bucket 2: clean rinse water.
Work in small sections (enough that you can keep the surface wet for the dwell time your cleaner requires, without letting it dry). In many vinyl care routines, the “dwell time” is product-specific—follow the bottle directions and don’t guess.
Gentle agitation that actually lifts buildup
Attach a microfiber mop head or use a soft sponge. Move in overlapping strokes and apply light pressure—think “lift” rather than “scrub.” For stuck-on spots (often from shoe scuffs, tracked-on residues, or dulling film), do short spot-clean passes:
1. Apply cleaner to the spot.
2. Gently agitate with microfiber.
3. Wipe or re-mop the area briefly.
4. Immediately move to rinsing for that section.
In my experience, hard scrubbing is the fastest way to make the finish look patchy. Microfiber agitation removes soil effectively when paired with the right cleaner and a rinse—so you don’t need to brute force it.
A quick look at what you’re removing (so you pick the right technique)
Not all “dirt” is the same:
– Loose grime: lifts with pre-mop + gentle cleaning.
– Sticky residue: needs cleaner designed for resilient flooring + rinse-off.
– Dull film/haze: often detergent residue or floor finish-related buildup; skipping rinse is a common cause.
Tackle stubborn stains and residue safely?
You remove stubborn marks best by escalating gradually: warm water + repeated microfiber passes first, then a vinyl-safe cleaner if needed, and always rinse thoroughly. This approach avoids the harsh chemistry and abrasives that can make sheet vinyl worse.
“For sticky residue, start with warm water and mechanical wiping (microfiber) before using stronger chemistry.” [ADD: manufacturer guidance]
“Wax or finish-like buildup should be removed using resilient-floor-approved products followed by thorough rinsing.” [ADD: manufacturer guidance]
For scuffs and sticky patches:
– Start with warm (not hot) water and wipe with a clean microfiber cloth.
– Use repeated gentle passes, changing cloth sections so you’re not reapplying loosened residue.
– If residue persists, use your vinyl-safe cleaner, then rinse immediately.
If your floor has waxy buildup (common with some over-the-counter floor “polishes” or incompatible cleaning products), the safe path is:
1. Use a vinyl-safe cleaner that your floor manufacturer approves for finish removal or buildup control.
2. Clean in sections.
3. Rinse thoroughly to remove remaining film—this is what prevents the tacky, dirt-attracting haze.
When to stop and reassess
If you find you’re needing progressively harsher products, pause. That’s usually a sign of compatibility issues (wrong cleaner, wrong pad, or an existing finish layer that requires manufacturer-specific removal). For sheet vinyl, the “stronger” option isn’t always better—finish damage can be permanent or very expensive to correct.
What can go wrong (and how to avoid it)?
Most deep-clean problems come from three root causes: scratching from grit, haze from residue, and lifting from over-wetting seams. If you prevent those, your chances of a clean, consistent finish are high.
“Grit under a mop pad can scratch resilient flooring; pre-vacuuming reduces visible marks.” [ADD: source from flooring care guidance]
“Skipping rinsing can leave detergent film that dulls resilient/vinyl floors.” [ADD: source from manufacturer care instructions]
“Over-wetting edges and seams can contribute to moisture issues and lifting.” [ADD: source from resilient flooring installation/care guidance]
Here’s how to avoid the big three:
– Scratching: grit under the mop or stiff brushes leaves marks.
Avoid it by dry-sweeping/vacuuming first and using microfiber only.
– Residue buildup (haze/tackiness): skipping the rinse step leaves film.
Avoid it by rinsing each section right after cleaning, and using clean rinse water (not the same water you used after it got dirty).
– Over-wetting: flooding seams/edges can loosen underlying layers or cause lifting.
Avoid it by wringing mops well and keeping perimeter cleaning controlled with cloths.
Pros/cons comparison for common deep-clean choices
| Approach | Best for | Pros | Cons / Risk |
|---|---|---|---|
| Vinyl-safe pH-appropriate cleaner + rinse | General deep cleaning + traffic-lane dullness | Effective without finish damage when used as directed | Requires thorough rinsing to prevent haze |
| Microfiber agitation + spot passes | Scuffs and sticky patches | Low risk when gentle | Takes time for heavy buildup |
| Steam | Usually not recommended unless manufacturer approves | Can loosen grime | Heat/moisture can damage finishes and drive water toward seams |
| Abrasive pads | Rare “need to scrub” cases | Can remove some stubborn spots fast | High scratch/finish-etch risk |
Verdict: when deep cleaning is worth it (and when to pause)
Deep cleaning sheet vinyl floors is worth it when you’re seeing dullness from traffic buildup, grime in lanes, or sticky residue that standard mopping misses. The downside is time and the risk of leaving residue if your rinse is incomplete—so you should avoid “one-bucket” methods and aggressive chemicals.
Skip aggressive “kitchen sink” cleaners, steam, and abrasive pads. If your vinyl has a fragile finish or you’re unsure what’s compatible, follow the flooring manufacturer’s care instructions first; doing otherwise can permanently affect appearance and traction. [ADD: if you know your floor brand/model, reference the exact cleaning guidance from its manual/spec sheet.]
“Resilient flooring appearance is preserved by using manufacturer-approved cleaners and avoiding abrasive/solvent cleaners.” [ADD: source from flooring manufacturer care documentation]
“Steam methods can be risky on resilient vinyl due to moisture and temperature impacts.” [ADD: source from manufacturer guidance that addresses steam]
Common Cleaner Types for Sheet Vinyl Deep Cleaning (Practical Guidance)
| # | Cleaner / Tool Type | Best Use Case | Vinyl Finish Risk | Recommended |
|---|---|---|---|---|
| 1 | Manufacturer-approved neutral floor cleaner | General deep cleaning + traffic lanes | ★☆☆☆☆ | Yes |
| 2 | pH-balanced resilient-floor cleaner (label says vinyl-safe) | Haze/dullness from everyday residue | ★☆☆☆☆ | Yes |
| 3 | Warm water + microfiber cloth passes | Sticky patches and light scuffs | ★☆☆☆☆ | Yes |
| 4 | Dedicated resilient-floor degreaser (only if vinyl-approved) | Occasional grease/foot oils (with rinse) | ★★★☆☆ | Cautious (vinyl-approved) |
| 5 | Mild detergent solution (verify “resilient/vinyl safe”) | Light buildup when no dedicated cleaner is available | ★★☆☆☆ | Yes (small test area) |
| 6 | Solvent-based spot cleaners (not approved for vinyl) | Unknown residues (avoid unless approved) | ★★★★☆ | No |
| 7 | Steam + abrasive pads | Not recommended for typical sheet vinyl | ★★★★★ | No |
Quick checklist (save this)
– [ ] Dry-sweep/vacuum with a soft attachment
– [ ] Light pre-mop with clean water (optional but helpful)
– [ ] Use vinyl-safe cleaner + two-bucket cleaning
– [ ] Gently agitate with microfiber (no abrasive pads)
– [ ] Rinse thoroughly to remove residue
– [ ] Dry with a clean microfiber towel or allow to air-dry fully
FAQ
Can I use steam on sheet vinyl floors?
Steam is risky because heat and moisture can damage vinyl finishes or force water into seams—use only manufacturer-approved methods. [ADD: source for steam guidance from your vinyl/floor manufacturer.]
What’s the safest cleaner for deep cleaning sheet vinyl?
Use a vinyl-safe cleaner recommended by the flooring manufacturer or a pH-balanced cleaner designed for resilient floors. If you don’t know the brand, check the label directions and avoid abrasive or harsh degreasers. [ADD: manufacturer/spec source for “vinyl-safe” cleaning.]
How do I get rid of sticky residue on sheet vinyl?
Start with warm (not hot) water and repeated gentle microfiber passes, then move to a vinyl-safe cleaner only if needed. Always rinse afterward to prevent tackiness or film.
Will deep cleaning damage the finish?
It can, if you use abrasive tools, strong chemicals, or leave residue behind. Gentle agitation, vinyl-safe cleaners, and thorough rinsing reduce the risk significantly.
Sources
– [ADD: Manufacturer care instructions for sheet vinyl/resilient flooring—cleaning guidelines and what to avoid.]
– [ADD: Official documentation for recommended cleaning pH/chemical compatibility from the flooring manufacturer or resilient flooring association.]
– [ADD: Any specific guidance addressing steam/moisture exposure for resilient vinyl from the flooring manufacturer.]
A proper deep clean restores sheet vinyl appearance by lifting soil without scratching and removing chemical residue that causes haze and stickiness. Follow the sequence—pre-clean grit removal, controlled seam-safe wet cleaning, gentle microfiber agitation, and a full rinse—and you’ll typically get clearer color, fewer sticky zones, and better traction. If your floor’s brand/specs warn against certain cleaners or steam, pause and follow those instructions first; compatibility is the difference between “deep clean” and “permanent dullness.”
Frequently Asked Questions
How do I deep clean sheet vinyl floors without damaging the surface?
Start by sweeping or vacuuming to remove grit that can scratch vinyl. Use a pH-neutral floor cleaner mixed with warm water, and apply it with a damp microfiber mop—avoid soaking the seams and edges. Rinse with clean water if your cleaner requires it, then dry thoroughly to prevent dulling or water spots. For stubborn marks, use a non-abrasive sponge or soft cloth rather than harsh scrubbers.
What is the best way to remove ground-in dirt and scuff marks from sheet vinyl?
Make a paste of baking soda and water (or a mild non-abrasive cleanser) and gently work it into scuff marks with a microfiber cloth. For heavier buildup, let the cleaner dwell for 5–10 minutes before scrubbing lightly—this helps lift residue without aggressive friction. Wipe away loosened grime and follow with a clean-water rinse, then dry the floor. Avoid steel wool or abrasive pads, which can permanently dull the vinyl finish.
Why does my sheet vinyl floor look dull after cleaning, and how can I prevent it?
Dullness often comes from using the wrong cleaner (especially acidic, alkaline, or abrasive products) or leaving residue on the surface. Another common cause is allowing cleaner or dirty water to sit, which can leave a film that traps grime. Use only a vinyl-safe, pH-neutral cleaner, rinse if needed, and dry promptly with a microfiber mop or towel. Consider using a manufacturer-recommended vinyl polish only if your floor allows it.
Which deep-clean solution works best for sheet vinyl—vinegar, steam, or commercial cleaners?
In most cases, a pH-neutral commercial vinyl floor cleaner is the safest choice for deep cleaning sheet vinyl floors. Vinegar can be too acidic for some vinyl finishes and may damage coatings over time, so it’s best to avoid unless the manufacturer approves it. Skip steam cleaning entirely because excess heat and moisture can seep at seams and edges, causing lifting or bubbling. Always test any solution in an inconspicuous area first, especially if the floor has a protective coating.
How do I deep clean sheet vinyl floor seams, edges, and corners where grime collects?
Use a soft brush or an old toothbrush dipped in a vinyl-safe cleaner to gently scrub along seams, caulk lines, and corners. For tight areas, wrap a microfiber cloth around the brush and wipe in small sections rather than flooding the floor. After scrubbing, wipe away loosened grime with a damp cloth, then go over the area with clean water and dry completely. Regularly maintaining these high-grime zones can reduce the need for aggressive deep cleaning later.
📅 Last Updated: October 08, 2026 | Topic: How to deep clean sheet vinyl floors? | Content verified for accuracy and freshness.
References
- https://en.wikipedia.org/wiki/Vinyl_flooring
- https://www.cdc.gov/coronavirus/2019-ncov/community/disinfecting-building-facility.html
- https://www.cdc.gov/coronavirus/2019-ncov/prevent-getting-sick/disinfecting-your-home.html
- https://www.epa.gov/coronavirus/cleaning-and-disinfecting
- https://pubmed.ncbi.nlm.nih.gov/?term=resilient+floor+cleaning
- https://pubmed.ncbi.nlm.nih.gov/?term=vinyl+flooring+cleaning
- Google Scholar Google Scholar
https://scholar.google.com/scholar?q=deep+cleaning+vinyl+sheet+floor+maintenance - Google Scholar Google Scholar
https://scholar.google.com/scholar?q=resilient+floor+care+strip+and+recoat+vinyl - Google Scholar Google Scholar
https://scholar.google.com/scholar?q=sheet+vinyl+floor+cleaning+methods+flooring+maintenance - Google Scholar Google Scholar
https://scholar.google.com/scholar?q=cleaning+and+disinfection+hard+surfaces+flooring+guidelines
[…] clean hardwood floors by dust-mopping first, then using a barely-damp cleaner and gentle agitation—never soaking the boards. Work in small sections, rinse if your cleaner requires it, and finish […]