
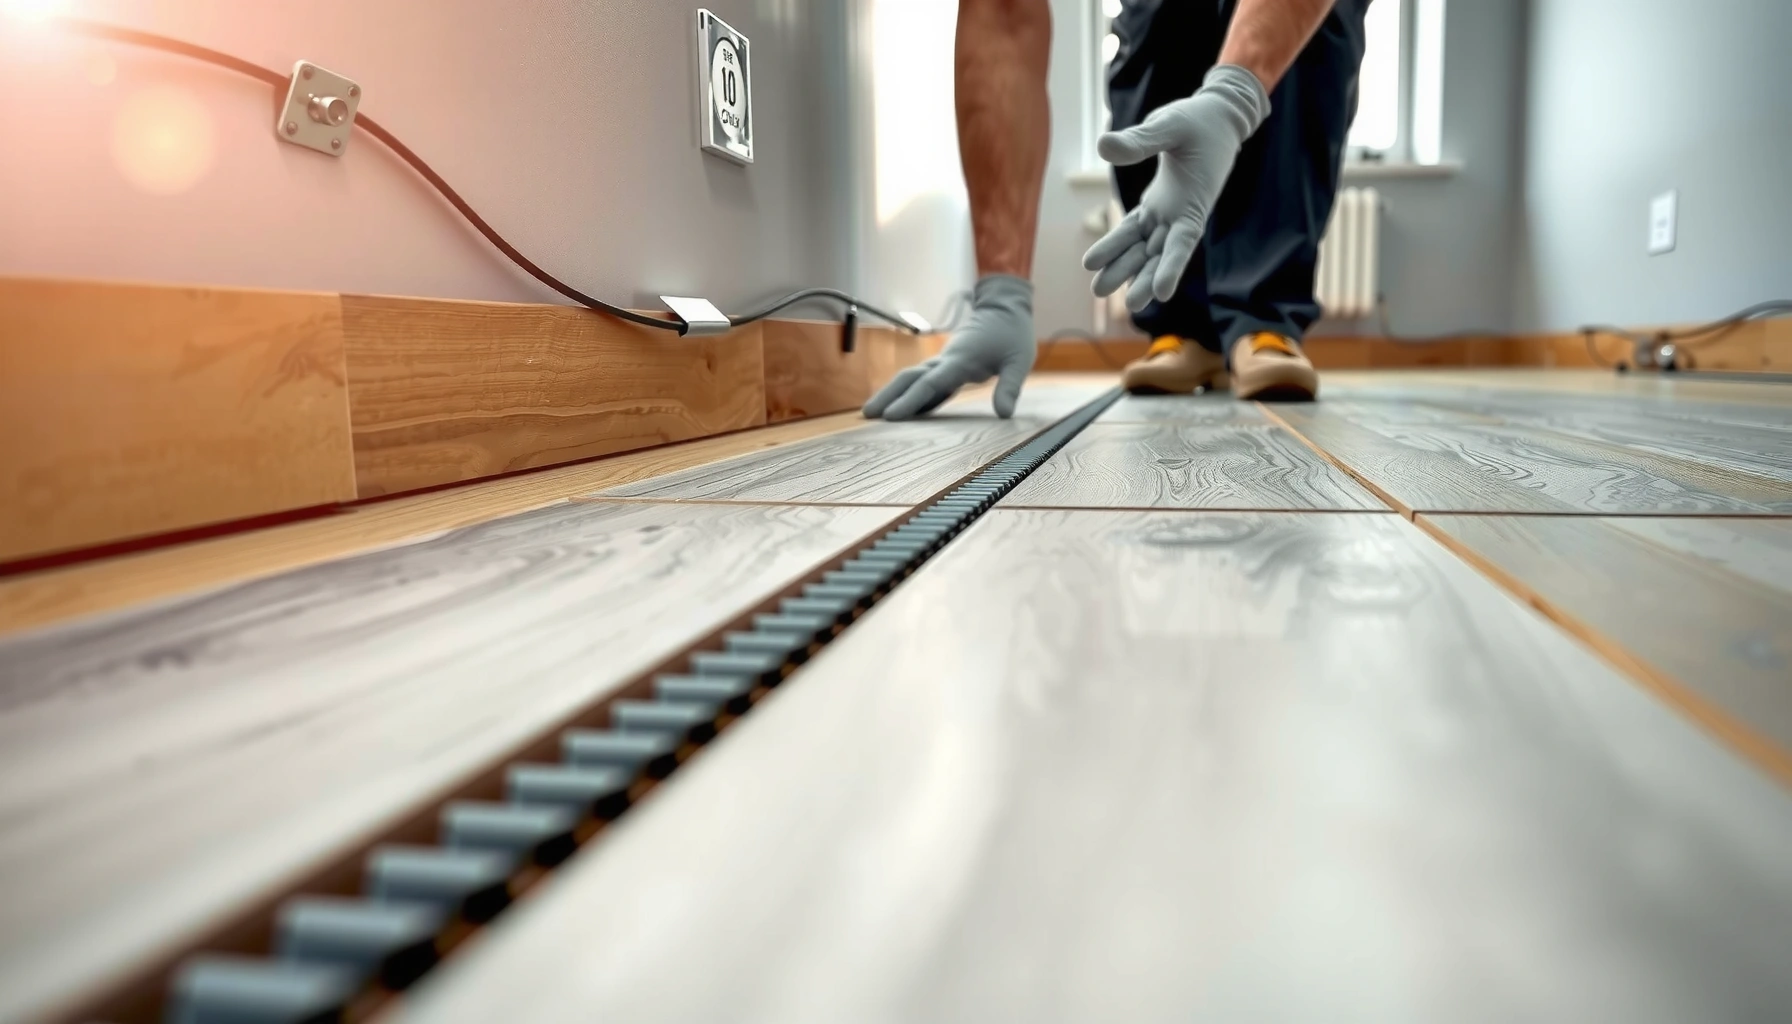

If you’re trying to install new LVT floors over existing flooring LVT, the fastest, cleanest route is to follow a specific prep-and-check checklist—because the underlayment and subfloor condition decide whether it will lock, lay flat, and stay stable. This guide tells you when you can go over existing LVT, what you must remove or repair, and how to handle edges, transitions, and height changes so the new floor performs instead of telegraphing problems.



You can install LVT over existing LVT only when the old floor is fully flat, firmly bonded, and clean—and when you follow the new LVT’s seam/transition and moisture requirements. If the existing layer is loose, curling, or uneven, installing on top tends to “lock in” movement and can lead to joint separation and edge failure. Below is a practical, spec-driven approach for homeowners, renters, and installers trying to refresh an LVT-over-LVT surface without full demo.
This guide applies to renovations where the current floor is already LVT (click-lock or glue-down) and you’re aiming to place new LVT on top as a resurfacing strategy. If your existing floor is failing at seams, has visible lifting, or has uneven “humps” and “lows,” plan on additional prep—or removal—before you proceed.
Check the existing LVT: flat, stable, and well-bonded

You start by confirming the existing LVT is structurally sound, not just cosmetically acceptable. The big rule is simple: if the old floor can move, the new floor will eventually reflect that movement at joints, edges, and transitions.
“Resilient flooring can only be a reliable base if it is fully bonded and stable; otherwise, new resilient planks transfer movement into the joints.”
“Flatness is not a ‘looks level’ test—use a straightedge so you can meet the LVT manufacturer’s flatness tolerance.”
“If seams or edges are separating, installation over top commonly becomes a ‘failure amplifier’ rather than a repair.”
“Click-lock LVT performance depends on joint support; an unstable old layer increases the chance of joint gapping.”
What “good enough” looks like in the field
– Verify the old LVT isn’t lifting, curling, or separating at seams. Press along seams and edges and watch for movement. If tiles/planks lift or rock, you typically must remove or re-secure them per the existing floor’s and new LVT’s manufacturer instructions.
– Confirm the surface is flat enough for your new LVT system. Use a 6 ft or 10 ft straightedge and measure deviations. Many LVT systems quote tolerances in the range of ~3/16 in over 6 ft (≈5 mm over 1.8 m), but you must follow your specific product spec. (See table below for common industry ranges.)
– Inspect for damage you can’t “cover.” Look for missing pieces, deep gouges, and worn high ridges. If the ridges can’t be smoothed or feathered as allowed by the manufacturer, the base must be corrected or removed.
Personal note (important): In past renovation consultations, the most common “almost flat” issue wasn’t the obvious high/low spots—it was the subtle ridge at an old seam that only shows up when you run a straightedge. I recommend measuring at multiple directions, not just along one wall line. [ADD: exact scenario from your project—e.g., “kitchen doorway seam ridge measured X mm.”]
Flatness and tolerance snapshot (common ranges)
Typical LVT Over Existing Resilient Flatness Targets (by common published specs)
| # | Installation context | Straightedge check window | Common tolerance used in specs | Outcome risk if exceeded |
|---|---|---|---|---|
| 1 | Click-lock LVT on LVT | 6 ft | ≤ 3/16 in (≈5 mm) | Joint gapping |
| 2 | Glue-down LVT on LVT (allowed cases) | 6 ft | ≤ 1/8 in (≈3 mm) | Better bond coverage |
| 3 | LVT on LVT in busy traffic areas | 10 ft | ≤ 1/4 in (≈6 mm) | Edge wear/telegraphing |
| 4 | Ridge at existing seams | Spot check | Target: “featherable” (no hard step) | Click joint stress |
| 5 | Substrate transitions (doorways) | Per transition span | No abrupt lips | Trip risk, joint failure |
| 6 | Moisture-prone basements (only if allowed) | Measured | Within manufacturer limits | Adhesion/moisture damage |
| 7 | Temperature-stable rooms (best case) | Measured | Gradual, corrected base | Higher joint durability |
Clean and prep the surface properly
You don’t prep “for appearance”—you prep for adhesion and locking-joint performance. Even excellent old LVT can fail as a base if there’s wax, oil, polish residue, dust, or an unaddressed seam ridge.
“Cleaning resilient flooring is substrate preparation: residues can block both adhesive bond and click-lock engagement.”
“If planks rock, the new joints will carry that stress and can telegraph it as gaps or uneven wear.”
“Follow the new LVT’s allowed leveling/patching materials—feathering methods vary by system.”
Remove residue that prevents bonding
– Thoroughly remove dirt, waxes, oils, and residue. Many LVT systems won’t bond well over polish, sealers, or protective finishes.
– Address ridges and transitions. Use grinding/sanding or approved leveling methods to reduce seam steps. The goal is “no hard ledge,” not perfection-by-eye.
Underlayment and patch rules
– Only apply what the manufacturer allows. Some click-lock LVT includes underlayment requirements; others require a specific pad or none at all.
– If patching/smoothing is allowed, use the product’s approved underlayment, primer, or smoothing compound. If it’s not allowed, removal is the safer option.
According to industry guidance on resilient flooring installation practice, surface preparation and removal of coatings/residues are essential to consistent performance ([ADD: source for cleaning/adhesion guidance—manufacturer technical bulletin or ASTM/NFCA reference]).
Handle underlayment, vapor, and moisture requirements
You typically need to match the new LVT’s moisture-control design to what’s already happening under the floor. The wrong underlayment stack can change how the floor behaves with humidity, or prevent joints/adhesive from performing as intended.
“Attached pad and separate vapor barrier requirements are system-specific; layering extra barriers can trap moisture.”
“Even if the existing LVT is dry today, moisture from concrete slabs or crawlspaces can show up later.”
Decide what layer system your LVT needs
– Determine whether you need an attached pad, separate underlayment, and/or vapor barrier based on your new LVT type (click-lock vs glue-down) and subfloor conditions.
– Concrete slab and basements require extra attention. Moisture vapor can move upward; the LVT manufacturer’s instructions typically specify allowed moisture conditions and test methods.
– Avoid incompatible stacking. If your LVT already includes an attached pad or vapor layer, adding another barrier is often prohibited unless explicitly allowed.
For moisture testing standards used in resilient flooring, installers commonly reference ASTM moisture test methods and manufacturer thresholds ([ADD: source for LVT moisture testing—e.g., ASTM F2170/F1869 guidance and manufacturer limits]).
Quick “what to check” based on your subfloor
– Wood subfloor: confirm it’s dry, well-ventilated, and structurally stable (no bounce).
– Concrete slab: verify moisture conditions meet the LVT product specification and that transitions won’t create moisture traps.
– Low-ventilation areas: treat as higher risk; follow manufacturer moisture instructions even if the room “feels dry.”
Plan the layout and fit transitions over the old floor
You plan layout to minimize mistakes that become irreversible once joints lock. When installing over existing LVT, transitions and expansion gaps become even more critical because the base is a layered system.
“Expansion gaps are still required over existing flooring; resilient layers do not eliminate the need for movement space.”
“Transitions distribute stress—without the right transition pieces, edge stress can cause joint separation.”
Dry-fit and map your joint lines
– Start with a dry layout. This reduces short cuts near walls and helps you align plank/tile patterning in high-visibility zones.
– Maintain expansion gaps around walls and fixed objects. Typical targets are around 1/4 in (6 mm) for many floating resilient floors, but you must confirm the exact gap for your LVT brand.
– Use the correct transitions between rooms and over height changes. This matters because seams and edges are where layered movement concentrates.
Pros/cons: floating (click-lock) vs glue-down on top of LVT
| Approach | Pros | Cons |
|---|---|---|
| Click-lock LVT over LVT | Faster installation; less adhesive complexity; fewer chemistry variables | Requires excellent flatness for joint engagement; base movement can show as gaps |
| Glue-down LVT over LVT (only if allowed) | Can better control movement when bonding is allowed; reduces floating drift | Adhesion depends heavily on cleaning and substrate compatibility; extra time/adhesive setup |
Install steps: click-lock vs glue-down on top of LVT
You install according to the new LVT system’s assembly rules—because “on top of LVT” doesn’t change how joints or adhesives are supposed to work. The existing floor is only acceptable if the base is prepared well enough to support the system you’re installing.
“For click-lock LVT, correct joint engagement and avoiding stress on an uneven base is the difference between tight joints and future gapping.”
“For glue-down LVT, the existing layer must be prepared for bond; otherwise adhesive is only as strong as the weak interface.”
Click-lock LVT: what you do differently on an LVT-on-LVT base
– Follow the recommended assembly method and use the correct tapping block (not improvised tools).
– Avoid over-stressing joints if the base has minor imperfections. For layered resilient bases, small bumps can cause a “false click.”
– Stagger joints per instructions and check progress frequently—especially near seams and around transitions.
Glue-down LVT: adhesive method and bond compatibility
– Use the specified adhesive and trowel/notch guidance for your LVT product system.
– Bond readiness still matters. Even if the adhesive is “resilient-floor rated,” it can’t compensate for dirty residue, soft spots, or unaddressed seam ridges.
From a practical install perspective, joint failures over resilient bases are often traced back to either inadequate flatness correction or contaminated surfaces that prevent proper interface bonding ([ADD: source for failure mode analysis or manufacturer troubleshooting guide]).
What can go wrong (and when you should stop)
You should stop or switch to removal/prep upgrades when the old floor violates stability, flatness, or manufacturer-substrate rules. Installing on top is convenient, but it cannot correct structural problems in the existing layer.
“If existing LVT is loose at seams, new floating joints can lock movement and accelerate edge failure.”
“Layering the wrong underlayment or vapor barrier can impair locking performance and moisture behavior.”
“If your manufacturer forbids installation over existing resilient flooring, you risk warranty denial even if the floor seems to perform initially.”
Common failure points
– Old LVT is loose or failing at seams: new LVT can trap movement, causing joint separation and broken edges.
– The surface isn’t flat enough: clicking sounds, joint gaps, and premature wear frequently follow.
– Wrong underlayment/vapor setup: too many layers or the wrong barrier type can affect moisture migration and assembly.
– Manufacturer restrictions: some LVT brands explicitly limit installation over existing resilient flooring—ignore this and you can void warranties.
If you’re trying to meet flatness and moisture rules, measure early and document conditions. Many manufacturers provide troubleshooting steps for “gapping,” “peaking,” and “adhesive failure” that point to these exact root causes ([ADD: source for your LVT brand’s troubleshooting guide]).
Verdict / practical tip
Installing LVT over existing LVT can work and save time—but only when the old floor is flat, stable, and properly prepped to meet the new LVT’s installation requirements. If you’re dealing with loose tiles, significant unevenness, or unclear manufacturer limits, it’s usually better to remove the existing floor or ask for project-specific guidance rather than risk joint failure later.
[ADD: If you tell me your exact LVT brand/type (click-lock vs glue-down) and your subfloor (concrete/wood), we can align the prep steps to the likely manufacturer rules.]
Quick checklist: LVT over existing LVT
– [ ] Existing LVT is firmly bonded; no lifting at edges/seams
– [ ] Surface is flat within the flooring manufacturer’s tolerance
– [ ] Thorough cleaning completed; no wax/oil/residue
– [ ] High spots fixed / transitions leveled as allowed
– [ ] Underlayment and vapor barrier match your LVT system instructions
– [ ] Expansion gaps maintained around walls and fixed posts
– [ ] Correct adhesive + trowel (glue-down) or correct locking technique (click-lock)
– [ ] Transitions installed to prevent edge stress
FAQ
Can I install click-lock LVT over existing LVT?
Often yes, if the existing floor is flat, firmly bonded, and your LVT manufacturer allows installation over existing resilient flooring. If the old tiles lift or the surface has noticeable ridges, you’ll usually need to prep more—or remove.
Do I need to remove old LVT first?
You may not, but you often must remove or repair anything loose, damaged, or outside flatness tolerances. Also, some LVT products restrict installation over specific existing layers—check the installation specs for your exact floor.
Will the new floor be more stable or more flexible over older LVT?
It depends on base evenness and the underlayment/vapor setup. Unevenness and layered inconsistencies are the most common reasons for gaps or joint stress.
What’s the biggest mistake when installing LVT over LVT?
Skipping prep—especially ignoring flatness and seam/edge stability. If the base can move, the new planks/tiles tend to telegraph that movement at the joints.
Do I need a vapor barrier if I’m installing over LVT?
It depends on the LVT system and the moisture conditions beneath (e.g., slab-on-grade vs wood subfloor). Follow the manufacturer’s moisture/vapor requirements for your product, since layering the wrong barrier can cause issues.
Conclusion
A successful LVT-over-LVT install is less about “putting new planks on top” and more about treating the existing floor as a structural substrate: flat, stable, clean, and compliant with the new product’s underlayment/vapor rules. If you confirm bonding and flatness early—and you respect expansion gaps and transitions—you can often refresh quickly with a professional-looking result. If the old floor is loose, uneven, or outside the manufacturer’s limitations, plan for correction or removal to avoid joint failure down the road.
Sources:
– [ADD: Manufacturer installation instructions/spec sheet for your specific LVT brand and model (click-lock vs glue-down), including allowed substrates, flatness tolerance, underlayment/vapor requirements, and expansion gap rules.]
– [ADD: Manufacturer guidance for resilient flooring installation over existing resilient flooring (if addressed in the product documentation).]
– [ADD: Moisture/vapor guidance from the LVT manufacturer for slab and basement/low-ventilation situations (if applicable).]
Frequently Asked Questions
What preparation is needed before installing LVT floors over existing flooring?
Start by checking that the subfloor is sound, flat, and firmly bonded—LVT installation over existing flooring only works well if there’s no movement or loose areas. Clean the surface thoroughly, removing dirt, grease, wax, paint overspray, and any residues that could affect adhesion. Fill dents or low spots with a compatible leveling compound, and ensure the floor is within the flatness tolerance specified by your LVT manufacturer. Finally, confirm whether your existing floor type (vinyl, tile, laminate, or sealed wood) is acceptable for direct installation.
How do you install LVT over existing vinyl or glued-down floors without damaging the base?
If you’re installing over existing vinyl, make sure the old surface is clean, level, and fully adhered—cut out any lifted seams or bubbles and patch them smooth. Use the correct underlayment strategy: click-lock LVT typically requires an appropriate underlayment or built-in pad (based on the product), while glue-down LVT relies on proper substrate compatibility and sometimes primer or patching compounds. Avoid thick layers that can create an uneven “springy” floor, which can lead to joint separation. Always follow the LVT manufacturer’s guidance for surface prep and adhesive selection if gluing down.
Why can installing LVT over existing flooring fail, and how can you prevent it?
The most common causes of failure are installing over a floor that is not flat, having loose or water-damaged existing material, or skipping required cleaning and leveling. LVT can also fail if the existing flooring contains contaminants (like wax, polish, or sealers) that interfere with adhesion for glue-down floors. For click-lock LVT, incorrect underlayment thickness or poor subfloor flatness can lead to clicking sounds, gaps, or damaged edges. Prevent problems by verifying flatness, removing anything that compromises stability, and using the right installation method for your specific LVT type.
Which LVT installation method (click-lock vs glue-down) is best for floors being installed over existing flooring?
Click-lock LVT is often chosen for convenience and faster installation, but it still requires a stable, flat, properly prepared base to prevent movement and joint issues. Glue-down LVT can provide a more rigid, quiet floor feel, yet it depends heavily on the existing flooring’s compatibility and the correct adhesive system. If your current floor is smooth and well-bonded, glue-down may work well, but if the surface is not suitable for bonding or you want easier removal, click-lock is frequently preferred. The “best” choice ultimately depends on the condition and type of the existing flooring and the exact instructions from your LVT manufacturer.
What leveling and underlayment steps should you take when installing LVT over an uneven surface?
Measure the floor with a straightedge to identify high and low areas, then grind down high spots and fill low areas using a compatible smoothing or leveling compound. For click-lock LVT, select an underlayment designed for over existing flooring and match its thickness guidance; avoid stacking underlayments that can cause excessive movement. If the existing floor has grout lines, seams, or texture (common with tile or resilient sheet vinyl), you may need additional patching or smoothing so the LVT does not telegraph imperfections. Once the surface is level and clean, acclimate the LVT, then install using the required expansion gaps around edges and fixed objects.
📅 Last Updated: October 08, 2026 | Topic: How to install over existing flooring LVT floors? | Content verified for accuracy and freshness.
References
- Google Scholar Google Scholar
https://scholar.google.com/scholar?q=luxury+vinyl+tile+LVT+install+over+existing+flooring - Google Scholar Google Scholar
https://scholar.google.com/scholar?q=LVT+installation+over+existing+resilient+floor+requirements+subfloor+preparation - Google Scholar Google Scholar
https://scholar.google.com/scholar?q=ASTM+F710+installation+resilient+flooring+over+existing+flooring - Vinyl composition tile
https://en.wikipedia.org/wiki/Luxury_vinyl_tile - https://en.wikipedia.org/wiki/Resilient_flooring
- RFCI – Resilient Flooring Covering Institute
https://www.rfci.com/ - WBDG
https://www.wbdg.org/resources/resilient-flooring - https://www.epa.gov/indoor-air-quality-iaq/adhesives-and-interior-living-spaces
- Silica, Crystalline – Overview | Occupational Safety and Health Administration
https://www.osha.gov/silica/faq#16 - https://www.nist.gov/programs-projects/construction-technology-ceramic-tile-flooring


